
Produktas baigtasview
The Singer 2250 Tradition Zig-Zag Sewing Machine is designed for ease of use and versatility, offering 10 built-in stitches and 23 stitch functions. It features a powerful 70W motor and a heavy-duty metal frame for durability. This machine is suitable for various sewing projects, from basic repairs to creative endeavors.

Vaizdas: priekis view of the Singer 2250 Tradition sewing machine, showcasindėl kompaktiško dizaino ir valdymo ratukų.
Pagrindinės funkcijos:
- Integruoti siūlai: 9 basic stitches for various sewing needs.
- Stitch Functions: 70 stitch functions for creative versatility.
- Siuvimo greitis: Iki 800 dygsnių per minutę (SPM).
- Kilpų stiliai: 4-step buttonhole for consistent results.
- Atvirkštinis siuvimas: Allows for reinforcing seams.
- Extra High Presser Foot Lifter: Accommodates thicker fabrics.
- Heavy Duty Metal Frame: Provides long-lasting durability and stability.
- Priedų saugykla: Convenient built-in storage for accessories.
Kas yra dėžutėje
Your Singer 2250 Tradition sewing machine package includes the following components:
- Zig-Zag machine with foot pedal
- Free accessories kit
- Apsauga nuo dulkių
- Vartotojo vadovas
- Garantinis talonas

Image: Included accessories such as bobbins, needles, and various presser feet, stored in the machine's accessory compartment.
Sąranka
1. Išpakavimas ir įdėjimas
Atsargiai išimkite aparatą iš pakuotės. Pastatykite aparatą ant stabilaus, lygaus paviršiaus, kuriame būtų pakankamai apšvietimo. Įsitikinkite, kad aplink aparatą yra pakankamai vietos patogiam naudojimui.
2. Maitinimo prijungimas
Connect the power cord to the machine's power input and then plug it into a suitable electrical outlet. Ensure the machine's power switch is in the 'OFF' position before plugging it in.
3. Siūlų įvėrimas
Proper threading is crucial for smooth operation and good stitch quality. Follow these general steps:
- Uždėkite siūlo ritę ant ritės kaiščio.
- Guide the thread through the upper thread guides, following the numbered path indicated on the machine.
- Perverkite siūlą per įtempimo diskus.
- Bring the thread up through the take-up lever.
- Įverkite adatą iš priekio į galą.
- Insert a wound bobbin into the bobbin case and ensure the bobbin thread is correctly positioned.
- Turn the handwheel towards you to lower the needle and pick up the bobbin thread. Pull both threads under the presser foot.

Vaizdas: priekis view of the machine, showing the upper threading path and tension dial.

Vaizdas: Šoninė view of the machine, highlighting the tension adjustment dial and the bobbin winder.

Image: Close-up of the needle and presser foot area, essential for correct threading.
Naudojimo instrukcijos
1. Dygsnio pasirinkimas
Rotate the stitch selector dial to choose your desired stitch pattern. The machine offers a variety of utility and decorative stitches.

Image: The stitch selection dial on the front of the machine, showing various stitch patterns.
2. Stitch Length and Width Adjustment
Adjust the stitch length and width using the corresponding dials to suit your fabric and project requirements. Shorter lengths create denser stitches, while longer lengths create looser stitches. Zig-zag width can be adjusted for different effects.
3. Atvirkštinis siuvimas
To reinforce seams at the beginning and end of your stitching, press and hold the reverse lever. The machine will sew in reverse as long as the lever is held down.
4. Buttonhole Function
The 4-step buttonhole feature allows you to create professional-looking buttonholes. Attach the buttonhole foot and follow the steps indicated on the stitch selector dial for each segment of the buttonhole.
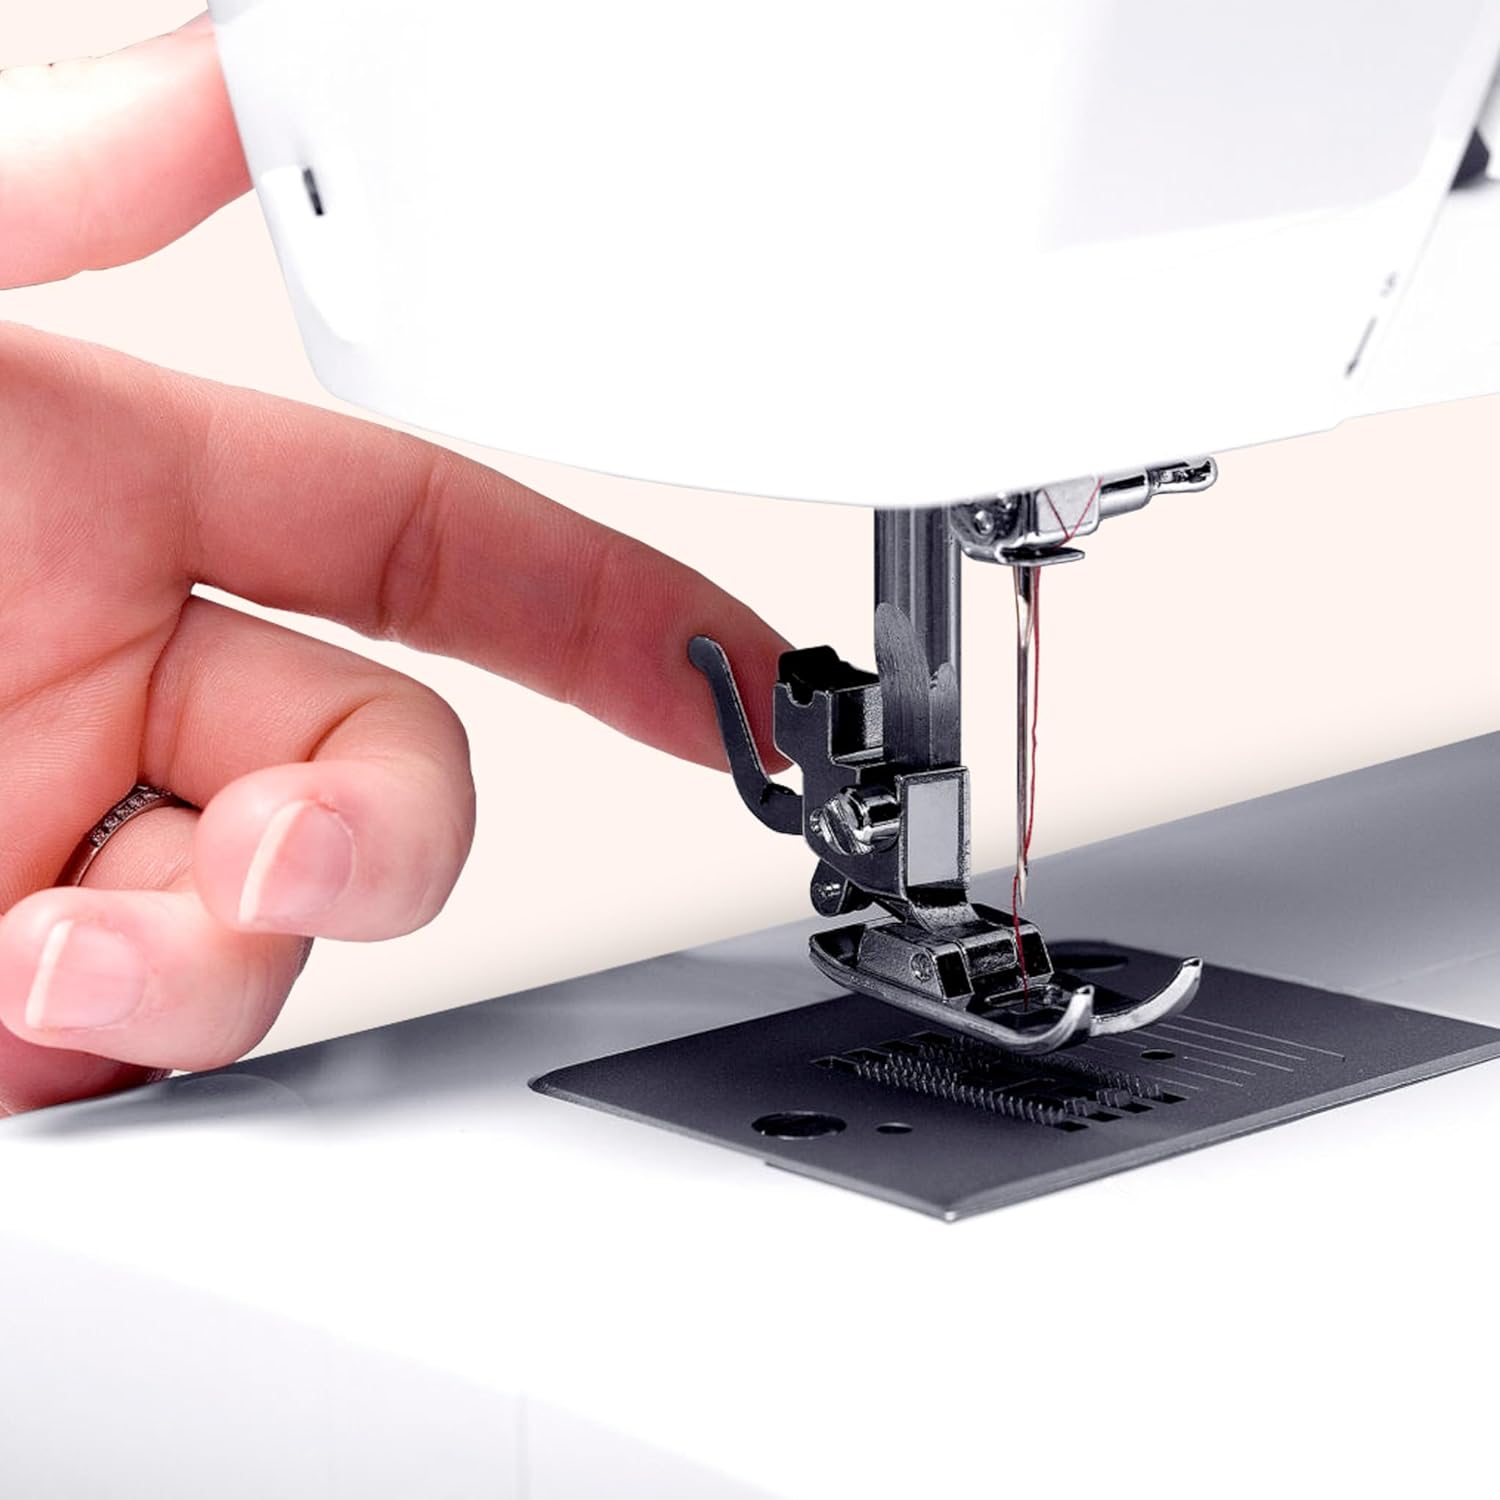
Image: A close-up of the buttonhole presser foot, designed for creating uniform buttonholes.
5. Using the Foot Pedal
Control the sewing speed by applying pressure to the foot pedal. Press gently for slower speeds and increase pressure for faster sewing. Always start slowly to maintain control.
Priežiūra
1. Valymas
Regular cleaning helps maintain your machine's performance. Use a small brush to remove lint and dust from the bobbin area, feed dogs, and tension discs. It is recommended to clean after every few hours of use, especially when working with linty fabrics.
2. Tepimas
Refer to the detailed user manual for specific lubrication points and recommended oiling frequency. Use only high-quality sewing machine oil. Over-oiling can attract more lint and dust.
3. Adatos keitimas
Replace the needle regularly, typically after 8-10 hours of sewing or when it becomes dull or bent. A dull needle can cause skipped stitches, fabric damage, or thread breakage. Ensure the flat side of the needle faces the back of the machine when inserting.

Vaizdas: Galinis view of the sewing machine, showing the handwheel and the area where the needle is inserted.
Trikčių šalinimas
This section addresses common issues you might encounter and provides potential solutions. For more complex problems, consult the full user manual or contact customer support.
-
Problem: Thread Breaking
Galimos priežastys ir sprendimai:
- Incorrect Threading: Re-thread the machine carefully, ensuring the thread passes through all guides and tension discs correctly.
- Neteisingas įtempimas: Adjust the upper thread tension dial. Too tight or too loose can cause issues.
- Dull or Bent Needle: Replace the needle with a new, sharp one of the correct type and size for your fabric.
- Poor Quality Thread: Use good quality thread that is suitable for machine sewing.
-
Problem: Skipped Stitches
Galimos priežastys ir sprendimai:
- Bent or Incorrect Needle: Replace the needle. Ensure it is inserted correctly and is the right type for the fabric.
- Improper Threading: Check both upper and bobbin threading.
- Needle Inserted Incorrectly: Ensure the flat side of the needle is facing the back of the machine and it is pushed up as far as it can go.
-
Problem: Fabric Puckering
Galimos priežastys ir sprendimai:
- Neteisingas įtempimas: Adjust the tension settings.
- Stitch Length Too Short: Increase the stitch length for the fabric type.
- Incorrect Presser Foot Pressure: Adjust the presser foot pressure if your machine has this feature (refer to full manual).
-
Problem: Machine Jamming
Galimos priežastys ir sprendimai:
- Tangled Thread in Bobbin Case: Remove the bobbin case and clear any tangled threads. Reinsert the bobbin correctly.
- Fabric Caught: Gently pull the fabric out. If stuck, raise the needle and presser foot, then try to remove. Do not force.
Specifikacijos
| Atributas | Detalė |
|---|---|
| Prekės ženklas | DAINININKAS |
| Modelio numeris | 2250 Tradition |
| Prekės svoris | 6 kg |
| Prekės matmenys (IxPxH) | 43x22x35.2 cm |
| Integruotos siūlės | 9 |
| Dygsnių funkcijos | 70 |
| Variklis Wattage | 70W |
| Buttonhole Style | 4 žingsnių |
| Rėmo medžiaga | Sunkiasvoris metalas |
Garantija ir palaikymas
The Singer 2250 Tradition Zig-Zag Sewing Machine comes with a 2 metų garantija from the date of purchase. Please retain your purchase invoice for warranty claims.
Free Home Demo: Singer offers a free home demonstration service. To avail this, register your purchase details on the official Singer websvetainėje arba susisiekite su klientų aptarnavimo tarnyba.
Klientų aptarnavimas:
- Gamintojas: Singer India Limited
- Adresas: A-26/4, 2nd Floor, Mohan Cooperative Ind. Estate, New Delhi-110044, India
- Nemokamas numeris: 1800-103-3474
- Mobilusis: 8860118855
- El. paštas: customersupport@singerindia.com
- Websvetainė: www.singerindia.com
For detailed troubleshooting or service requests, please contact Singer customer support directly.