
1. Įvadas
This manual provides essential information for the safe and efficient use of your Lexmark E260D Monochrome Laser Printer. Please read these instructions carefully before operating the device and retain them for future reference. The Lexmark E260D is designed for fast, high-quality black and white document printing, featuring automatic two-sided printing for efficiency.
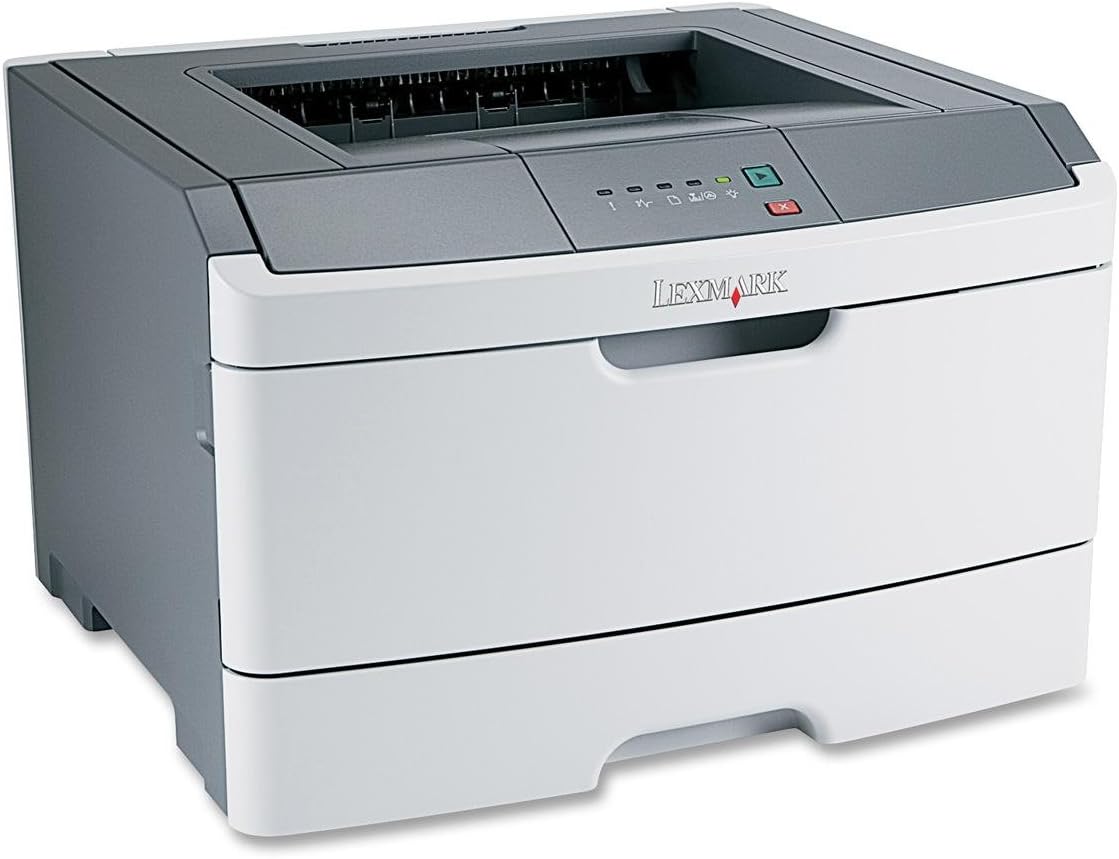
1 paveikslas: Lexmark E260D Monochrome Laser Printer. This image shows the printer from a front-right angle, highlighting its compact design with a white body and a dark gray top cover. The output tray is visible on top, and the Lexmark logo is displayed on the front panel above the paper input tray.
2. Saugos informacija
- Visada junkite spausdintuvą prie įžeminto maitinimo lizdo.
- Neuždenkite vėdinimo angų.
- Saugokite spausdintuvą nuo vandens ar per didelės drėgmės.
- Naudokite tik nurodytus maitinimo laidus ir priedus.
- Avoid touching the fuser area, as it can be hot.
3. Pakuotės turinys
Patikrinkite, ar pakuotėje yra visi reikalingi daiktai:
- Lexmark E260D Monochrome Laser Printer
- Maitinimo laidas
- Starter Toner Cartridge (may vary by region)
- Setup Guide or Documentation
- USB Cable (may be sold separately)
4. Sąranka
4.1 Spausdintuvo išpakavimas
- Išimkite spausdintuvą iš pakuotės.
- Remove all packing materials, tapes, and protective films from the exterior and interior of the printer.
- Pastatykite spausdintuvą ant stabilaus, lygaus paviršiaus, kuriame būtų tinkama ventiliacija.
4.2 Spausdintuvo prijungimas
- Prijunkite maitinimo laidą prie spausdintuvo, o tada – prie įžeminto elektros lizdo.
- Prijunkite vieną USB kabelio galą prie spausdintuvo USB prievado, o kitą – prie kompiuterio.
4.3 Tonerio kasetės įdėjimas
- Atidarykite spausdintuvo priekines dureles.
- Carefully remove the toner cartridge from its packaging and shake it gently to distribute the toner.
- Įkiškite tonerio kasetę į spausdintuvą, kol ji spragtelės ir užsifiksuos vietoje.
- Close the front access door securely.
4.4 Popieriaus įdėjimas
- Ištraukite popieriaus dėklą.
- Sureguliuokite popieriaus kreipiklius pagal įdedamo popieriaus dydį.
- Įdėkite popierių į dėklą, užtikrindami, kad jis būtų lygus ir neviršytų maksimalaus užpildymo linijos.
- Stumkite popieriaus dėklą atgal į spausdintuvą, kol jis užsifiksuos.
4.5 Tvarkyklės diegimas
After connecting the printer, your operating system may automatically detect and install the necessary drivers. If not, follow these steps:
- Insert the driver CD (if included) into your computer's CD/DVD drive, or download the latest drivers from the official Lexmark support websvetainę.
- Vykdykite ekrane pateikiamas instrukcijas, kad užbaigtumėte tvarkyklės diegimą.
- Iš naujo paleiskite kompiuterį, jei būsite paraginti.
5. Spausdintuvo valdymas
5.1 Pagrindinis spausdinimas
- Įsitikinkite, kad spausdintuvas įjungtas ir prijungtas prie kompiuterio.
- Atidarykite dokumentą, kurį norite spausdinti, savo kompiuteryje.
- Pasirinkite File > Spausdinti (arba lygiavertę komandą jūsų programoje).
- Choose the Lexmark E260D from the list of available printers.
- Adjust print settings as needed (e.g., number of copies, page range).
- Spustelėkite Spausdinti.
5.2 Dvipusis spausdinimas
The Lexmark E260D supports automatic two-sided printing.
- When sending a print job, access the printer properties or preferences.
- Look for an option related to Dvipusis spausdinimas or Spausdinti ant abiejų pusių.
- Pasirinkite norimą dvipusio spausdinimo parinktį (pvz., įrišimas ilguoju kraštu, įrišimas trumpuoju kraštu).
- Confirm your settings and click Spausdinti.
6. Priežiūra
6.1 Spausdintuvo valymas
- Išorė: Išorinius paviršius nuvalykite minkšta, damp, nepūkuota šluoste. Nenaudokite abrazyvinių valiklių ar tirpiklių.
- Interjeras: Periodically open the front access door and gently remove any loose toner dust with a dry, lint-free cloth. Avoid touching sensitive components.
6.2 Tonerio kasetės keitimas
When the toner level is low, the printer's control panel will indicate it. Replace the toner cartridge as follows:
- Įsitikinkite, kad spausdintuvas įjungtas.
- Atidarykite priekines prieigos dureles.
- Carefully remove the old toner cartridge by pulling it straight out.
- Unpack the new Lexmark E260D compatible toner cartridge and shake it gently.
- Įkiškite naują kasetę į spausdintuvą, kol ji užsifiksuos vietoje.
- Uždarykite priekines prieigos dureles.
7. Problemų sprendimas
7.1 Įstrigęs popierius
If a paper jam occurs, the printer's control panel will display an error. Follow these general steps:
- Išjunkite spausdintuvą ir atjunkite jį nuo maitinimo lizdo.
- Open all accessible covers (front door, rear door, etc.).
- Carefully remove any jammed paper, pulling it in the direction of the paper path to avoid tearing.
- Close all covers securely.
- Prijunkite ir įjunkite spausdintuvą.
7.2 Spausdinimo kokybės problemos
- Išblukę arba šviesūs atspaudai: The toner cartridge may be low. Try shaking the cartridge gently or replace it.
- Dryžiai arba dėmės: Clean the interior of the printer, especially around the toner cartridge area. Ensure the paper type setting matches the loaded paper.
- Tušti puslapiai: Ensure the toner cartridge is properly installed and has toner. Check printer drivers and print settings.
7.3 Ryšio problemos
- Spausdintuvas neaptiktas: Ensure the USB cable is securely connected to both the printer and the computer. Try a different USB port or cable. Reinstall printer drivers if necessary.
- Print Jobs Stuck: Clear the print queue on your computer. Restart both the printer and the computer.
7.4 Envelope Printing on Mac
Users printing envelopes on macOS may encounter issues with incorrect print orientation or partial printing. To resolve this:
- In the print dialogue box, locate the menu that initially reads 'Layout'.
- Select 'Paper Feed' from this menu.
- Change the 'Auto Select' option to 'Manual Envelope'.
- Tęskite spausdinimą.
8. Specifikacijos
| Funkcija | Specifikacija |
|---|---|
| Modelio pavadinimas | E260D |
| Spausdinimo technologija | Lazeris |
| Spausdintuvo išvestis | Vienspalvis |
| Maksimalus spausdinimo greitis (vienspalvis) | 35 ppm |
| Maksimali spausdinimo raiška (juodai balta) | 1200 dpi |
| Dvipusis spausdinimas | Automatinis |
| Ryšio technologija | USB 2.0 |
| Maksimali įvesties lapo talpa | 250 XNUMX lapų |
| Palaikomos spausdinimo medijos | Envelopes, Labels, Paper (plain), Transparencies |
| Atminties talpa | 32 MB |
| Gaminio matmenys | 16.5 x 18.1 x 14 colio |
| Prekės svoris | 29.8 svaro (13.53 kg) |
| Energijos suvartojimas (įjungus) | 16 vatų |
9. Informacija apie garantiją
The Lexmark E260D Monochrome Laser Printer comes with an Exchange Warranty. For specific terms, conditions, and duration of your warranty, please refer to the warranty documentation included with your product or visit the official Lexmark support websvetainę.
10. Pagalba klientams
For further assistance, technical support, or to order replacement parts and supplies, please contact Lexmark Customer Support. You can find contact information and additional resources on the official Lexmark websvetainė:
- „Lexmark“ palaikymas Websvetainė: www.lexmark.com/support (Atkreipkite dėmesį: tai yra vietos rezervavimo ženklas URL. Refer to your product documentation for the exact support link.)