
Įvadas
This manual provides essential information for the setup, operation, maintenance, and troubleshooting of your HP Compaq LA2206x 21.5-inch LED LCD Monitor. The monitor features a super-thin, soft black design with a 21.5-inch diagonal widescreen display, offering Full HD images. Its WLED backlight technology contributes to improved recyclability, and advanced adjustability enhances user productivity.
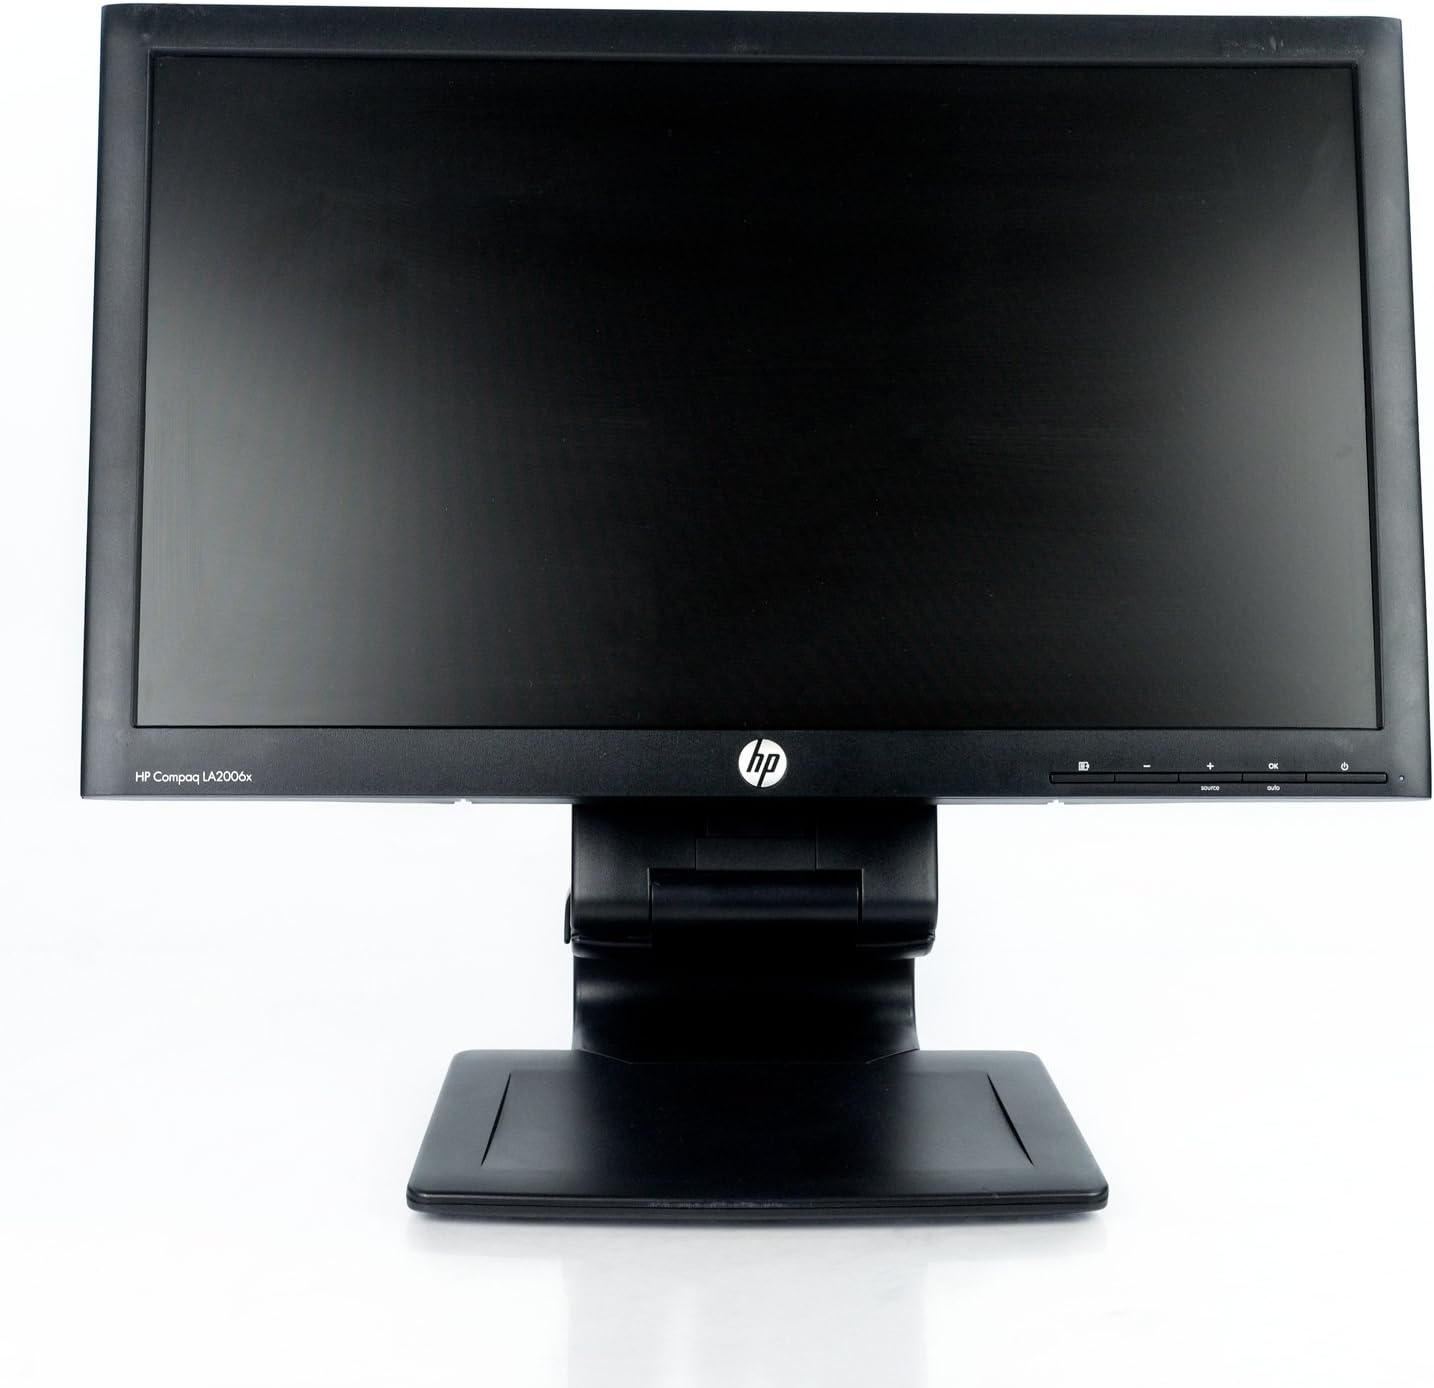
1 paveikslas: Priekyje view of the HP Compaq LA2206x monitor, showcasing its slim bezel and adjustable stand.
Sąranka
1. Monitoriaus išpakavimas
Carefully remove all components from the packaging. Ensure all parts are present before proceeding with assembly. Retain packaging for future transport or service.
2. Stovo surinkimas
- Padėkite monitorių ekranu žemyn ant minkšto, švaraus paviršiaus, kad nesusibraižytumėte.
- Align the stand base with the stand column. Secure the base to the column using the provided screw, if applicable.
- Attach the assembled stand to the back of the monitor. Ensure it clicks securely into place or is fastened with screws as per the included quick setup guide.
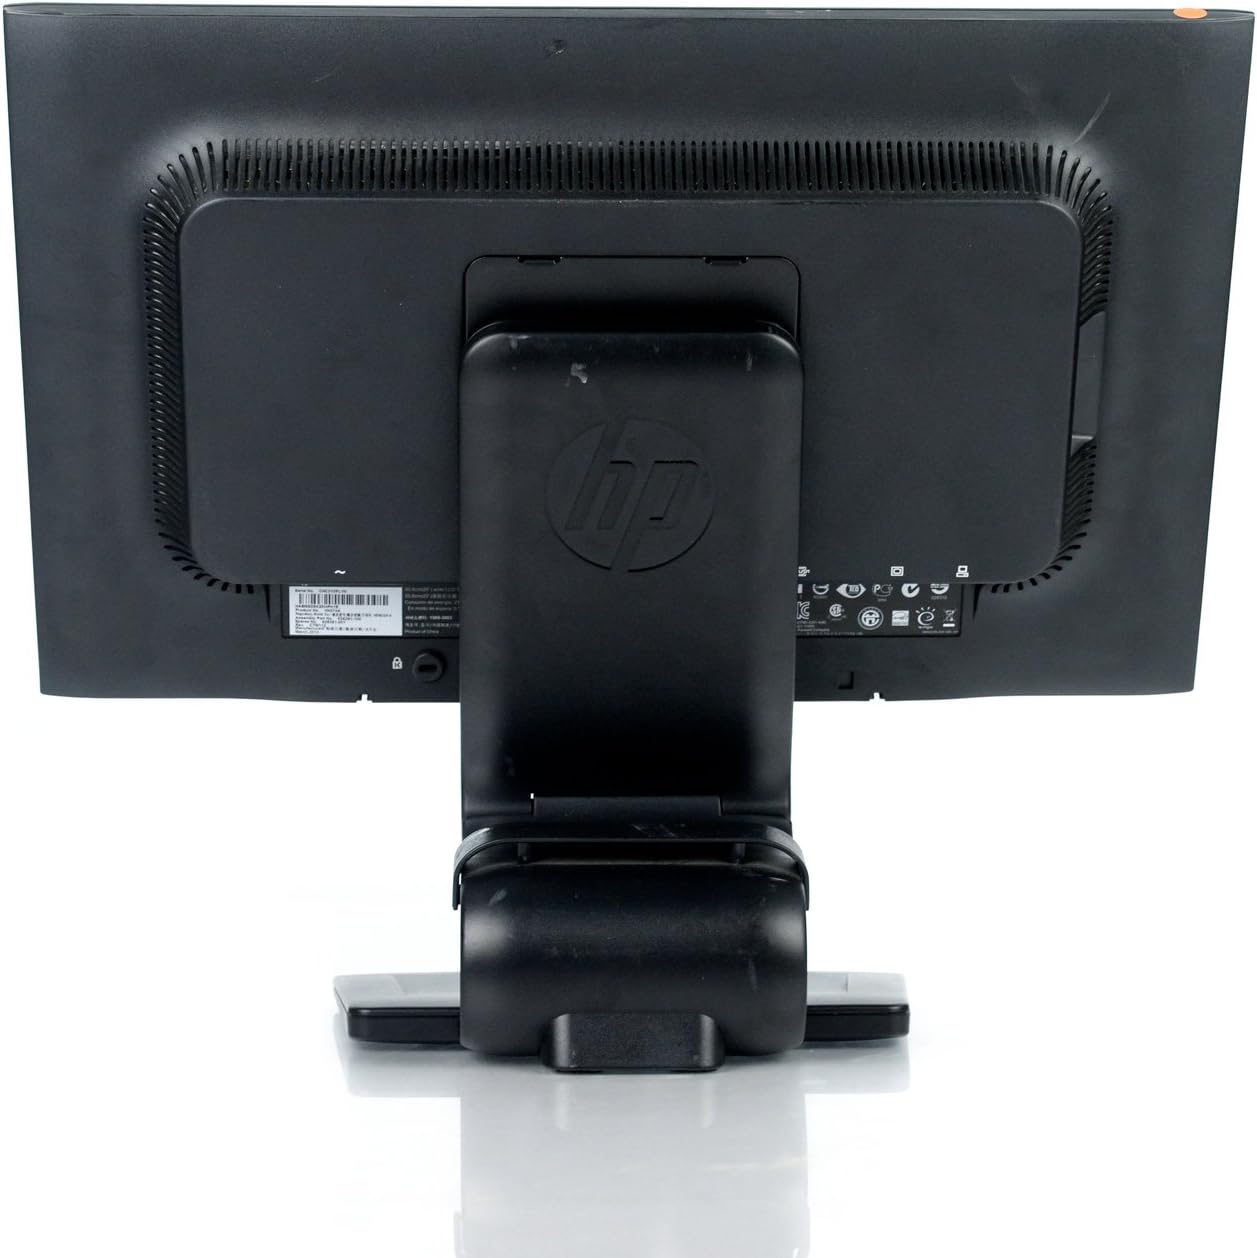
2 paveikslas: Galinis view of the monitor showing the attached stand, ready for cable connections.
3. Jungiamieji kabeliai
Connect the necessary cables to the monitor and your computer. Ensure all connections are firm.
- Maitinimo kabelis: Prijunkite vieną galą prie monitoriaus maitinimo įvesties, o kitą – prie įžeminto elektros lizdo.
- Vaizdo kabelis: Connect a DVI, DisplayPort, or VGA cable from your computer's video output to the corresponding input on the monitor. The monitor supports 1920x1080 resolution.
- USB Cable (Optional): Connect a USB upstream cable from your computer to the monitor's USB upstream port to enable the monitor's integrated USB 2.0 ports.

3 paveikslas: Išsamus view of the monitor's rear panel, highlighting the power input, DisplayPort, DVI, VGA, and USB ports.
Monitoriaus valdymas
1. Maitinimo įjungimas/išjungimas
Norėdami įjungti arba išjungti monitorių, paspauskite maitinimo mygtuką, esantį priekinėje dešinėje pusėje. Maitinimo indikatoriaus lemputė užsidegs, kai monitorius bus aktyvus.
2. Ekrano meniu (OSD) naršymas
The monitor features an On-Screen Display (OSD) menu for adjusting various settings. Use the control buttons located on the front bezel to navigate and select options.

4 paveikslas: Close-up of the monitor's control buttons, including power, menu navigation, and input selection.
- Meniu mygtukas: Atidaro OSD meniu.
- Mygtukai „+“ / „-“: Naršykite meniu parinktis arba koreguokite vertes.
- Gerai mygtukas: Patvirtina pasirinkimą arba įeina į submeniu.
- Šaltinio mygtukas: Quickly switches between available video inputs (DVI, DisplayPort, VGA).
- Automatinis mygtukas: Automatically adjusts the screen image for optimal display, particularly useful for analog (VGA) connections.
3. Monitoriaus nustatymų reguliavimas
Per OSD meniu galite reguliuoti tokius nustatymus kaip:
- Ryškumas ir kontrastas: Sureguliuokite bendrą šviesumą ir skirtumą tarp šviesių ir tamsių sričių.
- Spalvų valdymas: Select color temperature or customize RGB values.
- Vaizdo valdymas: Fine-tune sharpness, clock, and phase for optimal image clarity.
- Įvesties valdymas: Manually select the video input source.
- Galios valdymas: Configure sleep timers and power-saving modes.
Priežiūra
1. Monitoriaus valymas
- Always power off the monitor and unplug it from the electrical outlet before cleaning.
- Lengvai naudokite minkštą, nepūkuotą audinį dampnuplaukite vandeniu arba neabrazyviniu ekrano valikliu.
- Do not spray cleaners directly onto the screen or casing.
- Avoid using benzene, thinners, or any volatile solvents, as these may damage the monitor's surface.
2. Saugos priemonės
- Neužblokuokite monitoriaus ventiliacijos angų.
- Laikykite monitorių atokiau nuo tiesioginių saulės spindulių, šilumos šaltinių ir per didelės drėgmės.
- Venkite dėti sunkių daiktų ant monitoriaus ar jo laidų.
- If the monitor is damaged or malfunctions, do not attempt to repair it yourself. Contact qualified service personnel.
Trikčių šalinimas
This section addresses common issues you might encounter with your HP Compaq LA2206x monitor.
Nėra galios
- Ensure the power cable is securely connected to both the monitor and a working electrical outlet.
- Patikrinkite, ar maitinimo lizdas veikia, prijungdami prie jo kitą įrenginį.
- Patikrinkite, ar paspaustas monitoriaus maitinimo mygtukas.
Nėra signalo / Tuščias ekranas
- Confirm that the video cable is securely connected to both the monitor and the computer's video output port.
- Ensure the correct input source is selected on the monitor using the 'Source' button.
- Iš naujo paleiskite kompiuterį.
- Test the monitor with another computer or a different video cable if possible.
Distorted or Unclear Image
- For analog (VGA) connections, press the 'Auto' button on the monitor to automatically adjust the image.
- Adjust the brightness, contrast, sharpness, clock, and phase settings through the OSD menu.
- Ensure your computer's display resolution is set to the monitor's native resolution of 1920x1080.
Specifikacijos
Below are the key technical specifications for the HP Compaq LA2206x monitor (Model: XN376AA):
| Funkcija | Specifikacija |
|---|---|
| Ekrano dydis | 21.5 colių |
| Maksimali ekrano skiriamoji geba | 1920 x 1080 (Full HD 1080p) |
| Krašto santykis | 16:9 |
| Reagavimo laikas | 5 ms |
| Ekrano technologija | LED skystųjų kristalų ekranas |
| Ryšys | DisplayPort, DVI, VGA, 2x USB 2.0 Ports |
| Spalva | Juoda |
| Prekės svoris | 13.45 svaro |
| Gaminio matmenys (IxPxH) | 8.95 x 20.39 x 13.12 colio |
| Modelio numeris | XN376AA |
Informacija apie garantiją
This HP Compaq LA2206x monitor is covered by a standard manufacturer's warranty. Please refer to the warranty card included with your product or visit the official HP support website for detailed terms and conditions, including warranty duration and service procedures. Keep your proof of purchase for warranty claims.
Palaikymas
For technical assistance, driver downloads, or further information regarding your HP Compaq LA2206x monitor, please visit the official HP support website. You may need your monitor's serial number for support inquiries.

5 paveikslas: Location of the serial number label on the back of the monitor. The serial number for this unit is CNC210PLYN.
When contacting support, please have your model number (XN376AA) and serial number ready to expedite service.