Thank you for choosing the AMS Pendule 211/1 wall clock. This manual provides comprehensive instructions for the safe and efficient setup, operation, and maintenance of your new clock. Please read this manual thoroughly before use and retain it for future reference.
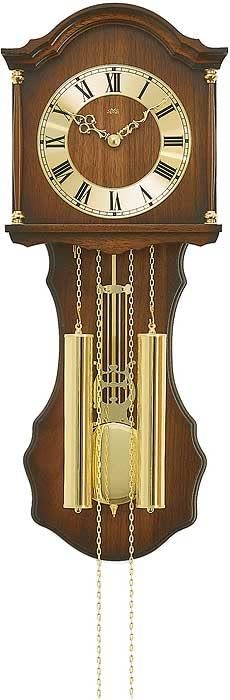
Figure 1: AMS Pendule 211/1 Wall Clock
2. Sąranka
2.1 Išpakavimas
Atsargiai išimkite laikrodį iš pakuotės.
Inspect the clock for any signs of damage. If damaged, do not proceed with setup and contact customer support.
Remove all protective films or packaging materials from the clock face, hands, and pendulum.
Išsaugokite pakuotę būsimam transportavimui ar saugojimui.
2.2 Akumuliatoriaus įdėjimas
The AMS Pendule 211/1 requires batteries (not included) for operation. Please use the specified battery type.
Raskite baterijų skyriaus dangtelį laikrodžio gale.
Remove the cover by sliding or unlatching it.
Insert the required batteries (e.g., 1x AA or 1x C, refer to the compartment label for exact type) according to the polarity indicators (+ and -).
Saugiai uždėkite akumuliatoriaus skyriaus dangtelį.
2.3 Laikrodžio tvirtinimas
Ensure the clock is mounted securely on a stable wall surface.
Choose a suitable location on a wall, away from direct sunlight, extreme temperatures, or vibrations.
Use an appropriate wall anchor and screw for your wall type (e.g., drywall, concrete). The mounting point should be strong enough to support the clock's weight.
Hang the clock securely using the keyhole slot on the back. Ensure it is level.
2.4 Laiko nustatymas
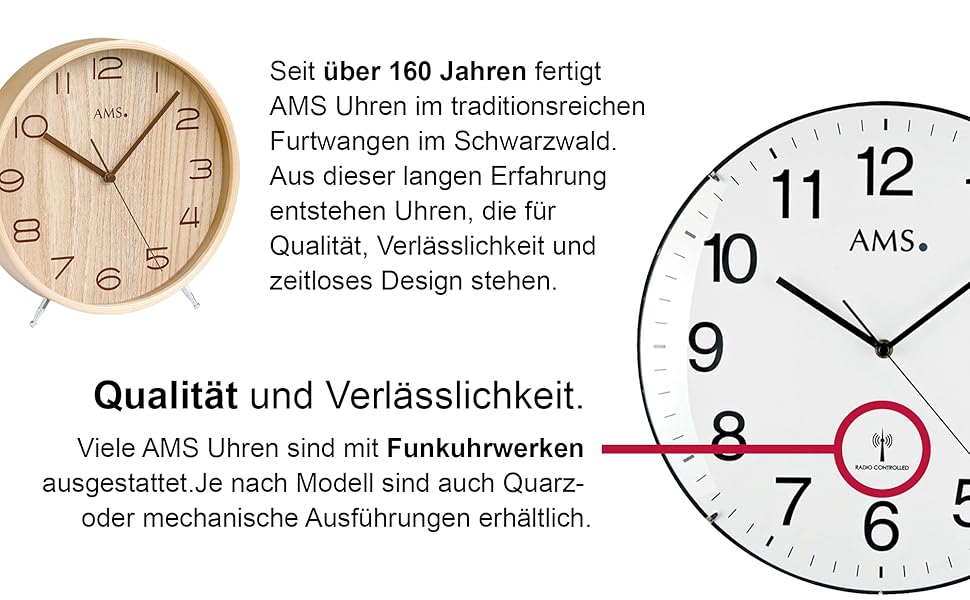
Your AMS Pendule 211/1 clock features an analog display. Some models may include a radio-controlled mechanism for automatic time synchronization.
2 pav. Pvzample Clock Face with Radio Controlled Symbol
Rankinis nustatymas: Locate the time-setting knob or wheel on the back of the clock. Gently turn this knob to move the minute and hour hands clockwise until the correct time is displayed. Avoid turning the hands counter-clockwise.
Radio-Controlled (if applicable): If your clock is radio-controlled, it will attempt to synchronize with a time signal after battery installation. Place the clock near a window for better signal reception. This process may take several minutes or hours. Once synchronized, the clock will automatically display the correct time.
2.5 Pendulum Setup
The pendulum is a decorative and functional element of your clock.
Carefully unpack the pendulum if it was separate from the main clock body.
Attach the pendulum to its hook or hanging mechanism inside the clock case. Ensure it hangs freely and does not touch the sides of the case.
Gently push the pendulum to one side to start its swing. It should swing evenly.
3. Naudojimo instrukcijos
3.1 Laiko skaitymas
The AMS Pendule 211/1 features a clear analog display with hour, minute, and second hands for precise timekeeping.
The trumpa ranka rodo valandą.
The ilga ranka rodo minutę.
The thin sweeping hand nurodo antrąjį.
3.2 Aliarmo funkcija
Your clock is equipped with an alarm function. Refer to the specific controls on the back or side of your clock for alarm setting.
Nustatyti žadintuvo laiką: Locate the alarm setting knob/dial (often separate from the main time setting). Turn it to set the desired alarm time.
Suaktyvinti aliarmą: Find the alarm ON/OFF switch or button. Move it to the "ON" position to activate the alarm.
Išjungti signalą: To turn off the alarm sound, move the alarm switch to the "OFF" position.
3.3 Švytuoklės veikimas
Once the pendulum is installed and started, it should swing continuously. If it stops, gently restart it.
Ensure the clock is level on the wall to allow for an even pendulum swing.
Avoid obstructing the pendulum's movement.
4. Priežiūra
4.1 Valymas
Regular cleaning will help maintain the appearance of your clock. The frame is made of Acrylonitrile Butadiene Styrene (ABS).
Wipe the clock's exterior with a soft, dry, lint-free cloth.
Įsisenėjusioms dėmėms šiek tiek pamirkykiteampNuplaukite šluostę vandeniu. Venkite naudoti stiprias chemines medžiagas, abrazyvinius valiklius ar tirpiklius, nes jie gali pažeisti apdailą.
Do not spray cleaning solutions directly onto the clock.
Keep the clock away from excessive dust and moisture.
4.2 Akumuliatoriaus keitimas
Replace batteries when the clock starts losing time or stops functioning.
Follow the steps in Section 2.2 "Battery Installation" to replace old batteries with new ones of the correct type.
Naudotas baterijas išmeskite atsakingai pagal vietines taisykles.
5. Problemų sprendimas
If you encounter issues with your AMS Pendule 211/1, refer to the table below for common problems and solutions.
Problema
Galima priežastis
Sprendimas
Laikrodis neveikia
Neišsikrovusios arba neteisingai įdėtos baterijos.
Replace batteries. For radio-controlled, move to a location with better signal. If problem persists, contact support.
Švytuoklė nesisuka
Not properly installed; obstruction; clock not level.
Ensure pendulum is correctly hooked and swings freely. Check if the clock is level. Gently restart the pendulum.
Signalizacija neskamba
Alarm not activated; incorrect alarm time set; low battery.
Įsitikinkite, kad žadintuvo jungiklis yra ĮJUNGTAS. Patikrinkite žadintuvo laiko nustatymą. Pakeiskite baterijas.
6. Specifikacijos
Funkcija
Detalė
Prekės ženklas
AMS
Modelis
211/1
ASIN
B005DRWNZ0
Ekrano tipas
Analoginis
Forma
Stačiakampis
Rėmo medžiaga
Akrilnitrilo butadieno stirenas (ABS)
Signalizacija
Taip
Baterijos įtrauktos
Nr
7. Garantija ir palaikymas
Dėl garantijos informacijos ar techninės pagalbos žr. kartu su pirkiniu pateiktus dokumentus arba susisiekite su pardavėju. Išsaugokite pirkimo įrodymą, jei prireiktų pateikti garantijos pretenziją.
For further assistance, you may visit the official AMS websvetainėje arba susisiekite su klientų aptarnavimo skyriumi.
Ask a question about this manual
Ask about setup, troubleshooting, compatibility, parts, safety, or missing instructions. Manuals+ will review the question and use this page’s manual context to help answer it.