
Osteris 4010378
Oster Mykonos graikiško jogurto gaminimo aparato naudojimo instrukcija
Modelis: 4010378
Įvadas
This manual provides detailed instructions for the safe and efficient operation of your Oster Mykonos Greek Yogurt Maker. Please read all instructions carefully before first use and retain for future reference.
The Oster Mykonos Greek Yogurt Maker is designed to simplify the process of making homemade yogurt, including protein-rich Greek yogurt. It includes all necessary components to create either a large batch or individual servings.
Svarbios saugos instrukcijos
- Prieš naudodami prietaisą perskaitykite visas instrukcijas.
- Nelieskite karštų paviršių. Naudokite rankenas arba rankenėles.
- Kad apsisaugotumėte nuo elektros smūgio, nemerkite laido, kištukų ar prietaiso į vandenį ar kitą skystį.
- Atidžiai prižiūrėti būtina, kai bet kurį prietaisą naudoja vaikai arba jį naudoja šalia vaikų.
- Ištraukite kištuką iš elektros lizdo, kai nenaudojate ir prieš valydami. Prieš uždėdami arba nuimdami dalis, leiskite atvėsti.
- Nenaudokite prietaiso su pažeistu laidu ar kištuku arba po to, kai prietaisas neveikia arba buvo kaip nors sugadintas.
- Prietaiso gamintojo nerekomenduojamų priedų naudojimas gali susižaloti.
- Nenaudoti lauke.
- Neleiskite laidui kaboti virš stalo ar prekystalio krašto ir neliesti karštų paviršių.
- Nedėkite ant įkaitusios dujinės ar elektrinės viryklės ar šalia jos, taip pat į įkaitintą orkaitę.
- Visada pirmiausia prijunkite kištuką prie prietaiso, o tada įjunkite laidą į elektros lizdą. Norėdami atjungti, išjunkite bet kurį valdiklį ir ištraukite kištuką iš elektros lizdo.
- Nenaudokite prietaiso ne pagal paskirtį buityje.
Dalys ir savybės
Familiarize yourself with the components of your Oster Mykonos Greek Yogurt Maker:
- Yogurt Maker Base with On/Off Switch
- Skaidrus dangtelis
- Four 7oz. Glass Jars with Lids
- One 1 Qt. Plastic Container with Lid
- Graikiško jogurto sietelis


Sąranka
- Before first use, wash all removable parts (glass jars, plastic container, lids, and strainer) in warm, soapy water. Rinse thoroughly and dry.
- Wipe the yogurt maker base with a damp audeklas. Nenardinkite pagrindo į vandenį.
- Place the yogurt maker base on a stable, flat, and heat-resistant surface.
- Ensure the On/Off switch is in the "Off" position before plugging into an electrical outlet.
Naudojimo instrukcijos: jogurto gaminimas
General Yogurt Preparation
This yogurt maker can produce one large batch or individual servings. The process involves heating milk, cooling it, adding a starter culture, and then incubating it in the yogurt maker.
- Heat the Milk: Pour the desired amount of milk (whole, reduced-fat, skim, soy, or almond milk) into a saucepan. Heat the milk slowly to 180°F (82°C). Stir frequently to prevent scorching. This step helps to denature the milk proteins, resulting in a thicker yogurt.
- Cool the Milk: Remove the milk from heat and allow it to cool to 105°F–115°F (40°C–46°C). This temperature range is ideal for the yogurt culture to thrive. You can speed up cooling by placing the saucepan in an ice bath.
- Pridėti starterio kultūrą: Once the milk has cooled, add your yogurt starter culture. This can be a few tablespoons of plain, unflavored yogurt with live active cultures, or a commercial yogurt starter packet. Whisk thoroughly to ensure the starter is evenly distributed.
- Fill Containers:
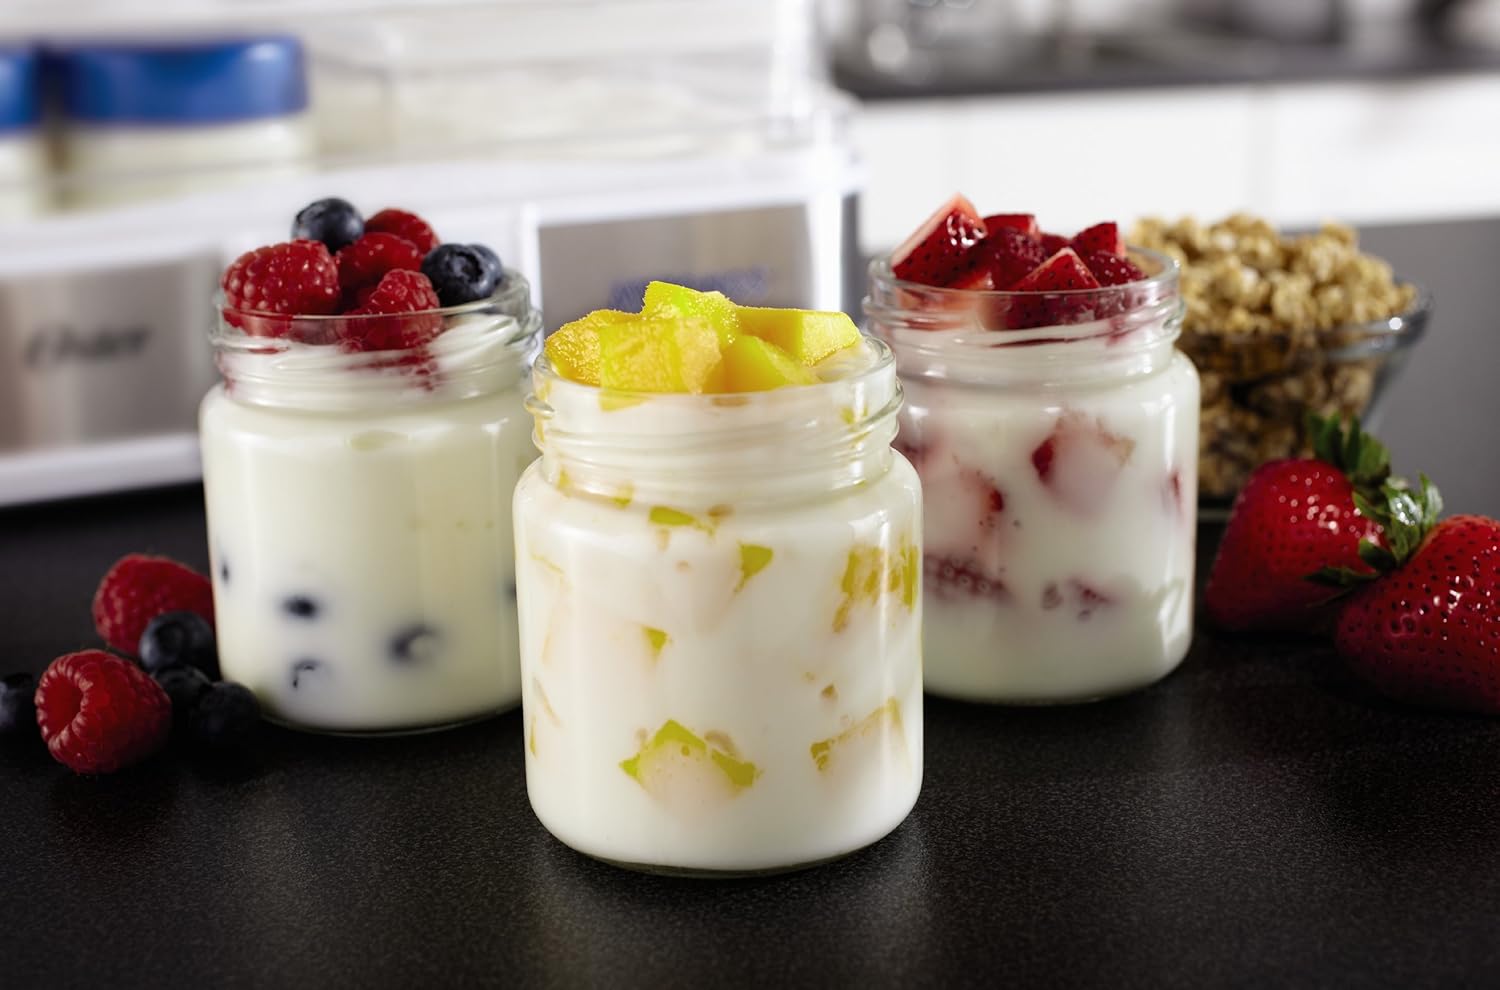
- For individual servings: Pour the milk mixture into the four 7oz. glass jars. Secure the lids.
- For a large batch: Pour the milk mixture into the 1 Qt. plastic container. Secure the lid.
- Inkubuoti: Place the filled jars or the large container into the yogurt maker base. Cover with the clear lid. Plug in the unit and turn the On/Off switch to "On".
- Incubation Time: The incubation time typically ranges from 10 to 12 hours, depending on the type of milk used and desired thickness. Longer incubation times generally result in a tangier and thicker yogurt.
- Šaltas: Once incubation is complete, turn the switch to "Off" and unplug the unit. Remove the containers from the yogurt maker and refrigerate for at least 4 hours to chill and set completely.


Making Greek Yogurt
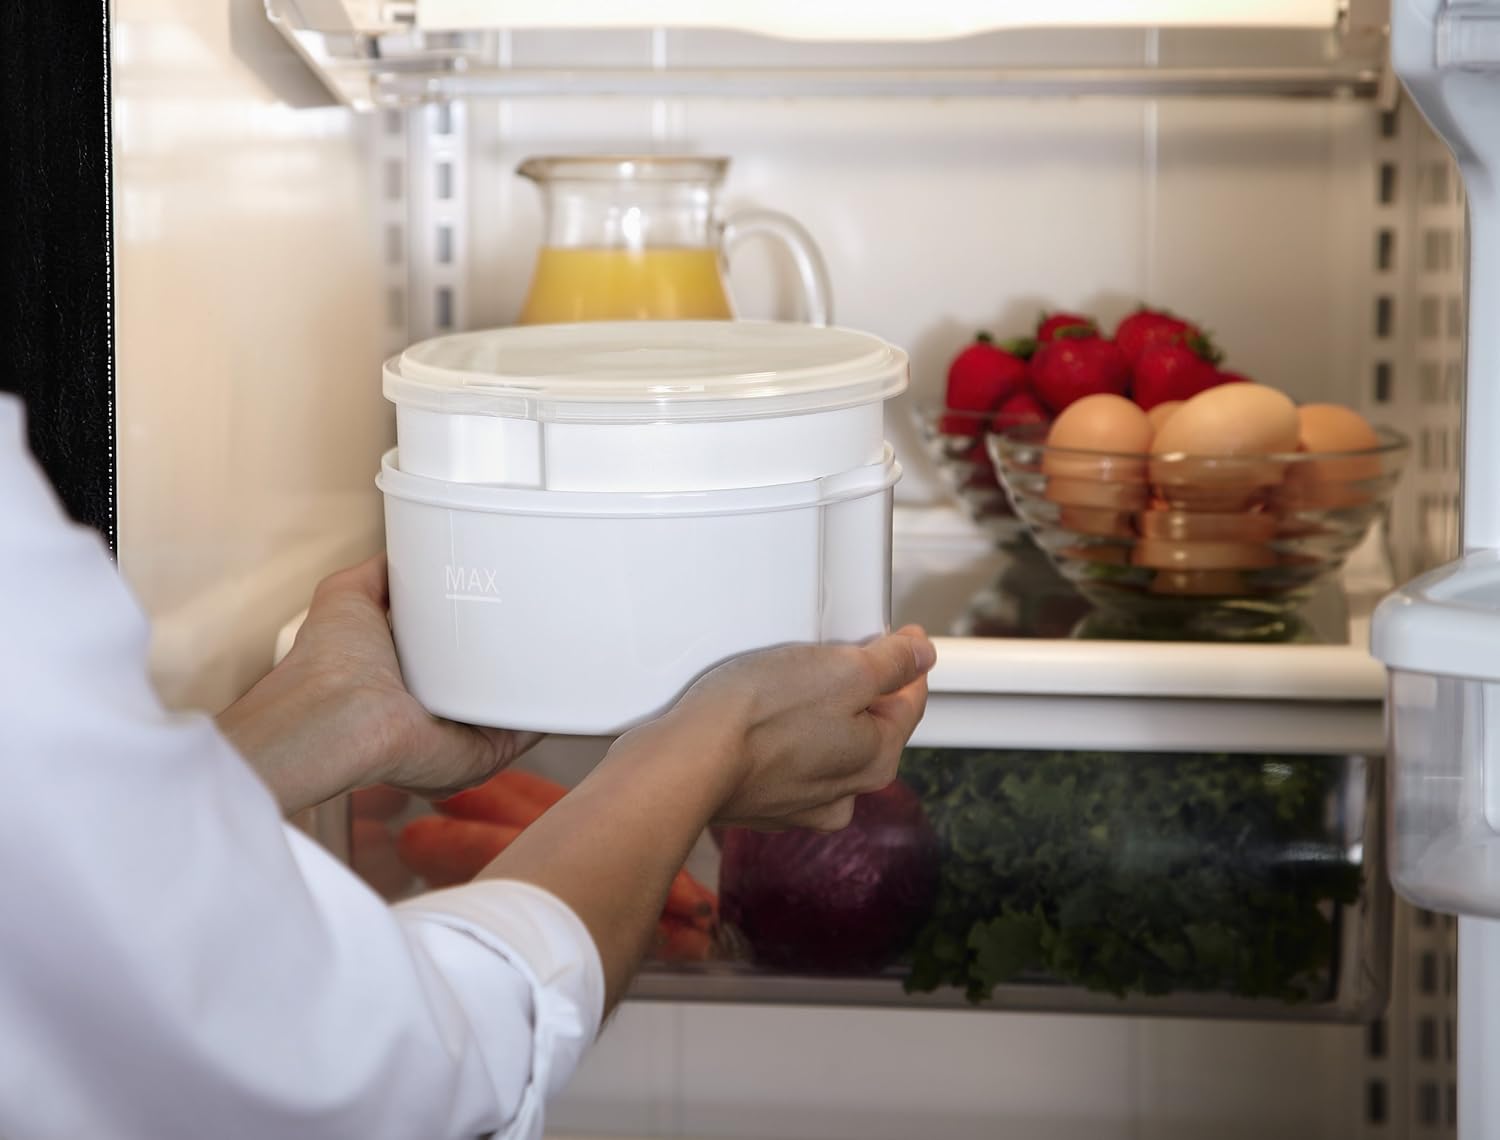
To make Greek yogurt, you will need to strain the regular yogurt to remove excess whey, resulting in a thicker, more protein-rich product.
- Jogurto paruošimas: Follow the steps above to make regular yogurt using the large 1 Qt. plastic container. Ensure the yogurt is thoroughly chilled before straining.
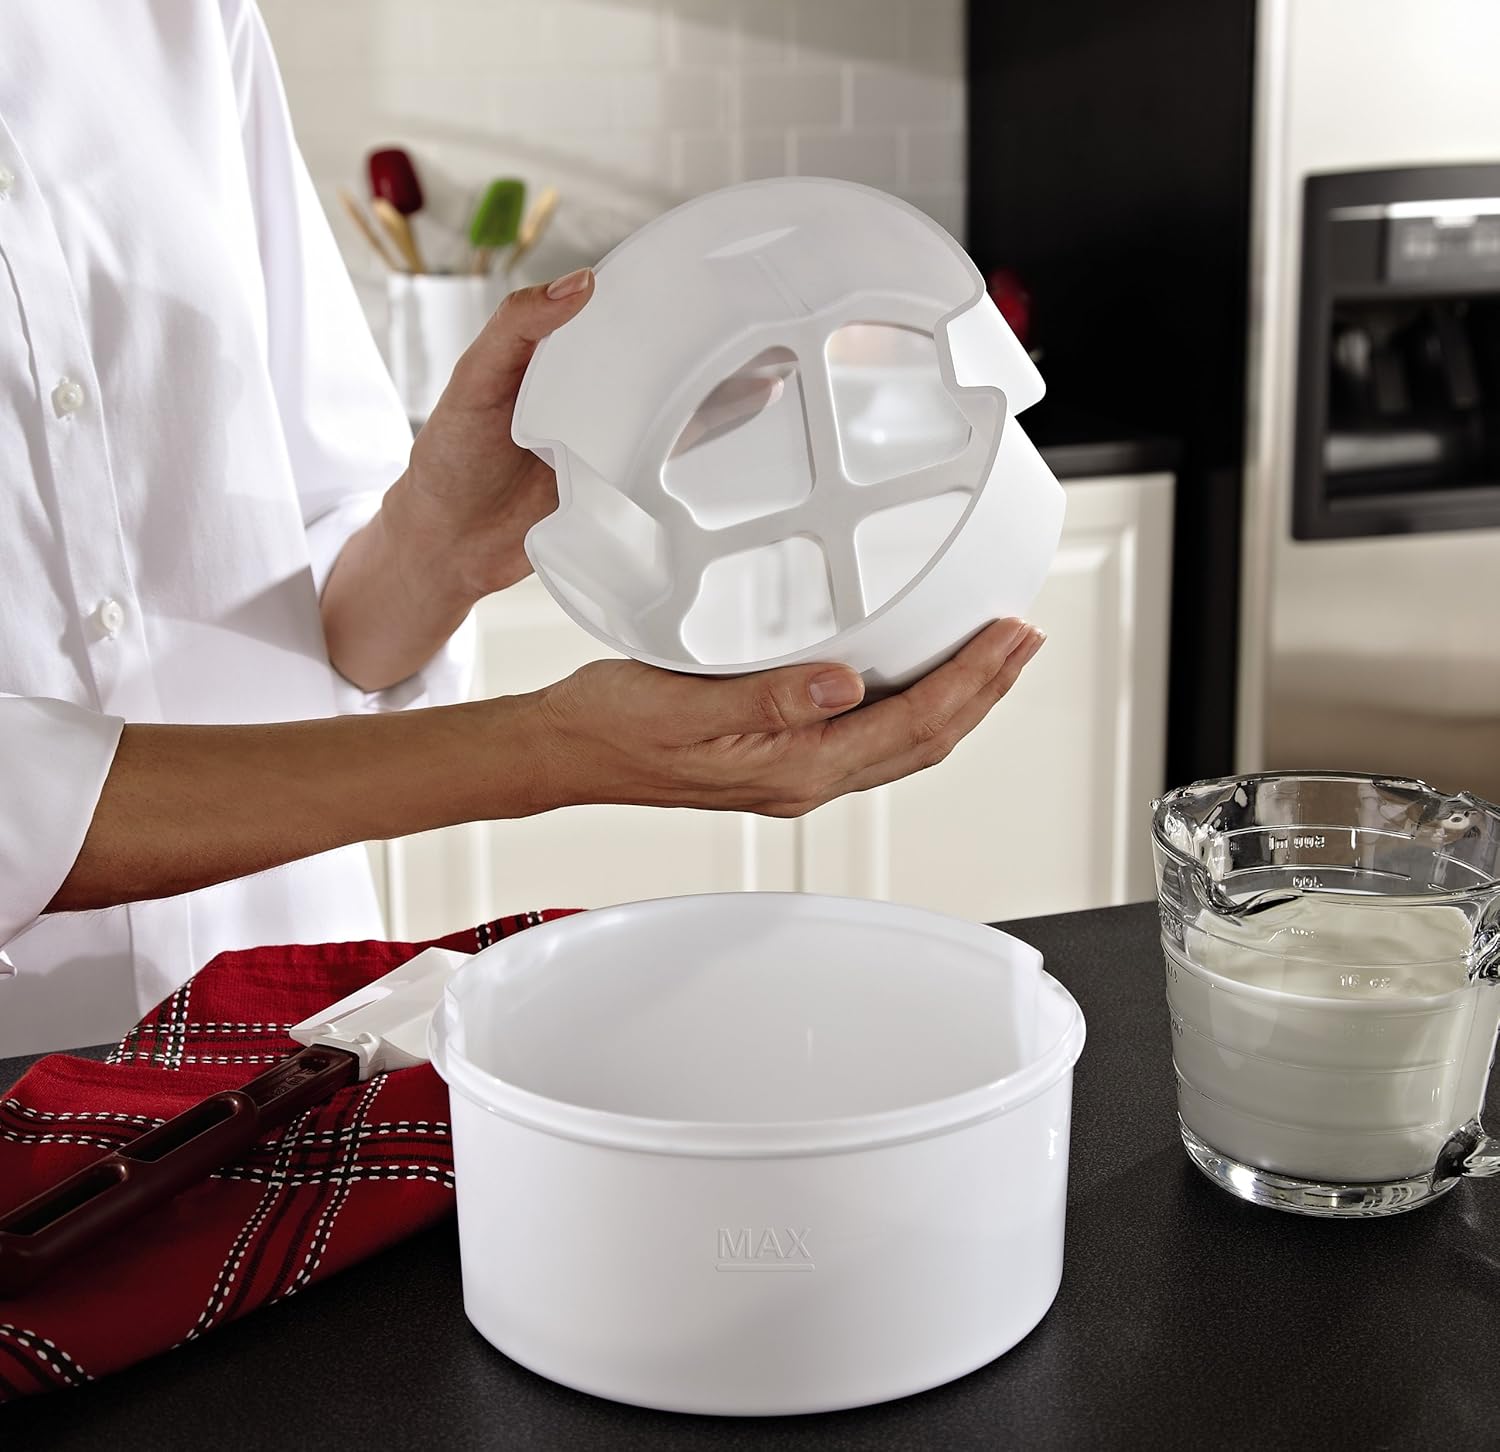
- Assemble Strainer: Place the Greek yogurt strainer into the large plastic container. Ensure it is seated properly.
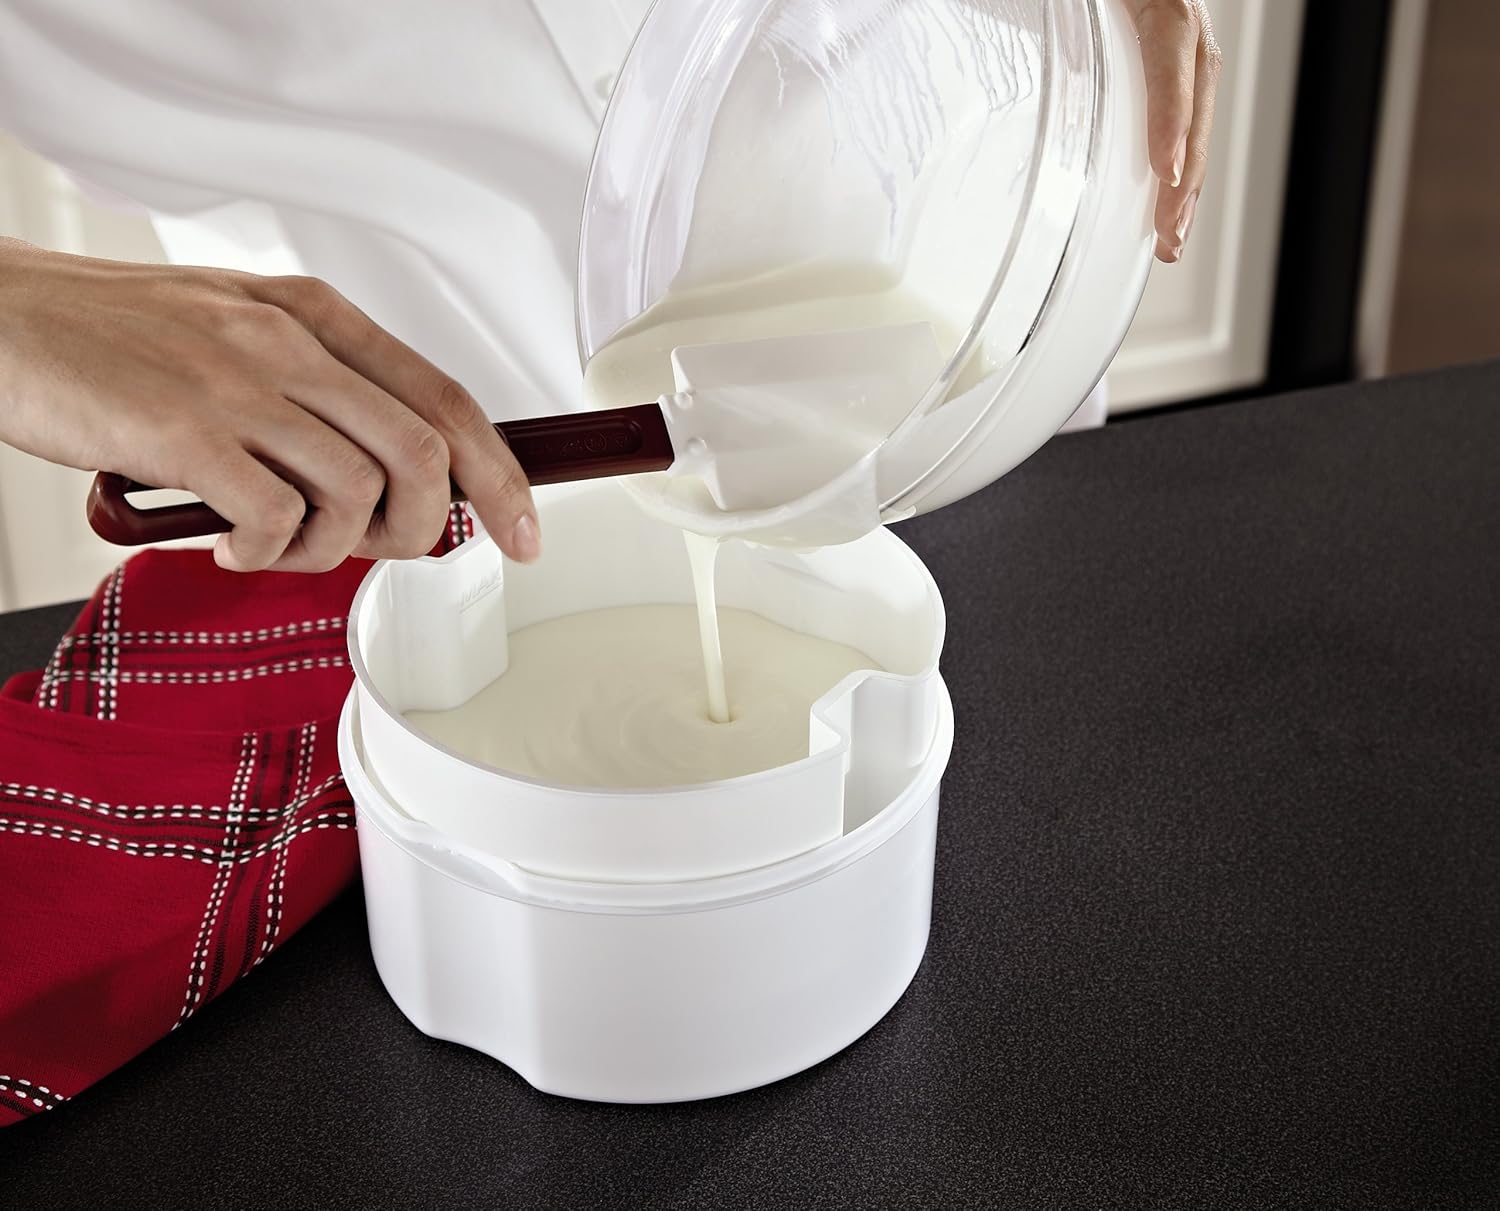
- Pour Yogurt: Gently pour the chilled regular yogurt into the strainer.
- Padermė: Place the lid on the large container and refrigerate. Allow the yogurt to strain for several hours, or overnight, depending on your desired thickness. The longer it strains, the thicker the Greek yogurt will be. The liquid whey will collect in the bottom of the container.
- Patiekti: Once strained to your preference, remove the strainer with the Greek yogurt. The strained yogurt is now ready to be served. The collected whey can be discarded or used in other recipes.


Priežiūra ir valymas
Proper cleaning and maintenance will ensure the longevity and performance of your yogurt maker.
- Always unplug the yogurt maker from the electrical outlet and allow it to cool completely before cleaning.
- Jogurto gaminimo pagrindas: Wipe the exterior of the base with a soft, damp audinys. Nemerkite pagrindo į vandenį ar kitą skystį.
- Nuimamos dalys: The glass jars, plastic container, lids, and Greek yogurt strainer are dishwasher safe (top rack recommended) or can be washed by hand in warm, soapy water. Rinse thoroughly and dry completely before storing.
- Do not use abrasive cleaners or scouring pads on any part of the yogurt maker, as this may scratch surfaces.
- Ensure all parts are dry before reassembling or storing the unit. The components store neatly within the unit for compact storage.
Trikčių šalinimas
Jei kyla problemų dėl jogurto gaminimo aparato, žr. šias dažniausiai pasitaikančias problemas ir sprendimus:
| Problema | Galima priežastis | Sprendimas |
|---|---|---|
| Yogurt is too thin or not setting. |
|
|
| Yogurt has a grainy texture. |
|
|
| Jogurtas per rūgštus. |
|
|
| Yogurt maker not turning on. |
|
|
Specifikacijos
- Modelio numeris: 4010378
- Spalva: Baltas
- Medžiaga: Plastikiniai
- Matmenys: 13.97 x 24.13 x 24.13 cm (5.5 x 9.5 x 9.5 colio)
- Svoris: 726 g (1.6 svaro)
- Talpa: Four 7oz. glass jars or one 1 Qt. plastic container
Garantija ir palaikymas
For warranty information or product support, please refer to the warranty card included with your purchase or visit the official Oster website. Do not attempt to repair the appliance yourself. Contact authorized service personnel for assistance.
Ask a question about this manual
Ask about setup, troubleshooting, compatibility, parts, safety, or missing instructions. Manuals+ will review the question and use this page’s manual context to help answer it.