Įvadas
Thank you for choosing the PROFLO PF42872 2-inch PVC Offset Shower Drain. This manual provides essential information for the safe and correct installation, operation, and maintenance of your new shower drain. Please read these instructions thoroughly before beginning installation and retain them for future reference.
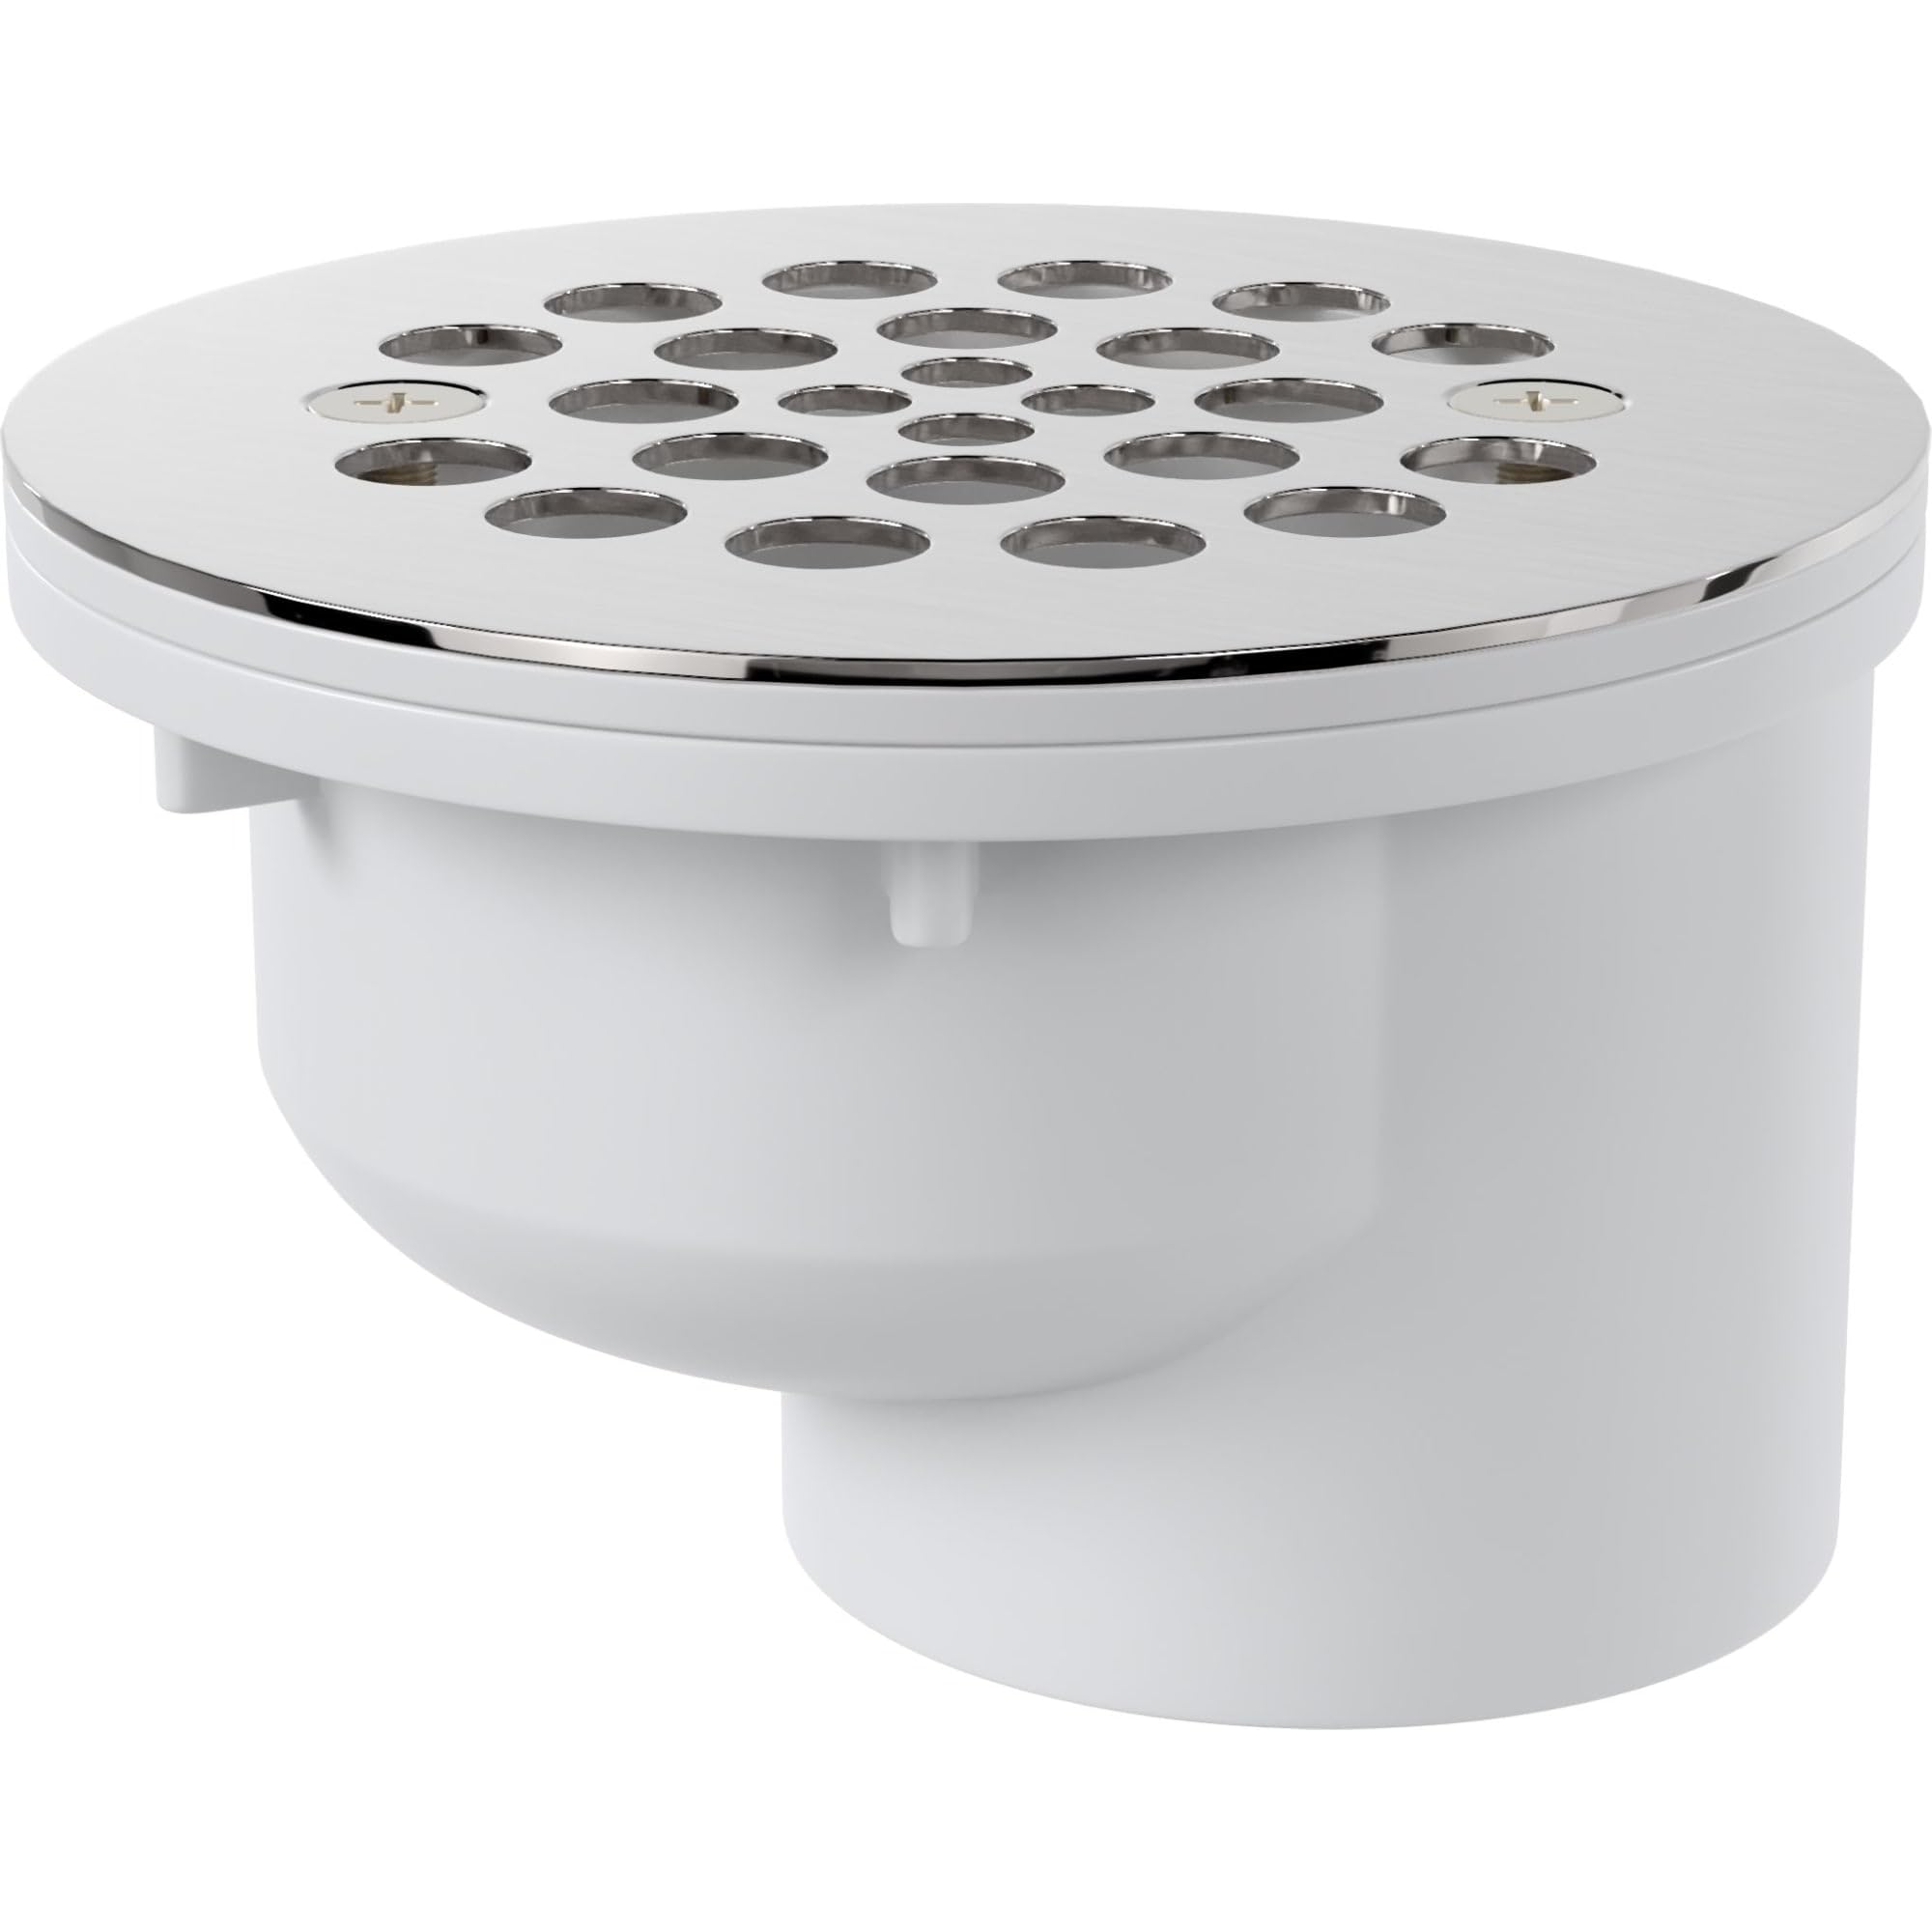
Image: The PROFLO PF42872 2-inch PVC Offset Shower Drain, showing the PVC drain body and the removable chrome-finished grate.
Saugos informacija
Montuodami ir naudodami laikykitės šių saugos priemonių:
- Profesionalus montavimas rekomenduojamas: If you are unfamiliar with plumbing installations, it is recommended to consult a qualified plumber.
- Dėvėkite apsaugines priemones: Montavimo metu visada dėvėkite tinkamas asmenines apsaugos priemones, tokias kaip apsauginiai akiniai ir pirštinės.
- Water Shut-off: Ensure the main water supply is turned off before performing any plumbing work to prevent leaks or flooding.
- Tinkamas vėdinimas: When using PVC solvent cement, ensure the work area is well-ventilated.
- Cheminė sauga: Handle all plumbing chemicals (e.g., PVC primer, cement) according to the manufacturer's instructions and safety data sheets.
- Patikrinkite vietinius kodus: Always comply with local plumbing and building codes.
Pakuotės turinys
The PROFLO PF42872 package includes the following components:
- 1 x PROFLO PF42872 2-inch PVC Offset Shower Drain Assembly (includes PVC drain body and chrome grate)
Note: Additional plumbing materials, tools, and shower pan components are sold separately.
Montavimo instrukcijos
This section outlines the general steps for installing the PROFLO PF42872 shower drain. Specific details may vary based on your shower pan and plumbing configuration.
Reikalingi įrankiai ir medžiagos (neįskaičiuoti):
- PVC gruntas ir tirpiklio cementas
- Matavimo juosta
- Pieštukas arba žymeklis
- Screwdriver (for grate screws)
- Adjustable wrench (if needed for securing drain components)
- Sealant (e.g., silicone or plumber's putty, as per shower pan manufacturer's instructions)
Žingsnis po žingsnio diegimas:
- Prepare the Shower Pan: Ensure the shower pan opening is clean and correctly sized for a 2-inch drain. The offset design allows for flexibility in drain placement relative to the subfloor opening.
- Dry Fit Components: Before applying any adhesives, dry fit the drain body into the shower pan opening and connect it to the existing 2-inch PVC waste pipe to ensure proper alignment and fit.
- Užtepkite sandariklį: Apply a bead of sealant (e.g., plumber's putty or silicone, as recommended by your shower pan manufacturer) around the underside of the drain flange that will sit on the shower pan.
- Secure Drain Body: Insert the drain body into the shower pan opening. From underneath the shower pan, secure the drain body to the shower pan according to the shower pan manufacturer's instructions. This typically involves tightening a large nut or ring. Ensure a watertight seal.
- Connect to Waste Pipe: Apply PVC primer to the outside of the 2-inch waste pipe and the inside of the drain body's outlet. Then, apply PVC solvent cement to both surfaces and firmly join the drain body to the waste pipe. Hold in place for a few seconds to allow the cement to set.
- Testas dėl nuotėkio: Once the solvent cement has cured (refer to cement manufacturer's instructions for curing time), temporarily block the drain opening and fill the shower pan with water to check for any leaks around the drain connection.
- Install Grate: Once all connections are secure and leak-free, place the chrome grate into the drain opening. Secure it with the provided screws using a screwdriver.
Priežiūra
Regular maintenance will help ensure the longevity and proper function of your PROFLO shower drain.
- Reguliarus valymas: Periodically remove the chrome grate by unscrewing it. Clean any hair, soap scum, or debris that has accumulated on the grate and within the drain body.
- Venkite stiprių cheminių medžiagų: Do not use abrasive cleaners or harsh chemical drain openers, as these can damage the chrome finish or the PVC material. Use mild soap and water for cleaning.
- Patikrinkite, ar nėra kliūčių: If drainage slows, remove the grate and check for any visible obstructions. A drain snake or hair removal tool can be used carefully if needed.
- Patikrinkite sandariklius: Occasionally inspect the seal between the drain and the shower pan for any signs of wear or leakage.
Trikčių šalinimas
| Problema | Galima priežastis | Sprendimas |
|---|---|---|
| Lėtas drenažas | Hair or debris accumulation; partial clog in waste pipe. | Remove grate and clean drain body. Use a drain snake if the clog is deeper. Avoid pouring grease down the drain. |
| Water Leaking Around Drain | Improperly sealed drain flange; loose connection to waste pipe. | Ensure drain flange is properly sealed to the shower pan. Check PVC solvent weld connection for integrity. Re-seal or re-connect if necessary. |
| Nemalonus kvapas iš kanalizacijos | Dry P-trap; debris buildup; sewer gas. | Run water to fill the P-trap. Clean the drain thoroughly. If odor persists, consult a plumber. |
Specifikacijos
| Modelio numeris: | 42872 PF |
| Prekinis ženklas: | PROFLO |
| Drenažo dydis: | 2 colių |
| Medžiaga: | Polyvinyl Chloride (PVC) body, Chrome finish grate |
| Gaminio matmenys: | 2"W x 2"H (referring to the drain opening/connection size) |
| Ypatinga funkcija: | Removable grate, Offset design |
| Prekės svoris: | 12.3 uncijos |
| UPC: | 781889133996 |
Garantija ir palaikymas
For specific warranty information and customer support, please refer to the PROFLO official websvetainėje arba susisiekite tiesiogiai su jų klientų aptarnavimo skyriumi. Išsaugokite pirkimo kvitą kaip pirkimo įrodymą.
PROFLO Customer Service: Prašome apsilankyti the PROFLO Store on Amazon or the official PROFLO websvetainė, kurioje rasite kontaktinius duomenis.