1. Įvadas
This manual provides essential information for the safe and efficient installation, operation, and maintenance of your Schneider Electric Rack PDU 2G Switched ZeroU, Model AP8958NA3. Please read this manual thoroughly before attempting to install or operate the unit. Retain this manual for future reference.
The Rack PDU 2G Switched ZeroU is designed to distribute power to multiple devices within a rack environment, offering advanced features such as individual outlet switching and power monitoring capabilities.
2. Saugos informacija
ĮSPĖJIMAS: Risk of electric shock. This product contains hazardous voltages. Installation and servicing should be performed by qualified personnel only.
- Always disconnect the PDU from the power source before performing any installation, maintenance, or cleaning.
- Ensure the PDU is properly grounded.
- Do not operate the PDU in environments with excessive moisture or extreme temperatures.
- Do not attempt to open or modify the PDU. There are no user-serviceable parts inside.
- Connect the PDU only to a power source that matches the voltage and current ratings specified on the unit.
- Overloading the PDU can result in fire or electric shock. Ensure the total current draw of connected equipment does not exceed the PDU's maximum current rating.
3. Produktas baigtasview
The Schneider Electric Rack PDU 2G Switched ZeroU (AP8958NA3) is a high-quality power distribution unit designed for efficient power management in data centers and server rooms. Its ZeroU form factor allows for vertical mounting in a rack, conserving valuable rack space.
Pagrindinės funkcijos:
- Perjungiami lizdai: Individual control of (7) C13 and (1) C19 outlets for remote power cycling and management.
- Galios stebėjimas: Real-time monitoring of current, voltage, power, and energy consumption.
- ZeroU Form Factor: Mounts vertically in the rack, occupying no rack units.
- Įvesties jungtis: L6-20P plug for 208V, 20A power input.
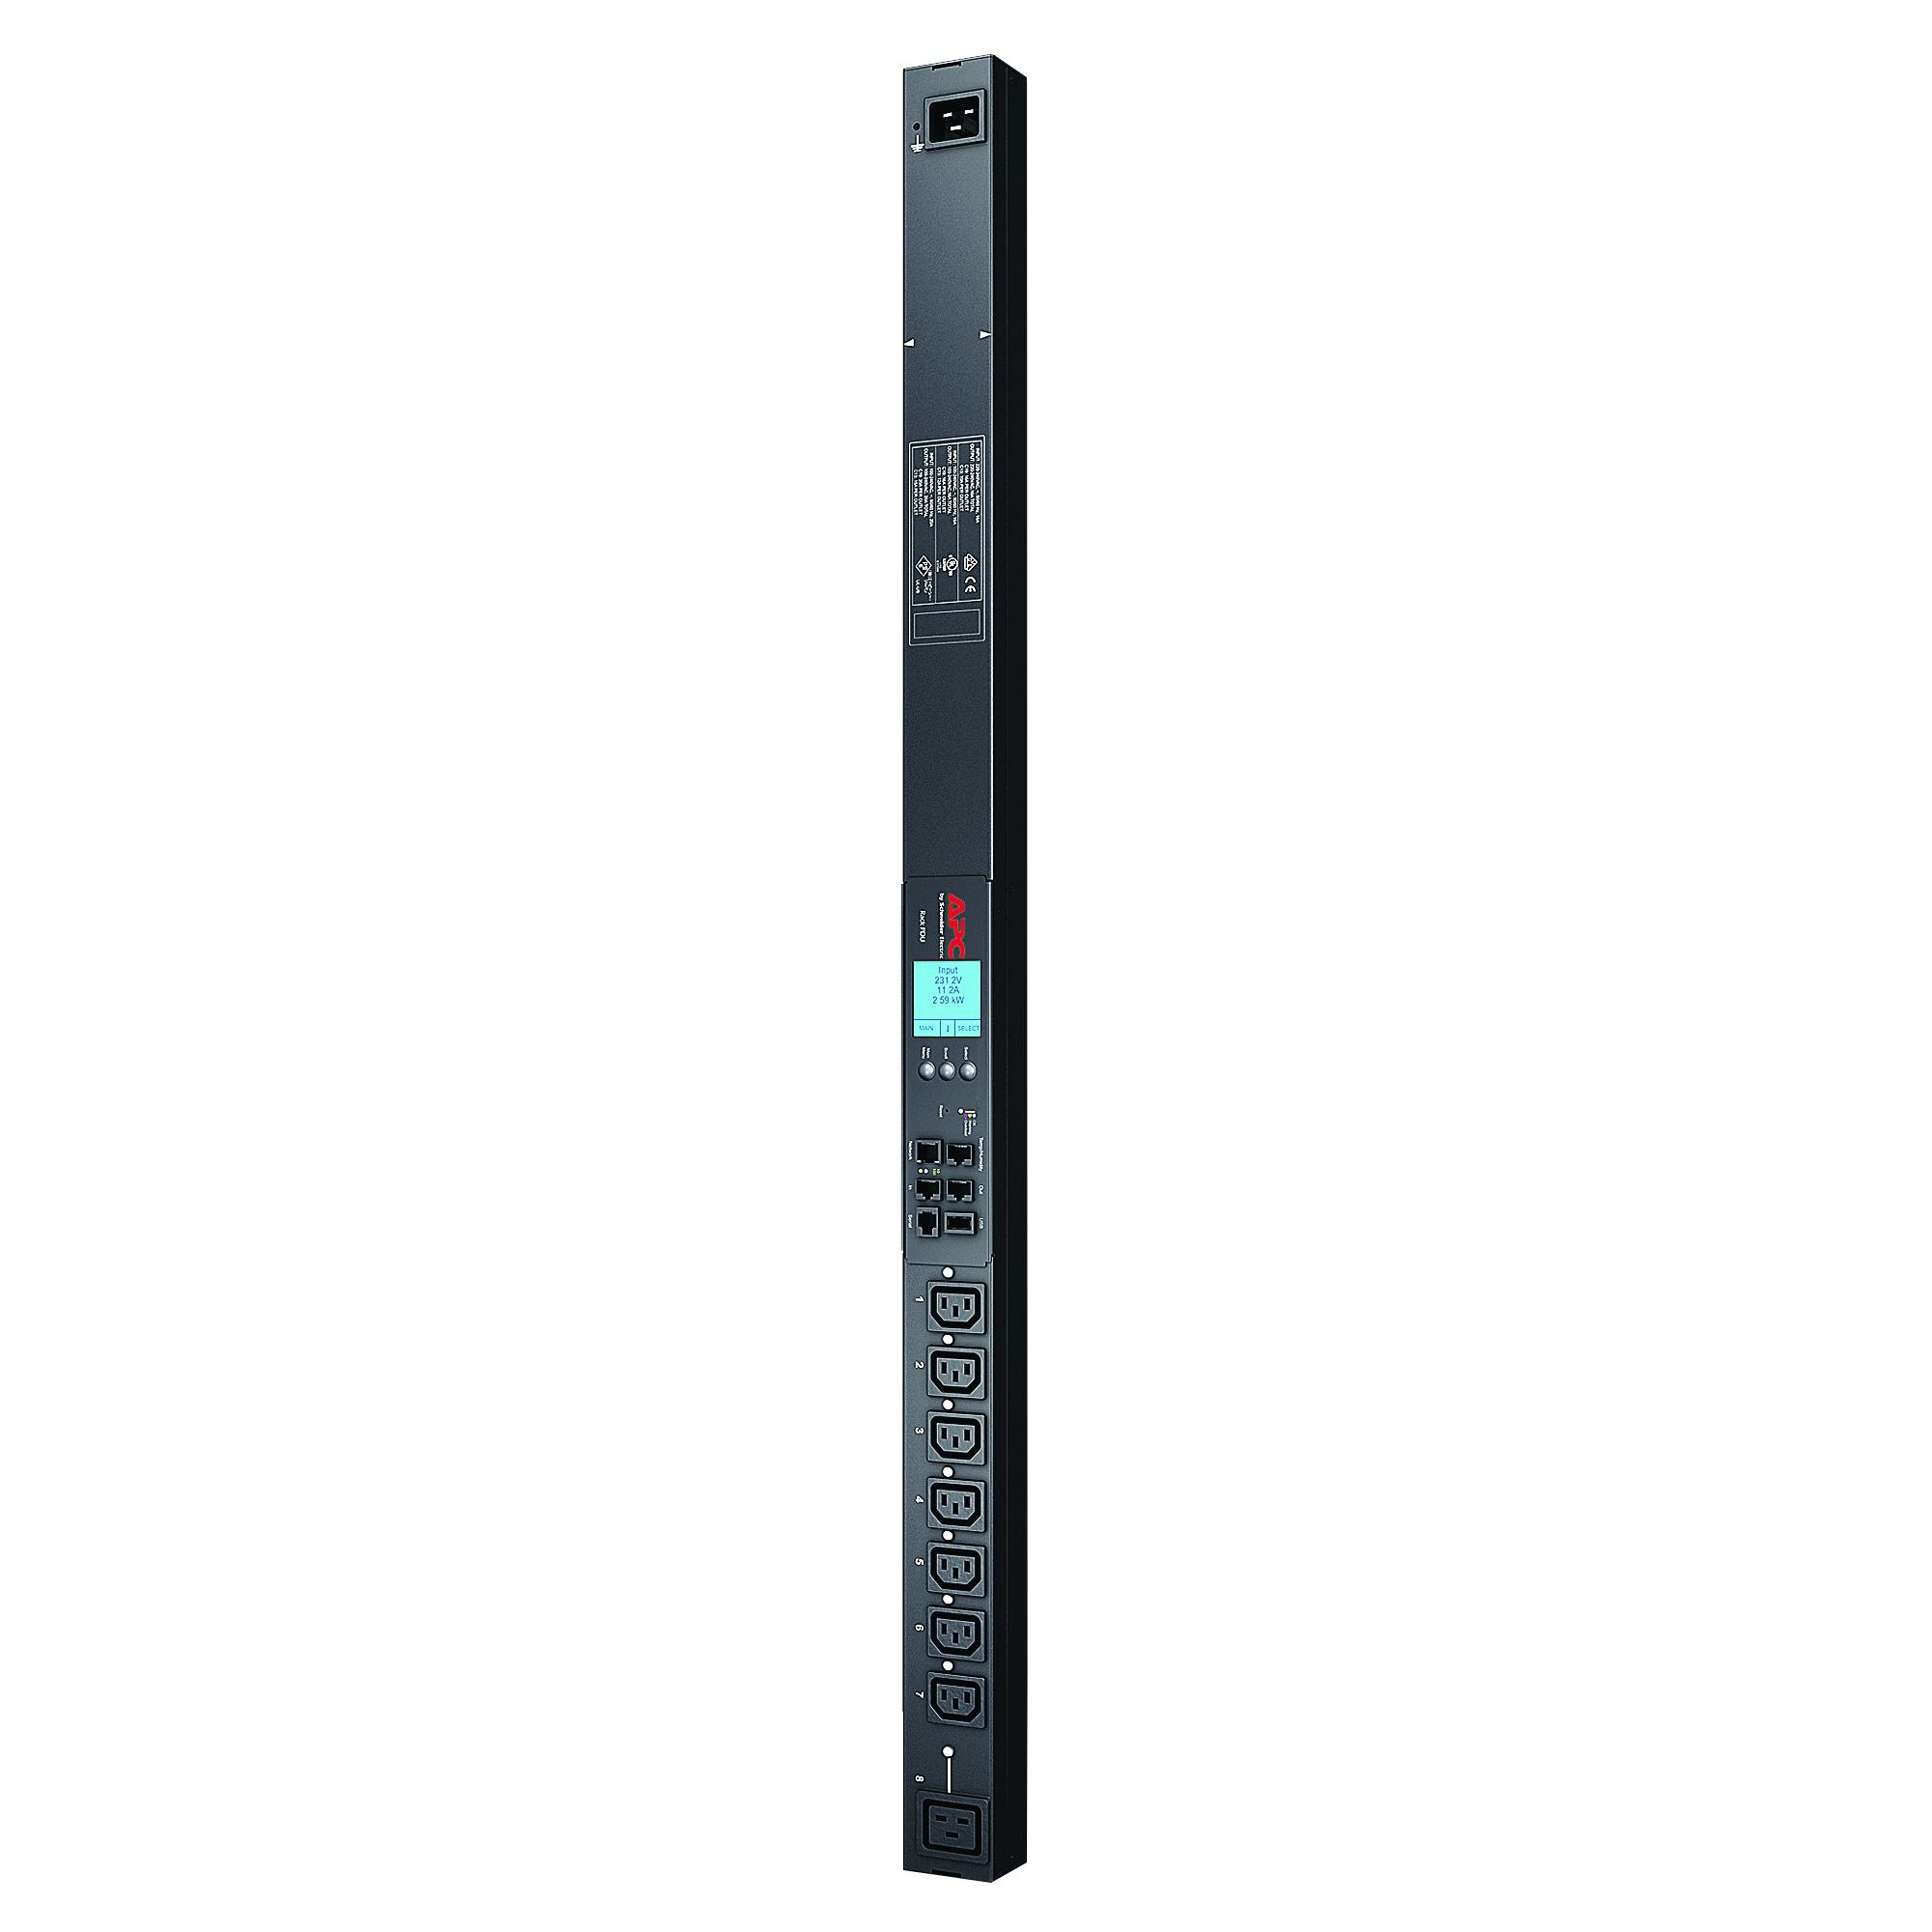
1 pav.: priekis view of the Schneider Electric Rack PDU 2G Switched ZeroU (AP8958NA3). This image shows the vertical form factor and the arrangement of the C13 and C19 outlets.
4. Sąranka
4.1 Išpakavimas
Carefully remove the PDU from its packaging. Inspect the unit for any signs of damage that may have occurred during shipping. If any damage is found, contact your reseller or Schneider Electric support immediately. Retain all packaging materials for future use or return.
4.2 PDU montavimas
The ZeroU PDU is designed for vertical mounting within a standard 19-inch rack. It typically mounts to the side rails or rear of the rack using the included mounting brackets and hardware.
- Identify a suitable vertical mounting location in your rack that does not obstruct airflow or other equipment.
- Attach the mounting brackets to the PDU using the provided screws.
- Secure the PDU, with brackets attached, to the rack frame using appropriate rack screws. Ensure the PDU is securely fastened and stable.
4.3 Maitinimo jungtis
Connect the PDU to a dedicated 208V, 20A power circuit. The PDU is equipped with an L6-20P input plug.
- Ensure the power source is off before connecting the PDU.
- Plug the L6-20P input cord of the PDU into a compatible 208V, 20A L6-20R receptacle.
- Once connected, you may energize the power source. The PDU's status indicators should illuminate.
ATSARGIAI: Do not connect the PDU to an ungrounded outlet or an outlet that does not match the specified voltage ir amppakilimas.
4.4 Įrenginio prijungimas
Connect your IT equipment to the PDU's output receptacles.
- The PDU features (7) C13 outlets and (1) C19 outlet.
- Use appropriate power cords (e.g., C14 to C13, C20 to C19) to connect your devices.
- Ensure that the total load of all connected devices does not exceed the PDU's maximum capacity of 20A.
4.5 Tinklo jungtis
For remote management and monitoring, connect the PDU to your network.
- Locate the Ethernet port on the PDU (typically labeled "Network" or "Management").
- Connect a standard Ethernet cable from this port to an available port on your network switch.
- Refer to the PDU's network management card documentation (if separate) for initial IP address configuration and access to the web sąsaja.
5. Operating the PDU
5.1 Powering On/Off Connected Devices
Once the PDU is powered and connected to the network, you can manage individual outlets.
- Access the PDU's web valdymo sąsaja per web browser using its assigned IP address.
- Prisijunkite naudodami savo kredencialus.
- Navigate to the outlet control section. From here, you can individually switch outlets ON, OFF, or cycle power (OFF then ON) to connected devices.
Pastaba: Always ensure that powering off a device will not cause data loss or system instability before executing an outlet command.
5.2 Monitoring Power Consumption
The PDU provides real-time power monitoring capabilities.
- Per web management interface, locate the monitoring or status section.
- Jūs galite view total PDU current, voltage, power (kW), and energy consumption (kWh).
- Some models also offer outlet-level monitoring.
- Configure thresholds and alerts for overcurrent or other critical conditions to receive notifications.
6. Priežiūra
6.1 Valymas
Keep the PDU clean to ensure proper operation and prevent overheating.
- Before cleaning, disconnect the PDU from the power source.
- Įrenginio išorę nuvalykite minkštu, sausu skudurėliu.
- Do not use liquid cleaners or aerosol sprays directly on the PDU.
6.2 Firmware atnaujinimai
Periodically check the Schneider Electric support website for firmware updates for your PDU model. Firmware updates can provide new features, performance improvements, and security enhancements.
- Follow the instructions provided with the firmware update package carefully.
- Atnaujinimo proceso metu užtikrinkite stabilų maitinimo šaltinį, kad išvengtumėte trikdžių.
6.3 Periodinė apžiūra
Regularly inspect the PDU and its connections:
- Check power cords for any signs of damage, fraying, or overheating.
- Įsitikinkite, kad visos jungtys yra saugios.
- Verify that the PDU's environment is free from excessive dust and has adequate ventilation.
7. Problemų sprendimas
| Problema | Galima priežastis | Sprendimas |
|---|---|---|
| PDU has no power / Status LEDs are off. |
|
|
| Prijungtas įrenginys negauna maitinimo. |
|
|
| Cannot access PDU via network. |
|
|
If you are unable to resolve an issue using the troubleshooting steps above, please contact Schneider Electric technical support for assistance.
8. Specifikacijos
| Funkcija | Detalė |
|---|---|
| Modelio numeris | AP8958NA3 |
| Prekės ženklas | Schneider Electric |
| Įvesties tomastage | 208 voltų |
| Įvestis Amppakilimas | 20 Amps |
| Įvesties kištuko tipas | L6-20P (NEMA L6-20P) |
| Išvesties talpyklos | (7) IEC 60320 C13, (1) IEC 60320 C19 |
| Formos faktorius | ZeroU (Vertical Rack Mount) |
| Funkcionalumas | Switched, Metered |
| Spalva | Juoda |
| UPC | 731304277125 |
9. Garantija ir palaikymas
Schneider Electric products are backed by a limited warranty. For specific warranty terms and conditions applicable to your region and product, please refer to the documentation included with your purchase or visit the official Schneider Electric websvetainę.
For technical support, product information, or service inquiries, please contact Schneider Electric customer support. Contact details can typically be found on the official websvetainėje arba ant produkto pakuotės.
Internetiniai ištekliai: www.se.com/us/en/