
LEGO 9009853
LEGO Friends 9009853 Purple Brick Alarm Clock User Manual
Modelis: 9009853
Įvadas
Ačiū, kad pirkoteasing the LEGO Friends 9009853 Purple Brick Alarm Clock. This manual provides essential information for the safe and efficient operation of your new alarm clock. Please read these instructions carefully before use and retain them for future reference.
Svarbi saugos informacija
- This product is not a toy. Adult supervision is recommended for children under 6 years old.
- Nelaikykite laikrodžio itin aukštose temperatūrose, tiesioginiuose saulės spinduliuose ar didelėje drėgmėje.
- Use only the specified battery type (2x AAA). Ensure correct polarity when inserting batteries.
- Nedelsdami išimkite išsikrovusias baterijas, kad išvengtumėte nuotėkio.
- Nemaišykite senų ir naujų baterijų arba skirtingų tipų baterijų.
- Laikykite baterijas mažiems vaikams nepasiekiamoje vietoje. Prarijus, nedelsdami kreipkitės medicininės pagalbos.
- Clean the clock with a soft, dry cloth. Do not use liquid cleaners or aerosols.
Pakuotės turinys
Prašome patikrinti, ar yra visi daiktai:
- 1 x LEGO Friends 9009853 Purple Brick Alarm Clock
- 2 x AAA baterijos (iš anksto įdėtos arba atskiros)
- 1 x Naudotojo vadovas (šis dokumentas)
Produktas baigtasview
Familiarize yourself with the components of your alarm clock:
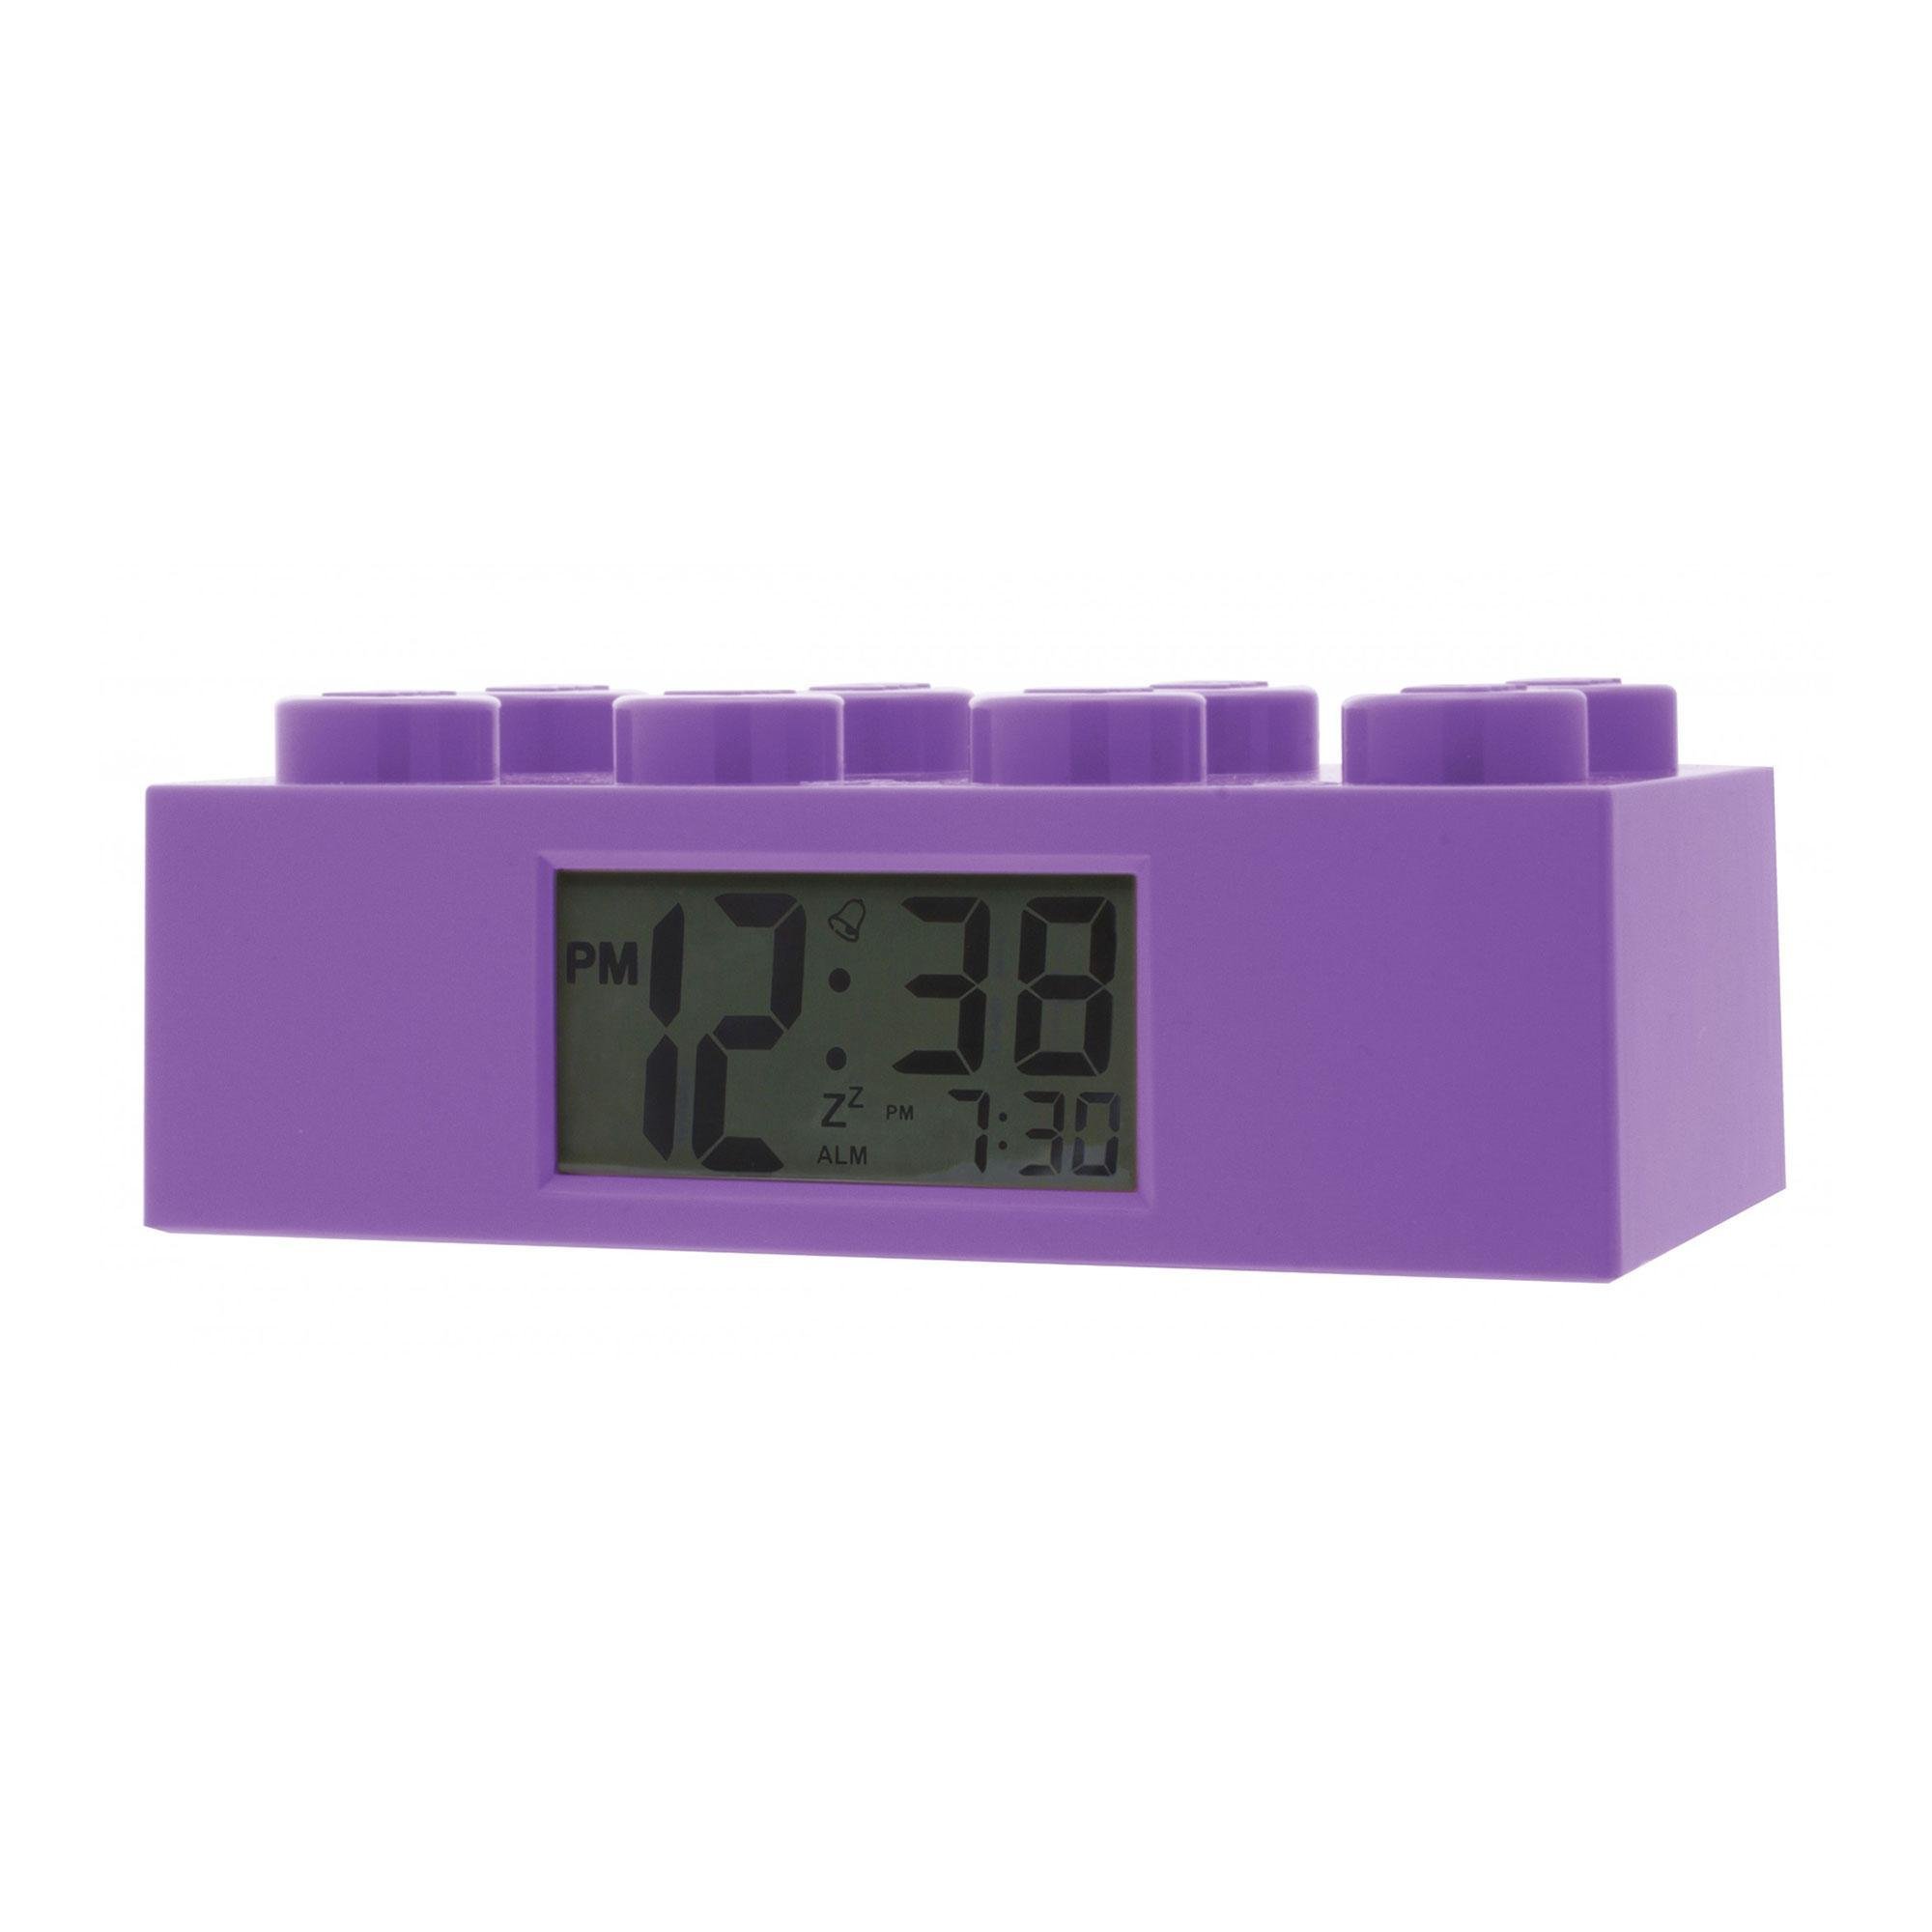
Vaizdas: priekis view of the LEGO Friends 9009853 Purple Brick Alarm Clock, showing the digital LCD display and the iconic LEGO brick design.
- LCD ekranas: Shows time, alarm status.
- Top Stud/Button: Įjungia snaudimo ir foninio apšvietimo režimą.
- Control Buttons (Rear): Set, Time, Alarm, Hour, Minute.
- Battery Compartment (Rear): Holds 2x AAA batteries.
Sąranka
1. Akumuliatoriaus įdėjimas
- Žadintuvo gale raskite baterijų skyriaus dangtelį.
- Using a small screwdriver (not included), carefully remove the screw and open the battery compartment.
- Įdėkite 2 naujas AAA baterijas, užtikrindami teisingą poliškumą (+ ir -), kaip nurodyta skyrelio viduje.
- Uždėkite akumuliatoriaus skyriaus dangtelį ir pritvirtinkite jį varžtu.
2. Pradinis įjungimas
Once batteries are installed, the LCD display will light up and show a default time (e.g., 12:00 AM). You can now proceed to set the current time and alarm.
Naudojimo instrukcijos
1. Dabartinio laiko nustatymas
- Paspauskite ir palaikykite NUSTATYTI mygtuką laikrodžio gale, kol pradės mirksėti valandų skaitmenys.
- Paspauskite VALANDA button repeatedly to adjust the hour. Pay attention to the AM/PM indicator.
- Paspauskite NUSTATYTI mygtuką dar kartą. Pradės mirksėti minučių skaitmenys.
- Paspauskite MINUTĖ mygtuką kelis kartus, kad sureguliuotumėte minutes.
- Paspauskite NUSTATYTI button one more time to confirm the time setting and exit the setting mode.
2. Signalo nustatymas
- Paspauskite ir palaikykite SIGNALAS mygtuką laikrodžio gale, kol pradės mirksėti žadintuvo valandų skaitmenys.
- Paspauskite VALANDA button repeatedly to adjust the alarm hour. Observe the AM/PM indicator.
- Paspauskite SIGNALAS mygtuką dar kartą. Mirksės žadintuvo minučių skaitmenys.
- Paspauskite MINUTĖ mygtuką kelis kartus, kad nustatytumėte žadintuvo minutes.
- Paspauskite SIGNALAS button one more time to confirm the alarm setting. The alarm icon will appear on the display, indicating the alarm is active.
Norėdami išjungti žadintuvą: Paspauskite SIGNALAS button once briefly. The alarm icon will disappear from the display.
3. Snaudimo ir foninio apšvietimo funkcija
When the alarm sounds, press the large stud/button on top of the clock to activate the snooze function. The alarm will pause for approximately 5 minutes and then sound again. Pressing the top stud/button at any other time will activate the backlight for a few seconds, illuminating the display.
To stop the alarm completely: Press any of the control buttons on the back of the clock (SET, TIME, ALARM, HOUR, MINUTE). The alarm will reset for the next day.
Priežiūra
Valymas
Wipe the clock with a soft, dry, lint-free cloth. Do not use abrasive cleaners, solvents, or chemical sprays, as these can damage the surface and internal components.
Baterijos keitimas
When the display becomes dim or the clock functions erratically, it is time to replace the batteries. Follow the "Battery Installation" steps in the Setup section to replace the 2 AAA batteries.
Trikčių šalinimas
| Problema | Galima priežastis | Sprendimas |
|---|---|---|
| Ekranas tuščias arba blankus. | Low or dead batteries. Incorrect battery polarity. | Pakeiskite baterijas naujomis AAA baterijomis, užtikrindami teisingą poliškumą. |
| Signalizacija neskamba. | Alarm is not activated. Alarm time is incorrect. | Įsitikinkite, kad ekrane matoma žadintuvo piktograma. Iš naujo nustatykite žadintuvo laiką. |
| Laikas neteisingas. | Laikas nebuvo nustatytas teisingai. | Follow the "Setting the Current Time" instructions to adjust. |
| Snooze/Backlight button not working. | Low batteries. Button malfunction. | Pakeiskite baterijas. Jei problema išlieka, susisiekite su klientų aptarnavimo tarnyba. |
Specifikacijos
- Modelis: 9009853
- Prekinis ženklas: LEGO
- Ekrano tipas: Skaitmeninis LCD
- Maitinimo šaltinis: 2 x AAA baterijos (pridedamos)
- Medžiaga: Plastikiniai
- Spalva: Violetinė
- Matmenys: Apytiksliai 25.5 x 10 x 10.2 cm (10 x 3.9 x 4 colio)
- Svoris: Maždaug 318 g (0.7 svaro)
- Funkcijos: Time display, Alarm, Snooze, Backlight
- Rekomenduojamas amžius: 6+ metų
Garantija ir palaikymas
This LEGO Friends Alarm Clock comes with a 2 metų garantija nuo įsigijimo datos. Ši garantija taikoma gamybos defektams, atsiradusiems įprasto naudojimo sąlygomis. Ji netaikoma žalai, atsiradusiai dėl netinkamo naudojimo, nelaimingų atsitikimų, neleistinų modifikacijų ar įprasto nusidėvėjimo.
For warranty claims or technical support, please contact your retailer or visit the official LEGO customer support website. Please have your model number (9009853) and proof of purchase ready.
Informacija apie šalinimą
Do not dispose of this product or its batteries with household waste. Electronic products and batteries contain materials that can be harmful to the environment if not disposed of properly. Please take them to an appropriate recycling point designated by your local authorities.
Susiję dokumentai9009853


Ask a question about this manual
Ask about setup, troubleshooting, compatibility, parts, safety, or missing instructions. Manuals+ will review the question and use this page’s manual context to help answer it.