1. Įvadas
This manual provides detailed instructions for the setup, operation, and maintenance of your ELECROW 7 Inch 1024x600 IPS Capacitive Touchscreen Monitor. This display is designed for broad compatibility with devices such as Raspberry Pi (5/4/3B+/3B/2B+), BB Black, Banana Pi, Jetson Nano, and Windows 11/10/8/7 systems.
Pagrindinės funkcijos:
- HD vaizdas: 7-inch IPS screen with 1024x600 resolution and 170° wide viewing angle for consistent colors and clear viewing.
- Talpinis prisilietimas: Supports up to 5-point touch functionality without requiring driver installation for most compatible systems.
- Plug and Play: Simple connectivity via HD (HDMI) and Micro USB ports for immediate use.
- Universalus pritaikymas: Suitable for use as a Raspberry Pi display, mini PC monitor, gaming console screen, or a computer temperature monitor.
2. Kas yra dėžutėje
Prieš tęsdami diegimą, patikrinkite, ar yra visi komponentai.
- 7 Inch Capacitive Display x 1
- HD Cable x 1
- USB kabelis x 1
- Micro HD Adapter x 1
- Copper Screws Pack (4pcs) x 1
- DVD x 1 (Contains drivers and documentation)
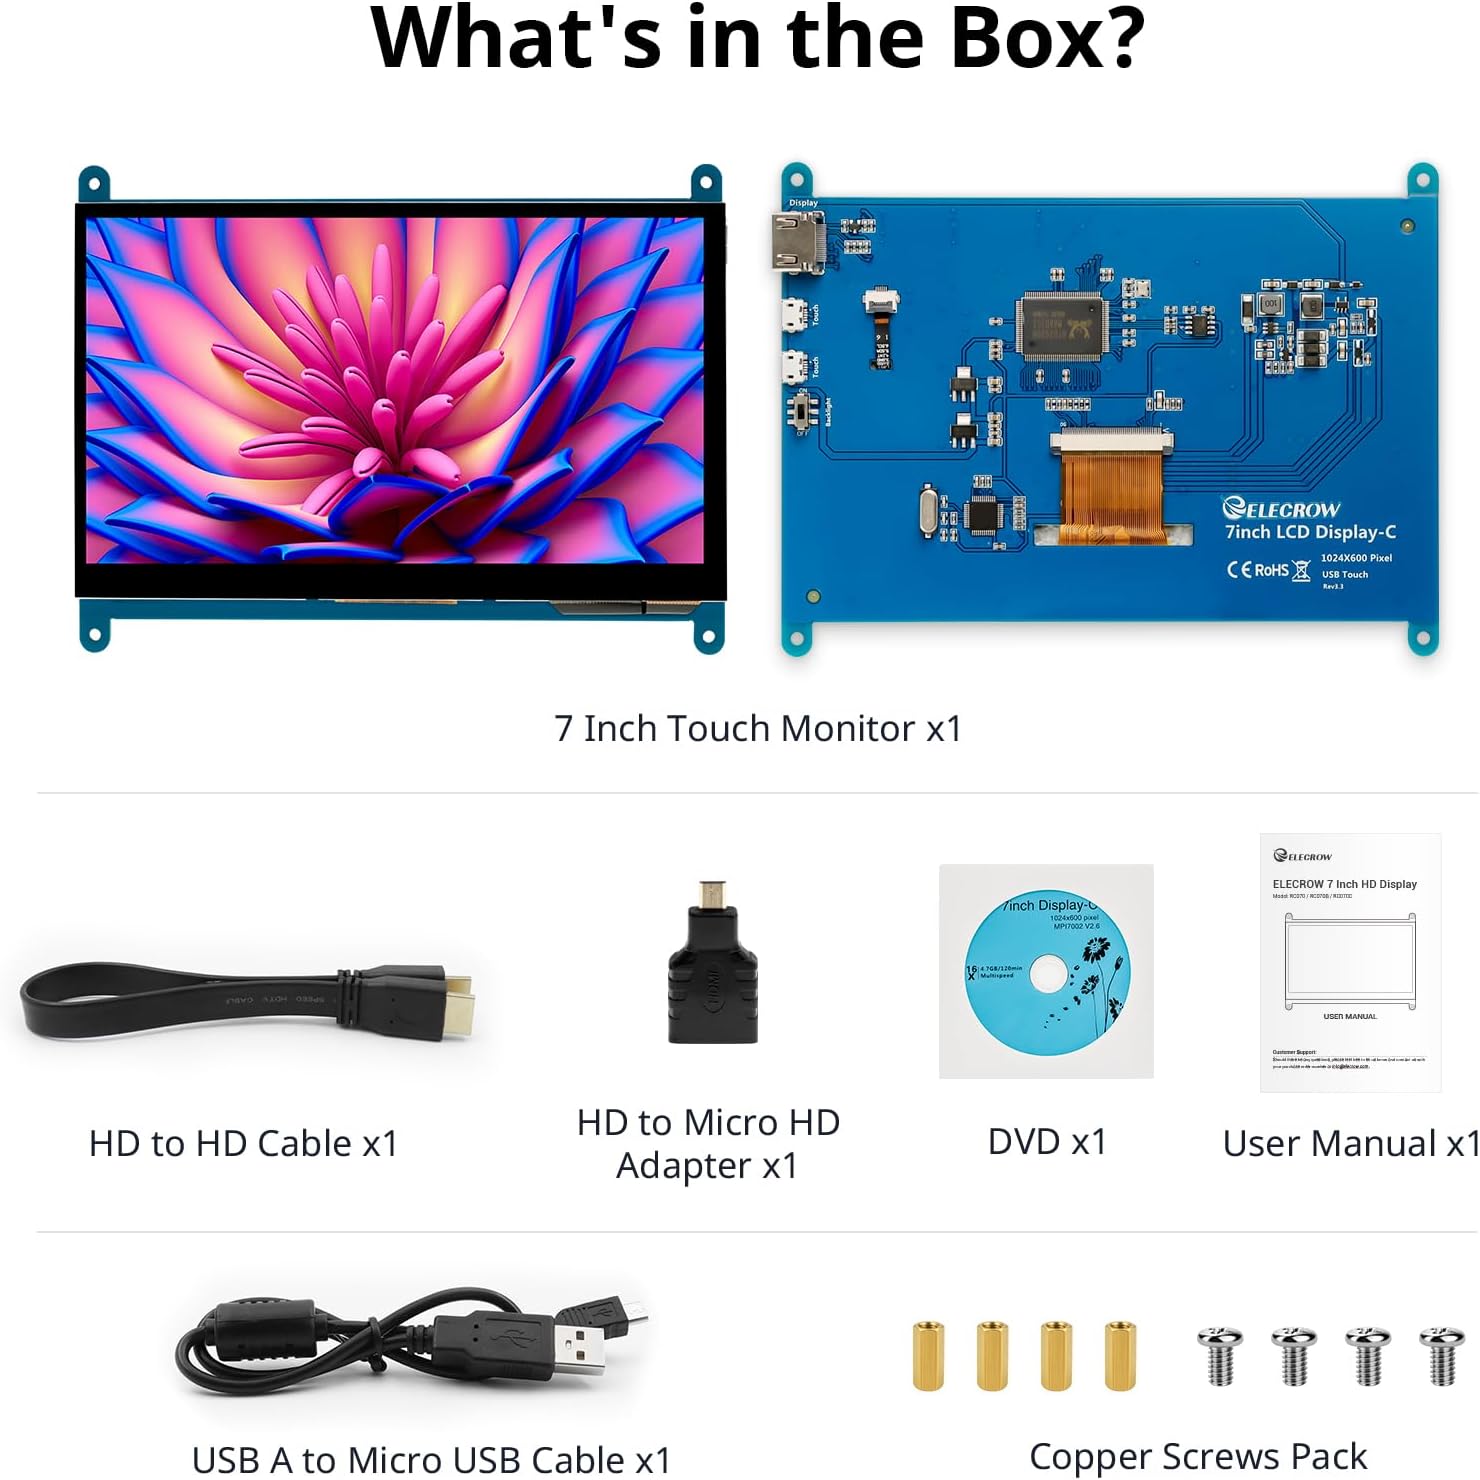
Paveikslėlis: Visi komponentai yra produkto pakuotėje.
3. Sąranka ir jungtys
Follow these steps to connect your ELECROW 7 Inch Touchscreen Monitor to your device.
3.1 Aparatūra baigtaview

Vaizdas: Galinis view of the monitor highlighting the Standard HD Port, Micro USB Port for touch and power, and Backlight switch.
- Standard HD Port: For video data transfer.
- „Micro USB“ prievadas: For touch functionality and power supply.
- Foninio apšvietimo jungiklis: To turn the display backlight on or off.
3.2 Prisijungimas prie „Raspberry Pi“
To connect the monitor to a Raspberry Pi, you will need both the HD cable for video and the USB cable for touch and power.
- Connect one end of the HD cable to the Standard HD Port on the monitor and the other end to the HDMI port on your Raspberry Pi. Use the Micro HD adapter if necessary for your Raspberry Pi model.
- Connect the Micro USB cable to the Micro USB Port on the monitor. Connect the other end of the USB cable to a USB port on your Raspberry Pi for power and touch data.
- Ensure the backlight switch on the monitor is in the 'On' position.
- Power on your Raspberry Pi. The display should automatically detect and show the output.
For touch functionality with Raspberry Pi, power can be supplied via the Raspberry Pi's USB port. If using an external power source for the Raspberry Pi, ensure it is sufficient. For optimal performance, especially with older Raspberry Pi models, an external power supply for the monitor might be beneficial if the Pi cannot provide enough current.
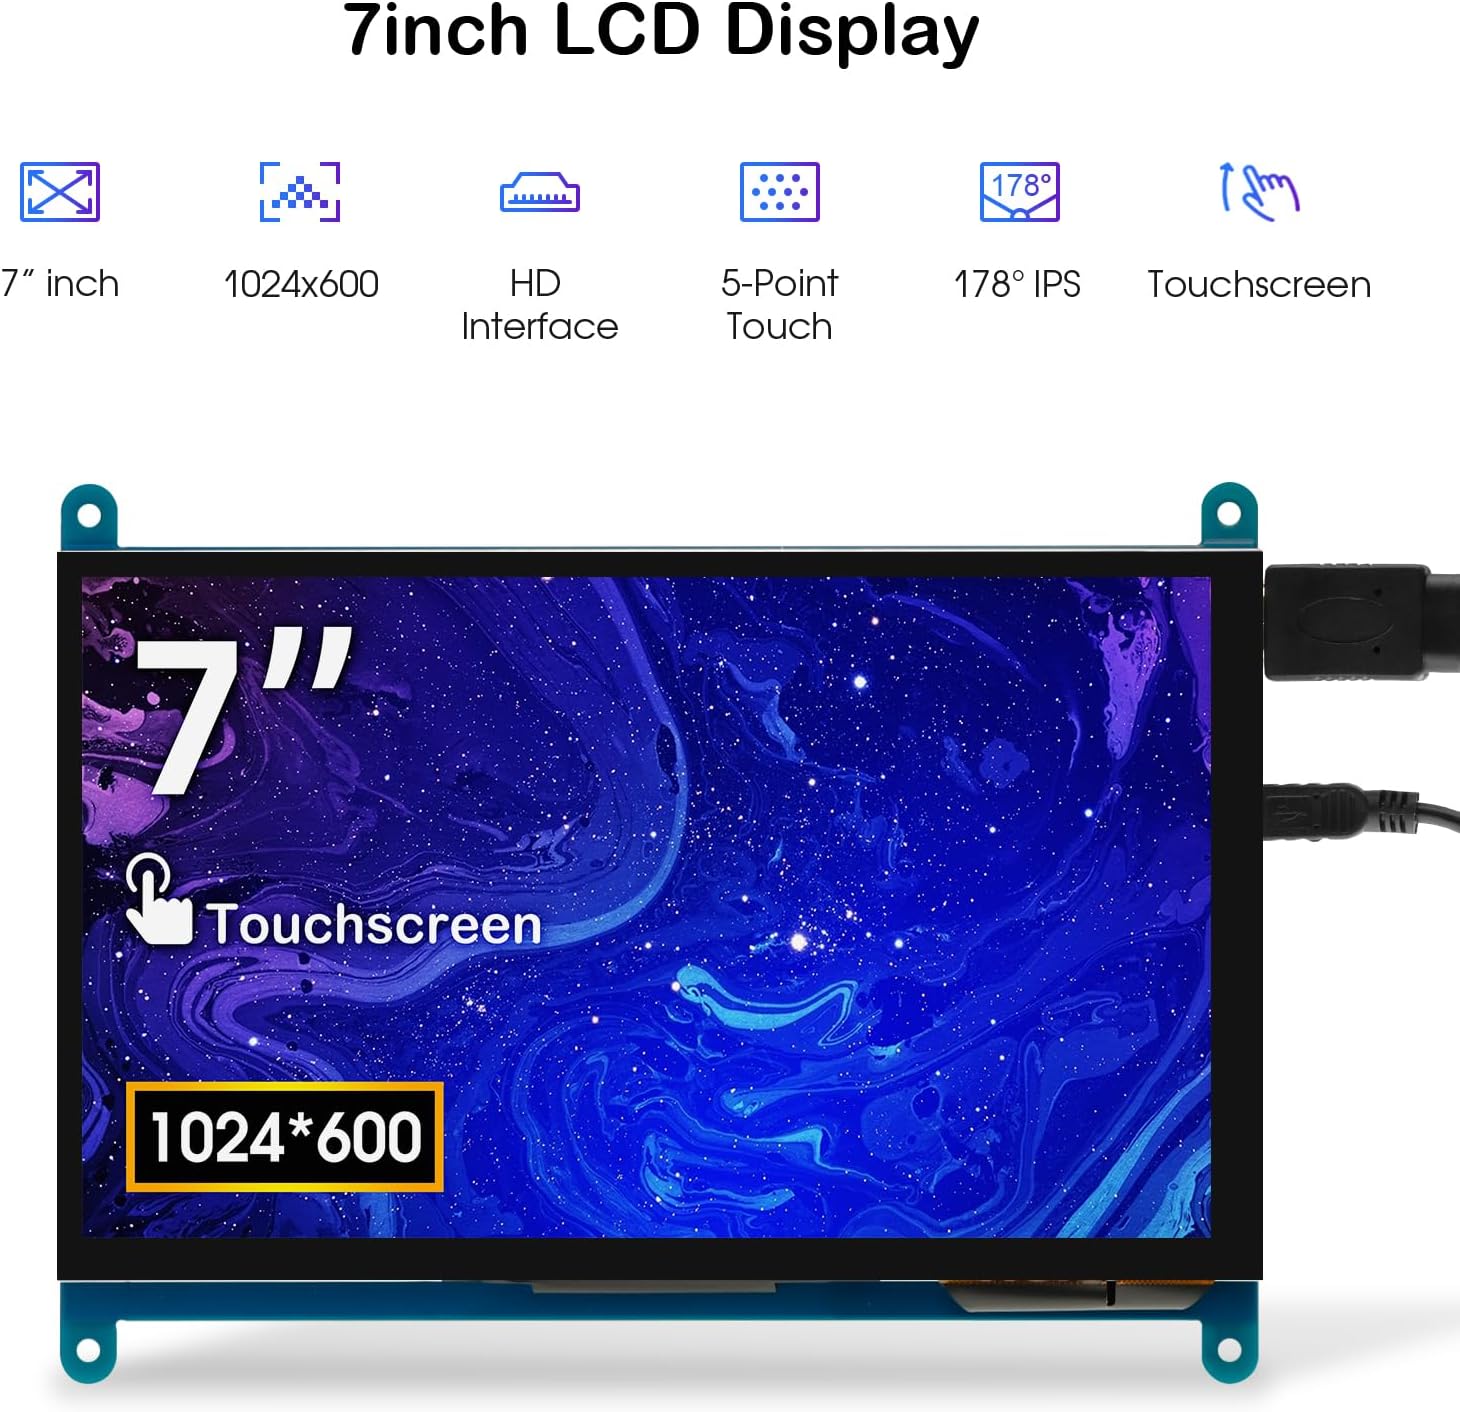
Image: The 7-inch touchscreen connected to a Raspberry Pi board, displaying a graphical user interface.
3.3 Connecting to Windows PC/Laptop
For Windows systems, the monitor functions as a plug-and-play display and touchscreen.
- Connect the HD cable from the monitor's Standard HD Port to an HDMI port on your PC or laptop.
- Connect the Micro USB cable from the monitor's Micro USB Port to a USB-A port on your PC or laptop. This provides power and enables touch functionality.
- Ensure the backlight switch is 'On'.
- Your Windows system should automatically detect the display and touchscreen. No additional drivers are typically required for Windows 7/8/10/11 for basic display and 5-point touch.

Image: The 7-inch touchscreen connected to a laptop, demonstrating seamless connectivity with various operating systems including Windows.
4. Naudojimo instrukcijos
4.1 Touch Functionality
The monitor supports 5-point capacitive touch, allowing for various gestures.
- Bakstelėkite: Single touch for selection or activation.
- Paspauskite: Sustained touch for context menus or drag operations.
- Didinti / sumažinti: Pinch gestures with two fingers.
- Mouse Click: A single tap typically registers as a left-click.
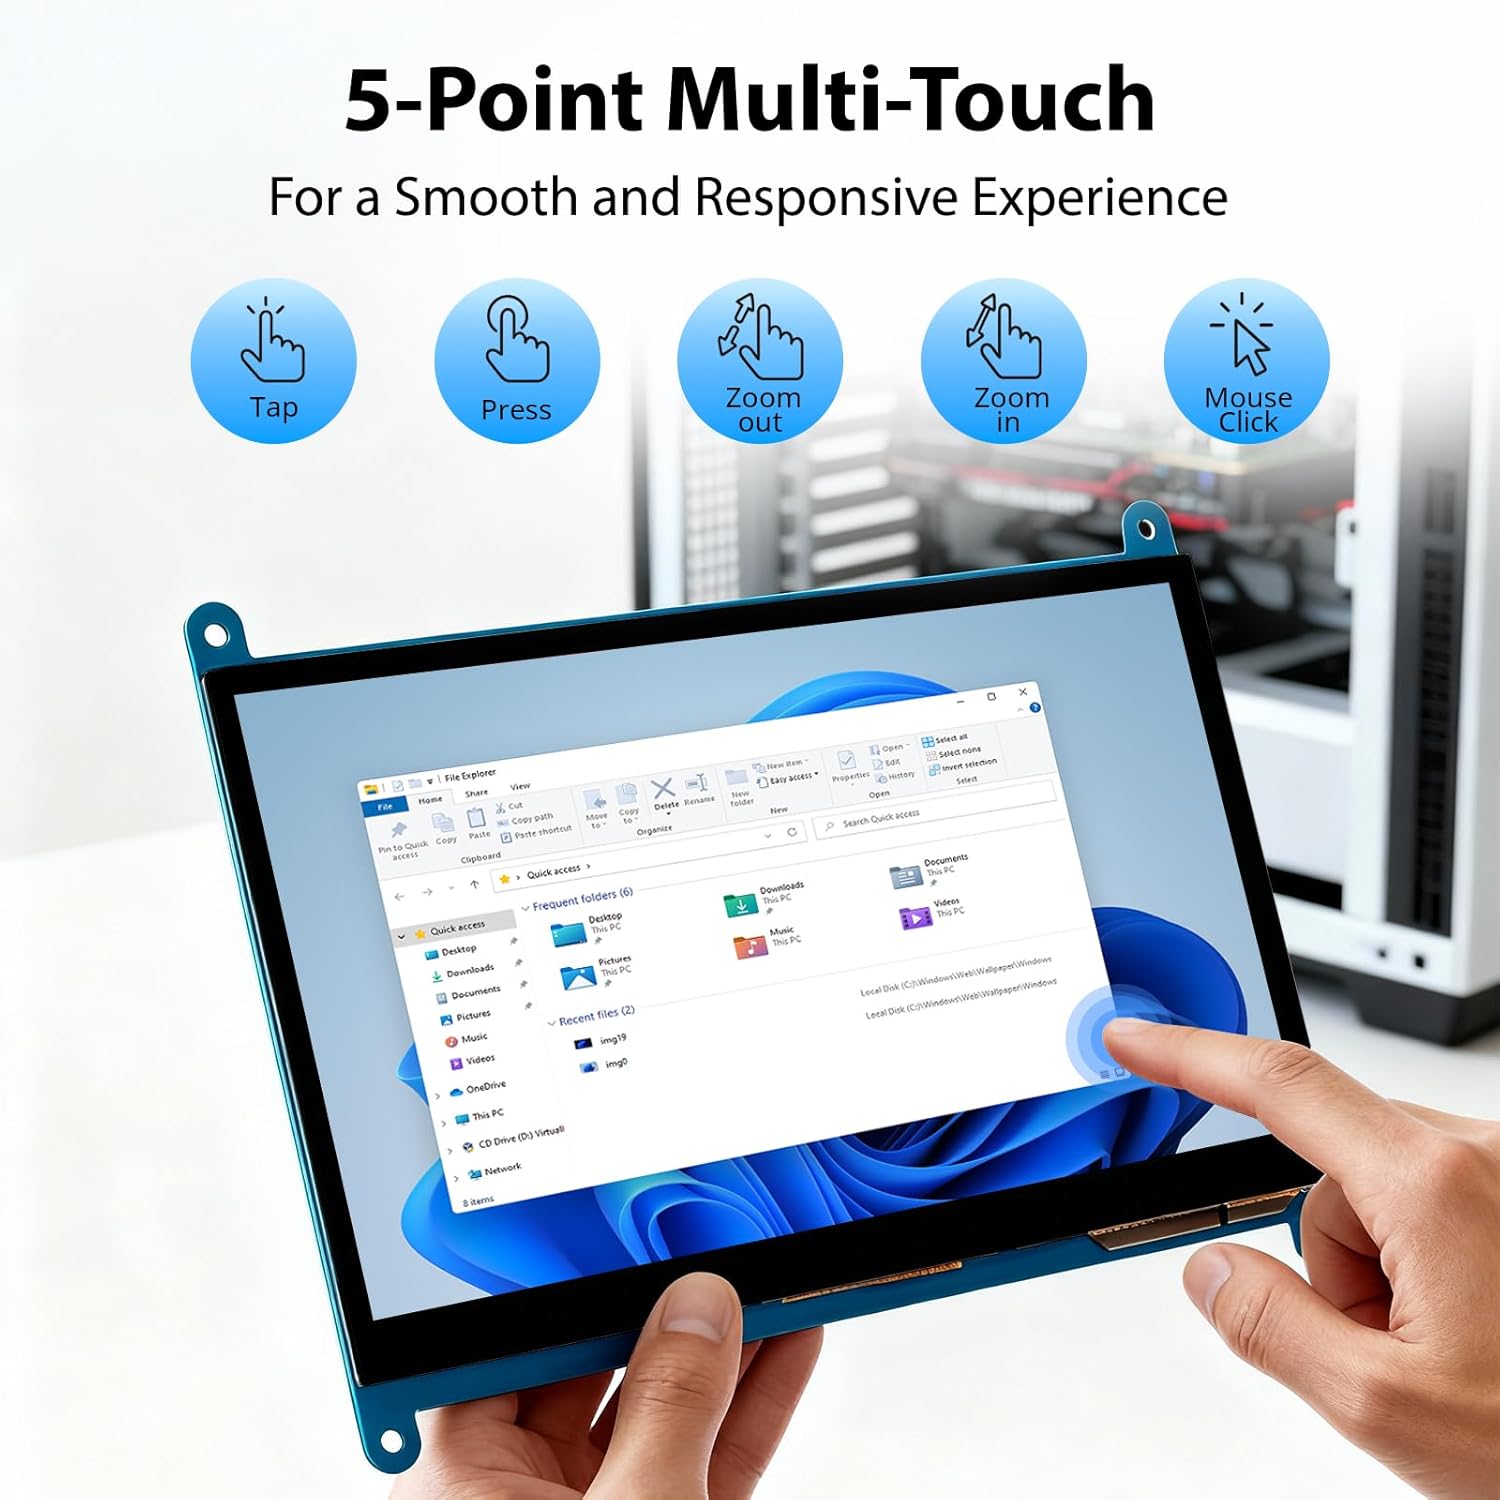
Image: Visual guide to the 5-point multi-touch capabilities of the screen, showing common gestures.
4.2 Ekrano režimai
When connected to a computer, the monitor can operate in several display modes:
- Dubliavimo režimas: The monitor mirrors the content of your primary display.
- Išplėsti režimą: The monitor acts as an extension of your primary display, providing additional screen space.
- Antrojo ekrano režimas: The monitor functions as the sole display, with the primary display turned off.
Šiuos režimus paprastai galima konfigūruoti per operacinės sistemos ekrano nustatymus.

Image: Illustrations demonstrating the three display modes: Duplicate, Extend, and Second Screen, showing how the monitor can be used with a laptop.
4.3 Foninio apšvietimo valdymas
The monitor features a physical switch to control the backlight. This allows you to turn the display illumination on or off without disconnecting power. Note that there is no granular brightness control; it is an on/off function only.
Video: This video demonstrates the backlight control switch on the ELECROW 7 Inch Touchscreen, showing how to turn the display illumination on and off.
5. Priežiūra
Tinkama priežiūra užtikrina monitoriaus ilgaamžiškumą ir optimalų veikimą.
- Ekrano valymas: Šiek tiek naudokite minkštą, be pūkelių šluostę dampnuplaukite vandeniu arba ekrano valymo tirpalu. Venkite stiprių cheminių medžiagų ar abrazyvinių medžiagų, kurios gali pažeisti ekrano paviršių.
- Bendra priežiūra: Keep the monitor in a clean, dry environment. Avoid exposing it to extreme temperatures, direct sunlight, or high humidity.
- Tvarkymas: Handle the monitor by its edges. Avoid applying excessive pressure to the screen.
6. Problemų sprendimas
Jei kyla problemų dėl monitoriaus, žr. toliau pateiktas dažniausiai pasitaikančias problemas ir sprendimus.
| Problema | Galima priežastis | Sprendimas |
|---|---|---|
| Nėra ekrano / Juodas ekranas |
|
|
| Jutiklinis ekranas nereaguoja |
|
|
| Display resolution incorrect |
|
|
| Nėra ryškumo valdymo | The monitor only has an on/off switch for the backlight, not adjustable brightness. | This is expected behavior. The monitor does not support adjustable brightness. |
7. Specifikacijos
Detailed technical specifications for the ELECROW 7 Inch Touchscreen Monitor.
| Funkcija | Detalė |
|---|---|
| Prekės ženklas | ELEKTROS |
| Modelio pavadinimas | RC070 |
| Ekrano dydis | 7 colių |
| Maksimali ekrano skiriamoji geba | 1024 x 600 |
| Gimtoji raiška | 1024x600 |
| Ekrano tipas | LCD |
| Ekrano technologija | IPS |
| Krašto santykis | 1.71:1 |
| Atnaujinimo dažnis | 60 Hz |
| Reagavimo laikas | 8 milisekundės |
| Kontrasto santykis | 800:1 |
| Ryškumas | 300 lm |
| Viewing kampas | 170 laipsnių |
| Ekrano paviršiaus aprašymas | Blizgus |
| Ryšio technologija | HDMI |
| Aparatinės įrangos ryšys | HDMI, USB |
| Total Number of HDMI Ports | 1 |
| Iš viso USB prievadų | 2 (Micro USB for power/touch, USB-A for power/touch) |
| Energijos suvartojimas | 12.5 vatų |
| ttage | 5 voltų |
| Elemento matmenys (D x P x A) | 0.3 "D x 6.1" P x 4.8" A |
| Prekės svoris | 7.36 uncijos |
| Suderinami įrenginiai | Raspberry Pi, BB Black, Banana Pi, Jetson Nano, Computers, Laptops, Gaming Consoles |
8. Garantija ir palaikymas
Your ELECROW 7 Inch Touchscreen Monitor comes with a manufacturer's warranty.
- Garantijos tipas: 1 metų gamintojo garantija
- Garantijos aprašymas: 1 metų gamintojas
For technical support or warranty claims, please contact ELECROW customer service through their official websvetainė arba platforma, kurioje produktas buvo įsigytas.