
Įvadas
Welcome to your new Spigen S530W Bluetooth Selfie Stick. This manual provides essential instructions for the safe and effective use of your device. Please read it thoroughly before operation and retain it for future reference.
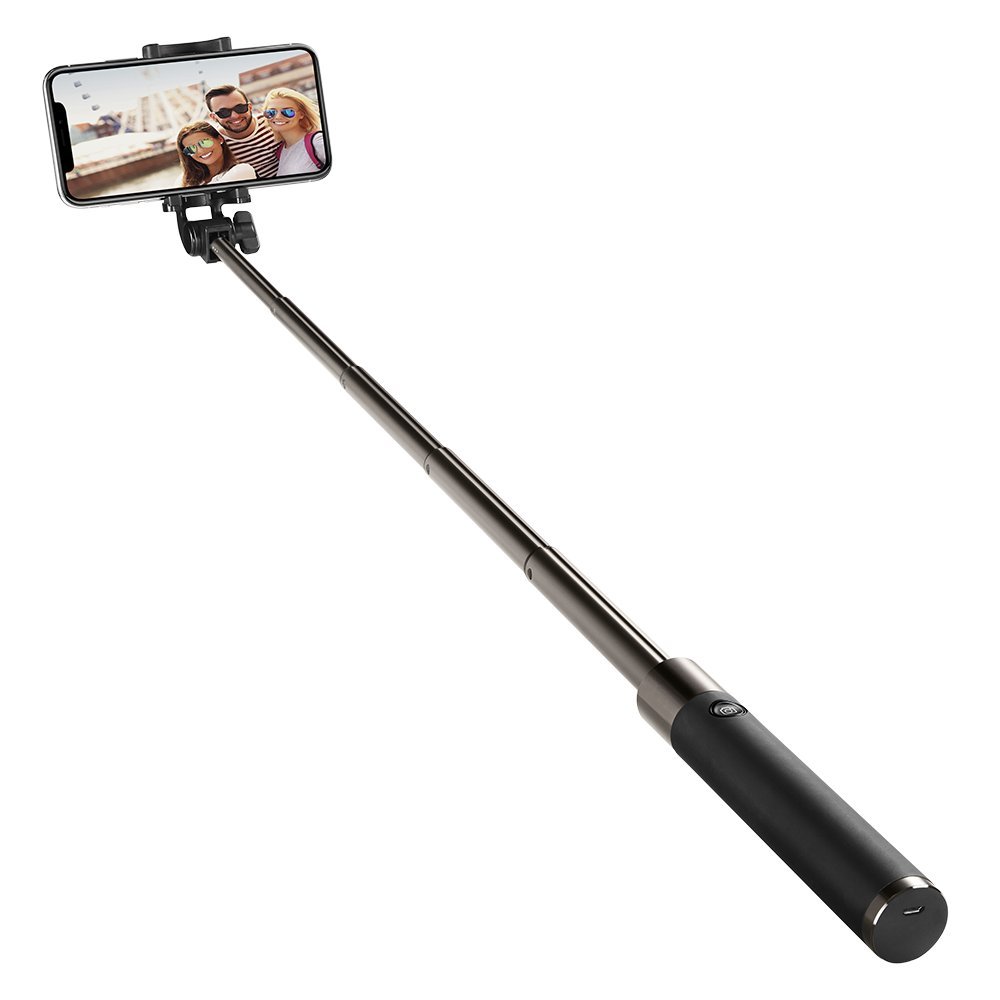
Image: The Spigen S530W Bluetooth Selfie Stick in its extended form, holding a smartphone.
Produkto savybės
- Lightweight and compact design with comfortable grip handle.
- Extendable handheld design with an adjustable mounting bracket for versatile angles.
- Suitable for various conditions, offering compact portability.
- Compatible with iOS and Android smartphones via Bluetooth.
Pakuotės turinys
- Spigen S530W Bluetooth Selfie Stick
- Įkrovimo laidas (mikro USB)
- Vartotojo vadovas
Sąranka
Charging the Selfie Stick
The selfie stick uses a built-in rechargeable battery. Before first use, fully charge the device.
- Locate the charging port on the handle.
- Connect the provided charging cable to the port and a standard USB power source.
- The indicator light will illuminate (e.g., red) during charging and typically turn off or change color (e.g., blue) when fully charged.
"Bluetooth" poravimas
Follow these steps to pair your selfie stick with your smartphone:
- Įsitikinkite, kad jūsų išmaniajame telefone įjungtas „Bluetooth“ ryšys.
- Press and hold the power button on the selfie stick handle until the indicator light flashes (usually blue), indicating pairing mode.
- On your smartphone, navigate to Bluetooth settings, search for available devices, and select "Spigen S530W" or a similar name.
- Once successfully paired, the indicator light will stop flashing and remain solid or turn off.
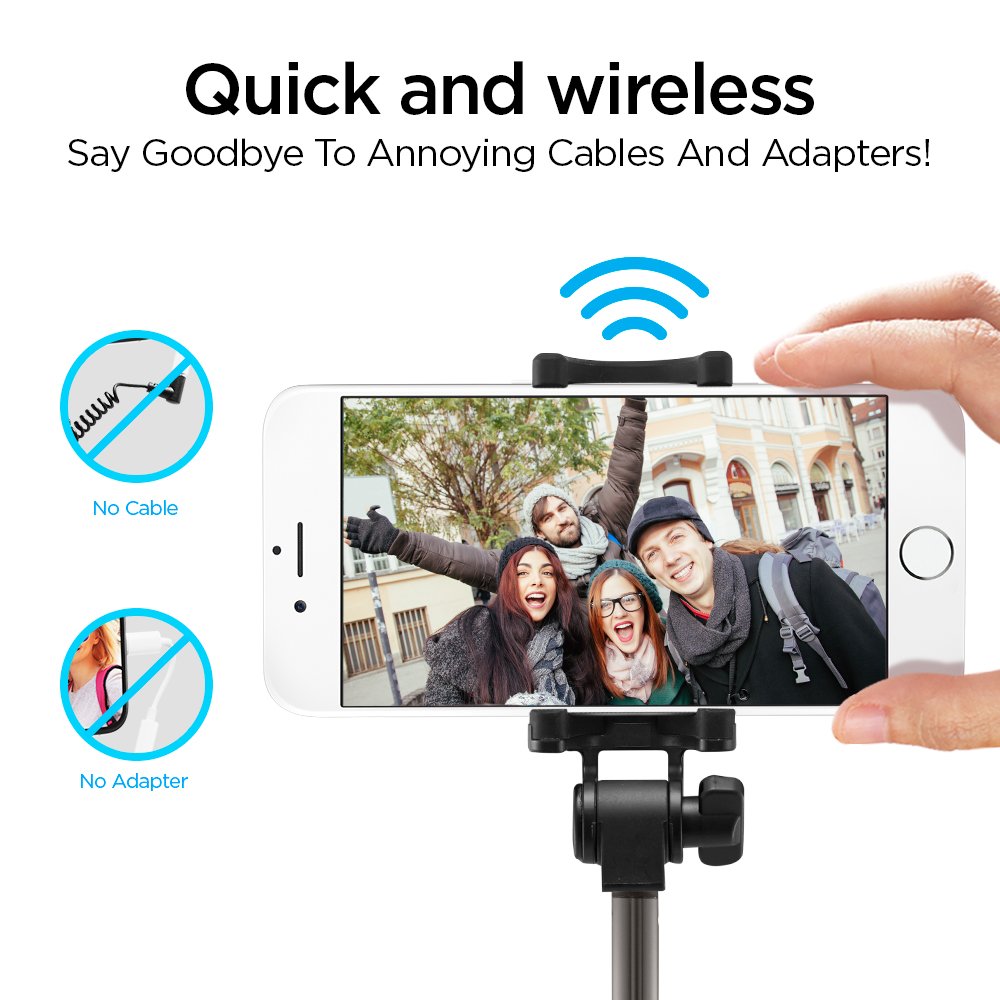
Image: Wireless Bluetooth connection for the Spigen S530W selfie stick, eliminating the need for cables or adapters.
Išmaniojo telefono prijungimas
Reguliuojamas clamp securely holds your smartphone.
- Gently pull apart the phone clamp kad jį atidarytumėte.
- Įdėkite savo išmanųjį telefoną į clamp, ensuring it is centered and securely held by the rubber grips.

Image: The adjustable phone clamp of the Spigen S530W, designed to accommodate smartphones from 2.2 to 3.3 inches in width.
Naudojimo instrukcijos
Lazdos ištiesimas ir įtraukimas
To extend the selfie stick, gently pull the telescopic rod outwards. To retract, push it back into the handle until it is fully collapsed.

Image: The Spigen S530W selfie stick can be extended from a compact 185mm to a maximum length of 770mm.
Kampo reguliavimas
The phone mount can be adjusted to achieve the desired shooting angle.
- Loosen the adjustment knob on the phone mount.
- Tilt the phone mount to your preferred angle (up to 295 degrees of rotation).
- Tighten the adjustment knob to secure the position.

Image: The phone mount offers a 295-degree rotation for flexible angle adjustments.
Fotografavimas/vaizdo įrašymas
Once your phone is paired and positioned, open your camera app.
- Atidarykite savo išmaniojo telefono kameros programėlę.
- Press the shutter button on the selfie stick handle to capture a photo or start/stop video recording.

Image: The Spigen S530W features a comfortable matte handle and an easily accessible shutter button for convenient operation.
Priežiūra
To ensure the longevity and optimal performance of your selfie stick:
- Clean the device with a soft, dry cloth. Avoid using harsh chemicals, solvents, or abrasive materials.
- Store the selfie stick in a cool, dry place away from direct sunlight, high humidity, and extreme temperatures.
- Nebandykite ardyti ar modifikuoti įrenginio, nes tai panaikins garantiją.
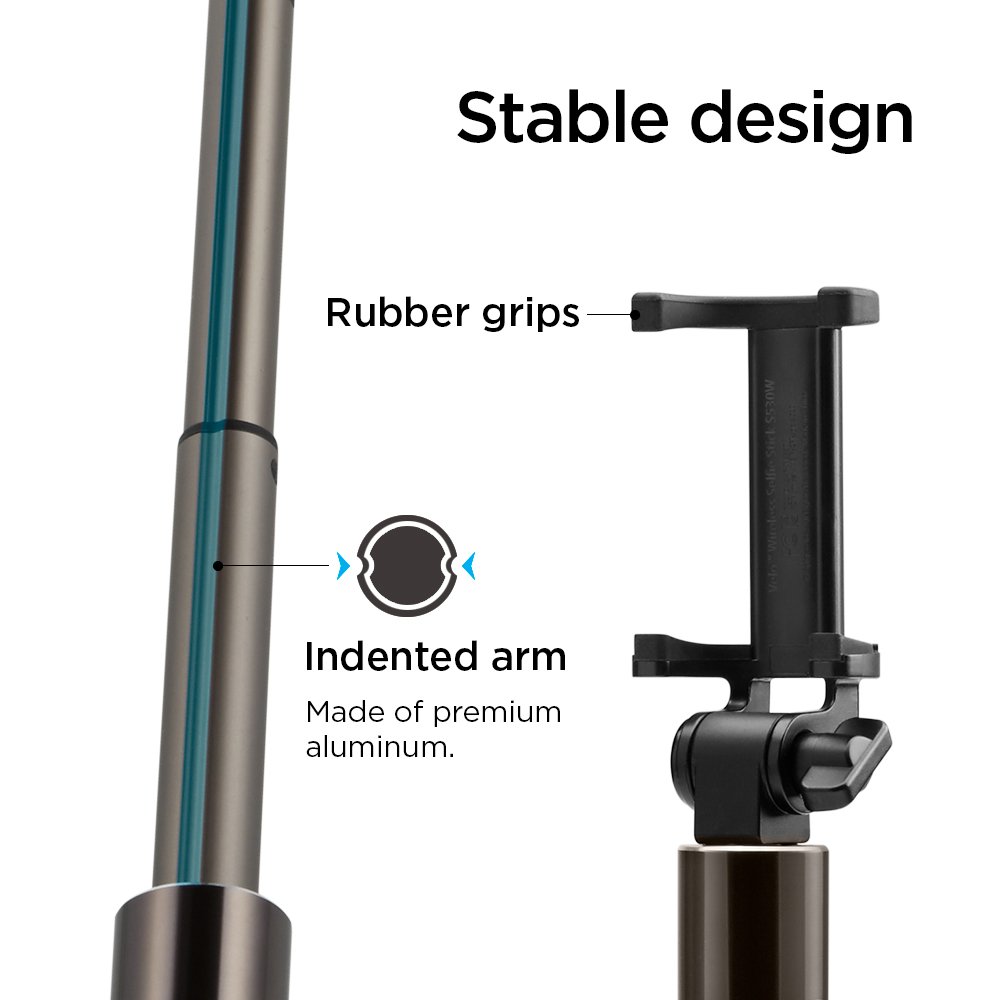
Image: The stable design incorporates rubber grips for secure phone holding and an indented aluminum arm for durability.
Trikčių šalinimas
Įrenginys neįsijungia
Ensure the battery is charged. Connect the selfie stick to a power source using the charging cable and allow sufficient time for charging.
„Bluetooth“ neprisijungia
- Ensure the selfie stick is in pairing mode (flashing indicator light).
- Patikrinkite, ar jūsų išmaniajame telefone įjungtas „Bluetooth“.
- Pamirškite įrenginį iš telefono „Bluetooth“ nustatymų ir bandykite iš naujo susieti.
- Ensure the selfie stick is within close range of your smartphone.
- Restart both the selfie stick and your smartphone.
Shutter Button Not Working
- Verify that the selfie stick is successfully paired with your smartphone.
- Ensure your camera application is open and active.
- For some Android phones, you may need to adjust camera settings to assign the volume key function to "shutter" or "capture."
Specifikacijos
| Funkcija | Detalė |
|---|---|
| Prekės ženklas | Spigenas |
| Modelis | S530W |
| Prekės modelio numeris | 000SS21746 |
| Ryšys | Bluetooth |
| Material (Pole) | Aliuminis |
| Prailgintas ilgis | Iki 770 mm |
| Sulankstytas ilgis | 185 mm |
| Svoris | 113.4 g (4 uncijos) |
| Baterijos tipas | 1 ličio metalo baterija |
| Suderinami įrenginiai | Cellphones (iOS & Android) |
| Spalva | Juoda |
| Gaminio matmenys (IxPxH) | 25.4 x 5.08 x 38.1 cm |
| Pasiekiama pirmoji data | 11 m. sausio 2021 d |
| GTIN | 08809522196794 |
Garantija ir palaikymas
For detailed warranty information or technical support, please refer to the official Spigen websvetainėje arba susisiekite su jų klientų aptarnavimo skyriumi. Rekomenduojama išsaugoti pirkimo kvitą kaip pirkimo įrodymą bet kokiems garantiniams prašymams.