
1. Produktas baigtasview
The Lexmark MS521dn is a high-performance monochrome laser printer designed for office environments. It offers fast printing speeds, two-sided duplex printing, and robust security features to meet the demands of large workgroups. With a 2.4-inch LCD display, managing print jobs and system information is intuitive and straightforward.
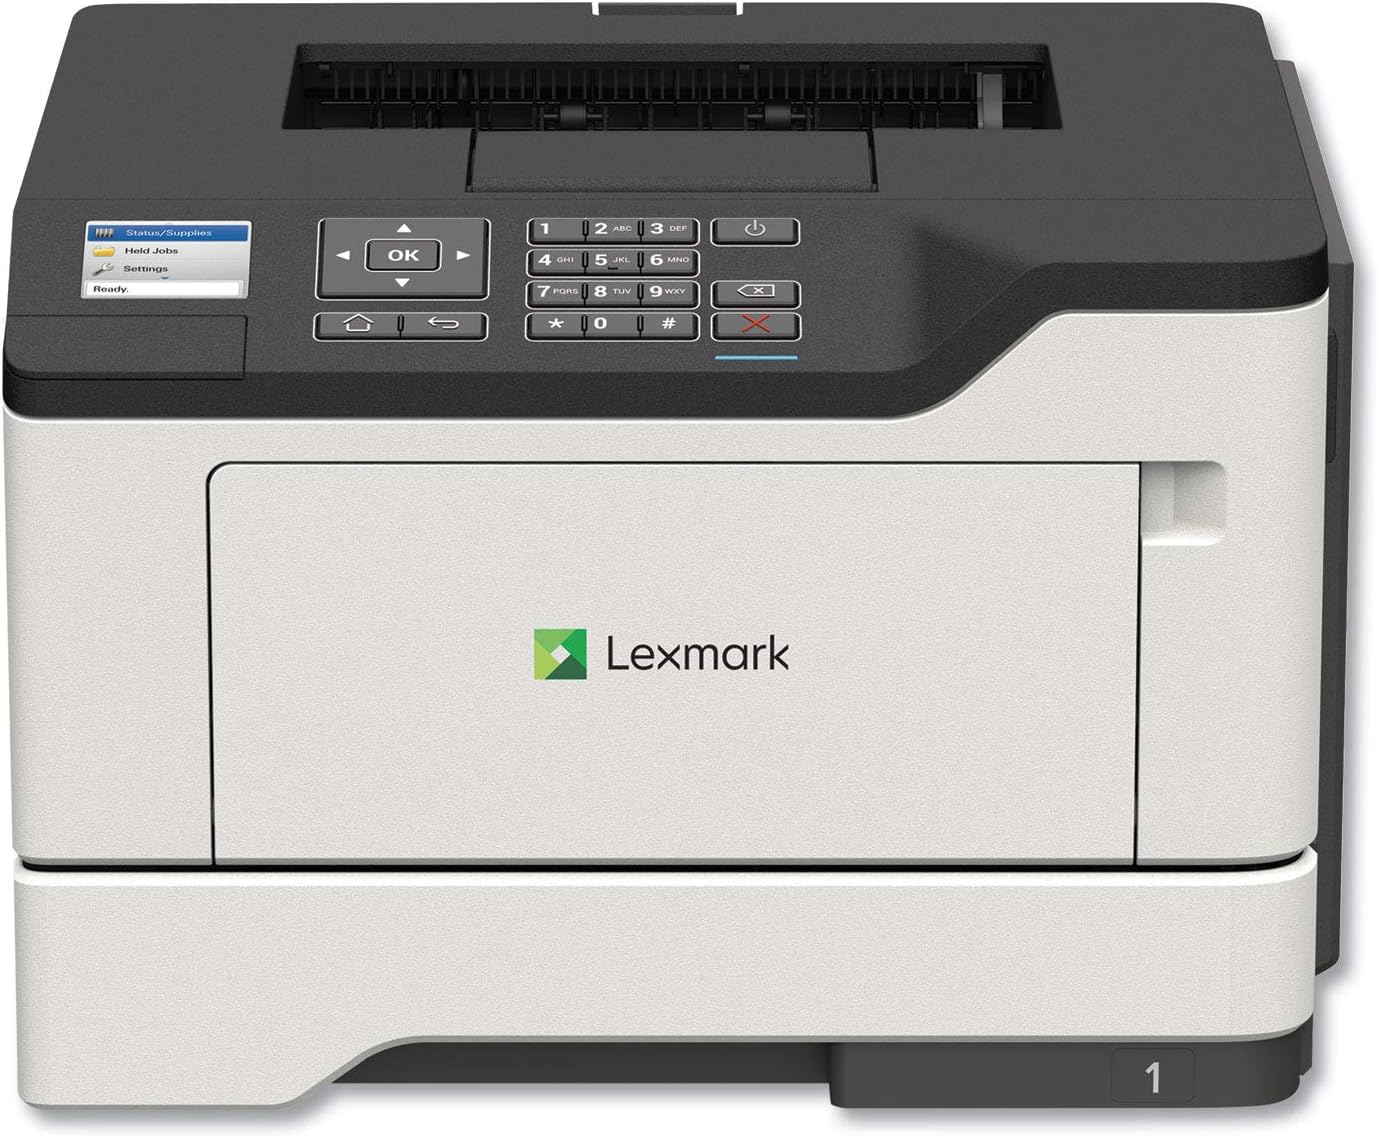
Vaizdas: priekis view of the Lexmark MS521dn Monochrome Laser Printer, showcasindėl kompaktiško dizaino ir valdymo skydelio.
Pagrindinės funkcijos:
- Didelis našumas: Print speeds up to 46 pages per minute with a 1-GHz dual-core processor and 512 MB of memory.
- Dvipusis spausdinimas: Standard two-sided printing for paper saving.
- Tvirtas saugumas: Comprehensive security architecture to protect information on the device and network.
- Patogi vartotojo sąsaja: 2.4-inch color LCD for easy configuration and monitoring.
- Universalus medijos tvarkymas: Supports various media types and sizes, from A6 to legal, with a 100-sheet multipurpose feeder.
- Energijos efektyvumas: Designed to reduce power consumption in active and sleep modes, meeting ENERGY STAR 2.0 requirements.
2. Sąranka
Follow these steps to set up your Lexmark MS521dn printer and install the toner cartridge:
- Išpakuokite spausdintuvą: Carefully remove the printer from its packaging. Remove all packing materials, tapes, and protective films.
- Prijunkite maitinimą: Plug the power cord into the printer and then into a grounded electrical outlet.
- Įdėkite tonerio kasetę:
- Atidarykite spausdintuvo priekines dureles.
- If replacing an old cartridge, gently pull it out.
- Unpack the new toner cartridge from its box and protective bag.
- Gently shake the new cartridge from side to side to distribute the toner evenly.
- Align the cartridge with the guides inside the printer and push it in until it clicks into place.
- Uždarykite priekines prieigos dureles.
- Connect to Network/Computer:
- For network connectivity, connect an Ethernet cable from your router or network switch to the printer's Ethernet port.
- For direct connection, use a USB cable to connect the printer to your computer.
- Įdiegti programinę įrangą: Insert the provided Software and documentation CD into your computer's CD/DVD drive and follow the on-screen instructions to install the printer drivers and software. Alternatively, download the latest drivers from the official Lexmark support websvetainę.
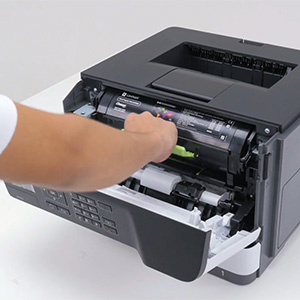
Image: A hand demonstrating the installation of a toner cartridge into the printer's front compartment.
Video: Official Lexmark guide on replacing the toner cartridge for the MS521dn printer. This video demonstrates the step-by-step process of opening the printer, removing the old cartridge, unpacking and preparing the new cartridge, and inserting it correctly.
3. Naudojimo instrukcijos
The Lexmark MS521dn is designed for straightforward operation. Here are basic instructions for common tasks:
3.1. Pagrindinis spausdinimas
- Įsitikinkite, kad spausdintuvas įjungtas ir prijungtas prie kompiuterio arba tinklo.
- Load paper into the main paper tray or the multipurpose feeder. Adjust the paper guides to fit the paper size.
- Kompiuteryje atidarykite dokumentą arba vaizdą, kurį norite spausdinti.
- Pasirinkite File > Spausdinti (arba lygiavertę komandą jūsų programoje).
- Choose the Lexmark MS521dn from the list of available printers.
- Adjust print settings as needed (e.g., number of copies, paper size, print quality, duplex printing).
- Spustelėkite Spausdinti.
3.2. Valdymo skydelio naudojimas
The 2.4-inch color LCD display and control panel allow you to manage printer settings and monitor status:
- Naršymo mygtukai: Use the arrow keys and OK button to navigate through menus.
- Status/Supplies: Check toner levels, paper tray status, and printer errors.
- Nustatymai: Configure network settings, paper handling options, print quality, and security features.
- Held Jobs: Access and manage print jobs held in the printer's memory.
4. Priežiūra
Regular maintenance ensures optimal performance and longevity of your Lexmark MS521dn printer.
4.1. Replacing Toner Cartridge
When the printer indicates low toner or print quality degrades, it's time to replace the toner cartridge. Refer to the "Setup" section (Step 3) for detailed instructions and the embedded video on how to replace the toner cartridge.
4.2. Spausdintuvo valymas
- Išorė: Naudokite minkštą, damp, lint-free cloth to wipe the exterior of the printer. Avoid abrasive cleaners.
- Interjeras: Periodically open the front cover and gently remove any paper dust or debris from the interior using a dry, lint-free cloth. Do not touch the imaging unit's drum.
4.3. Fuser and Imaging Components
The Lexmark MS521dn features long-life fuser and imaging components designed to extend uptime and reduce the frequency of replacements. Consult the printer's display or the Lexmark support website for indicators on when these components may require attention.
5. Problemų sprendimas
This section addresses common issues you might encounter with your Lexmark MS521dn printer.
5.1. Spausdintuvas nereaguoja
- Patikrinkite galią: Įsitikinkite, kad spausdintuvas yra prijungtas ir įjungtas.
- Patikrinkite jungtis: Verify that the USB or Ethernet cable is securely connected to both the printer and the computer/network.
- Iš naujo paleiskite įrenginius: Turn off the printer, computer, and router (if applicable). Wait a few minutes, then turn them back on in the following order: router, printer, computer.
- Printer Status: Check the printer's LCD display for any error messages or status indicators.
5.2. Prasta spausdinimo kokybė
- Tonerio lygis: Check the toner cartridge level via the printer's display or software. Replace if low.
- Popieriaus tipas: Ensure you are using the correct paper type and quality for your print job.
- Spausdintuvo nustatymai: Spausdinimo kokybės nustatymus koreguokite spausdintuvo tvarkyklėje.
- Vidinis valymas: Perform an internal cleaning cycle if available through the printer's menu.
5.3. Popieriaus strigtys
- Raskite uogienę: The printer's display will usually indicate the location of the paper jam.
- Open Access Areas: Open all accessible covers and trays.
- Pašalinti popierių: Carefully pull out any jammed paper in the direction of the paper path. Avoid tearing the paper.
- Uždaryti viršelius: Close all covers and trays securely.
5.4. Connectivity Issues (e.g., Not Wireless)
The Lexmark MS521dn model (36S0300) connects via Ethernet or USB. It does not have built-in wireless connectivity. If you require wireless printing, you may need an external wireless print server or a network setup that allows for wireless access to a wired printer. Please verify your network configuration and ensure the printer is connected via a supported method.
6. Specifikacijos
| Funkcija | Detalė |
|---|---|
| Prekės ženklas | Lexmark |
| Modelio pavadinimas | MS521dn (36S0300) |
| Spausdinimo technologija | Lazeris |
| Spausdintuvo išvestis | Vienspalvis |
| Maksimalus spausdinimo greitis (vienspalvis) | 46 ppm |
| Maksimali spausdinimo raiška | 1200 x 1200 dpi |
| Dvipusis spausdinimas | Automatinis (dvipusis) |
| Ryšio technologija | Ethernet, USB |
| Procesoriaus skaičius | 2 (dviejų branduolių) |
| Atminties talpa | 512 MB |
| Ekrano tipas | 2.4 colio spalvotas LCD ekranas |
| Maksimali įvesties lapo talpa | 350 sheets (expandable to 2000 sheets) |
| Gaminio matmenys (DxPxA) | 16.93 "D x 18.5" P x 14.8" A |
| Prekės svoris | 31.1 svaro |
| Energijos suvartojimas | 620 vatų (įjungus) |
7. Garantija ir palaikymas
Your Lexmark MS521dn printer comes with a limited warranty. For specific details regarding the warranty period and coverage, please refer to the "Statement of limited warranty/guarantee" included in your product packaging.
Lexmark is committed to providing comprehensive product security and support. If you encounter issues that cannot be resolved using the troubleshooting guide, or for further assistance, please contact Lexmark customer support. You can find contact information and additional resources on the official Lexmark websvetainę.
For information on the Lexmark Cartridge Collection Program (LCCP) for recycling used cartridges, please refer to the included documentation or the Lexmark websvetainę.