
1. Įvadas
This instruction manual provides important information for the safe installation, operation, and maintenance of your SEBSON IP44 recessed spotlights. Please read this manual thoroughly before installation and keep it for future reference.
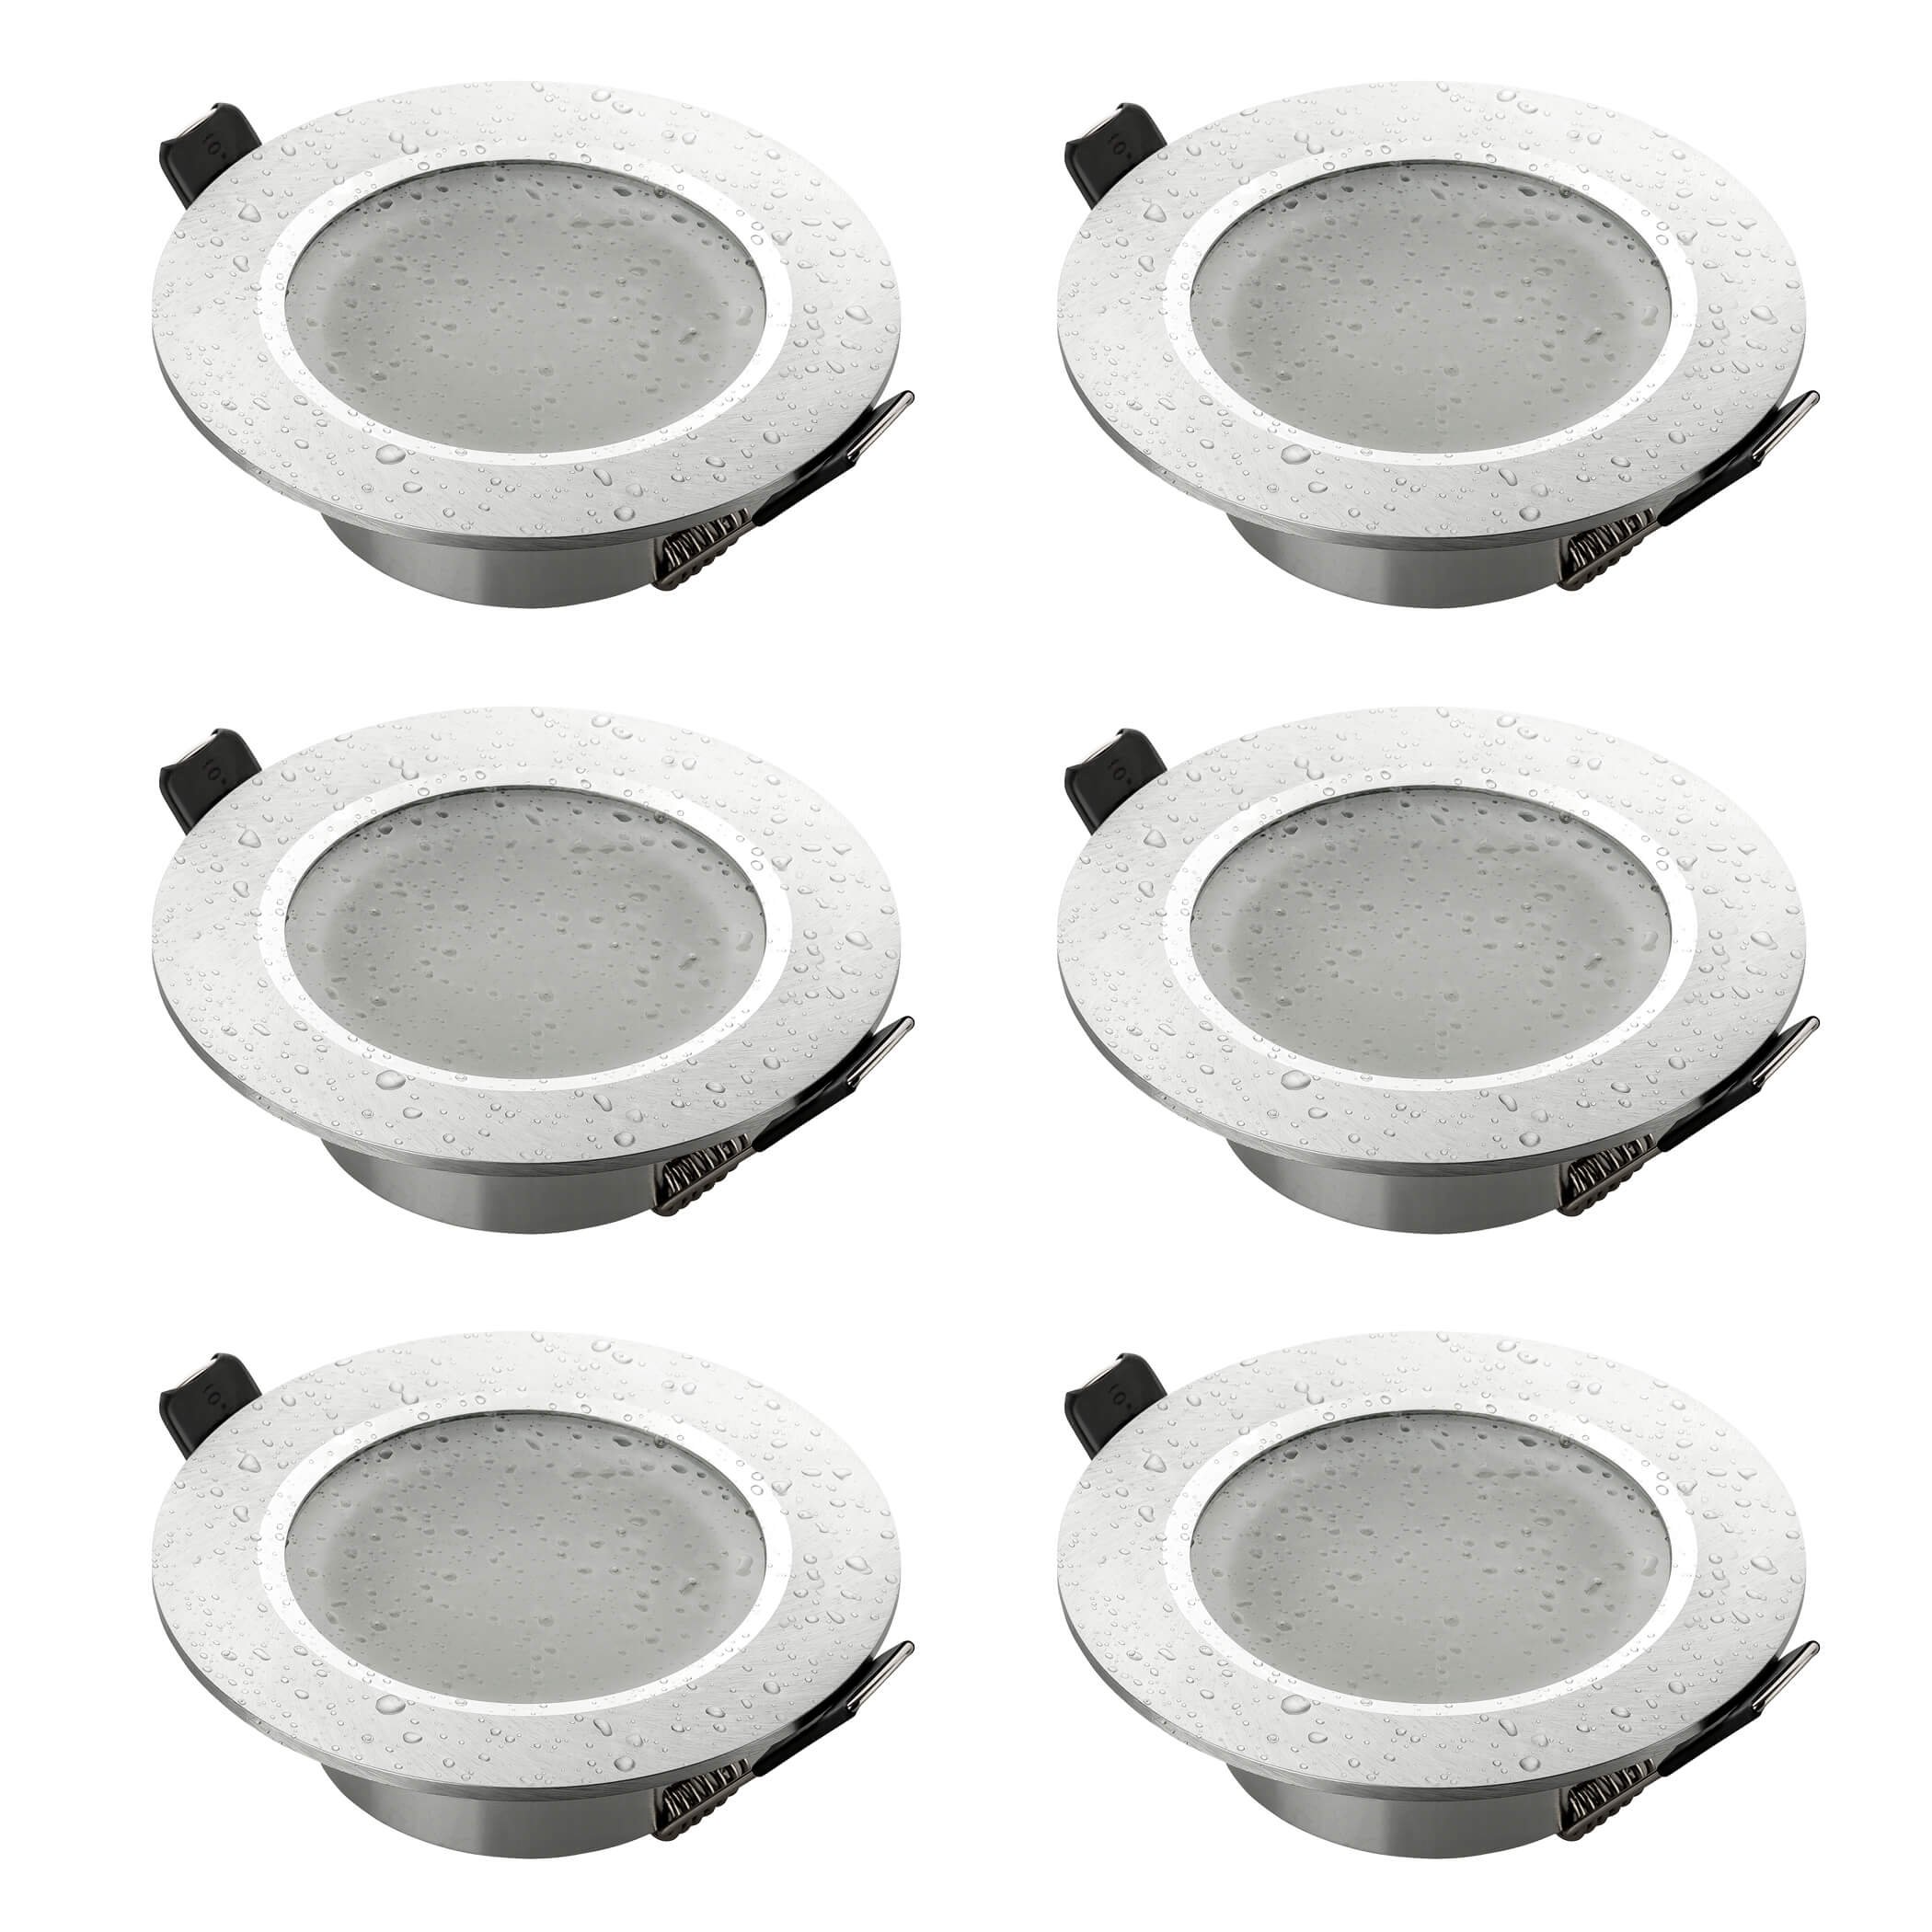
1 paveikslas: Kampinis view of the SEBSON IP44 recessed spotlight.
2. Saugos instrukcijos
- Elektros sauga: Installation must be performed by a qualified electrician in accordance with local wiring regulations. Ensure the main power supply is switched off before installation or maintenance.
- ttage: This product operates at 230 Volts.
- IP44 reitingas: These spotlights are IP44 rated, making them suitable for damp environments like bathrooms and kitchens. However, they are not suitable for direct water immersion.
- Lemputės suderinamumas: Use only GU10 LED or halogen bulbs with a maximum power of 50 Watts. Ensure bulbs are fully cooled before handling.
- Šiluma: Luminaires can become hot during operation. Avoid touching the spotlight or bulb immediately after use.
- Vėdinimas: Ensure adequate ventilation around the recessed fixture to prevent overheating.

Image 2: The IP44 rating ensures protection against splashing water, making it suitable for damp srityse.
3. Pakuotės turinys
Į paketą įeina:
- 6x SEBSON Recessed Spotlight Mounting Frames (Type 14, Brushed Aluminum)
- 6x GU10 Ceramic Sockets
- Note: GU10 LED or halogen bulbs are not included and must be purchased separately.
4. Specifikacijos
| Prekinis ženklas: | SEBSONAS |
| Modelio numeris: | 6_X_ES_T14_1044C_SILVER |
| Medžiaga: | Aliuminis |
| Spalva: | Sidabras |
| Baigti: | Nuvalytas |
| Forma: | Apvalus |
| Gaminio matmenys (I x P x A): | 9 x 9 x 2.9 cm |
| Montavimo angos skersmuo: | 70 mm (min. 67 mm, max. 83 mm) |
| IP įvertinimas: | IP44 (atsparus purslams) |
| ttage: | 230 voltų kintamoji srovė |
| Suderinamas lemputės tipas: | GU10 (LED or Halogen, max 50W) |
| Specifiniai naudojimo būdai: | Indoor, Bathroom adapted |
| Prekės svoris: | 456 g (for the set of 6) |
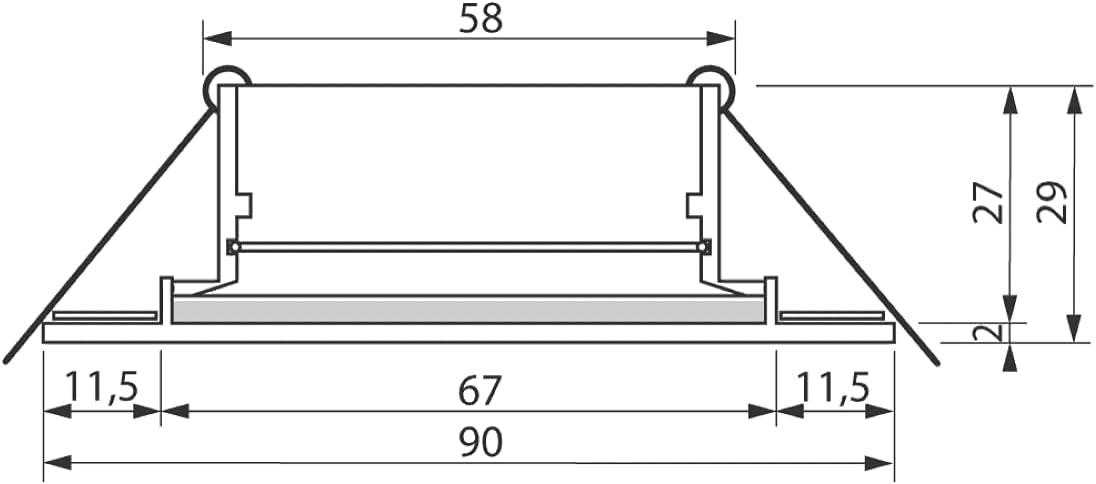
Image 3: Dimensional drawing of the recessed spotlight (dimensions in mm).
5. Montavimo instrukcijos
Prieš pradėdami: Ensure the power supply to the circuit is switched off at the main breaker. Always consult a qualified electrician if you are unsure about any steps.
- Prepare the Ceiling Hole: Using a suitable hole saw, cut a circular hole in the ceiling with a diameter of 70 mm. The acceptable range is 67 mm to 83 mm.
Image 4: Step 1 - Cutting the installation hole.
- Prijunkite laidus: Connect the GU10 ceramic socket to the main electrical wiring. Ensure correct polarity (Live, Neutral, Earth) and secure connections using appropriate terminal blocks.
Image 5: Step 2 - Connecting the electrical wires to the GU10 socket.
- Įdėkite lemputę: Carefully insert a GU10 bulb into the ceramic socket. Twist clockwise to secure.
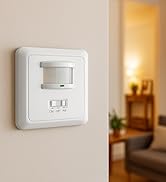
Image 6: Step 3 - Inserting the GU10 bulb.
- Attach Socket to Frame: Secure the GU10 socket with the bulb into the mounting frame.
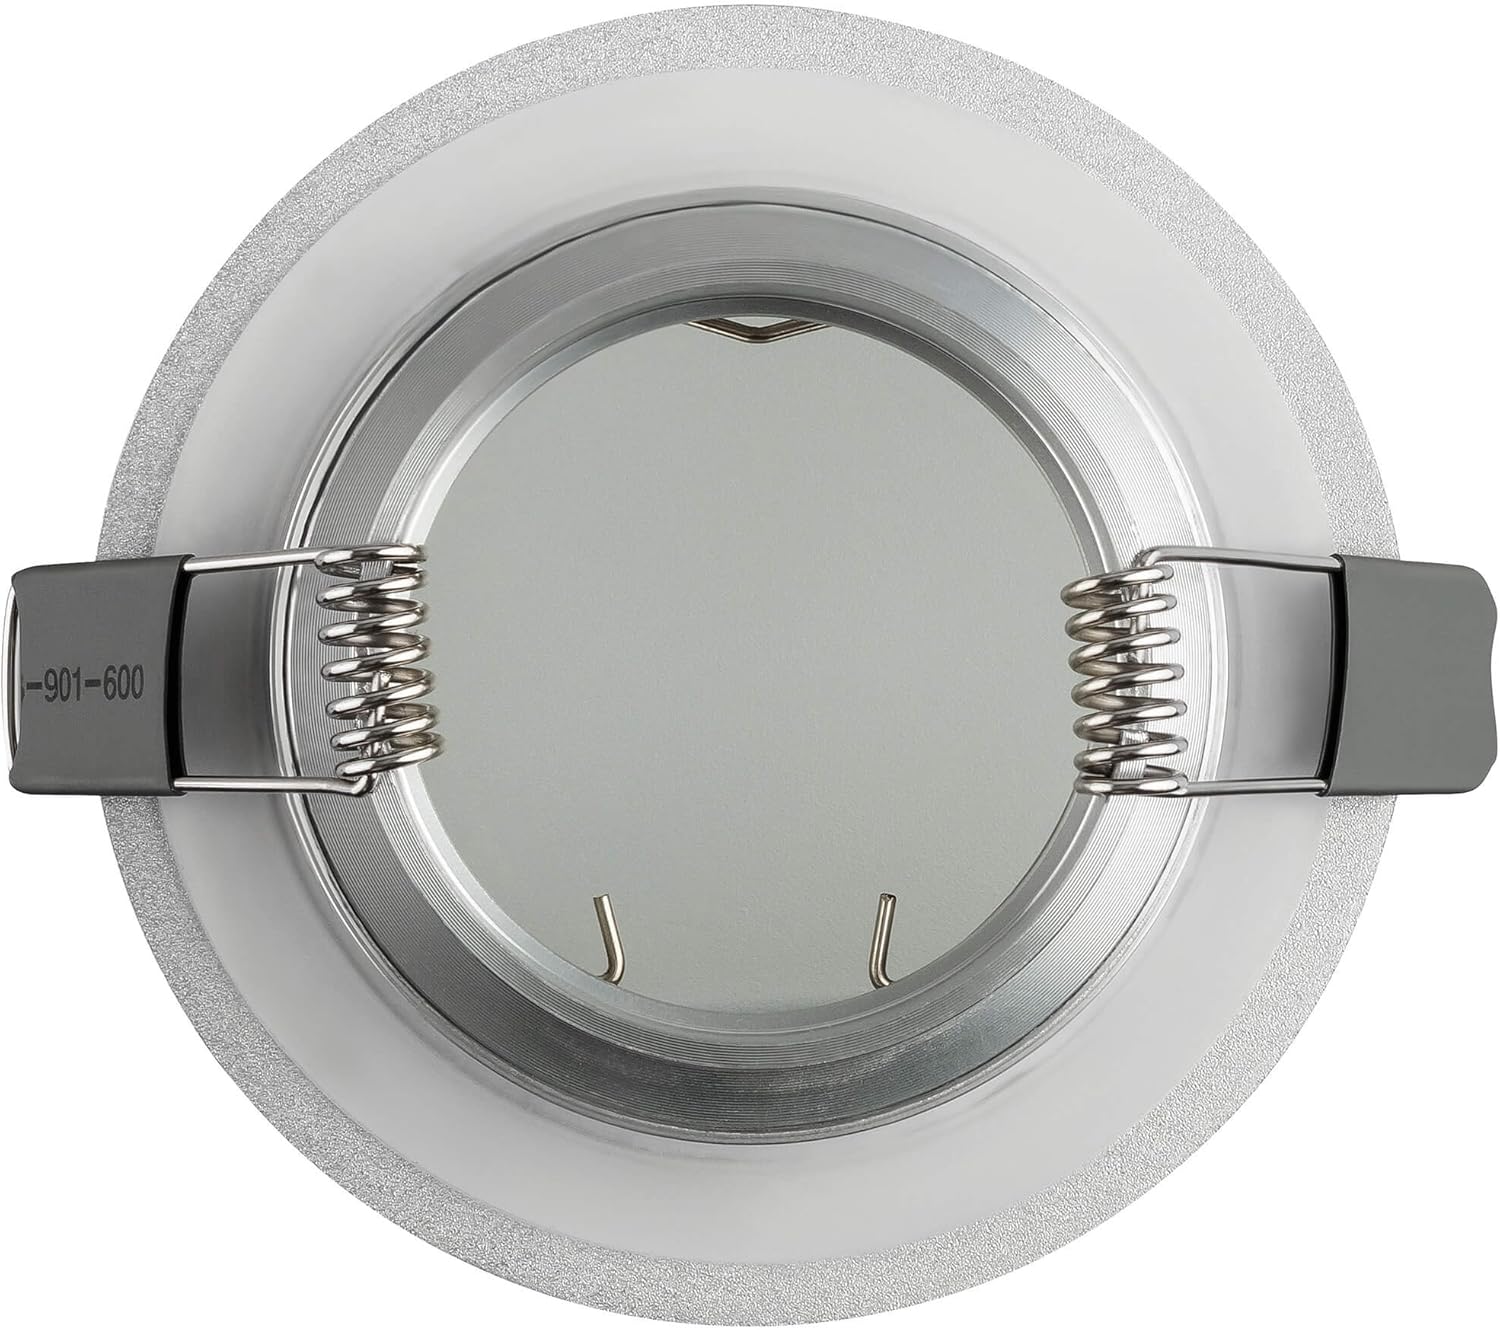
7 vaizdas: galinis view of the mounting frame, showing spring clips.

8 vaizdas: galinis view of the mounting frame with the GU10 socket in place.
- Insert Fixture into Ceiling: Fold the spring clips on the sides of the mounting frame upwards and insert the entire fixture into the prepared ceiling hole. The springs will hold the fixture securely in place.

Image 9: Step 4 - Inserting the fixture into the ceiling.
- Apsaugokite armatūrą: Ensure the fixture is flush with the ceiling surface. The spring clips will automatically secure it.
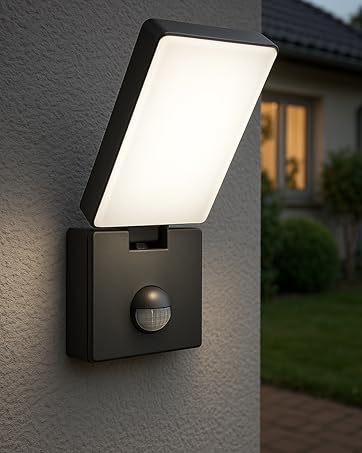
Image 10: Step 5 - Fixture secured in the ceiling.
- Install Frosted Glass (if applicable): If your model includes a separate frosted glass cover, carefully place it into the frame.
Image 11: Step 6 - Inserting the frosted glass cover.
- Galutinė asamblėja: Įsitikinkite, kad visi komponentai yra saugiai išdėstyti.
Image 12: Step 7 - Final assembly of the spotlight.
6. Naudojimo instrukcijos
Once installed and the power supply is restored, the spotlights can be operated via a standard wall switch connected to the circuit. There are no specific operating controls on the fixture itself.
- Įjungimas/išjungimas: Use the connected wall switch to turn the lights on or off.
- Lemputės keitimas: To replace a bulb, ensure the power is off and the bulb has cooled. Gently twist the old GU10 bulb counter-clockwise to remove, then insert a new GU10 bulb and twist clockwise to secure.
7. Priežiūra
- Valymas: Prieš valydami atjunkite maitinimą. Nuvalykite įrenginį minkšta, sausa arba šiek tiek drėgna šluoste.amp audinys. Nenaudokite abrazyvinių valiklių ar tirpiklių.
- Patikra: Reguliariai tikrinkite šviestuvą, ar nėra pažeidimų ar atsilaisvinusių jungčių. Jei aptinkama problemų, atjunkite maitinimą ir kreipkitės į kvalifikuotą elektriką.
8. Problemų sprendimas
| Problema | Galima priežastis | Sprendimas |
|---|---|---|
| Šviesa neįsijungia. |
|
|
| Šviesos mirgėjimas. |
|
|
| Įrenginys karštas liesti. |
|
|
9. Garantija ir palaikymas
Specific warranty information for this product is not provided in the available data. For support or warranty inquiries, please contact your retailer or the manufacturer directly using the contact information provided on their official websvetainę.
Information regarding spare parts availability and software updates is not available for this product.