1. Įvadas
Welcome to the user manual for your AWELCO PROWELTEK ARC 250 Inverter Welder. This document provides essential information for the safe and efficient operation, maintenance, and troubleshooting of your welding machine. Please read this manual thoroughly before operating the device and keep it for future reference.
2. Svarbios saugos instrukcijos
Visada laikykitės šių saugos priemonių, kad išvengtumėte sužalojimų ar įrangos sugadinimo:
- Akių ir veido apsauga: Always wear a welding helmet with appropriate shade lenses and safety glasses underneath to protect against arc flash and sparks.
- Kūno apsauga: Dėvėkite ugniai atsparius drabužius, suvirinimo pirštines ir apsauginę avalynę.
- Vėdinimas: Ensure adequate ventilation in the work area to disperse welding fumes. Avoid breathing fumes directly.
- Elektros sauga: Never operate the welder in wet conditions. Ensure the power cord and connections are in good condition. Disconnect power before performing any maintenance or adjustments.
- Priešgaisrinė prevencija: Laikykite degias medžiagas atokiai nuo suvirinimo zonos. Turėkite po ranka gesintuvą.
- Darbo sritis: Darbo vieta turi būti švari ir tvarkinga. Užtikrinkite stabilų stovėjimą.
- Vaikai ir pašaliniai asmenys: Laikykite vaikus ir pašalinius asmenis atokiau nuo suvirinimo zonos.
3. Pakuotės turinys
Please check the package to ensure all the following items are included:
- AWELCO PROWELTEK ARC 250 Inverter Welder Unit
- Elektrodų laikiklis su kabeliu
- Gruntas Clamp su Kabeliu
- Welding Mask (basic)

Image: The AWELCO PROWELTEK ARC 250 Inverter Welder shown with its included electrode holder, ground clamp, and connecting cables.
4. Produktas baigtasview
Familiarize yourself with the main components of your ARC 250 Inverter Welder.
Priekinis skydelis

Vaizdas: priekis view of the AWELCO PROWELTEK ARC 250 Inverter Welder, highlighting the control panel, electrode holder connection, and ground clamp ryšį.
- Amperage Control Knob: Reguliuoja suvirinimo srovę.
- Skaitmeninis ekranas: Rodo srovę amperos nustatymas.
- Indikacinės lemputės: Power (green), Overload/Overheat (red).
- Elektrodo laikiklio prijungimas: Positive (+) terminal for the electrode holder.
- Gruntas Clamp Ryšys: Negative (-) terminal for the ground clamp.
Galinis skydelis

Vaizdas: Galinis view of the AWELCO PROWELTEK ARC 250 Inverter Welder, showing the main power switch and the cooling fan.
- Maitinimo jungiklis: Turns the welder ON/OFF.
- Aušinimo ventiliatorius: Provides essential cooling during operation. Ensure it is not obstructed.
- Maitinimo laidas: Connects the welder to the main power supply.
Išsami valdymo skydelio informacija

Paveikslėlis: detalus view of the control panel on the AWELCO PROWELTEK ARC 250, showing the amperage adjustment knob and the digital display for current settings.
5. Sąranka
5.1 Suvirinimo kabelių prijungimas
- Ensure the welder is turned OFF and unplugged from the power source.
- Connect the electrode holder cable to the positive (+) terminal on the front panel. Twist to secure.
- Prijunkite įžeminimą klamp cable to the negative (-) terminal on the front panel. Twist to secure.
- Pritvirtinkite žemę clamp securely to the workpiece or a clean, bare metal part of the welding table. Ensure good electrical contact.

Image: The electrode holder and ground clamp with their respective cables, ready for connection to the welder.
5.2 Maitinimo jungtis
- Įsitikinkite, kad maitinimo jungiklis galiniame skydelyje yra IŠJUNGTOJE padėtyje.
- Plug the welder's power cord into a suitable electrical outlet. Verify that the power supply matches the welder's requirements (voltage ir ampera).
6. Naudojimo instrukcijos
6.1 Basic Welding Procedure
- Paruoškite ruošinį: Clean the workpiece thoroughly to remove rust, paint, oil, or other contaminants.
- Pasirinkite elektrodą: Choose an electrode suitable for your material and welding task (e.g., rutile, basic, stainless steel, cast iron).
- Įdėkite elektrodą: Securely insert the electrode into the electrode holder.
- Nustatyti Amppakilimas: Turn the welder ON using the rear power switch. Adjust the amperage control knob to the recommended setting for your chosen electrode and material thickness. The digital display will show the current setting.
- Dėvėkite saugos priemones: Put on your welding helmet, gloves, and other protective gear.
- Pradžios lankas: Strike the electrode against the workpiece to initiate the arc. Maintain a consistent arc length and travel speed.
- Suvirinimas: Guide the electrode along the joint, maintaining the correct angle and travel speed.
- Baigti: When finished, lift the electrode, turn off the welder, and allow the workpiece to cool before handling.
6.2 Ampera Reguliavimas
Optimalus amperage setting depends on the electrode diameter, material type, and thickness. Refer to the electrode manufacturer's recommendations. Start with a lower setting and gradually increase until a stable arc and good weld penetration are achieved.
6.3 Saugos įranga
Always use the provided welding mask or a higher-quality auto-darkening helmet for optimal protection. Welding produces intense light and heat that can cause severe eye and skin damage.
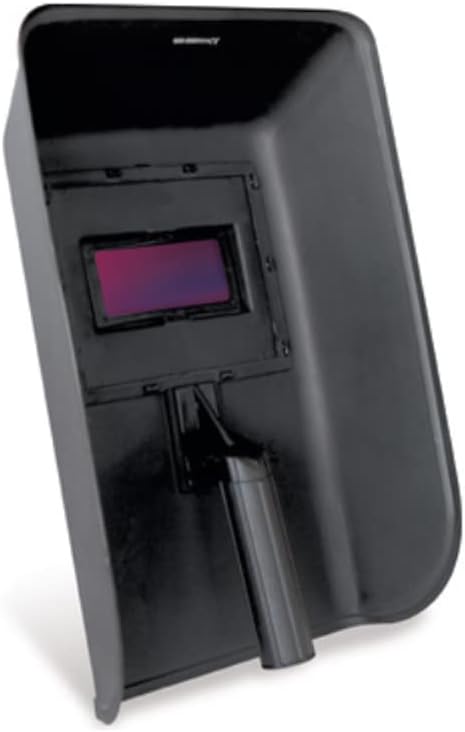
Image: A basic welding mask, essential for protecting the eyes and face from arc flash and sparks during welding operations.
7. Priežiūra
Reguliarus suvirinimo aparato aptarnavimas užtikrina jo ilgaamžiškumą ir saugų veikimą.
- Valymas: Periodically clean the exterior of the welder with a dry cloth. Use compressed air to blow out dust from the cooling vents. Ensure the welder is unplugged before cleaning.
- Kabelio apžiūra: Reguliariai tikrinkite suvirinimo kabelius, elektrodų laikiklį ir įžeminimo laidą.amp ar nėra pažeidimų, įpjovimų ar atsilaisvinusių jungčių. Nedelsdami pakeiskite pažeistus komponentus.
- Saugykla: Store the welder in a dry, clean, and well-ventilated area, away from direct sunlight and extreme temperatures.
8. Problemų sprendimas
Jei kyla problemų, dažniausiai pasitaikančias problemas ir jų sprendimus rasite toliau pateiktoje lentelėje.
| Problema | Galima priežastis | Sprendimas |
|---|---|---|
| Welder does not turn on | Nėra maitinimo šaltinio; Išjungtas maitinimo jungiklis; Sugedęs maitinimo laidas | Check power outlet; Ensure power switch is ON; Inspect power cord for damage. |
| Nėra lanko arba lankas silpnas | Poor ground connection; Incorrect amperage setting; Damp electrode; Loose cable connections | Ensure good ground contact; Adjust amperage; Use dry electrodes; Tighten all cable connections. |
| Overload/Overheat light on | Viršytas darbo ciklas; Nepakankama ventiliacija; Aukšta aplinkos temperatūra | Allow welder to cool down; Ensure cooling fan is not obstructed; Work in a cooler environment. |
| Pernelyg purslų | Amperage too high; Incorrect arc length; Dirty workpiece | Sumažinti amperage; Adjust arc length; Clean workpiece thoroughly. |
9. Specifikacijos
Technical specifications for the AWELCO PROWELTEK ARC 250 Inverter Welder.
| Funkcija | Detalė |
|---|---|
| Gamintojas | AWELCO |
| Modelio numeris | PR3436 |
| Technologijos | Inverteris |
| Suitable Electrodes | Rutile, Basic, Stainless Steel, Cast Iron |
| Reikalingos baterijos | Nr |
| Baterijos įtrauktos | Nr |
| Pirmoji laisva data | 21 m. vasario 2020 d |
10. Garantija ir palaikymas
For warranty information and technical support, please refer to the documentation provided with your purchase or contact AWELCO customer service directly. Keep your proof of purchase for any warranty claims.
You can often find additional support and contact details on the official AWELCO websvetainė: www.awelco.com