
1. Produktas baigtasview
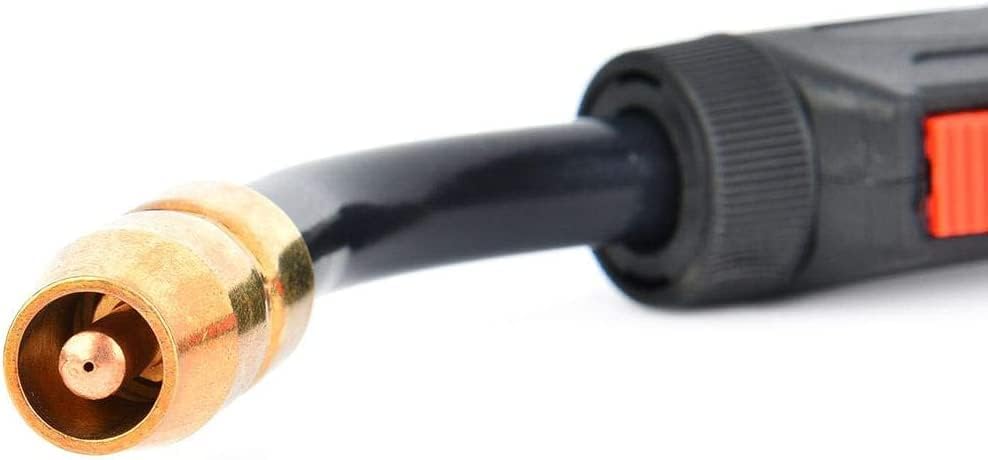
This manual provides instructions for the HITBOX 100A MIG Welding Gun, a 10-foot (3-meter) replacement torch designed for compatibility with various Miller M-series welders. This welding gun is suitable for MIG (GMAW) and Flux Cored (FCAW) processes, offering reliable performance for a range of welding applications.
Pagrindinės funkcijos:
- 10-foot (3m) cable length for extended reach.
- Įvertinta už 100 Amperes.
- Compatible with Miller M-series consumables.
- Designed to feed .030-.035 inch (0.8-0.9 mm) diameter welding wire.
- Ergonomic handle for comfortable grip and reduced fatigue.
- Electrically insulated metal jacket on the gun tube for optimized fine wire welding.
- Abrasion-resistant extruded rubber jacket on the cable for durability.
Suderinamumas: This MIG gun is compatible with Miller M-100 (M-10) MIG guns and can be used with models such as Miller SideKick, SideKick XL/Cricket XL/Millermatic 90, Millermatic 130/130XP/135/140s/175/180s/DVIs /211, Challenger, Challenger 172, Passport/Passport Plus, or Hobart IronMan 210.

2. Saugos informacija
Naudodami suvirinimo įrangą, visada teikite pirmenybę saugai. Nesilaikant saugos nurodymų, galite sunkiai susižaloti ar net mirti.
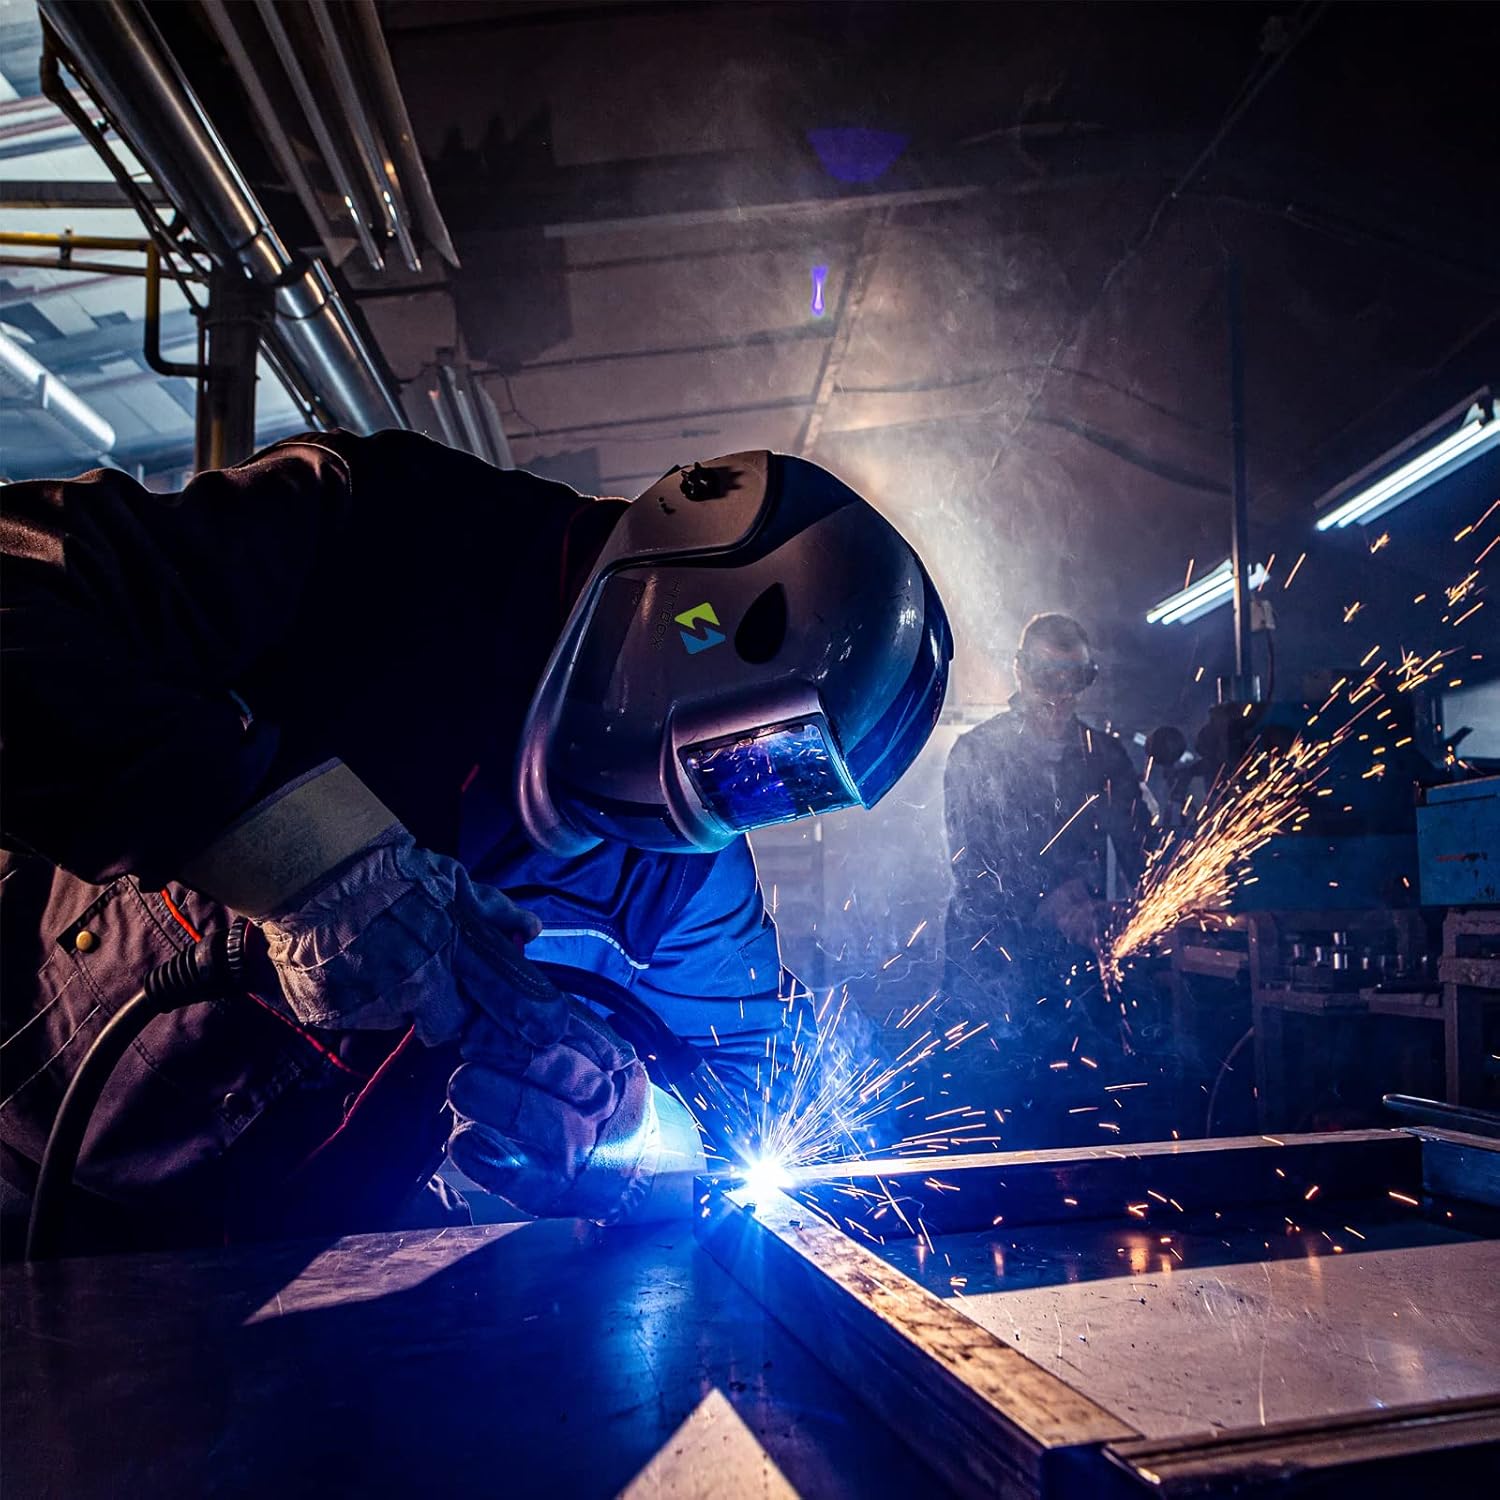
- Akių ir veido apsauga: Visada dėvėkite suvirinimo šalmą su atitinkamais užtamsintais lęšiais, kad apsaugotumėte akis ir veidą nuo lanko spindulių ir kibirkščių.
- Apsauginiai drabužiai: Wear flame-resistant clothing, heavy-duty gloves, and safety shoes to protect against burns and electrical shock.
- Vėdinimas: Ensure adequate ventilation to remove welding fumes and gases from the work area. If working in confined spaces, use a respirator.
- Priešgaisrinė prevencija: Keep a fire extinguisher nearby. Remove all flammable materials from the welding area. Sparks and hot metal can travel a significant distance.
- Elektros sauga: Ensure the welding machine is properly grounded. Do not touch live electrical parts. Inspect cables and connections for damage before each use.
- Darbo sritis: Darbo vieta turi būti švari ir tvarkinga. Užtikrinkite stabilų stovėjimą.
- Read Welder Manual: Always refer to your welding machine's instruction manual for specific safety precautions and operating procedures.
3. Sąranka
Proper setup is crucial for safe and effective welding. Follow these steps to prepare your HITBOX MIG Welding Gun for use.
3.1 Išpakavimas ir patikrinimas
- Carefully remove the welding gun from its packaging.
- Inspect the gun, cable, and connector for any signs of shipping damage. Do not use if damaged.
- Ensure all components, including the nozzle, contact tip, and gas diffuser, are present.

3.2 Connecting the Welding Gun
- Išjungti: Ensure your welding machine is turned off and unplugged from the power source.
- Raskite ryšio prievadą: Identify the MIG gun connection port on your welding machine. This is typically a multi-pin connector for power, gas, and trigger control.
- Įdėkite jungtį: Align the rear connector of the HITBOX MIG gun with the corresponding port on your welder. Push firmly until it is securely seated.
- Saugus ryšys: If your welder has a locking mechanism (e.g., a collar or nut), tighten it to ensure a stable connection.

3.3 Eksploatacinių medžiagų montavimas
The MIG gun uses Miller M-series consumables. Ensure you have the correct size for your welding wire.
- Gas Diffuser: Screw the gas diffuser onto the gun neck.
- Patarimas susisiekti: Select the appropriate contact tip for your wire size (.030-.035 inch). Screw the contact tip firmly into the gas diffuser.
- Antgalis: Slide the nozzle over the contact tip and gas diffuser. Ensure it is securely seated.

3.4 Wire Feeding
Refer to your welding machine's manual for specific instructions on loading welding wire. Generally:
- Atidarykite vielos tiektuvo skyrių.
- Load the wire spool onto the spindle.
- Thread the wire through the drive rolls and into the gun liner.
- Close the drive roll tension arm and adjust tension as needed.
- With the gun pointed away from yourself and others, press the trigger to feed the wire through the gun until it exits the contact tip.
4. Naudojimo instrukcijos
Once the MIG gun is properly set up, you can begin welding. Always wear appropriate personal protective equipment (PPE).
4.1 Pagrindinės operacijos
- Maitinimas: Turn on your welding machine.
- Dujų srautas: Open the gas cylinder valve and set the gas flow rate (typically 15-25 CFH for MIG welding with shielding gas).
- Nustatyti parametrus: Sureguliuokite garsumątage and wire feed speed on your welding machine according to the material thickness and wire type. Consult your welder's chart for recommended settings.
- Gruntas Clamp: Pritvirtinkite žemę clamp tvirtai pritvirtinkite prie ruošinio arba suvirinimo stalo, užtikrindami gerą elektros kontaktą.
- Position Gun: Position the MIG gun over the joint to be welded, maintaining the correct stick-out (distance from contact tip to workpiece).
- Inicijuoti lanką: Press the trigger on the MIG gun to start the wire feed and initiate the welding arc.
- Suvirinimas: Maintain a consistent travel speed and gun angle to create a uniform weld bead.
- Atleidimo gaidukas: Norėdami sustabdyti suvirinimą, atleiskite gaiduką.
5. Priežiūra
Regular maintenance ensures the longevity and optimal performance of your HITBOX MIG Welding Gun.
5.1 Kasdienė priežiūra
- Švarus antgalis: Remove spatter from the nozzle using pliers or a nozzle reamer. Excessive spatter can obstruct gas flow.
- Inspect Contact Tip: Check the contact tip for wear, enlargement of the bore, or excessive spatter. Replace if necessary.
- Check Gas Diffuser: Ensure the gas diffuser is clean and free of obstructions.
5.2 Periodinė priežiūra
- Patikrinkite kabelį: Check the entire length of the welding cable for cuts, abrasions, or kinks. Damaged cables can pose electrical hazards.
- Patikrinkite jungtis: Įsitikinkite, kad visos elektros ir dujų jungtys yra sandarios ir patikimos.
- Linijinė apžiūra: If wire feeding issues occur, the gun liner may need cleaning or replacement. Consult your welder's manual for liner maintenance.
6. Problemų sprendimas
Šiame skyriuje aptariamos dažniausiai pasitaikančios problemos, su kuriomis galite susidurti eksploatacijos metu.
| Problema | Galima priežastis | Sprendimas |
|---|---|---|
| Poor Arc Starting / Unstable Arc |
|
|
| Wire Feeding Problems (Sticking, Erratic Feed) |
|
|
| Porosity (Holes in Weld) |
|
|
| Overheating Gun |
|
|
7. Specifikacijos
| Parametras | Vertė |
|---|---|
| Modelio numeris | HP000059 |
| Kabelio ilgis | 10 pėdos (3 metro) |
| Nominali srovė | 100 Amperes |
| Processes Supported | MIG (GMAW), Flux Cored (FCAW) |
| Suderinamas laido dydis | 0.030–0.035 colio (0.8–0.9 mm) |
| Torch Handle Type | Vientisas gabalas |
| Degiklio tipas | MIGmatic M Series |
| Prekės svoris | 6.93 svaro |
| Gaminio matmenys | 180 x 2.4 x 2.4 colio |
8. Garantija ir palaikymas
For warranty information, technical support, or replacement parts, please contact HITBOX customer service through their official websvetainėje arba mažmenininke, iš kurio įsigijote produktą. Išsaugokite pirkimo kvitą kaip pirkimo įrodymą.