1. Įvadas
The ARGO Iro Plus is a versatile portable air conditioner designed for year-round comfort, featuring both cooling and heating capabilities. Its minimalist design and intuitive controls make it a perfect addition to any living space. This manual provides essential information for the safe and efficient operation, setup, and maintenance of your ARGO Iro Plus unit.
Pagrindinės funkcijos:
- Portable air conditioner with heat pump, Energy Class A.
- Four operating modes: Cooling, Heating, Ventilation, and Dehumidification.
- Trys ventiliatoriaus greičiai individualiam oro srautui.
- Motorized top flap with Swing function for wide air distribution.
- Digital 24-hour timer for scheduled operation.
- Sleep function for enhanced comfort during rest.
- Memory function for automatic restart with previous settings after power interruption.
- Aplinkai nekenksmingas R290 šaltnešis.
- Equipped with practical handles and multi-directional wheels for easy portability.
2. Saugos informacija
Prieš naudodami prietaisą, atidžiai perskaitykite visus saugos įspėjimus ir instrukcijas, kad išvengtumėte sužalojimų ar žalos. Išsaugokite šį vadovą ateičiai.
- Visada junkite įrenginį prie įžeminto maitinimo lizdo su tinkamu įtampos lygiutage.
- Nenaudokite įrenginio su pažeistu maitinimo laidu arba kištuku.
- Neužblokuokite oro įleidimo ar išleidimo angų. Užtikrinkite pakankamą tarpą aplink įrenginį, kad būtų užtikrintas tinkamas oro cirkuliavimas.
- Nekiškite pirštų ar daiktų į oro išleidimo angas.
- Keep the unit away from water and other liquids. Do not use in bathrooms or very humid environments.
- Prieš valydami ar atlikdami bet kokią techninę priežiūrą, atjunkite įrenginį nuo elektros tinklo.
- Nebandykite patys taisyti ar modifikuoti įrenginio. Dėl remonto kreipkitės į kvalifikuotus techninės priežiūros darbuotojus.
- Šis prietaisas nėra skirtas naudoti asmenims (įskaitant vaikus), kurių fizinės, jutimo ar psichikos negalios arba neturintys patirties ir žinių, nebent už jų saugumą atsakingas asmuo juos prižiūrėtų arba instruktuotų, kaip naudoti prietaisą.
- Vaikus reikia prižiūrėti, kad jie nežaistų su prietaisu.
3. Gaminio komponentai
Familiarize yourself with the main parts of your ARGO Iro Plus portable air conditioner.

3.1 pav.: priekis view of the ARGO Iro Plus portable air conditioner, showcasindėl savo elegantiško balto dizaino ir kompaktiškos formos.

3.2 pav.: Kitas frontas view of the ARGO Iro Plus, highlighting the minimalist design.

3.3 pav.: Iš viršaus į apačią view of the control panel with digital display and touch-sensitive buttons for various functions like Swing, Timer, Speed, Temperature Up/Down, Mode, Sleep, and Power.

3.4 pav.: galinis view of the unit, showing the exhaust air outlet, power cord storage, and air intake grilles.

3.5 pav.: šonas view of the ARGO Iro Plus, highlighting the integrated handle for easy lifting and portability.

3.6 pav.: šonas view of the ARGO Iro Plus, showing the exhaust port and side grilles.

Figure 3.7: Technical diagram illustrating the dimensions of the ARGO Iro Plus unit: 770mm height, 470mm width, and 382mm depth.
Pridedami priedai:
- Lanksti išmetimo žarna
- Langų adapteris
- Kit for Fixed Glass Installation
- Nuotolinio valdymo pultas
4. Sąranka ir diegimas
4.1 Įdėjimas
Place the ARGO Iro Plus on a flat, stable surface. Ensure there is at least 30 cm (12 inches) of clearance around the unit for proper air circulation. Do not place the unit near heat sources or in direct sunlight.
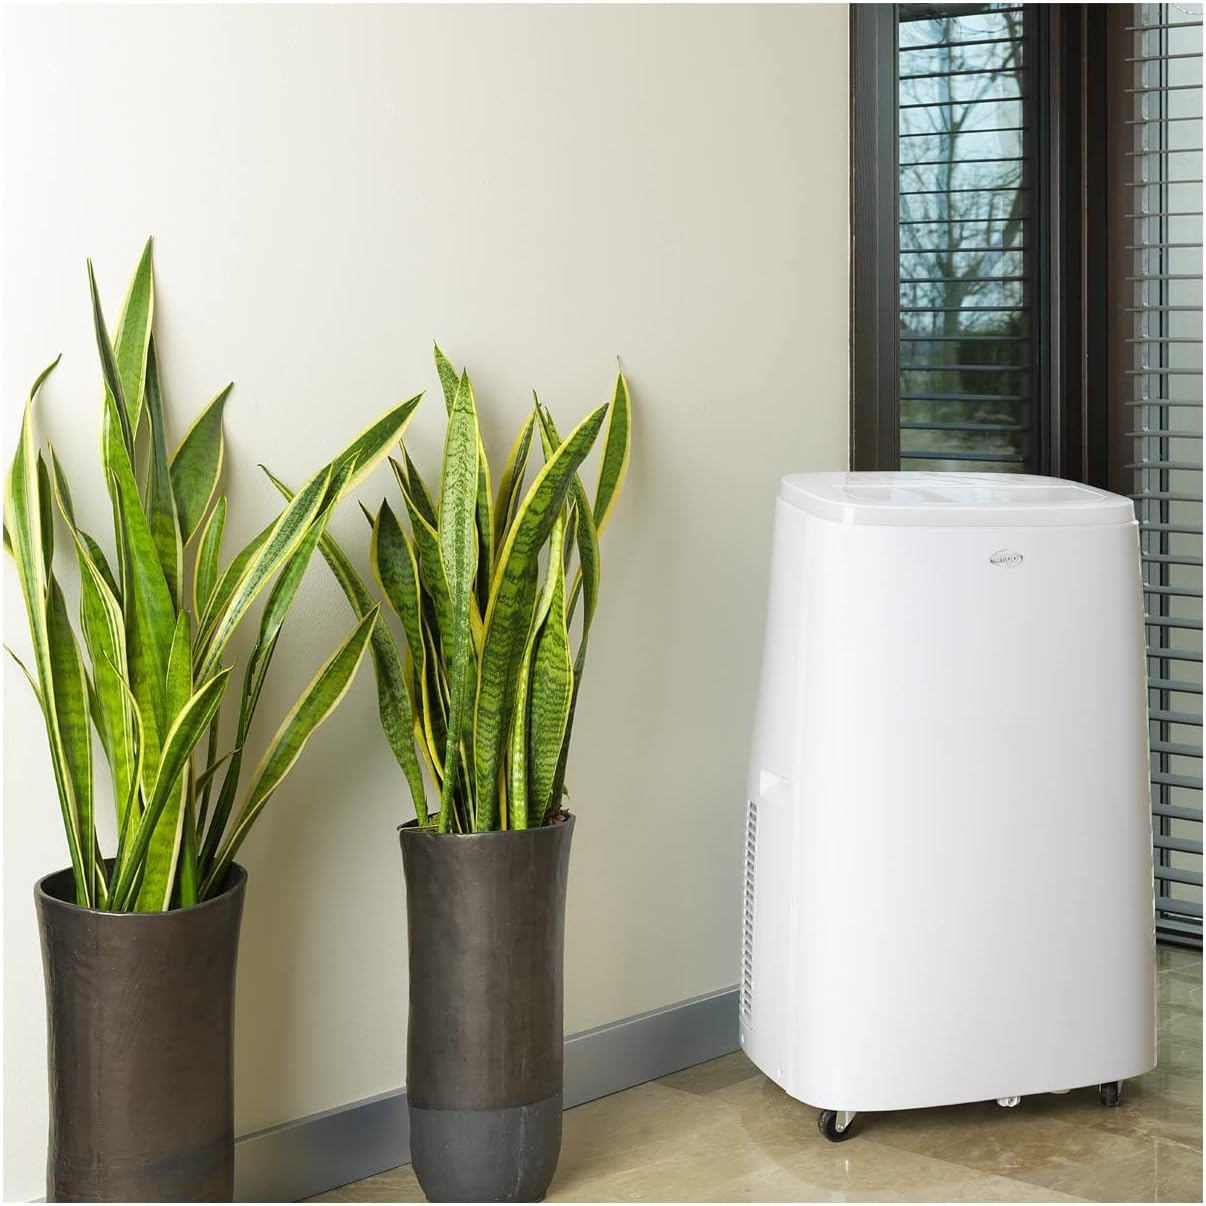
Figure 4.1: The ARGO Iro Plus unit positioned in a room, demonstrating suitable placement near a window for exhaust hose connection.
4.2 Išmetimo žarnos montavimas
- Attach one end of the flexible exhaust hose to the air outlet on the back of the unit. Twist clockwise until securely fastened.
- Pritvirtinkite lango adapterį prie kito išmetimo žarnos galo.
- Open a window or sliding door and place the window adapter firmly in the opening. Ensure the opening is sealed as much as possible to prevent outside air from entering.
- For fixed glass installations, use the provided kit according to its specific instructions.
Svarbu: The exhaust hose must be as short and straight as possible to ensure optimal performance. Bends or excessive length will reduce efficiency.
5. Naudojimo instrukcijos
Your ARGO Iro Plus can be operated using the control panel on the top of the unit or the included remote control.
5.1 Valdymo skydas baigtasview
Refer to Figure 3.3 for the layout of the control panel buttons.
- Įjungimo mygtukas: Įjungia arba išjungia įrenginį.
- MODE mygtukas: Cycles through operating modes: Cool, Heat, Fan, Dehumidify.
- AUKŠTYN/ŽEMYN mygtukai: Sureguliuokite temperatūros nustatymus arba laikmačio trukmę.
- SPEED mygtukas: Pasirenka ventiliatoriaus greitį (mažas, vidutinis, didelis).
- TIMER mygtukas: Nustato automatinio įjungimo arba automatinio išjungimo laikmatį.
- SWING mygtukas: Activates or deactivates the automatic swing function of the top flap.
- MIEGO mygtukas: Activates Sleep mode for quiet operation and optimized temperature control during sleep.
5.2 Darbo režimai
- Aušinimo režimas: For cooling the room. Set desired temperature using UP/DOWN buttons.
- Šildymo režimas: For heating the room (Heat Pump function). Set desired temperature.
- Ventiliatoriaus režimas: Cirkuliuoja orą be aušinimo ar šildymo. Pasirinkite norimą ventiliatoriaus greitį.
- Drėgmės šalinimo režimas: Removes moisture from the air. The unit will operate at a low fan speed. Continuous drainage is recommended in this mode.
5.3 Laikmačio funkcija
24 valandų laikmatis leidžia nustatyti, kad prietaisas automatiškai įsijungtų arba išsijungtų po nustatyto laiko.
- Paspauskite TIMER mygtuką.
- Use the UP/DOWN buttons to set the desired delay time (in hours).
- Laikmatis įsijungs po kelių sekundžių.
6. Priežiūra
Regular maintenance ensures optimal performance and extends the lifespan of your ARGO Iro Plus. Always unplug the unit before cleaning.
6.1 Oro filtro valymas
Oro filtrą reikia valyti kas dvi savaites arba dažniau, jei įrenginys naudojamas dulkėtoje aplinkoje.
- Išjunkite ir atjunkite įrenginį.
- Suraskite oro filtro skydelį (paprastai šone arba gale).
- Išimkite filtrą.
- Filtrą išvalykite dulkių siurbliu arba švelniai nuplaukite drungnu vandeniu ir švelniu plovikliu.
- Prieš vėl įdėdami filtrą, leiskite jam visiškai išdžiūti.
6.2 Vandens išleidimas
The unit automatically evaporates most condensation. However, in high humidity conditions or during dehumidification mode, the internal water tank may fill up. The unit will stop operating and display an indicator when the tank is full.
- Išjunkite ir atjunkite įrenginį.
- Po drenažo anga (dažniausiai apačioje, gale) padėkite negilų indą arba keptuvę.
- Išsukite išleidimo kamštį, kad vanduo galėtų tekėti.
- Once drained, replace the drain plug firmly.
- For continuous drainage in dehumidification mode, connect a suitable drain hose (not included) to the continuous drainage outlet.
7. Problemų sprendimas
Prieš kreipdamiesi į klientų aptarnavimo tarnybą, peržiūrėkite toliau nurodytas dažniausiai pasitaikančias problemas ir jų sprendimus.
| Problema | Galima priežastis | Sprendimas |
|---|---|---|
| Įrenginys neįsijungia. | Nėra elektros, atsilaisvinęs maitinimo laidas, suveikė grandinės pertraukiklis. | Patikrinkite maitinimo jungtį, įsitikinkite, kad lizdas veikia, iš naujo nustatykite grandinės pertraukiklį. |
| Unit is running but not cooling/heating. | Exhaust hose blocked/disconnected, room too large, windows/doors open, air filter dirty, temperature setting too high/low. | Ensure exhaust hose is properly installed and unblocked. Close windows/doors. Clean air filter. Adjust temperature setting. |
| Įrenginys triukšmingas. | Unit not on a flat surface, fan speed too high, internal components loose. | Place unit on a flat surface. Reduce fan speed. If noise persists, contact support. |
| Vandens nutekėjimas. | Drain plug loose, continuous drainage hose not properly connected, unit tilted. | Ensure drain plug is secure. Check continuous drainage hose connection. Place unit on a level surface. |
| "Full Tank" indicator (or similar) is on. | Vidinis vandens bakas pilnas. | Drain the water tank as described in Section 6.2. |
If the problem persists after trying these solutions, please contact ARGO customer support.
8. Specifikacijos
| Modelio numeris | IRO PLUS |
| Prekės ženklas | ARGO |
| Gaminio matmenys (A x P x G) | 77 x 47 x 38 cm |
| Prekės svoris | 31.5 kg |
| Formos faktorius | Nešiojami |
| Aušinimo talpa | 13000 BTU/val |
| ttage | 216.67 V |
| Energijos šaltinis | Su laidu elektra |
| Energijos vartojimo efektyvumo įvertinimas | A |
| Ypatingos savybės | Automatic shutdown, Cooling, Dehumidification, Fan, Heating, Air filter |
| Pirmoji laisva data | 15 m. sausio 2020 d |
9. Garantija ir palaikymas
9.1 Informacija apie garantiją
The ARGO Iro Plus portable air conditioner comes with a 2 metų tiekėjo garantija nuo įsigijimo datos. Ši garantija taikoma medžiagų ir gamybos defektams įprasto naudojimo sąlygomis. Išsaugokite pirkimo įrodymą, jei norėtumėte pateikti pretenzijas dėl garantijos.
Garantija neapima žalos, atsiradusios dėl:
- Netinkamas įrengimas arba naudojimas nesilaikant šio vadovo nurodymų.
- Accidents, abuse, neglect, fire, water, lightning, or other acts of nature.
- Neleistinas remontas ar modifikavimas.
- Normalus nusidėvėjimas.
9.2 Pagalba klientams
For technical assistance, troubleshooting beyond this manual, or warranty claims, please contact ARGO customer support through their official website or the retailer where you purchased the product. Have your model number (IRO PLUS) and purchase date ready.


