
1. Įvadas
The atolla Aluminum 5-Port USB 3.0 Hub is designed to expand the connectivity of your computer, providing four high-speed USB 3.0 data ports and one dedicated USB smart charging port. This hub features individual power switches for each port, allowing for efficient power management and device control. Its aluminum alloy construction ensures durability and a sleek design suitable for various environments.
Pagrindinės funkcijos:
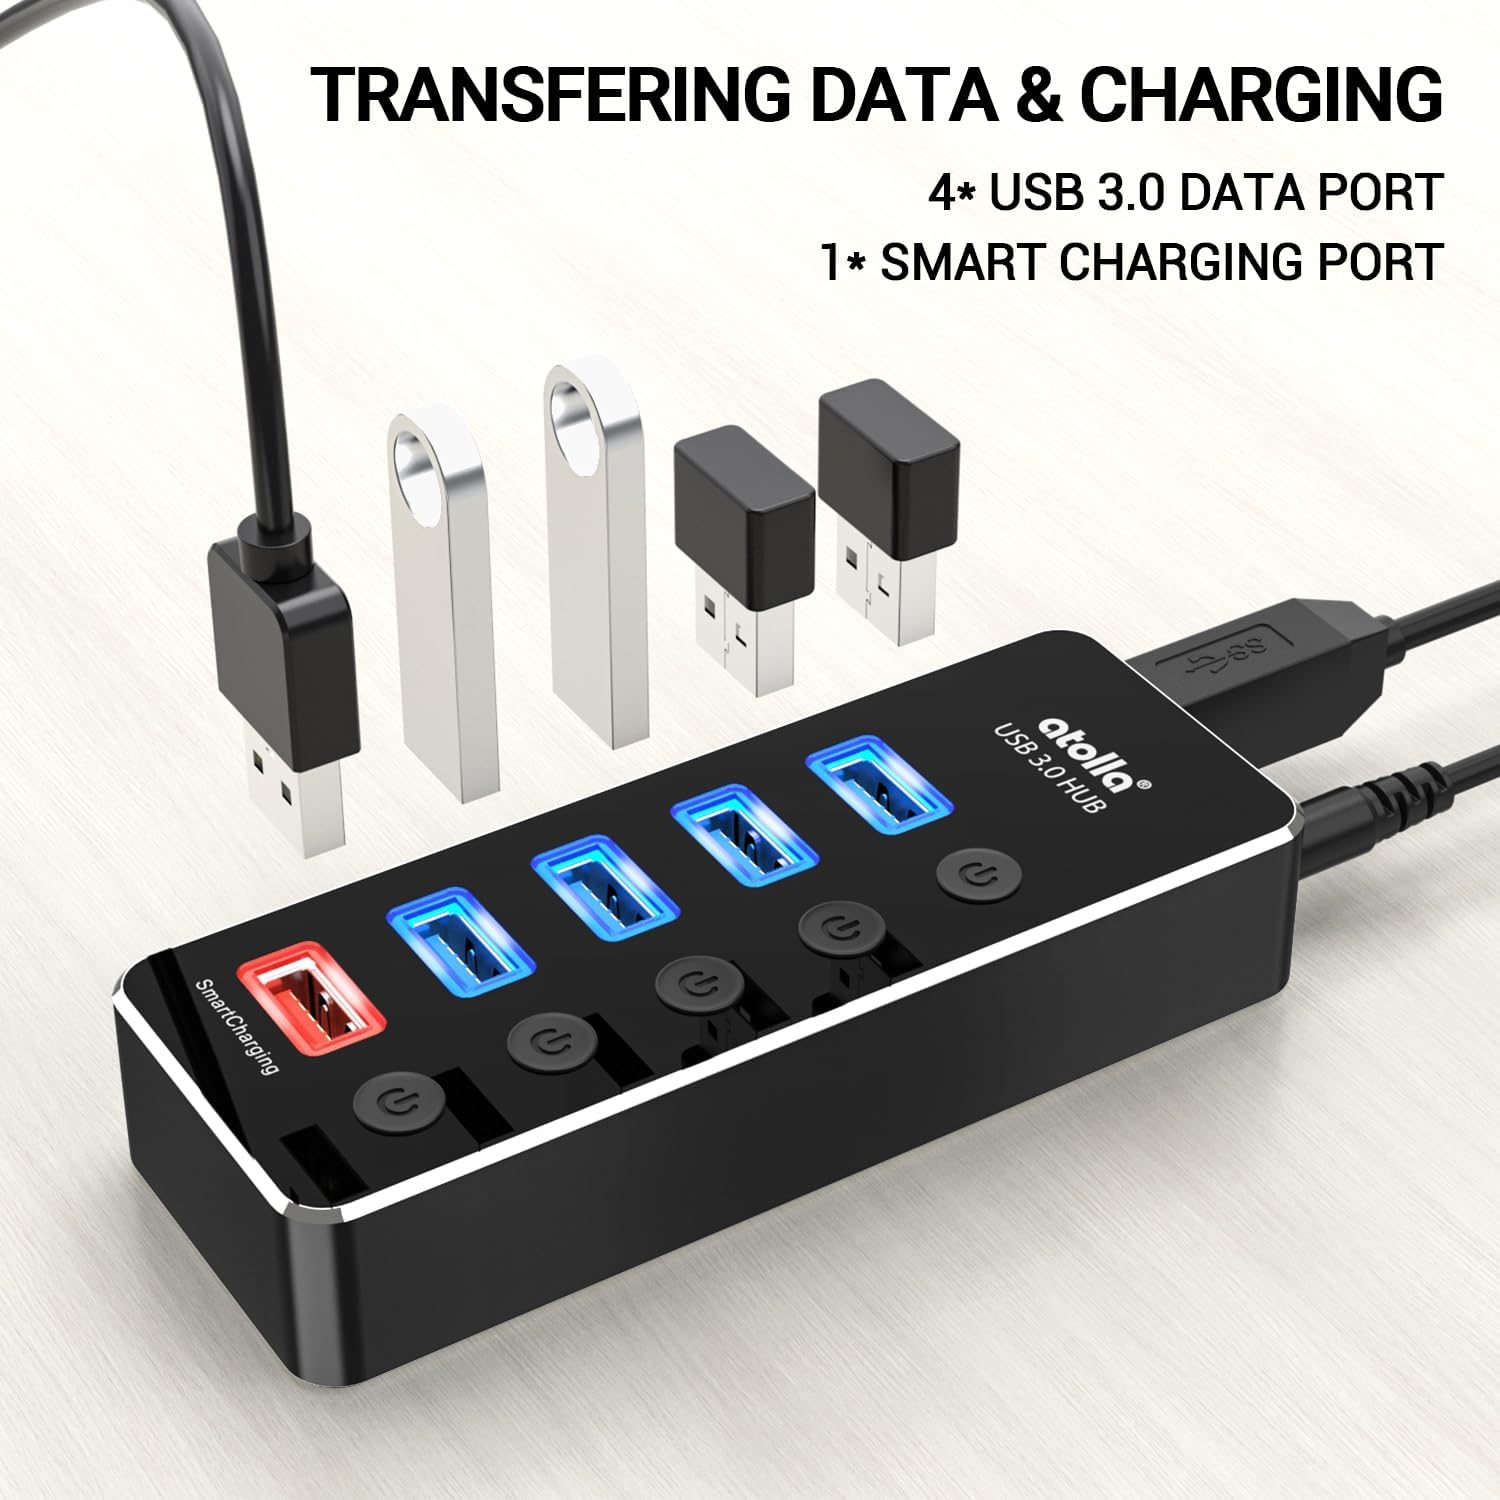
- 4 USB 3.0 duomenų prievadai: Offers data transfer speeds up to 5Gbps, backward compatible with USB 2.0 devices.
- 1 USB Smart Charging Port: Pristato iki 2.4 Amps for charging smartphones, tablets, and other USB-powered devices.
- Individual Switches with LED: Each port has an independent on/off switch with an LED indicator for status.
- Plug and Play: Daugumai operacinių sistemų nereikia diegti tvarkyklių.
- Platus suderinamumas: Supports Windows, Mac OS X, and Linux operating systems.

2. Sąrankos instrukcijos
Follow these steps to set up your atolla USB 3.0 Hub:
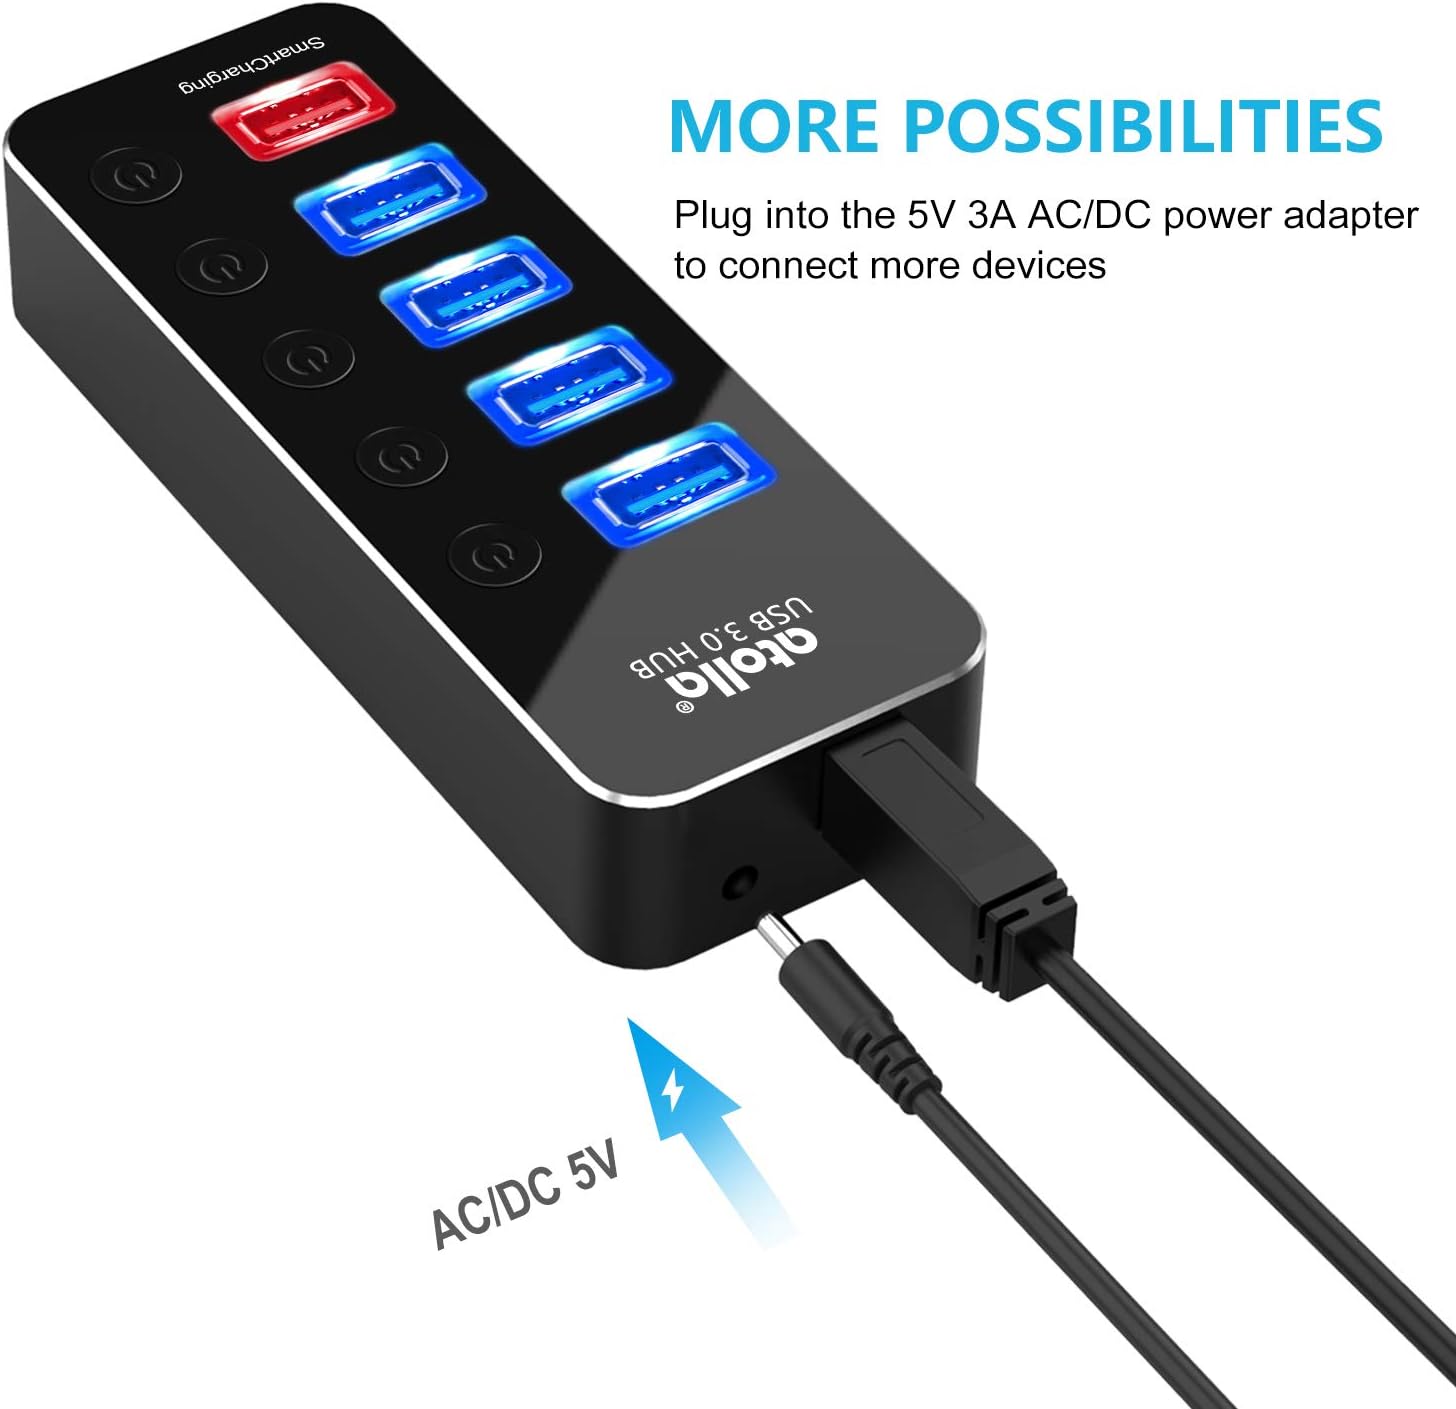
- Prijunkite maitinimo adapterį: Insert the DC plug of the provided 5V/3A power adapter into the power input port on the atolla USB hub. Plug the power adapter into a wall outlet. This step is crucial for stable operation, especially when connecting multiple devices or using the smart charging port.
- Prisijunkite prie kompiuterio: Use the included USB cord to connect the atolla USB hub to an available USB 3.0 port on your computer. The hub is plug-and-play, so your operating system should automatically detect and install any necessary drivers.
- Prijunkite USB įrenginius: Plug your USB devices (e.g., external hard drives, keyboards, mice, flash drives) into the blue USB 3.0 data ports on the hub. For charging mobile devices, use the red Smart Charging port.
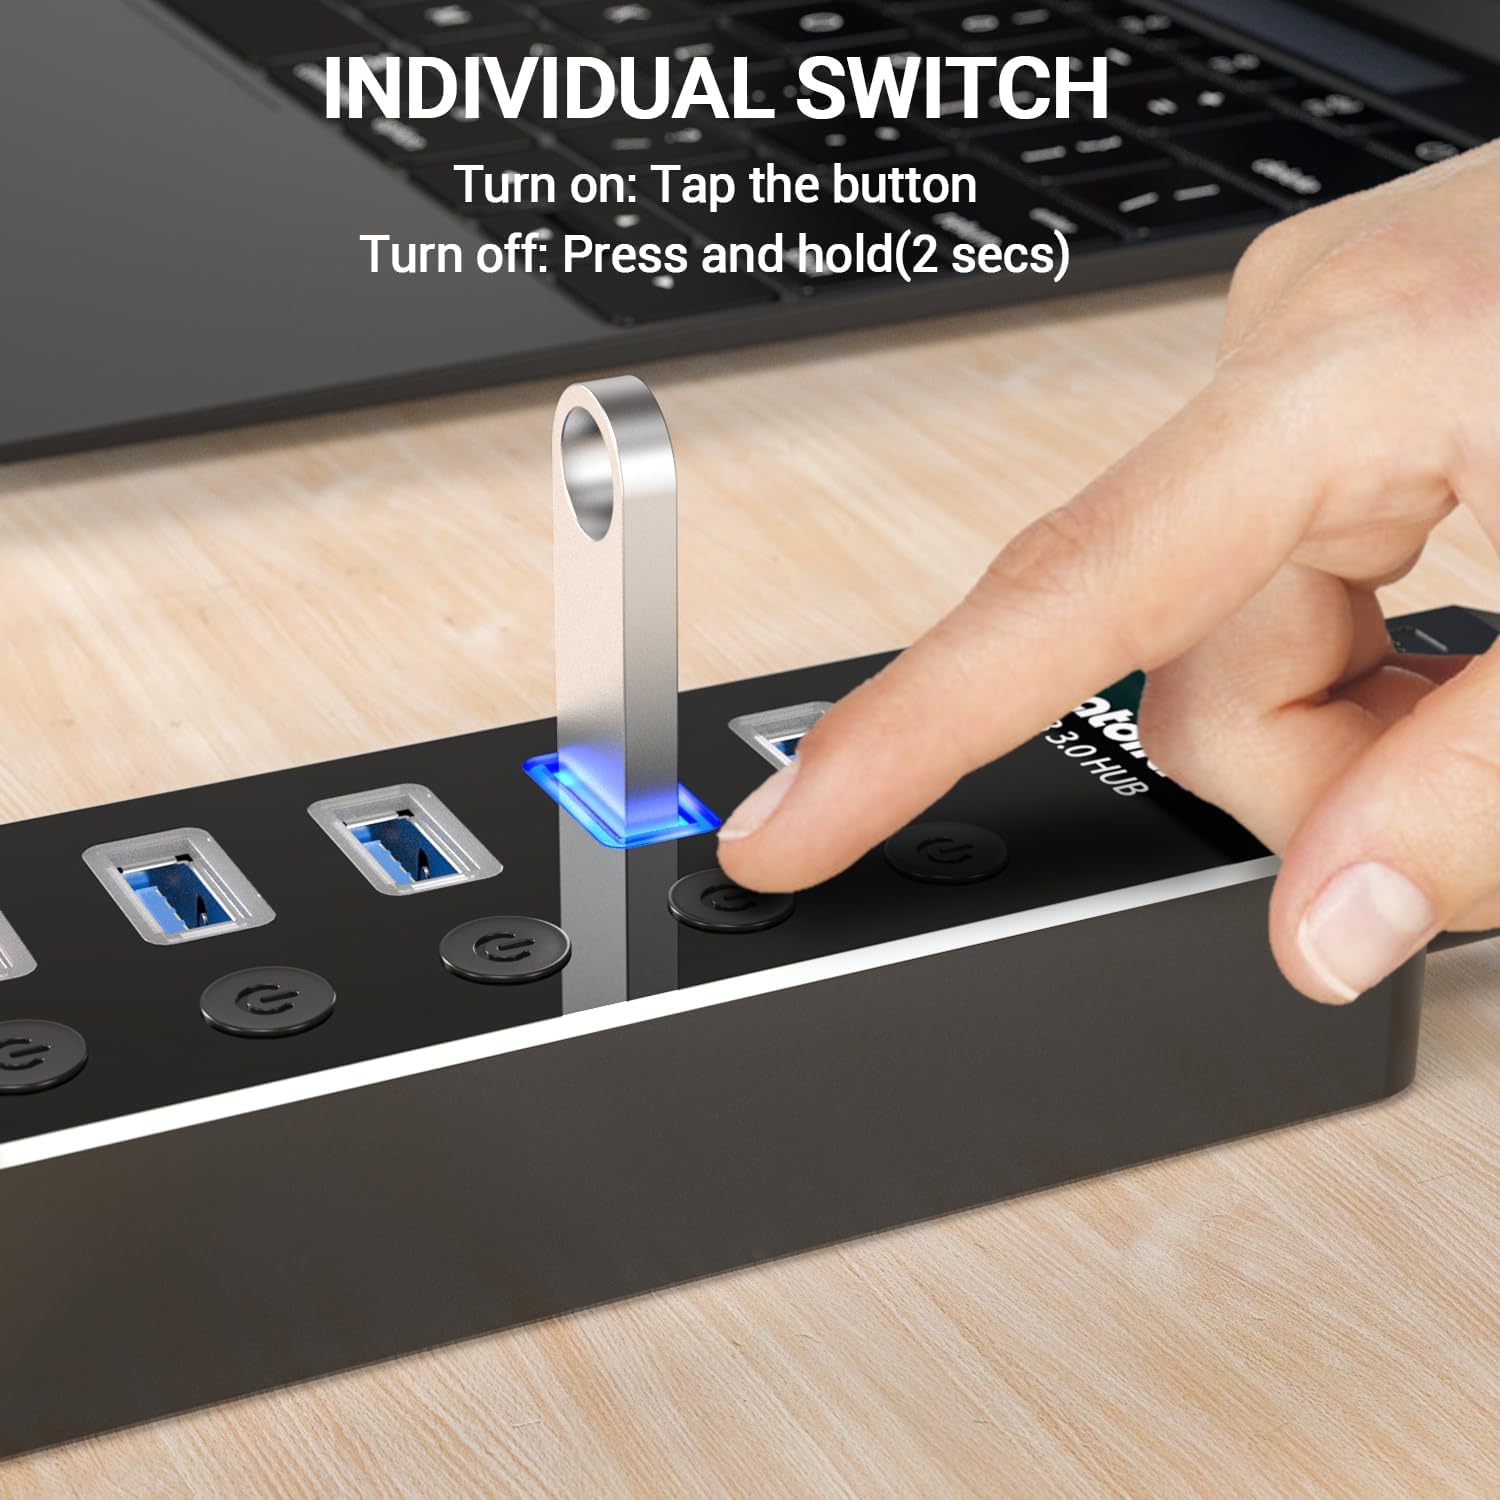
- Activate Ports: Each data port has an individual power switch. Tap the button next to the desired port to turn it on. The blue LED indicator above the port will illuminate, signifying that the port is active.
3. Naudojimo instrukcijos
The atolla USB hub is designed for ease of use. Here's how to operate its various functions:
3.1. Using USB 3.0 Data Ports
The four blue USB 3.0 ports support high-speed data transfer up to 5Gbps. Connect your USB 3.0 compatible devices for optimal performance. These ports are also backward compatible with USB 2.0 devices, though data transfer speeds will be limited to USB 2.0 specifications.

3.2. Using the Smart Charging Port
The red port labeled "SmartCharging" is a dedicated charging port. It provides up to 2.4 Amps, suitable for rapidly charging smartphones, tablets, and other USB-powered devices. This port is optimized for efficient charging across various device types, including Android, Apple, and Samsung devices.
3.3. Individual Port Switches
Each USB data port features an individual on/off switch. This allows you to control power to specific devices without unplugging them. To turn a port on, simply tap its corresponding button. The blue LED will light up. To turn a port off, press and hold the button for approximately 2 seconds until the LED turns off. This feature helps conserve power and manage connected devices efficiently.

4. Priežiūra
To ensure the longevity and optimal performance of your atolla USB hub, follow these maintenance guidelines:
- Valymas: Use a soft, dry cloth to clean the exterior of the hub. Avoid using liquid cleaners, aerosols, or solvents, as these may damage the finish or internal components.
- Saugykla: Kai nenaudojate, laikykite šakotį vėsioje, sausoje vietoje, toliau nuo tiesioginių saulės spindulių ir ekstremalių temperatūrų.
- Tvarkymas: Avoid dropping the hub or subjecting it to strong impacts. Do not attempt to disassemble the unit, as this will void the warranty.
- Vėdinimas: Ensure the hub is placed in an area with adequate ventilation to prevent overheating, especially during prolonged use with multiple devices.
5. Problemų sprendimas
If you encounter issues with your atolla USB hub, refer to the following troubleshooting steps:
- Įrenginys neatpažintas:
- Ensure the hub is properly connected to your computer's USB port.
- Verify that the individual switch for the connected port is turned on (LED should be blue).
- Try connecting the device directly to your computer to confirm it functions independently.
- Paleiskite kompiuterį iš naujo ir vėl prijunkite šakotuvą.
- Ensure the power adapter is connected and supplying power to the hub. Some devices require more power than can be supplied by the computer's USB port alone.
- Mažas duomenų perdavimo greitis:
- Confirm that both your computer's USB port and the connected device support USB 3.0. If either is USB 2.0, speeds will be limited to USB 2.0.
- Venkite vienu metu prijungti per daug didelės spartos įrenginių.
- Ensure the power adapter is connected to provide sufficient power for all connected devices.
- Charging Issues (Smart Charging Port):
- Verify that the power adapter is securely connected to the hub and a power outlet. The smart charging port requires external power.
- Patikrinkite, ar įkrovimo laidas nepažeistas, ir įsitikinkite, kad jis tinkamai prijungtas prie įrenginio ir šakotuvo.
- Try charging the device directly from a wall adapter to confirm the device and cable are functional.
- LED indikatorius neveikia:
- If an individual port's LED is not lighting up, ensure the button has been tapped to activate the port.
- If the hub's main power indicator (if present) is off, check the power adapter connection.
6. Specifikacijos
| Funkcija | Detalė |
|---|---|
| Modelio numeris | THX-050300KD |
| Gaminio matmenys | 4.76 x 1.81 x 0.91 colio |
| Prekės svoris | 8.5 uncijos |
| USB duomenų prievadai | 4 x USB 3.0 (iki 5 Gbps) |
| Įkrovimo prievadas | 1 x USB Smart Charging (up to 2.4A) |
| Maitinimo adapteris | 5V/3A |
| Techninės įrangos sąsaja | USB, USB 3.0 |
| Suderinami įrenginiai | Nešiojamieji kompiuteriai, išmanieji telefonai, planšetiniai kompiuteriai |
| Operacinės sistemos | Windows 10, 8.1, 8, 7, Vista, XP, Mac OS X (10.x or above), Linux |
| Medžiaga | Aliuminio lydinys |
7. Garantija ir palaikymas
atolla provides an 18 mėnesių produkto garantija for this USB hub. Additionally, lifetime customer service is available to assist you with any inquiries or issues.
You may also be eligible to extend your warranty for free by registering your product with atolla. Please refer to the product packaging or the official atolla website for details on warranty registration and support contact information.
For further assistance, please visit the official atolla websvetainėje arba susisiekite su klientų aptarnavimo komanda.