
Scheppach MS225-53E
Scheppach MS225-53E Gasoline Lawnmower User Manual
Model: MS225-53E | Brand: Scheppach
Įvadas
This manual provides essential information for the safe and efficient operation, maintenance, and troubleshooting of your Scheppach MS225-53E gasoline lawnmower. Please read this manual thoroughly before operating the machine and keep it for future reference.

Image: The Scheppach MS225-53E gasoline lawnmower, showcasing its robust design and the included battery for electric start.
Saugos instrukcijos
Naudodami vejapjovę, visada teikite pirmenybę saugumui. Nesilaikant šių nurodymų, galite sunkiai susižaloti arba sugadinti įrenginį.
- Read and understand all instructions before operating the lawnmower.
- Wear appropriate personal protective equipment (PPE), including eye protection, hearing protection, sturdy footwear, and long trousers.
- Laikykite vaikus, naminius gyvūnus ir pašalinius asmenis atokiau nuo darbo zonos.
- Niekada neeksploatuokite vejapjovės šlapioje žolėje ar lyjant lietui.
- Ensure the engine is off and the spark plug cap is removed before performing any maintenance or cleaning.
- Handle fuel with extreme care. Store fuel in approved containers and refuel outdoors in a well-ventilated area.
- Nenaudokite vejapjovės labai stačiose šlaituose.
- Prieš pjaudami veją, apžiūrėkite, ar nėra jokių daiktų, kuriuos peilis galėtų išmesti.
Komponentai baigėsiview
Familiarize yourself with the main parts of your Scheppach MS225-53E lawnmower:
- Variklis: Powerful 224 cm³ 4-stroke gasoline engine with 6 HP.
- Pjovimo denis: Robust deck with an XXL cutting width of 53 cm.
- Žolės gaudyklė: Large 65-liter grass catcher with a fill level indicator.
- Vairas: Double-foldable handle for easy and space-saving storage.
- Ratų pavara: Switchable wheel drive for effortless mowing, especially on slopes.
- Pjovimo aukščio reguliavimas: Central 7-fold cutting height adjustment (25 – 75 mm).
- Pradėti sistemą: Electric start and pull cord start options.
- Šoninis išleidimas: Integrated side discharge function.
- Mulching Function: For professional mulching results.
- Valymo funkcija: Integrated cleaning function with water connection.

Image: Diagram illustrating the 7-in-1 functions of the lawnmower: Mowing, Catching, Mulching, Side Discharge, Cleaning Function, Wheel Drive, Hybrid-Start.
Sąranka
1. Surinkimas
The lawnmower comes partially pre-assembled. Follow these steps for final assembly:
- Vairo mazgas: Unfold the handlebar and secure it in place using the provided knobs or levers. Ensure all cables are routed correctly and not pinched.
- Žolės surinkimo surinkimas: Assemble the grass catcher according to the instructions and attach it to the rear of the lawnmower.
- Šoninis išmetimo latakas (pasirinktinai): If using the side discharge, attach the chute to the side opening of the cutting deck.
2. Initial Fluid Checks
Before the first use, ensure proper fluid levels:
- Variklio alyva: Fill the engine with the recommended 4-stroke engine oil. Refer to the engine manual for specific oil type and capacity. Do not overfill.
- Kuras: Fill the fuel tank with fresh, unleaded gasoline. Do not use E10 fuel unless specified by the manufacturer.
3. Battery Installation (for E-Start)
Insert the fully charged lithium battery into its designated compartment for the electric start function.

Image: Close-up of the electric start button, highlighting the convenience of the hybrid start system which eliminates the need for choking or priming.
Vejapjovės valdymas
1. Variklio užvedimas
- Elektrinis paleidimas: Ensure the battery is charged and inserted. Press and hold the safety bar on the handlebar, then press the electric start button.
- Pull Cord Start: If the electric start is not used or the battery is low, hold the safety bar, then pull the starter cord firmly and smoothly until the engine starts.
2. Pjovimo aukščio reguliavimas
The cutting height can be centrally adjusted in 7 steps from 25 mm to 75 mm.
- Ensure the engine is off.
- Locate the central height adjustment lever on the side of the lawnmower.
- Patraukite svirtį į išorę ir nustatykite norimą aukštį. Atleiskite svirtį, kad ji užsifiksuotų.

Image: A hand adjusting the central cutting height lever, showing the range of 25-75 mm across 7 positions.
3. Engaging Wheel Drive
The switchable wheel drive assists in mowing, especially on uneven or sloped terrain.
- To engage the wheel drive, pull the drive lever (usually located on the handlebar) towards you.
- Release the lever to disengage the drive.
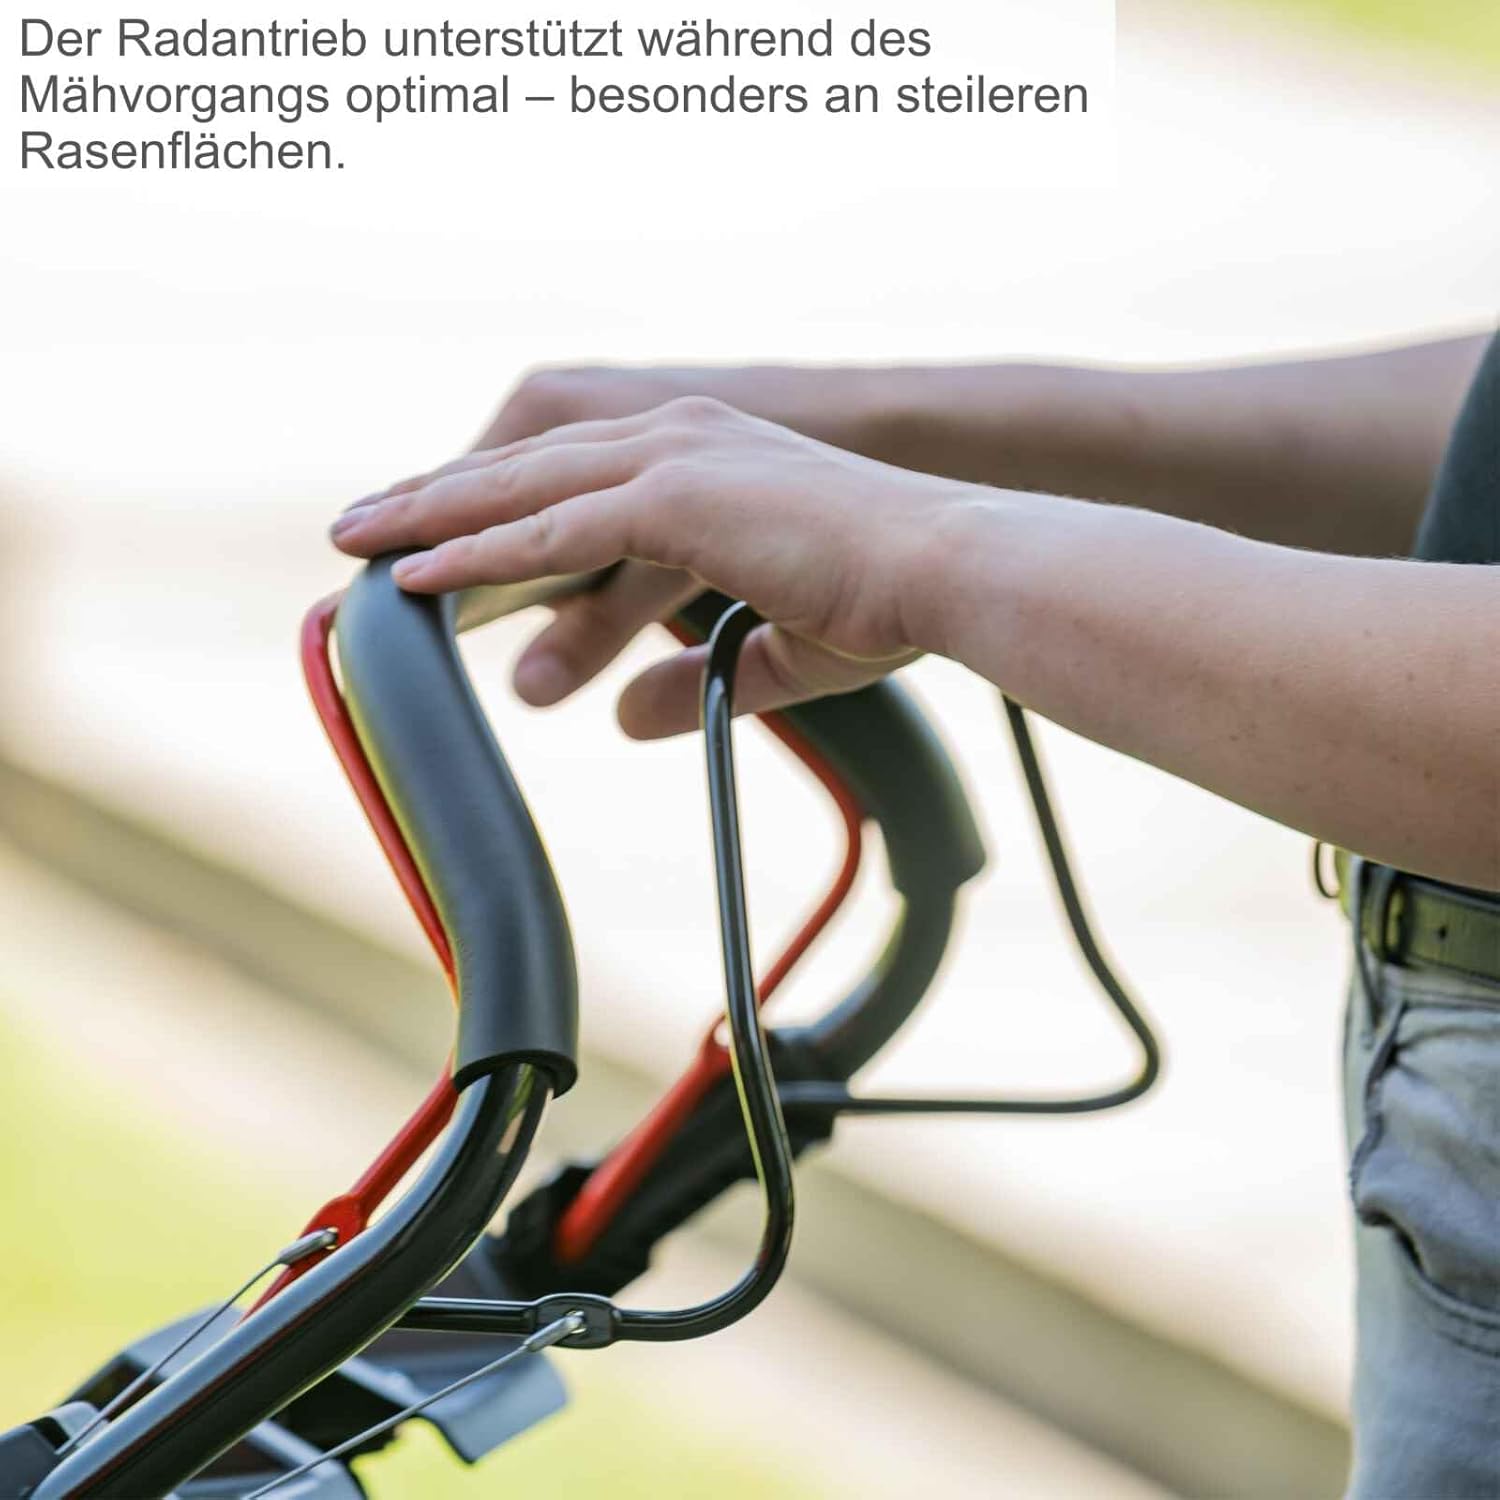
Image: Hands on the handlebar, demonstrating the engagement of the wheel drive, which provides optimal support during mowing, particularly on steeper lawns.
4. Šienavimo būdai
- Kolekcionavimas: Attach the grass catcher to collect clippings. Monitor the fill level indicator.
- Mulčiavimas: Install the mulching plug (if included) and remove the grass catcher. The lawnmower will finely chop and redistribute clippings back onto the lawn as natural fertilizer.
- Šoninis išleidimas: Attach the side discharge chute. This is useful for very tall grass or when collecting is not desired.

Image: A hand easily attaching or detaching the side discharge chute as needed, providing flexibility for different mowing requirements.
5. Variklio išjungimas
Release the safety bar on the handlebar. The engine will automatically shut off.
Priežiūra
Reguliarus vejapjovės techninis aptarnavimas užtikrina jos ilgaamžiškumą ir optimalų veikimą.
1. Valymas
- Lengvo valymo funkcija: Connect a garden hose to the water connection point on the cutting deck. Start the engine briefly to allow the rotating blade to clean the underside of the deck.
- After using the Easy Clean function, turn off the engine and manually remove any remaining grass clippings from the deck and wheels.

Image: A garden hose connected to the Easy Clean port on the lawnmower deck, demonstrating the integrated cleaning function for quick and easy maintenance.
2. Ašmenų priežiūra
- Regularly inspect the blade for sharpness and damage. A dull blade tears grass, leading to an unhealthy lawn.
- Have the blade sharpened or replaced by a qualified service technician.
3. Variklio priežiūra
- Alyvos keitimas: Change the engine oil after the first 5 operating hours, then every 25 operating hours or annually, whichever comes first.
- Oro filtras: Reguliariai valykite arba keiskite oro filtrą, ypač dulkėtomis sąlygomis.
- Uždegimo žvakė: Kasmet patikrinkite ir išvalykite uždegimo žvakę. Jei reikia, pakeiskite.
4. Sandėliavimas
- Before long-term storage, drain the fuel tank or add a fuel stabilizer.
- Clean the lawnmower thoroughly.
- Store in a dry, well-ventilated area. The double-foldable handle allows for extremely space-saving storage.
Trikčių šalinimas
| Problema | Galima priežastis | Sprendimas |
|---|---|---|
| Variklis neužsiveda. | No fuel; old fuel; spark plug issue; battery low (E-Start). | Check fuel level; use fresh fuel; clean/replace spark plug; charge/replace battery. |
| Variklis dirba netolygiai arba užgęsta. | Dirty air filter; stale fuel; carburetor issue. | Clean/replace air filter; drain and refill with fresh fuel; consult service center. |
| Lawnmower does not cut evenly. | Dull or damaged blade; incorrect cutting height setting. | Sharpen/replace blade; adjust cutting height. |
| Per didelė vibracija. | Sulenktas arba nesubalansuotas peilis; atsilaisvinusios dalys. | Inspect blade for damage, replace if necessary; tighten all fasteners. |
Specifikacijos
- Modelis: MS225-53E
- Variklis: 224 cm³ 4-stroke gasoline engine, 6 HP
- Pjovimo plotis: 53 cm
- Pjovimo aukščio reguliavimas: Central, 7 positions (25 – 75 mm)
- Žolės gaudyklės tūris: 65 litrai
- Pradėti sistemą: Electric Start (E-Start) and Pull Cord Start
- Pavaros tipas: Switchable Wheel Drive
- Funkcijos: Mowing, Collecting, Mulching, Side Discharge, Cleaning Function
- Gaminio matmenys: 146 x 65.1 x 115 cm (I x P x A)
- Prekės svoris: 26.6 kilogramo
- Medžiaga: Legiruotasis plienas
- Spalva: Juoda/raudona

Image: A diagram illustrating key specifications including recommended lawn area (1800 m²), cutting height (25-75 mm) and width (530 mm), 65L grass box capacity, and the Easy Clean function.
Garantija ir palaikymas
Scheppach products are manufactured to high-quality standards and come with a manufacturer's warranty. For warranty claims, technical support, or spare parts, please contact your authorized Scheppach dealer or visit the official Scheppach websvetainėje. Išsaugokite pirkimo įrodymą garantijos tikslais.
Norėdami gauti daugiau informacijos, apsilankykite „Scheppach“ prekės ženklo parduotuvė.
Ask a question about this manual
Ask about setup, troubleshooting, compatibility, parts, safety, or missing instructions. Manuals+ will review the question and use this page’s manual context to help answer it.