
Įvadas
Welcome to your new TELLUR Dash Patrol DC1 Car Camera. This manual provides instructions for installation, operation, and maintenance to ensure optimal performance and longevity of your device. Please read this manual thoroughly before using the product.
Saugos informacija
- Ensure the dash camera is securely mounted and does not obstruct the driver's view arba trukdyti automobilio valdymui.
- Nenaudokite įrenginio vairuodami. Nustatymus keiskite tik tada, kai transporto priemonė saugiai pastatyta.
- Venkite įrenginio ilgalaikio laikymo itin aukštose temperatūrose, tiesioginiuose saulės spinduliuose ar drėgmėje.
- Use only the provided power adapter and cables to prevent damage and ensure proper operation.
- Kad vaizdo įrašai būtų aiškūs, objektyvą laikykite švarų.
- Nebandykite patys ardyti ar taisyti įrenginio. Pagalbos kreipkitės į kvalifikuotus techninės priežiūros darbuotojus.
Pakuotės turinys
- 1 x Dash Patrol Dashcam DC1
- 1 x magnetinis laikiklis
- 1 x „MicroUSB“ laidas
- 1 x dvigubas USB automobilinis įkroviklis
- 1 x Vartotojo vadovas
Produktas baigtasview
Komponentai


Valdikliai ir indikatoriai
- Maitinimo mygtukas: Press and hold to turn the device on or off. Short press to toggle screen display.
- M (režimo) mygtukas: Switches between video recording, still photo, and playback modes.
- Aukštyn/žemyn mygtukai: Naršykite meniu parinktis arba koreguokite nustatymus.
- Gerai mygtukas: Confirms selections or starts/stops recording in video mode.
- TF kortelės lizdas: Insert a microSD card for storing recordings.
- „MicroUSB“ prievadas: Connects to the car charger for power.
- Mikrofonas: Įrašo garsą.
Sąranka
1. Įdėkite atminties kortelę
Before first use, insert a Class 10 or higher microSD card (not included) into the TF Card slot. Ensure the card is inserted correctly until it clicks into place.
2. Mount the Dash Camera
Clean the windshield area where the camera will be mounted. Attach the magnetic bracket to the windshield using its adhesive. Ensure the camera's position does not obstruct your view. Once the bracket is secured, attach the dash camera to the magnetic bracket.
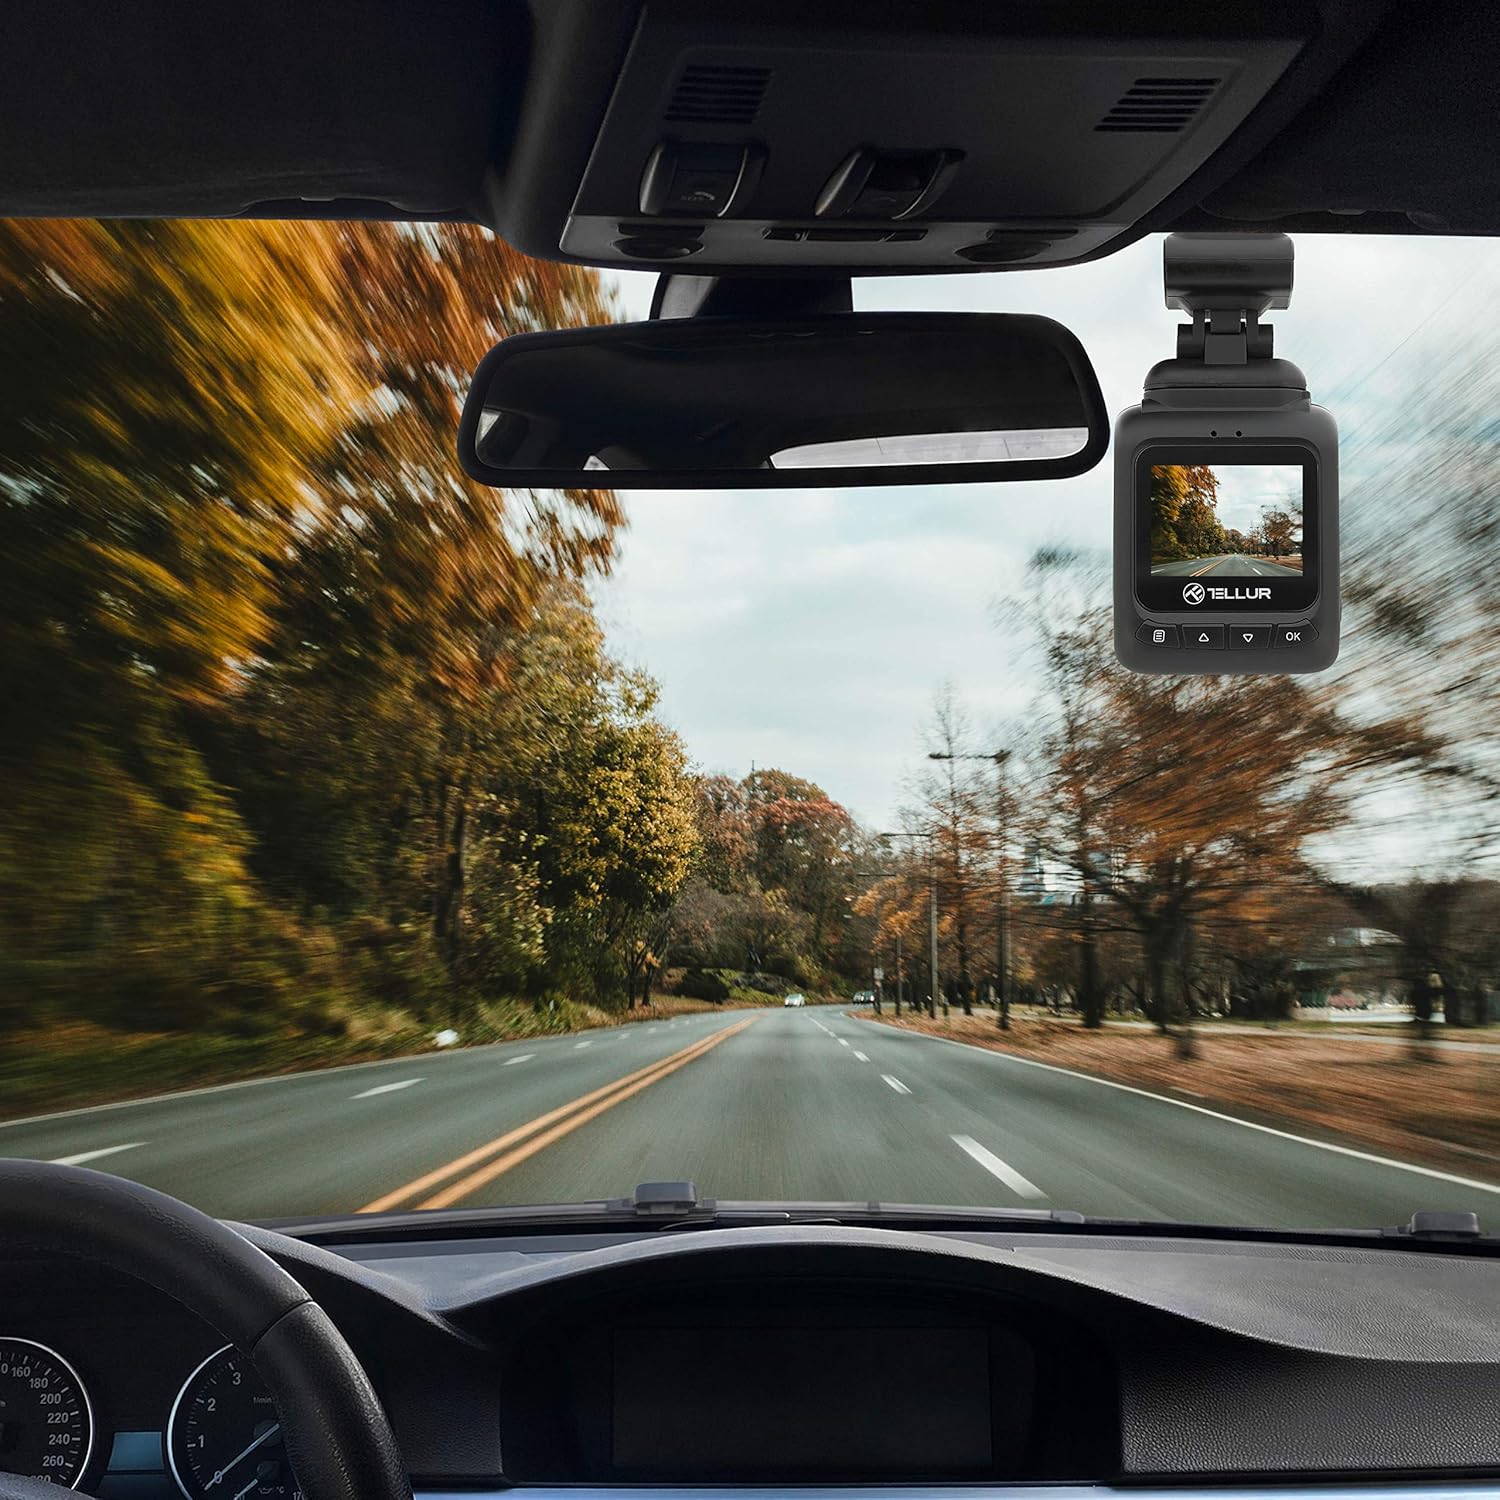
3. Prijunkite maitinimą
Connect the MicroUSB cable to the dash camera's MicroUSB port and the other end to the Dual USB Car Charger. Plug the car charger into your vehicle's 12V power outlet (cigarette lighter socket). The camera will automatically power on and begin recording when the vehicle starts.
Naudojimo instrukcijos
Pagrindinis įrašymas
Once powered on, the camera automatically starts recording in a continuous loop. The recording indicator (usually a red dot) will flash on the screen. Videos are recorded in FullHD 1080P resolution with a 140-degree wide-angle lens.
G jutiklio funkcija
The built-in G-sensor detects sudden impacts or collisions. When an event is detected, the current video segment is automatically locked and saved to prevent it from being overwritten by loop recording. This ensures critical footage yra išsaugotas.

Parkavimo stebėjimo funkcija
When the parking monitoring function is enabled, the camera will automatically start recording if it detects motion or an impact while the vehicle is parked and the engine is off. This feature provides surveillance for your vehicle when unattended.

Meniu naršymas
Paspauskite M button to enter the menu. Use the Aukštyn/Žemyn mygtukai, skirti naršyti parinktis ir OK mygtuką, kad pasirinktumėte. Paspauskite M dar kartą išeiti iš meniu.
Vaizdo įrašų atkūrimas
In playback mode (accessed via the M button), use the Aukštyn/Žemyn mygtukus norėdami pasirinkti vaizdo įrašą file ir OK to play it. Press M grįžti į file sąrašą.
Priežiūra
Objektyvo valymas
Regularly clean the camera lens with a soft, lint-free cloth to ensure clear video quality. Do not use abrasive cleaners.
Atminties kortelių valdymas
It is recommended to format the microSD card periodically (e.g., once a month) within the camera's settings to maintain optimal performance and prevent data corruption.
Trikčių šalinimas
- Kamera neįsijungia: Check the power connection to the car charger and the vehicle's 12V outlet. Ensure the vehicle's ignition is on.
- Įrašymas netikėtai sustoja: Ensure the microSD card is properly inserted and is a Class 10 or higher. Format the card if issues persist.
- Prasta vaizdo kokybė: Clean the camera lens. Check menu settings to ensure 1080P resolution is selected.
- G-Sensor not triggering: Adjust the G-sensor sensitivity in the camera's settings.
- Parkavimo stebėjimo sistema neveikia: Ensure the parking monitoring function is enabled in the settings.
Specifikacijos
| Funkcija | Detalė |
|---|---|
| Modelio pavadinimas | DC1 |
| Prekės modelio numeris | TLL 711001 |
| Vaizdo įrašymo raiška | 1080p |
| Laukas View | 140 laipsnių |
| Ypatinga funkcija | Automatic Incident Detection (G-Sensor), Parking Monitoring |
| Ryšio technologija | USB |
| Montavimo tipas | Magnetic Mount with Adhesive |
| Gaminio matmenys | 1.72 x 1.47 x 2.17 colio |
| Prekės svoris | 8.4 uncijos |
| Baterijos | Reikalinga 1 ličio polimero baterija |
| Spalva | Juoda |
| Gamintojas | TELLUR |
Garantija ir palaikymas
TELLUR products are designed for reliability and performance. For warranty information, technical support, or service inquiries, please refer to the contact details provided on the official TELLUR websvetainėje arba pirkimo dokumentuose. Išsaugokite pirkimo įrodymą garantiniams reikalavimams.