
1. Įvadas
Thank you for choosing the HOFTRONIC Esto 2-Light GU10 Black LED Spotlight. This product is designed for indoor use, providing adjustable lighting with two GU10 LED bulbs. Constructed from high-quality aluminum, this spotlight offers a modern aesthetic and reliable performance. Please read this manual carefully before installation and use to ensure safe and optimal operation.
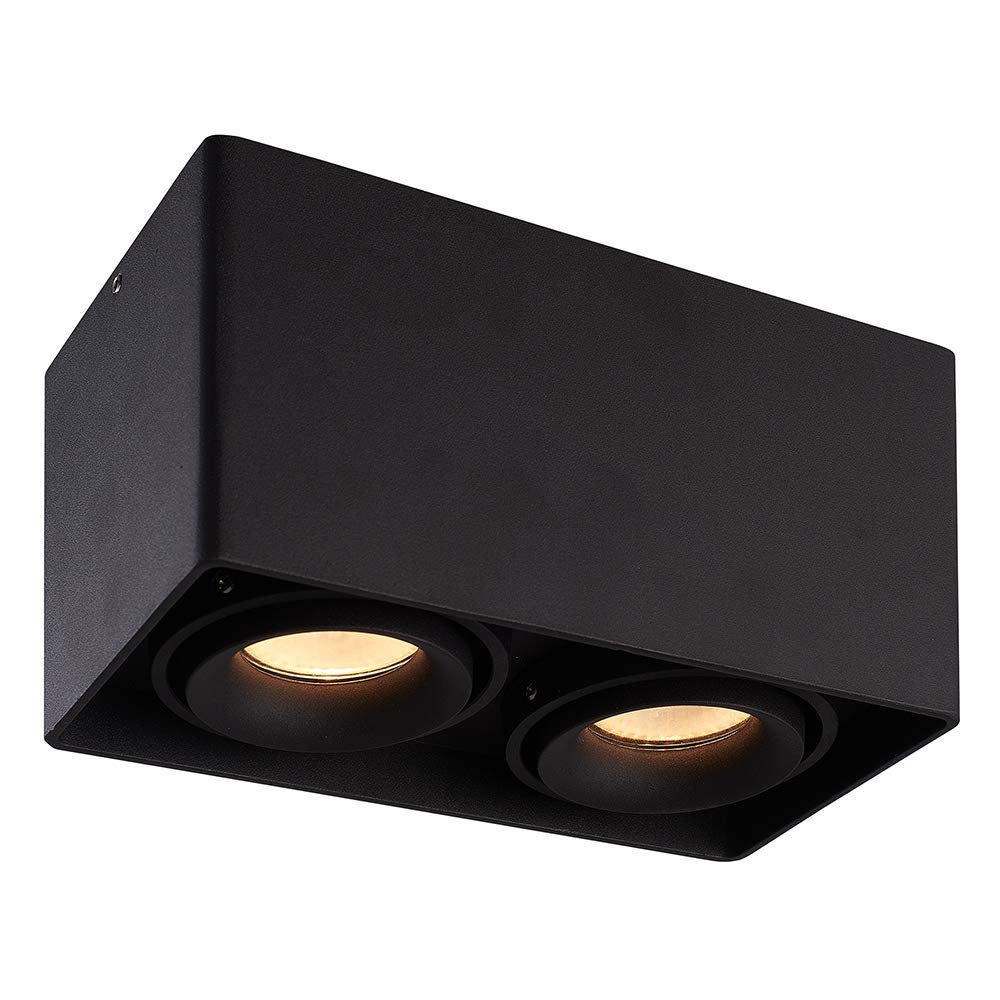
Image: The HOFTRONIC Esto 2-Light GU10 Black LED Spotlight installed on a ceiling, providing illumination in a modern interior setting.
2. Saugos instrukcijos
- Always disconnect the main power supply before attempting any installation, maintenance, or bulb replacement.
- Installation should be performed by a qualified electrician to ensure compliance with local electrical codes and safety standards.
- This product is rated IP20 and is suitable for naudoti tik patalpose. Do not expose to moisture or direct water.
- Įsitikinkite, kad ttagMaitinimo įtampa atitinka gaminio reikalavimus (230 V kintamoji srovė).
- Neviršykite didžiausios galiostage of 35 Watts per GU10 LED bulb.
- Užtikrinkite tinkamą vėdinimą aplink įrenginį, kad jis neperkaistų.
- Do not cover the fixture with insulating material unless specifically designed for it.
3. Dėžutės turinys
Prieš tęsdami montavimą, patikrinkite, ar yra visi komponentai ir ar jie nepažeisti.

Image: Contents of the product box, including the spotlight fixture and mounting hardware.
- 1x HOFTRONIC Esto Double Black LED Ceiling Spot Fixture
- 1x „Allen Key“
- 4x Varžtai
- 4x poveržlės
- 4x sieniniai kištukai
4. Sąranka ir diegimas
Follow these steps for safe and correct installation of your LED spotlight.
- Pasiruoškite montavimui: Įsitikinkite, kad pagrindinis maitinimo šaltinis montavimo vietoje yra išjungtas grandinės pertraukikliu.
- Gręžimo taškų žymėjimas: Position the fixture on the ceiling at the desired location. Use the mounting holes on the base of the fixture to mark the drilling points. Refer to the diagram below for mounting dimensions.
- Gręžimo skylės: Drill holes at the marked points. Insert the provided wall plugs into the drilled holes.
- Prijunkite laidus: Open the terminal cover on the fixture. Carefully connect the electrical wires from your ceiling to the terminal block inside the fixture. Ensure correct connections: Live (L), Neutral (N), and Earth (⌀). The cable inlet supports a maximum diameter of 12mm.
- Sumontuokite armatūrą: Align the fixture's mounting holes with the wall plugs. Secure the fixture to the ceiling using the provided screws and washers. Do not overtighten.
- Insert GU10 Bulbs: Insert two GU10 LED bulbs (not included) into the lamp holders. Ensure they are securely twisted into place. Do not exceed 35 Watts per bulb.
- Atkurti maitinimą: Once installation is complete and all connections are secure, restore the main power supply.

Image: Detailed diagram of the spotlight's base with mounting hole dimensions (69mm x 69mm spacing, 4mm diameter holes, 13mm edge distance, max 12mm cable inlet).
5. Naudojimo instrukcijos
The HOFTRONIC Esto spotlight is designed for simple operation.
- Maitinimo įjungimas/išjungimas: Control the spotlight using your standard wall light switch.
- Sureguliuokite šviesos kryptį: The GU10 fittings are tiltable, allowing you to adjust the light direction by up to 30 degrees. Gently pivot the inner lamp holders to direct the light as desired.

Image: Illustration of the adjustable light direction, demonstrating the 30-degree tilt capability of the GU10 fittings.
6. Priežiūra
Regular maintenance will help prolong the life and appearance of your spotlight.
- Valymas: Ensure the power is off and the fixture is cool before cleaning. Wipe the exterior of the spotlight with a soft, dry, or slightly damp šluoste. Nenaudokite abrazyvinių valiklių, tirpiklių ar stiprių cheminių medžiagų, nes jos gali pažeisti apdailą.
- Lemputės keitimas:
- Išjunkite armatūros maitinimą.
- Jei lemputė neseniai buvo naudojama, leiskite jai visiškai atvėsti.
- Gently push the GU10 bulb into its fitting and twist it counter-clockwise to remove.
- Insert a new GU10 LED bulb (max 35W) by pushing it into the fitting and twisting clockwise until secure.
- Atkurti galią.
7. Problemų sprendimas
Jei kyla problemų dėl prožektoriaus, žr. šias dažniausiai pasitaikančias problemas ir sprendimus:
- Šviesa neįsijungia:
- Patikrinkite, ar įjungtas pagrindinis maitinimo šaltinis.
- Ensure the wall switch is in the 'on' position.
- Verify that the GU10 bulbs are correctly inserted and not faulty.
- Inspect wiring connections for looseness or damage (ensure power is off before inspection).
- Šviesos mirgėjimas:
- Ensure GU10 bulbs are fully seated in their sockets.
- Try replacing the bulb to rule out a faulty bulb.
- Check for loose wiring connections (with power off).
- Fixture feels hot:
- Confirm that the installed GU10 bulbs do not exceed the maximum wattage iš 35W.
- Ensure there is no obstruction preventing proper heat dissipation.
If problems persist, contact customer support or a qualified electrician.
8. Specifikacijos
| Prekės ženklas | HOFTRONIC |
| Modelio numeris | 446496 |
| Spalva | Juoda |
| Medžiaga | Aliuminis |
| Stilius | Modernus |
| Specifiniai naudojimo būdai | Naudoti tik patalpose |
| Maitinimo šaltinis | AC 230V |
| Lemputės tipas | LED |
| ttage | 230 voltų (kintamoji srovė) |
| Maksas Vatastage (vienai lemputei) | 35 vatų |
| Lemputės pagrindas | GU10 |
| Energijos vartojimo efektyvumo etiketė | A+ |
| Montavimo tipas | Montavimas prie lubų |
| Produkto svoris | 5 gramų |
| Matmenys (I x P x A) | 187 mm x 94 mm x 105 mm |
| IP reitingas | IP20 |

Image: Overall dimensions of the HOFTRONIC Esto 2-Light GU10 Black LED Spotlight.
9. Garantija
This HOFTRONIC product comes with a 3 metų garantija, reflecting our commitment to quality and durable construction. The robust aluminum enclosure ensures a long lifespan for your ceiling light.

Image: Warranty information, indicating a 3-year warranty and durable build quality.
10. Parama
For further assistance, technical support, or warranty claims, please contact your retailer or the HOFTRONIC customer service department. Refer to your purchase documentation for contact details.