
1. Įvadas
The Make It Real Mega Jewelry Studio is designed to guide young individuals and tweens in creating their own fashionable bracelets, necklaces, and other jewelry items. This comprehensive kit includes a variety of stylish charms, beads, and cords, fostering creativity and developing essential fine motor skills. With over 800 pieces, you can create up to 50 unique jewelry designs.
Šis rinkinys tinka 8 metų ir vyresniems.
2. Kas įskaičiuota
Your Make It Real Mega Jewelry Studio includes a wide array of components to inspire and facilitate your jewelry creations. Please verify all items are present before beginning.

Image: All components of the Mega Jewelry Studio, including various beads, cords, charms, and the bead mat, neatly arranged.
- Clear Elastic Cord
- Various Beads (including plastic gems)
- Charms (e.g., llama, mermaid, pig)
- Kutai
- Curb Chain (Gold)
- Jump Rings
- Bead Mat (with integrated phone holder)
- Vac Tray
- Wax Cords
- Braided Cotton Cord
- Elastic Cords
- Metal Locket
- Instrukcijų vadovas
3. Sąranka
Before you begin creating, ensure your workspace is prepared for an enjoyable and organized crafting experience.
- Išpakuokite visus komponentus: Atsargiai išimkite visus daiktus iš pakuotės. Pakuotės medžiagas utilizuokite atsakingai.
- Prepare the Bead Mat: Place the included bead mat on a flat, stable surface. The mat features compartments to help organize your beads, charms, and other small components, preventing them from rolling away.
- Organize Materials: Sort your beads by color, size, or type into the compartments of the bead mat. This will make it easier to select components during the design process.
- Review Instrukcijos: Familiarize yourself with the instruction manual to understand the basic techniques and design ideas.
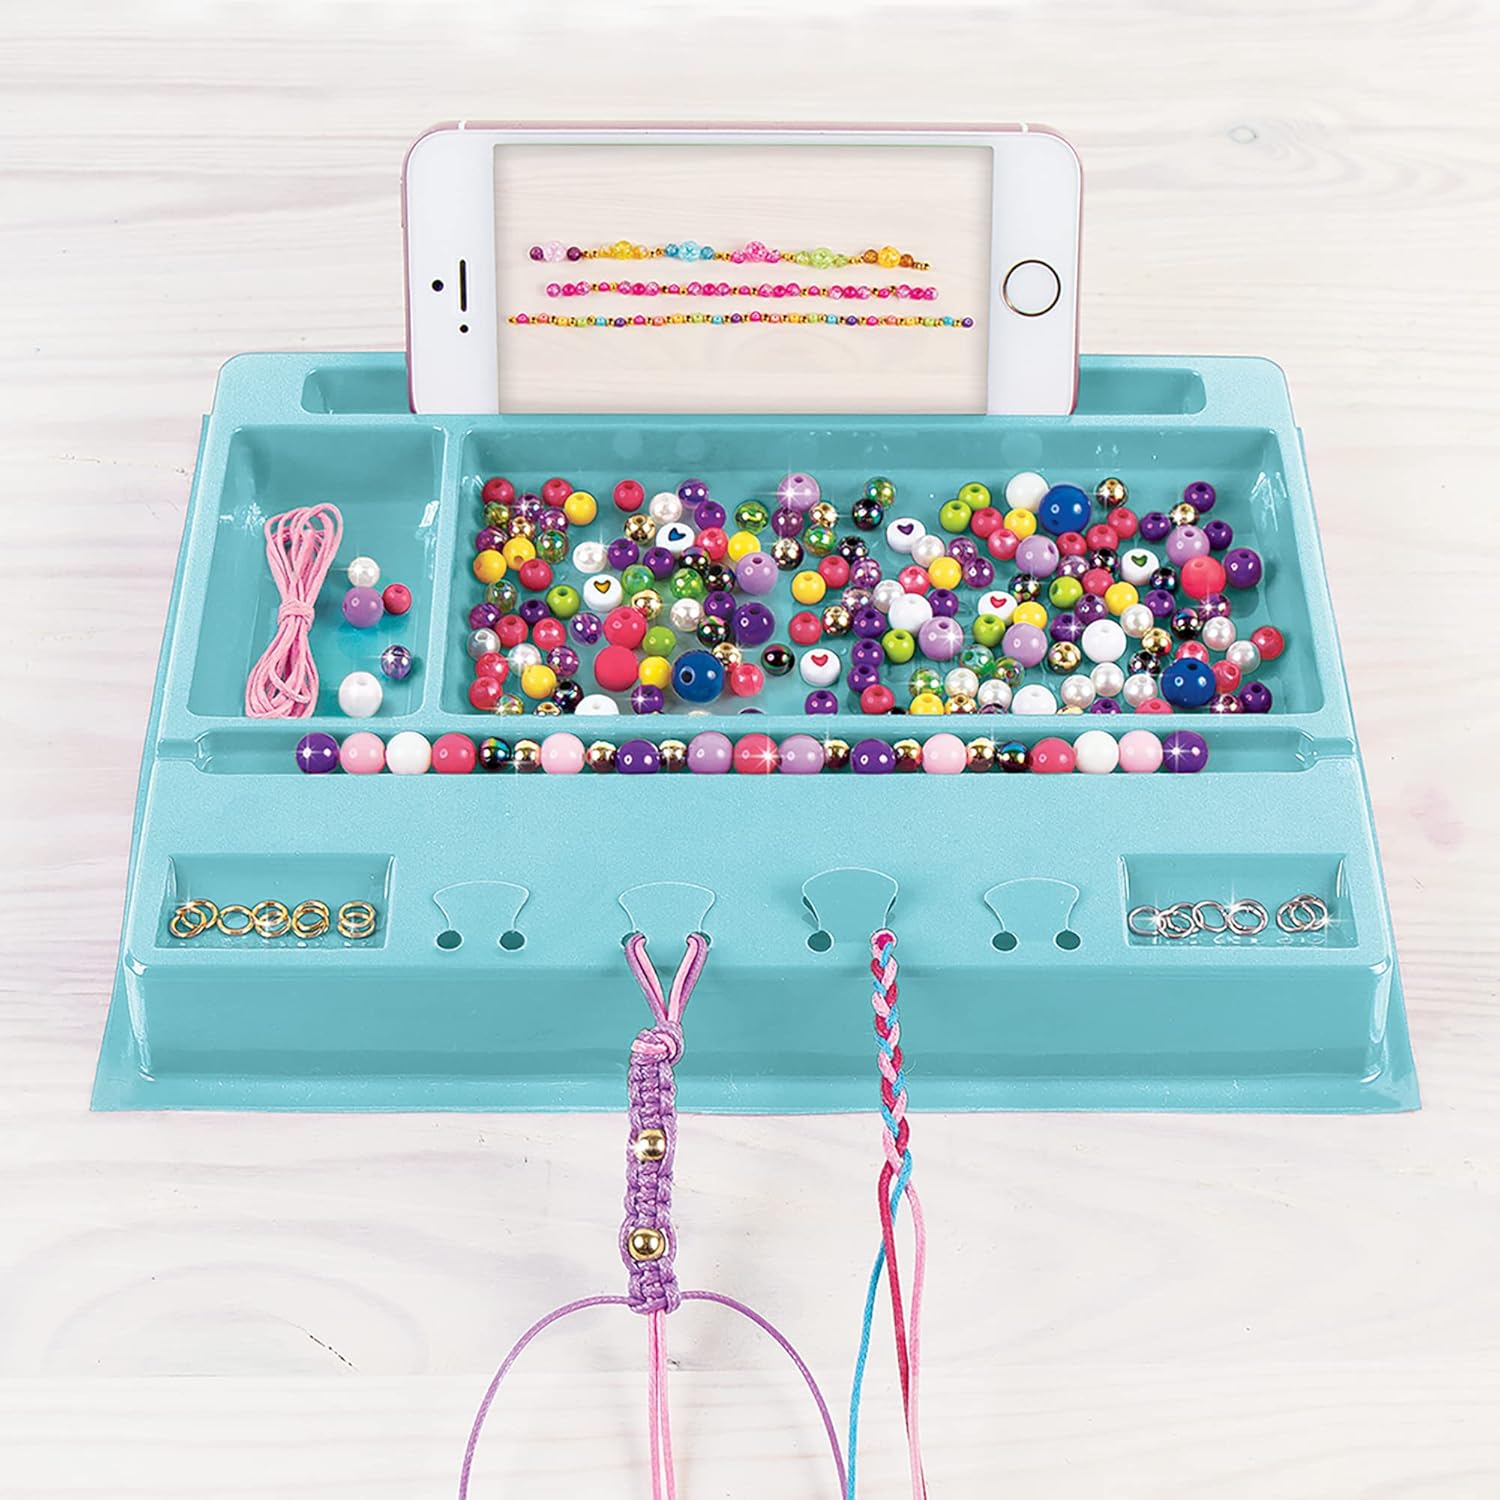
Image: The bead mat in use, demonstrating how to organize beads and utilize the integrated phone holder for design inspiration or tutorials.
4. Operating Instructions (How to Create Jewelry)
Follow these steps to design and create your unique jewelry pieces.
- Choose Your Design: Decide whether you want to make a bracelet, necklace, or another accessory. Use the bead mat to lay out your chosen beads and charms in the desired sequence.
- Select Your Cord: Choose an appropriate cord (elastic, waxed, or braided cotton) based on your design. For bracelets, elastic cord is often preferred for ease of wear.
- Measure and Cut Cord: Measure a length of cord that is sufficient for your design, adding extra length for tying knots. Cut the cord cleanly.
- String Beads and Charms: Begin stringing your selected beads onto the cord. If using charms, attach them using jump rings to the cord or chain as desired. The included threader tool can assist with smaller beads or tighter holes.
- Užtikrinkite galus: Once all components are strung, carefully tie the ends of the cord together with a secure knot. For elastic cords, a surgeon's knot or square knot is recommended. Trim any excess cord. For necklaces or bracelets requiring clasps, attach the lobster clasp and jump ring to the ends of your design.
- Add Finishing Touches: Incorporate tassels or other decorative elements to personalize your creation.
Vaizdo įrašas: Viršijimasview of the Make It Real Mega Jewelry Studio, showcasing the kit's contents and demonstrating the process of creating jewelry with the included materials.
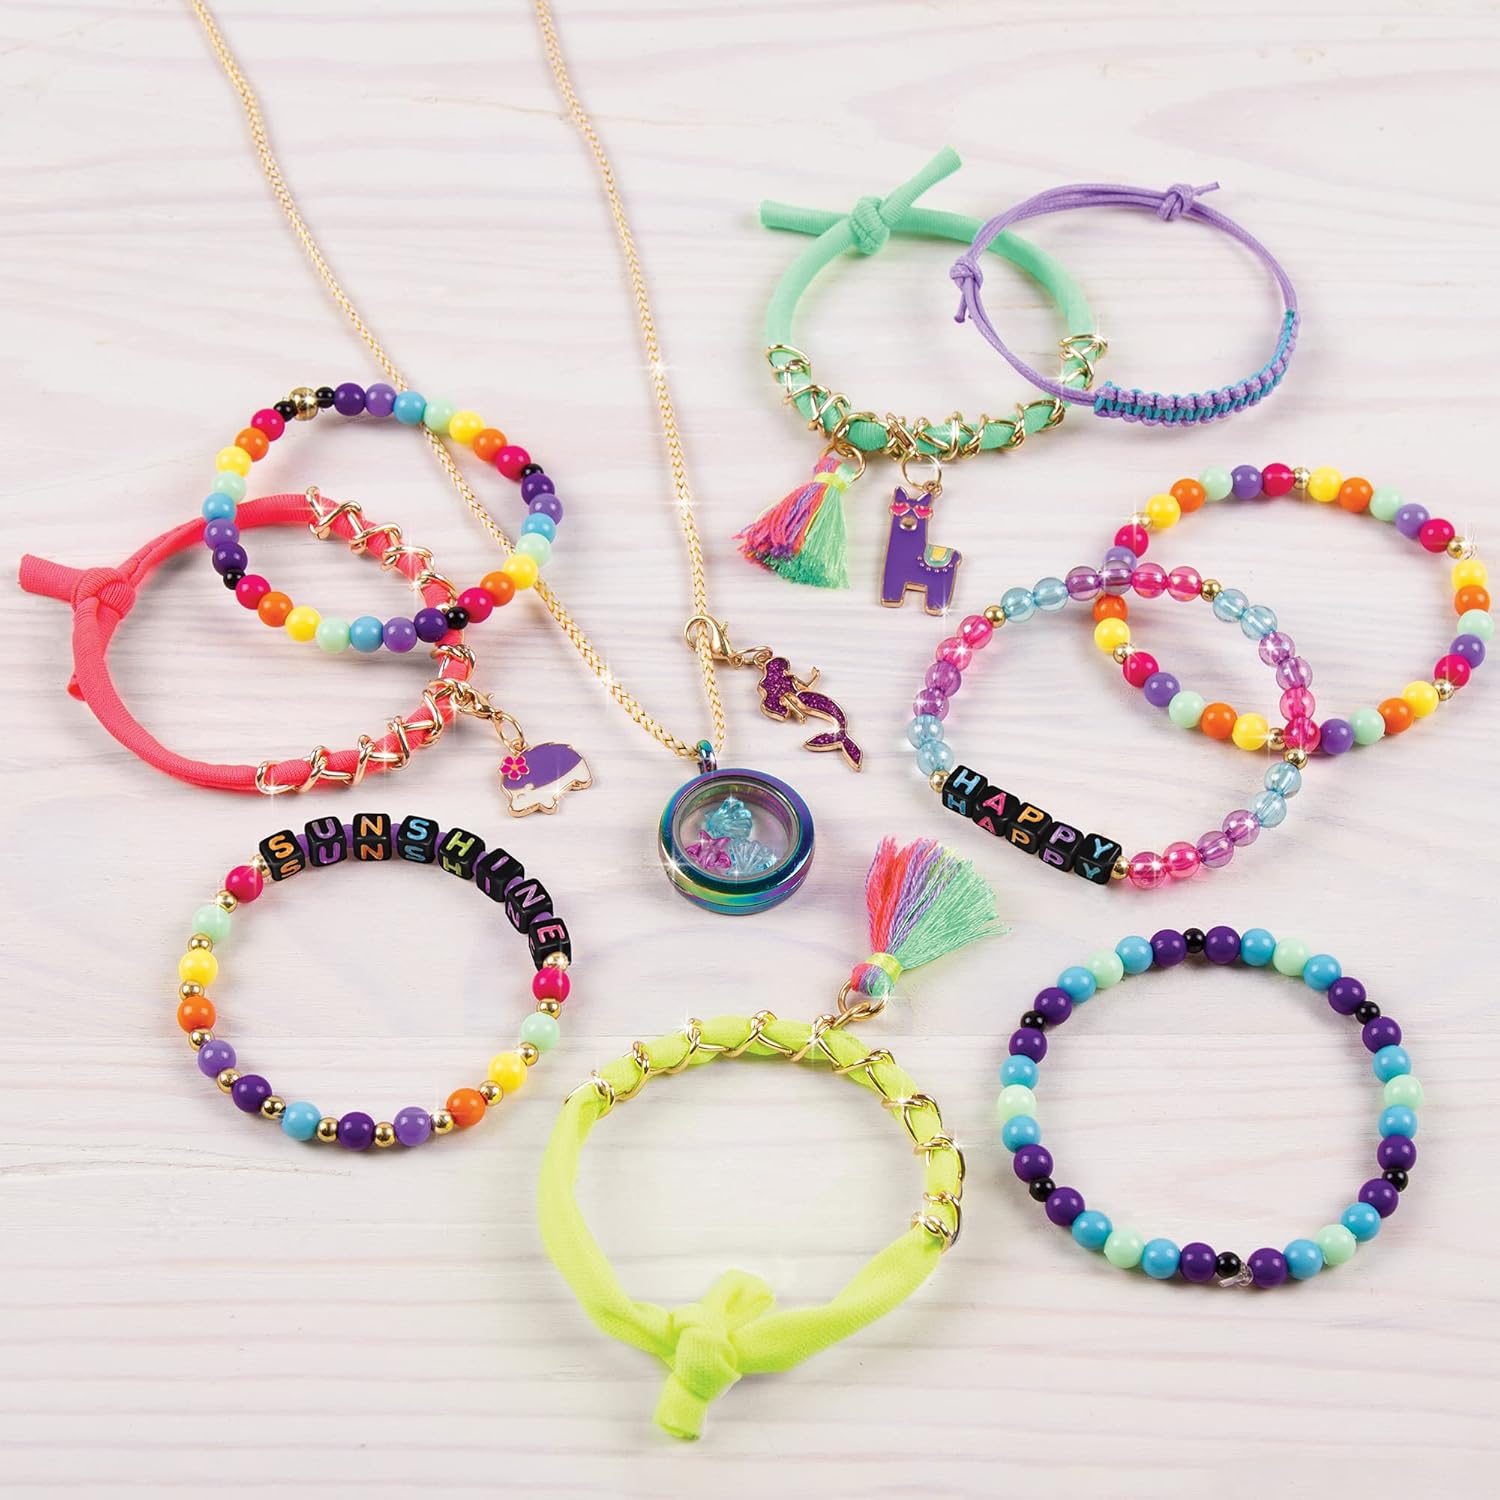
Vaizdas: pvzamples of various finished jewelry pieces, including beaded bracelets and necklaces with charms, demonstrating the creative possibilities of the kit.
5. Priežiūra
Proper care and storage will help preserve your jewelry creations and the kit components.
- Saugykla: Store unused beads, charms, and cords in their original compartments within the vac tray or a similar organizer to prevent loss and tangling.
- Valymas: Keep the bead mat and tools clean by wiping them with a dry or slightly damp audinys. Venkite stiprių cheminių medžiagų.
- Finished Jewelry Care: Store finished jewelry in a dry place away from direct sunlight to prevent discoloration or damage to materials.
6. Problemų sprendimas
Čia pateikiami dažniausiai pasitaikančių problemų, su kuriomis galite susidurti, sprendimai:
- Beads Not Fitting on Cord: Ensure you are using the correct size cord for the beads. Some beads have smaller holes. The threader tool can assist with difficult beads.
- Knots Untying: For elastic cords, use a strong, secure knot like a surgeon's knot. Apply a small drop of clear craft glue to the knot for extra security once tied and dried.
- Lost Small Parts: Always work on a clean, flat surface, preferably using the bead mat, to minimize the chance of losing small components like jump rings or tiny beads.
- Laido susipainiojimas: Keep cords neatly wound or stored in separate compartments to prevent tangling. Cut only the length you need for each project.
7. Specifikacijos
| Atributas | Detalė |
|---|---|
| Modelio numeris | 1515 |
| Prekės ženklas | paversk tai tikru |
| Medžiagos tipas (-ai) | Metalas, Plastikas |
| Spalva | Daugiaspalvis |
| Gaminio matmenys | 40 x 6.5 x 27.5 cm |
| Prekės svoris | 250 g |
| Reikalingas surinkimas | Nr |
| Reikalingos baterijos | Nr |
| Number of Jewelry Pieces (Approximate) | 50 |
| Amžiaus diapazonas (aprašas) | Kid (8+) |
| Kilmės šalis | Indija |
8. Garantija ir palaikymas
This product comes with a standard brand warranty. For specific details regarding warranty coverage, replacement policies, or any further information, please refer to the product detail page on the retailer's website or contact Make It Real customer support.
For assistance with product usage or any concerns, please visit the official Make It Real websvetainėje arba susisiekite su klientų aptarnavimo skyriumi.