
1. Įvadas
This manual provides detailed instructions for the installation, operation, and maintenance of your new ATA 43 Inch Full HD LED Smart TV, Model 43S1. Please read this manual thoroughly before using the television to ensure proper functionality and to maximize your viewpatirtį. Išsaugokite šį vadovą ateityje.
2. Svarbi saugos informacija
- Maitinimo šaltinis: Įsitikinkite, kad televizorius prijungtas prie maitinimo šaltinio, kurio įtampa nurodytatage asortimentas.
- Vėdinimas: Neužblokuokite ventiliacijos angų. Palikite pakankamai vietos aplink televizorių tinkamam oro cirkuliavimui.
- Vanduo ir drėgmė: Saugokite televizorių nuo lietaus ar drėgmės. Nestatykite ant televizoriaus daiktų, pripildytų skysčių, pavyzdžiui, vazų.
- Valymas: Prieš valydami atjunkite televizorių nuo elektros tinklo. Naudokite minkštą, sausą šluostę. Nenaudokite skystų ar aerozolinių valiklių.
- Vieta: Pastatykite televizorių ant stabilaus, lygaus paviršiaus. Venkite jo tiesioginiuose saulės spinduliuose arba šalia šilumos šaltinių.
- Aptarnavimas: Nemėginkite patys aptarnauti šio gaminio. Visą techninę priežiūrą patikėkite kvalifikuotam aptarnavimo personalui.
3. Pakuotės turinys
Pažymėkite langelį prie šių elementų:
- ATA 43 Inch Full HD LED Smart TV (Model 43S1)
- Nuotolinio valdymo pultas
- TV stovas (2 vnt.)
- Maitinimo laidas
- Vartotojo vadovas (šis dokumentas)
- TV stovo varžtai
4. Produktas baigtasview
4.1. Priekinė View
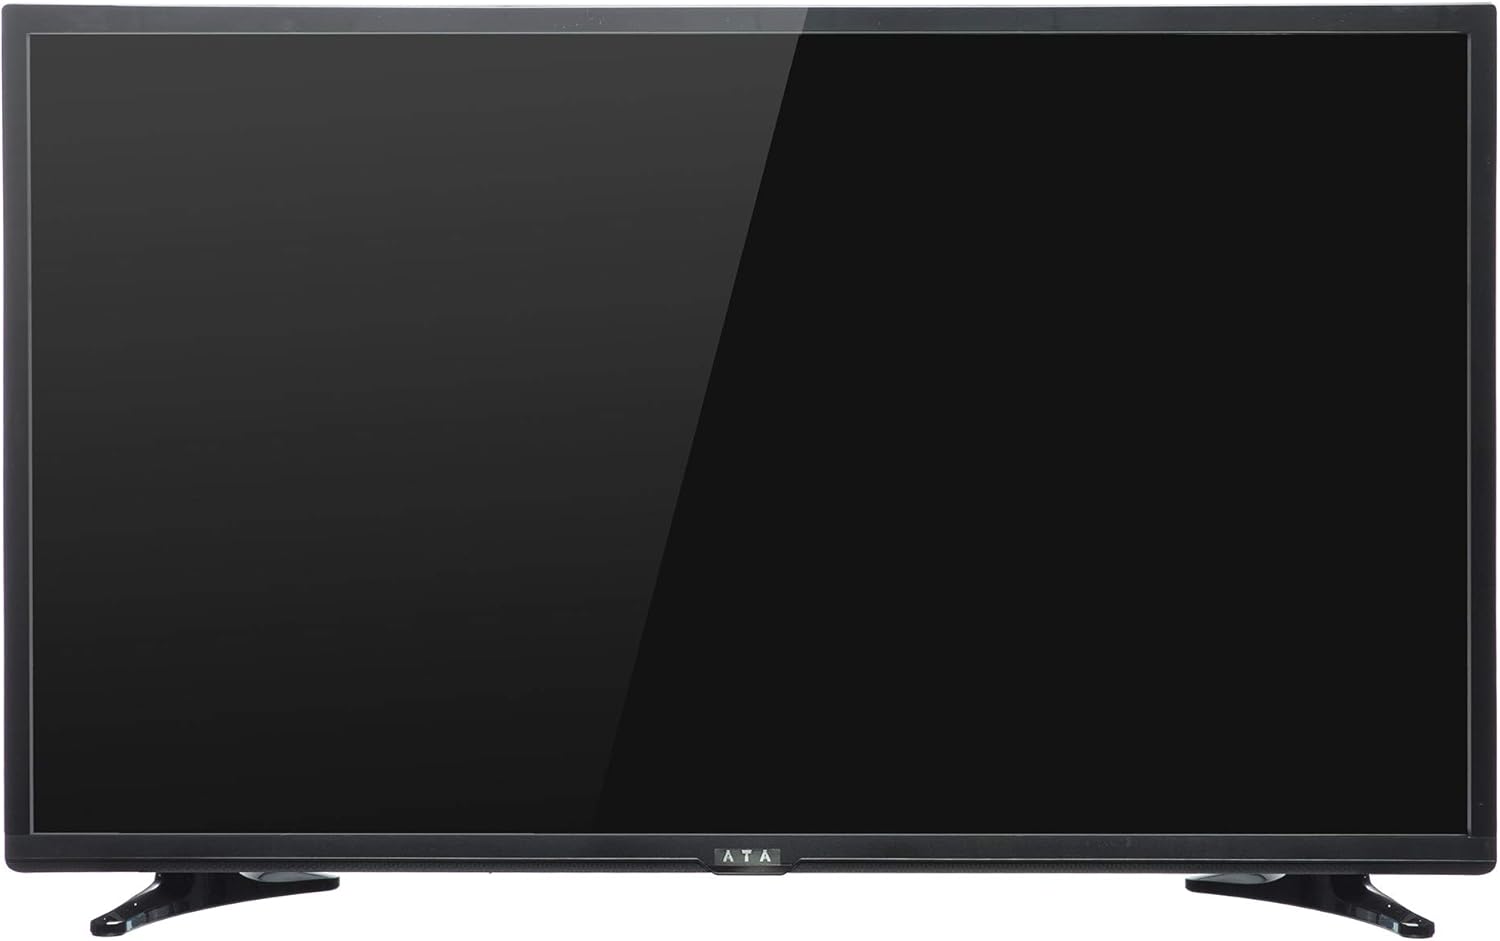
1 vaizdas: priekis view of the ATA 43 Inch Smart TV. The screen is black, indicating it is powered off or in standby mode. The ATA logo is visible at the bottom center.
The front of the ATA 43S1 TV features a sleek design with a narrow bezel, maximizing the screen area. The ATA brand logo is centrally located at the bottom of the frame. An indicator light (not visible in image) and IR receiver for the remote control are typically located near the logo.
4.2. Galinė View

2 vaizdas: galinis view of the ATA 43 Inch Smart TV. This image displays the back panel, including VESA mounting holes for wall installation and designated areas for input/output ports.
The rear panel of the TV includes VESA mounting points for wall installation (wall mount bracket sold separately). Various input and output ports are located on the side and bottom sections of the back panel for easy access.
4.3. Įvesties / išvesties prievadai
Your ATA Smart TV is equipped with a variety of ports to connect external devices.

Image 3: Close-up of the side-facing ports, showing three HDMI ports (HDMI1, HDMI2, HDMI3) and two USB ports (USB2.0, USB2.0).
- HDMI prievadai (x3): For connecting high-definition devices such as Blu-ray players, gaming consoles, and set-top boxes.
- USB prievadai (x2): Skirta USB atmintinėms prijungti ir medijos atkūrimui filearba programinės įrangos atnaujinimams.

Image 4: Close-up of the bottom-facing ports, including Earphone, RJ45 (Ethernet), PC Audio, PC(VGA), Mini YPbPr, Video, L/R Audio (AV In), and Coaxial.
- RJ45 (eterneto) prievadas: Laidinio interneto ryšiui.
- PC(VGA) Port: Kompiuterio prijungimui.
- Kompiuterio garso įvestis: Garso įvestis VGA jungčiai.
- AV In (Video, L/R Audio): Skirta senesniems įrenginiams su kompoziciniais vaizdo ir stereo garso išėjimais prijungti.
- Mini YPbPr: Komponentinio vaizdo įvestis.
- Koaksialinis: Skirta antenai arba kabelinei televizijai prijungti.
- Ausinių lizdas: Ausinėms prijungti.
4.4. Nuotolinio valdymo pultas

Image 5: The remote control for the ATA Smart TV. It features standard TV controls, navigation buttons, and dedicated function keys.
The remote control allows you to operate all functions of your TV. It includes buttons for power, input source selection, volume control, channel navigation, menu access, smart TV functions, and media playback controls.
- STANDBY (Red Button): Įjungimas / išjungimas.
- ŠALTINIS: Select input source (HDMI, AV, TV, etc.).
- Skaičių mygtukai (0–9): Tiesioginis kanalų pasirinkimas.
- VOL +/-: Sureguliuokite garsumą.
- CH +/-: Keisti kanalus.
- Nutildyti: Nutildyti / įjungti garsą.
- MENIU: Prisijunkite prie pagrindinio meniu.
- Įveskite: Patvirtinkite pasirinkimą.
- Naršymo mygtukai (aukštyn / žemyn / kairėn / dešinėn): Naršykite per meniu.
- UŽDARYTI: Exit current menu or function.
- NAMAI: Atidarykite išmaniojo televizoriaus pagrindinį ekraną.
- P.REŽIMAS / S.REŽIMAS: Picture Mode / Sound Mode.
- SUBTITLE / AUDIO / REFRESH: Specific function buttons.
- PLAY/PAUSE, STOP, FF, FB, PREV, NEXT: Medijos atkūrimo valdikliai.
5. Sąranka
5.1. Televizoriaus stovo pritvirtinimas
- Atsargiai padėkite televizorių ekranu žemyn ant minkšto, švaraus paviršiaus, kad nepažeistumėte ekrano.
- Sulygiuokite stovo dalis su atitinkamais lizdais televizoriaus apačioje.
- Pritvirtinkite stovo dalis pridėtais varžtais. Įsitikinkite, kad jie tvirtai priveržti.
- Atsargiai pakelkite televizorių ir padėkite jį ant stabilaus, lygaus paviršiaus.
Alternatively, you can use a VESA-compatible wall mount (not included) to mount the TV on a wall. Refer to the wall mount's instructions for installation.
5.2. Maitinimo prijungimas
Connect the power cord to the TV's power input and then plug the other end into a wall outlet. The TV will enter standby mode.
5.3. Pradinės sąrankos vedlys
The first time you power on the TV, an initial setup wizard will guide you through basic settings.
- Paspauskite LAIKYMAS nuotolinio valdymo pulto mygtuką, kad įjungtumėte televizorių.
- Follow the on-screen prompts to select your preferred language, country/region, and time zone.
- Tinklo prisijungimas:
- „Wi-Fi“: Iš sąrašo pasirinkite savo „Wi-Fi“ tinklą ir įveskite slaptažodį.
- Ethernet: If you connected an Ethernet cable to the RJ45 port, the TV should automatically detect the wired connection.
- Complete any remaining steps in the setup wizard, such as channel scanning (if connecting an antenna/cable).
6. Naudojimo instrukcijos
6.1. Maitinimo įjungimas/išjungimas
- To turn on the TV from standby, press the LAIKYMAS nuotolinio valdymo pulto mygtuką.
- Norėdami įjungti televizorių į parengties režimą, paspauskite LAIKYMAS mygtuką dar kartą.
6.2. Įvesties šaltinio pasirinkimas
To switch between connected devices (e.g., HDMI, AV, TV tuner):
- Paspauskite ŠALTINIS nuotolinio valdymo pulto mygtuką.
- Use the Navigation buttons (Aukštyn/Žemyn) to highlight the desired input source.
- Paspauskite ENTER kad patvirtintumėte savo pasirinkimą.
6.3. Garsumo ir kanalų valdymas
- Paspauskite VOL+ padidinti garsumą, TŪRIS - norėdami sumažinti garsumą.
- Paspauskite CH + norėdami pereiti į kitą kanalą, CH - norėdami pereiti į ankstesnį kanalą.
- Use the Number buttons to directly enter a channel number.
- Paspauskite Nutildyti to temporarily turn off the sound. Press again to restore.
6.4. Išmaniojo televizoriaus funkcijos („Android 4.4.2“)
Your TV runs on Android 4.4.2, providing access to various smart features and applications.
- Paspauskite NAMAI button on the remote to access the Smart TV home screen.
- From the home screen, you can navigate to pre-installed applications or access settings.
- Ensure your TV is connected to the internet via Wi-Fi or Ethernet to utilize online features.
- Use the Navigation buttons and ENTER to select and launch applications.
7. Priežiūra
- Ekrano valymas: Švelniai nuvalykite ekraną minkštu, nepūkuotu skudurėliu. Jei dėmės sunkiai įveikiamos, šiek tiek nuvalykite.ampNuvalykite šluostę vandeniu arba specializuotu ekrano valikliu (nepurkškite tiesiai ant ekrano).
- Spintos valymas: Televizoriaus korpusą valykite minkšta, sausa šluoste. Nenaudokite abrazyvinių valiklių ar tirpiklių.
- Dulkės: Reguliariai valykite dulkes nuo televizoriaus gale esančių ventiliacijos angų, kad jis neperkaistų.
- Maitinimo laidas: Periodically check the power cord for any damage. If damaged, contact service personnel for replacement.
8. Problemų sprendimas
| Problema | Galima priežastis | Sprendimas |
|---|---|---|
| Nėra galios | Neprijungtas maitinimo laidas; neveikia maitinimo lizdas. | Įsitikinkite, kad maitinimo laidas yra tvirtai prijungtas. Patikrinkite lizdą su kitu įrenginiu. |
| Nėra vaizdo, bet yra garsas | Pasirinktas neteisingas įvesties šaltinis; Foninio apšvietimo problema. | Paspauskite ŠALTINIS button to select the correct input. Check picture settings. |
| Nėra garso, bet vaizdas yra | Garsas nutildytas arba per mažas; garso kabeliai netinkamai prijungti. | Paspauskite Nutildyti or increase volume. Check audio cable connections. |
| Nuotolinio valdymo pultas neveikia | Baterijos išsikrovė arba įdėtos neteisingai; kliūtis tarp nuotolinio valdymo pulto ir televizoriaus. | Replace batteries. Ensure line of sight to the TV's IR receiver. |
| Nepavyksta prisijungti prie „Wi-Fi“. | Neteisingas slaptažodis; maršrutizatoriaus problema; televizorius per toli nuo maršrutizatoriaus. | Verify Wi-Fi password. Restart router. Move TV closer or use Ethernet. |
9. Specifikacijos
| Funkcija | Detalė |
|---|---|
| Prekės ženklas | ATA |
| Modelio numeris | 43S1 (ATA43FOS) |
| Ekrano dydis | 43 colių |
| Ekrano tipas | LED FHD |
| Rezoliucija | 1920 x 1080 (Full HD) |
| Atnaujinimo dažnis | 60 Hz |
| Operacinė sistema | Android 4.4.2 |
| Ryšio technologija | HDMI (x3), USB (x2), VGA, Ethernet (RJ45) |
| Ypatingos savybės | Smart TV functionality, Flat Screen |
| Gaminio matmenys (D x P x A) | 9 x 96.5 x 56 cm |
| Prekės svoris | 6.01 kg |
| Įtraukti komponentai | Televizorius, Stovas |
10. Garantija ir palaikymas
For warranty information, please refer to the warranty card included with your product or contact your local ATA authorized dealer or service center. Keep your purchase receipt as proof of purchase for warranty claims.
For technical support or service inquiries, please contact ATA customer service through their official websvetainėje arba kontaktinę informaciją, pateiktą jūsų produkto dokumentuose.