
1. Įvadas
The Voxelab Aquila X2 is an open-source FDM (Fused Deposition Modeling) 3D printer designed for both beginners and experienced users. It features a robust metal frame, a removable build plate, and intelligent functions like filament detection and resume printing. This manual provides essential information for safe and effective use of your printer.

Image: The Voxelab Aquila X2 3D Printer with a sampspaudinys.
2. Saugos instrukcijos
Prieš naudodami spausdintuvą, perskaitykite ir supraskite visas saugos instrukcijas, kad išvengtumėte sužalojimų ar žalos.
- Visada naudokite spausdintuvą gerai vėdinamoje patalpoje.
- Laikykite spausdintuvą atokiau nuo degių medžiagų, šilumos šaltinių ir vandens.
- Veikimo metu nelieskite antgalio ar įkaitintos platformos, nes jie įkaista iki aukštos temperatūros.
- Spausdintuvui veikiant, laikykite vaikus ir naminius gyvūnus atokiau nuo jo.
- Užtikrinkite maitinimo šaltinio ttage matches your local requirements.
- Nebandykite modifikuoti spausdintuvo elektrinių komponentų.
- Unplug the printer from the power outlet before performing any maintenance or cleaning.
3. Pakuotės turinys
Upon receiving your Voxelab Aquila X2, verify that all components are present and undamaged. The package typically includes:
- Voxelab Aquila X2 3D Printer (partially assembled)
- Filament spool holder
- Maitinimo kabelis
- USB kabelis
- SD kortelė ir kortelių skaitytuvas
- Tools for assembly and maintenance
- Sampsiūlas
- Vartotojo vadovas (šis dokumentas)
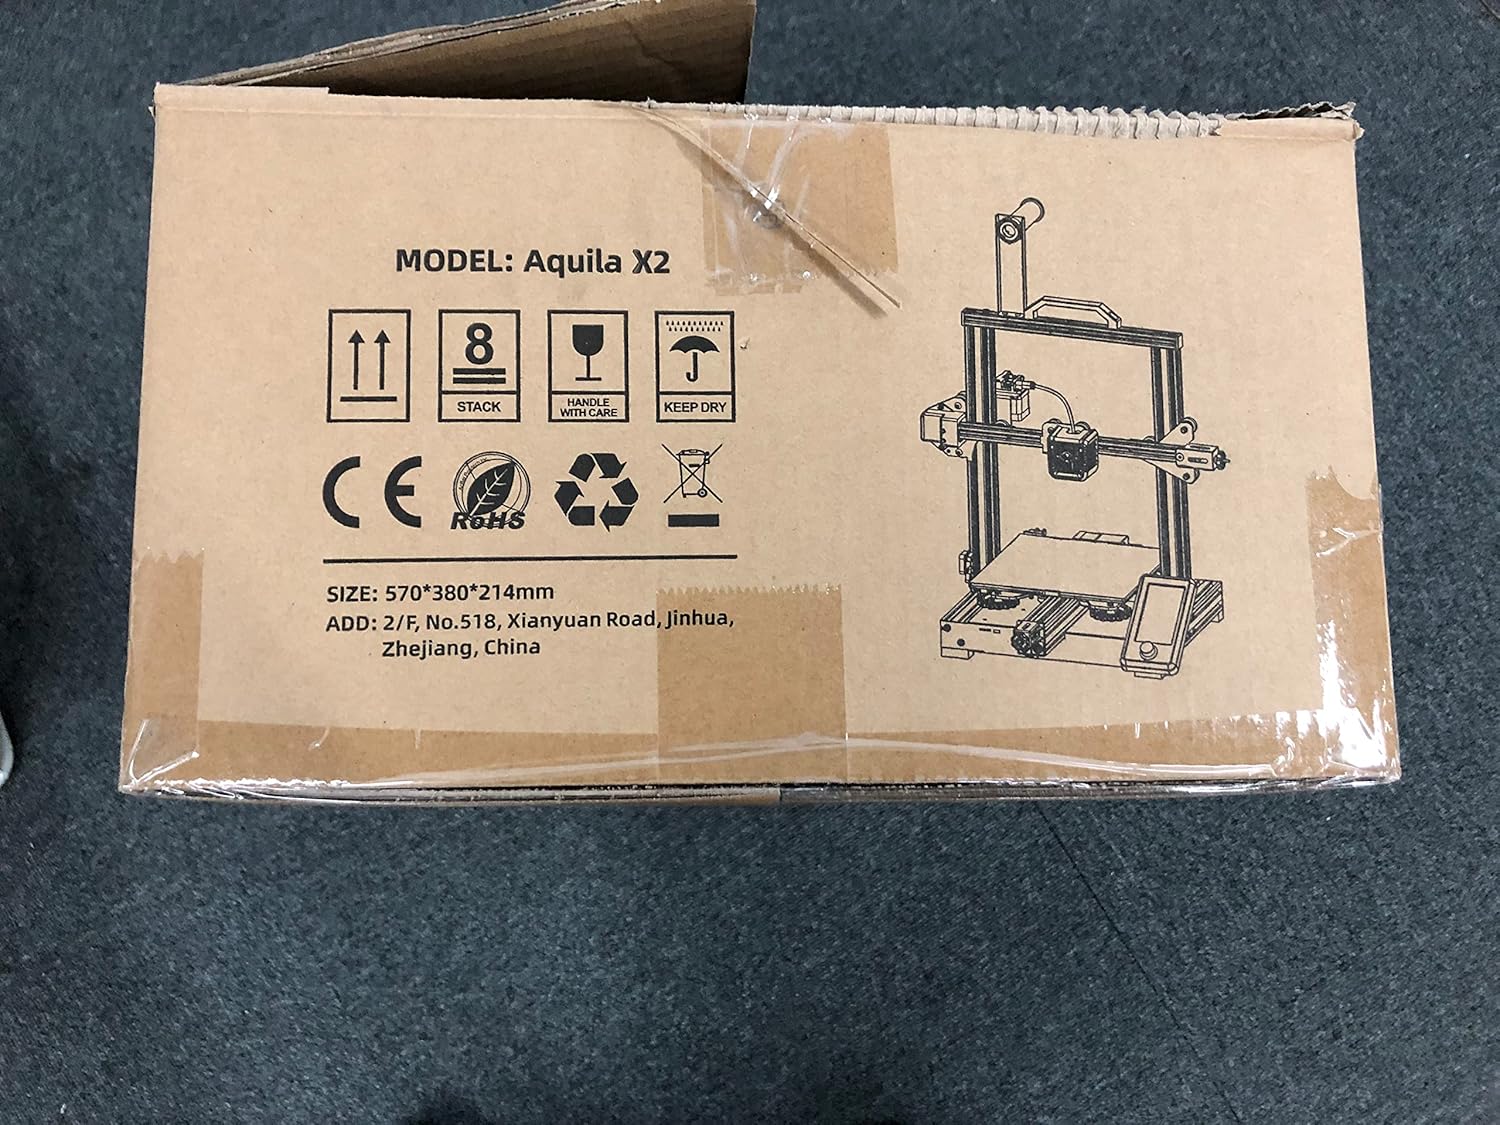
Image: The Voxelab Aquila X2 product packaging.
4. Sąrankos vadovas
The Aquila X2 comes semi-assembled. Follow these steps to complete the setup:
4.1 Surinkimas
- Išpakuokite komponentus: Atsargiai išimkite visas dalis iš pakuotės.
- Attach Gantry: Secure the gantry to the base using the provided screws. Ensure it is aligned correctly.
- Install Spool Holder: Mount the filament spool holder onto the designated position on the frame.
- Prijunkite kabelius: Connect all motor, endstop, and hotend cables according to the labels. Double-check connections for security.
- Maitinimo patikrinimas: Verify the power supply switch is set to the correct voltage jūsų regionui (115 V arba 230 V).
4.2 Pradinis niveliavimas
Accurate bed leveling is crucial for successful prints.
- Maitinimas: Įjunkite spausdintuvą.
- Automobilių namai: Navigate to the 'Prepare' menu on the screen and select 'Auto Home'. The nozzle will move to the home position.
- Išjungti žingsnius: Select 'Disable Steppers' from the 'Prepare' menu to move the print head freely.
- Adjust Corners: Move the nozzle to each corner of the print bed. Use a piece of paper between the nozzle and the bed. Adjust the bed leveling knobs until there is slight friction when moving the paper.
- Center Check: Repeat the process for the center of the bed.

Image: Voxelab Aquila X2 3D Printer dimensions.
5. Naudojimo instrukcijos
This section covers basic operation, from loading filament to starting your first print.
5.1 Kaitinimo siūlelio įdėjimas
- Įkaitinkite: On the printer's screen, select 'Prepare' > 'Preheat PLA' (or appropriate filament type).
- Insert Filament: Once the hotend reaches temperature, insert the filament into the filament detection sensor and then into the extruder's input hole.
- Feed Filament: Gently push the filament until it exits the nozzle. You may need to press the extruder lever to release tension.

Image: The Voxelab Aquila X2 3D Printer in operation, highlighting its features.
5.2 Spausdinimo pradžia
- Prepare G-code: Use a slicing software (e.g., Cura, VoxelMaker) to convert your 3D model (.STL, .OBJ) into a G-code file. Išsaugokite tai file į pateiktą SD kortelę.
- Įdėkite SD kortelę: Įdėkite SD kortelę į spausdintuvo kortelės lizdą.
- Pasirinkite File: On the printer's screen, navigate to 'Print' and select your desired G-code file.
- Monitoriaus spausdinimas: The printer will begin heating and then start printing. Monitor the first few layers to ensure proper adhesion.

Image: The printer's colorful screen with rotary knob for navigation.
6. Pagrindinės savybės
The Voxelab Aquila X2 incorporates several features to enhance your 3D printing experience:
- Filament Detection Sensor: Automatically pauses printing and notifies you when filament runs out or breaks, preventing failed prints and material waste.
- Tęsti spausdinimą funkcija: Esant galiai outage, the printer can resume printing from where it left off once power is restored.
- Removable Carbon Silicon Crystal Glass Plate: Provides strong adhesion during printing and allows for easy removal of finished prints once cooled. Heats up quickly.
- Didelis spausdinimo tūris: Offers a generous print area of 220 x 220 x 250 mm for various project sizes.
- Open-Source Technology: Allows for flexible upgrades and modifications, catering to advanced users.
- Tylus veikimas: Designed to operate with noise levels below 50 decibels for a more pleasant printing environment.

Image: Visual representation of the resume printing and filament detection features.

Vaizdas: Viršview of key features including all-metal body, high precision, and color screen.
7. Priežiūra
Reguliarus aptarnavimas užtikrina optimalų našumą ir pailgina spausdintuvo tarnavimo laiką.
- Švari spausdinimo plokštė: After each print, allow the bed to cool and then clean it with isopropyl alcohol to remove any residue.
- Purkštukų patikrinimas: Periodically check the nozzle for clogs or wear. Replace if necessary.
- Sutepkite judančias dalis: Apply a small amount of lithium grease to the Z-axis lead screw and smooth rods every few months.
- Tighten Belts: Įsitikinkite, kad X ir Y ašių diržai yra tinkamai įtempti. Jie turi būti įtempti, bet ne per daug.
- Firmware atnaujinimai: Check the Voxelab websvetainėje, kurioje rasite visus galimus programinės įrangos atnaujinimus, skirtus našumui pagerinti ir naujoms funkcijoms pridėti.
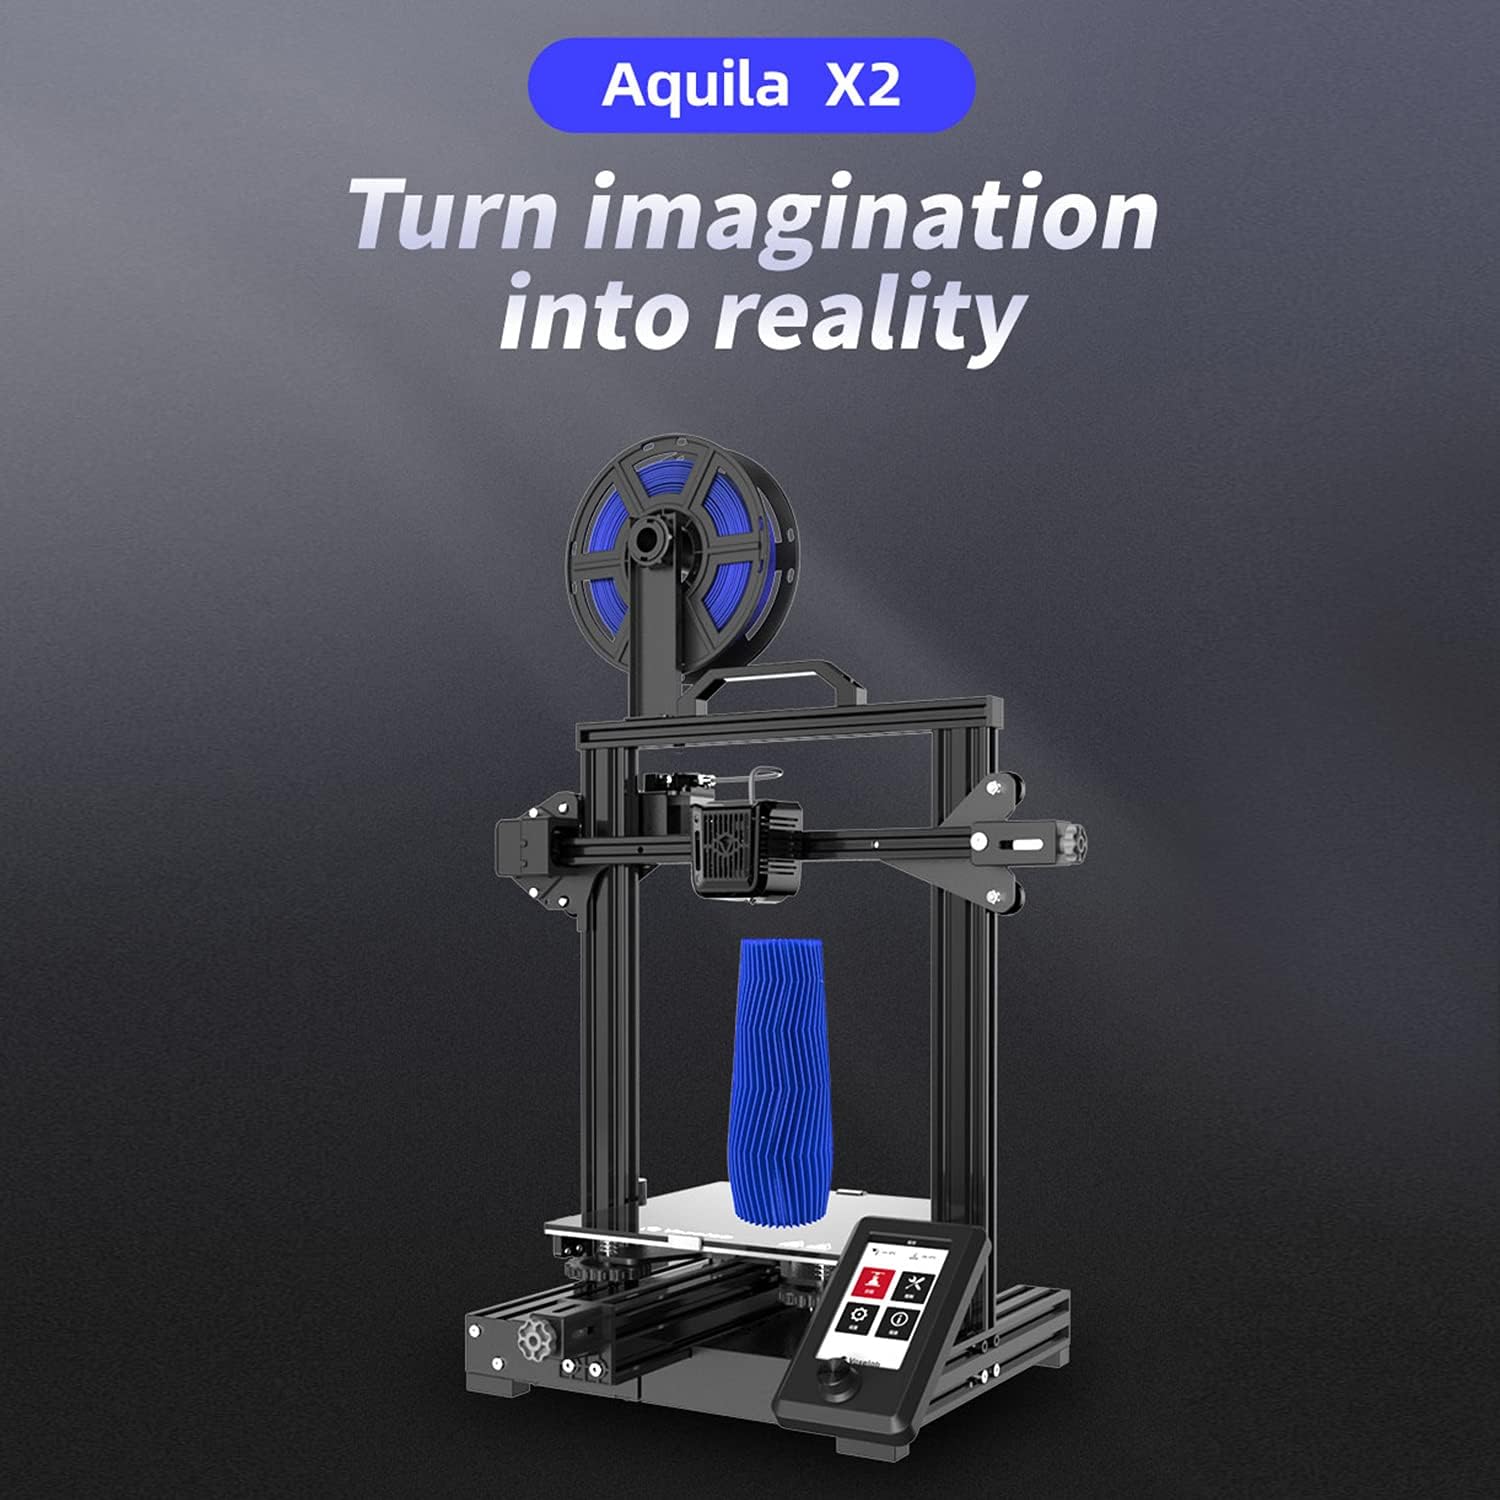
Image: The ultra-flat glass print bed, important for print adhesion and maintenance.
8. Problemų sprendimas
Dažniausiai pasitaikančias problemas ir galimus jų sprendimus rasite šiame skyriuje.
- Spaudinys nelimpa prie lovos:
Galimos priežastys: Bed not level, nozzle too far from bed, bed not heated, dirty print surface, incorrect initial layer settings.
Sprendimai: Re-level the bed, adjust Z-offset, ensure bed temperature is appropriate for filament, clean bed with isopropyl alcohol, check slicer settings for initial layer height and speed. - Neišspaudžiamas siūlas:
Galimos priežastys: Clogged nozzle, tangled filament, incorrect temperature, extruder gear slip.
Sprendimai: Clean or replace nozzle, untangle filament, ensure hotend temperature is correct for filament, check extruder tension. - Poor Print Quality (Layer Shifts, Gaps):
Galimos priežastys: Loose belts, unstable printer, incorrect print speed, worn nozzle.
Sprendimai: Tighten X and Y axis belts, ensure printer is on a stable surface, reduce print speed, replace nozzle. - Spausdintuvas neįsijungia:
Galimos priežastys: Loose power cable, incorrect voltage switch setting, faulty power supply.
Sprendimai: Check power cable connections, verify power supply voltage switch, contact support if issue persists.
9. Specifikacijos
Detailed technical specifications for the Voxelab Aquila X2 3D Printer:
| Funkcija | Specifikacija |
|---|---|
| Ekstruderio numeris | 1 |
| Ekstruderio skersmuo | 0.4 mm |
| Max Extruder Temp. | 250 °C |
| Max Platform Temp. | 110 °C |
| Spausdinimo greitis | ≤180mm/s (50-80mm/s normally) |
| Atraminis siūlas | PLA, ABS, PETG |
| Spausdinimo apimtis | 220 x 220 x 250 mm |
| Sluoksnio raiška | 0.1-0.4 mm |
| Spausdinimo raiška | ±0.2 mm |
| Įrenginio dydis | 473 x 480 x 473 mm |
| Grynasis svoris | 8.2 kg |
| Įvesties tomastage | AC 115/230V 50/60Hz |
| Išėjimas ttage | DC 24V |
| Galia | 350 W |
| Darbo aplinka | 15-30 °C |

Image: Technical specifications of the Voxelab Aquila X2.
10. Garantija ir palaikymas
Voxelab provides a 12-month warranty for all 3D printers, along with lifetime technical support and 12-hour professional customer service.
For technical assistance, troubleshooting, or warranty claims, please contact Voxelab customer service through their official websvetainėje arba mažmenininke, iš kurio įsigijote produktą.
Voxelab Official Websvetainė: www.voxelab3dp.com