
1. Įvadas
This manual provides detailed instructions for the setup, operation, and maintenance of your Volcora Thermal Receipt Printer, Model 500204. This high-speed 80mm POS printer features an auto cutter and offers versatile connectivity options including USB and Bluetooth, supporting various operating systems. Please read this manual thoroughly before using the printer to ensure proper functionality and longevity.
2. Saugos informacija
- Įsitikinkite, kad spausdintuvas prijungtas prie įžeminto maitinimo lizdo.
- Saugokite spausdintuvą nuo vandens ar didelės drėgmės.
- Venkite spausdintuvo laikymo tiesioginiuose saulės spinduliuose arba šalia šilumos šaltinių.
- Naudokite tik prie spausdintuvo pridėtą maitinimo adapterį.
- Do not attempt to disassemble or repair the printer yourself. Contact customer support for assistance.
- Keep hands clear of the auto cutter mechanism during operation.
3. Pakuotės turinys
Patikrinkite, ar pakuotėje yra visi toliau išvardyti daiktai:
- Volcora Thermal Receipt Printer - Standard
- Maitinimo adapteris
- Popieriaus volelis
- USB kabelis
- CD (for drivers and manual)
- vadovas
- Sample Receipt Paper

3.1 paveikslas: Included Components - Thermal Receipt Printer, Power Adapter, USB Cable, Test Paper, and Installation CD.
4. Produktas baigtasview

4.1 paveikslas: Priekyje view of the Volcora Thermal Receipt Printer with a sampkvitas.
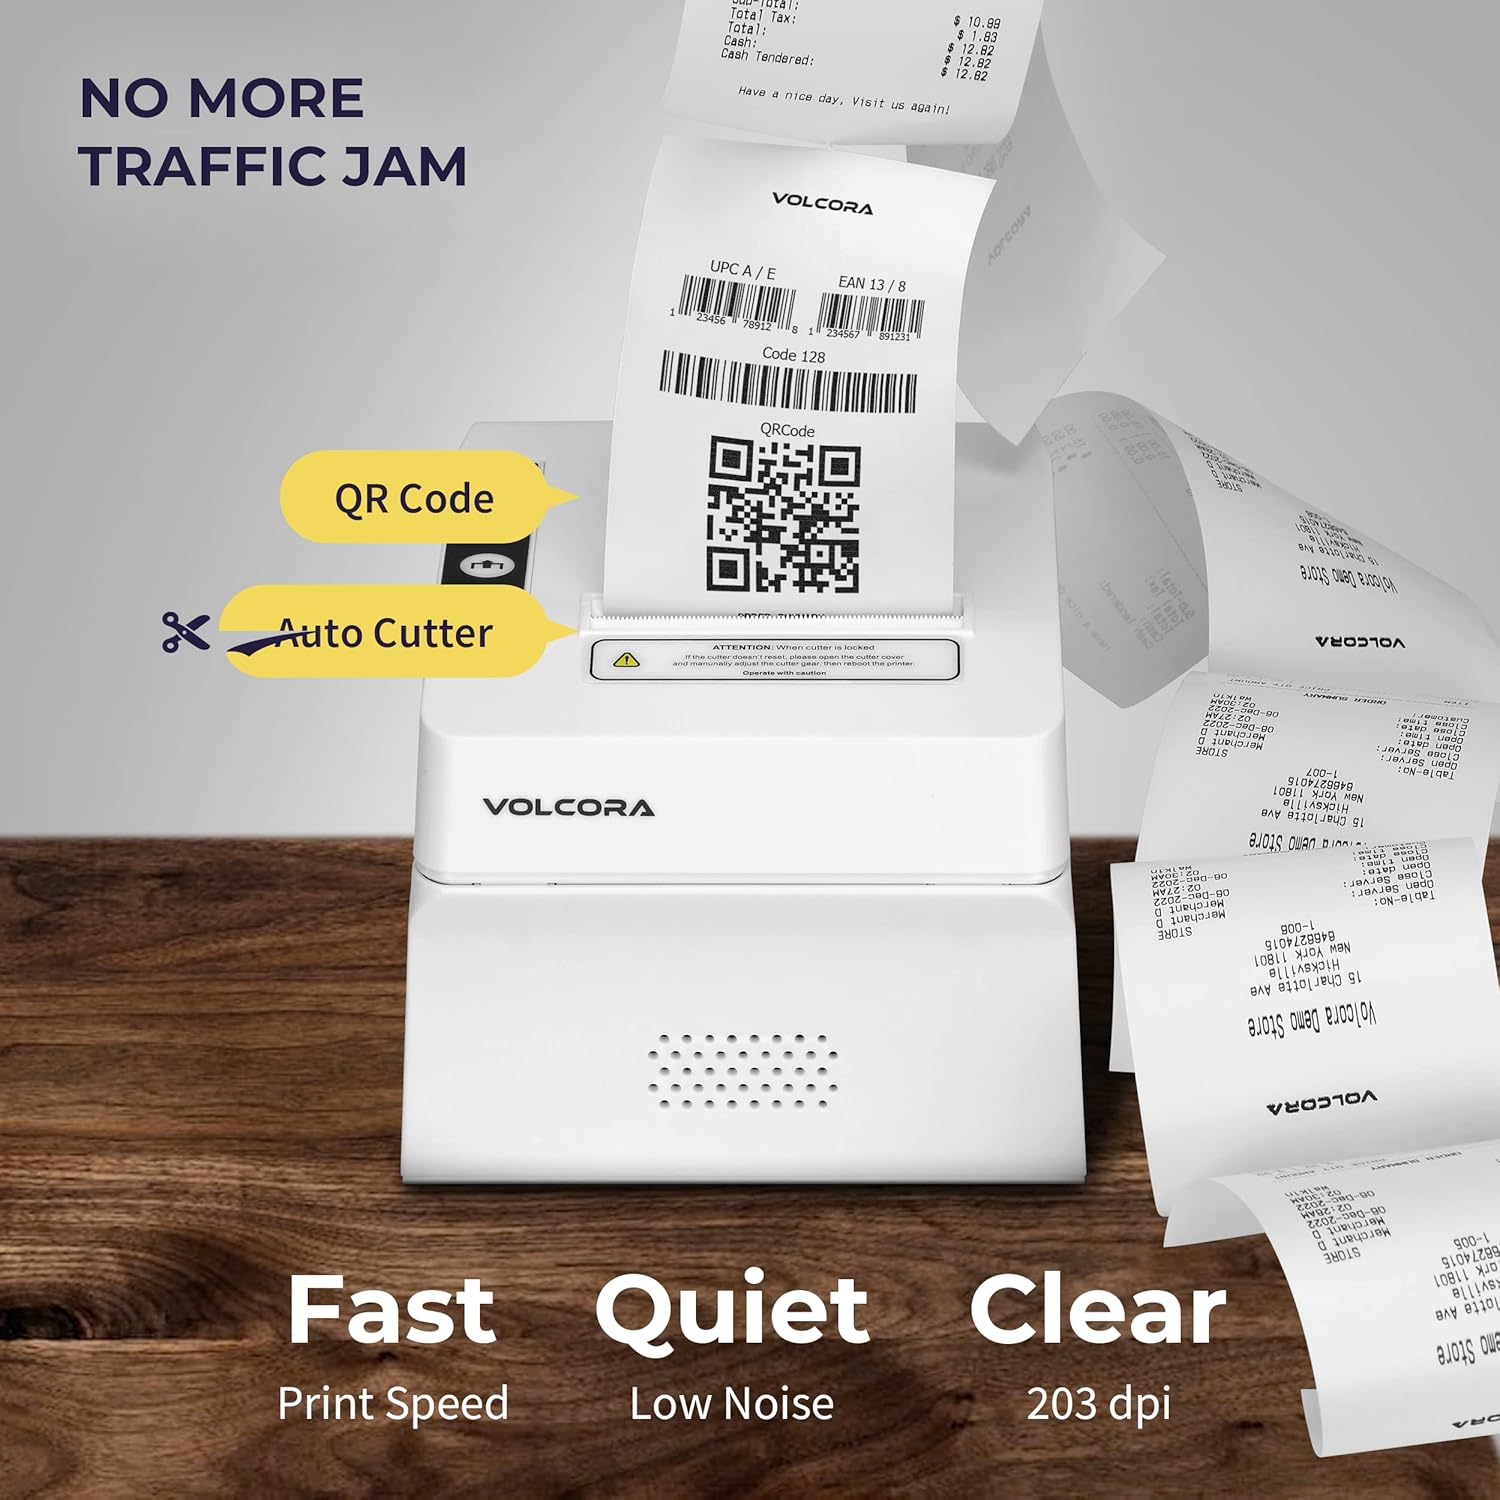
4.2 paveikslas: Key features include QR code printing, automatic cutter, fast print speed, low noise, and 203 dpi clear printing.
4.1 Prievadai ir mygtukai

4.3 paveikslas: Rear ports include Power Supply, Cash Drawer Port (6Pin RJ11), and USB Port. Front panel features Power LED, Error LED, Paper LED, Feed Button, and Cover Open Button.
4.2 Įdėjimo parinktys

4.4 paveikslas: The printer supports both wall mounting (as a kitchen printer) and counter placement (as a receipt printer).
5. Sąranka
5.1 Initial Connection and Paper Roll Installation
- Unbox the printer and all accessories.
- Prijunkite maitinimo adapterį prie spausdintuvo ir maitinimo lizdo.
- Open the paper cover by pressing the "PUSH" button.
- Insert the 80mm thermal paper roll, ensuring the paper feeds from the bottom and the leading edge extends slightly past the cutter.
- Tvirtai uždarykite popieriaus dangtelį, kol jis spragtelės į vietą.
- Connect the USB cable from the printer to your computer (for initial setup or USB printing).

5.1 paveikslas: Baigėsiview of the installation process: Download drivers, Install, Connect power and USB, and Test print.
5.2 Printer Self-Test
Performing a self-test helps verify the printer's basic functionality and prints its configuration settings.
- Įsitikinkite, kad spausdintuvas išjungtas.
- Press and hold the "Feed" button.
- While holding the "Feed" button, power on the printer.
- Release the "Feed" button after approximately 5 seconds. The printer should print a self-test page.
For a visual guide on unboxing, connecting, and performing a self-test, please watch the video below:
„5.1“ vaizdo įrašas: Getting Started with Volcora Thermal Receipt Printer - Unboxing, Connecting, and Self-Test.
6. Driver Installation and Connectivity
The Volcora Thermal Receipt Printer supports USB and Bluetooth connectivity. Proper driver installation is crucial for seamless operation.
6.1 Sistemos suderinamumas
Prašome review the compatibility chart before proceeding with driver installation:

6.1 paveikslas: Suderinamumas baigtasview for USB and Bluetooth connections across various operating systems. Note that Mac OS and iOS are not supported.

6.2 paveikslas: List of compatible and non-compatible POS software applications.
6.2 Windows Driver Installation (USB)
For Windows users, download the latest drivers from the official Volcora support website. The installation CD also contains the necessary drivers.
- Atsisiųskite tvarkyklę, skirtą „Windows“, iš volcora.com/support.
- Išpakuokite atsisiųstą file and open the driver application.
- Follow the on-screen prompts, select your printer model (500204), and complete the installation.
- After installation, the printer should be recognized in your Windows "Printers & Scanners" settings, allowing you to print a test page.
Refer to Video 5.1 for initial connection steps. The video also demonstrates driver installation and testing tools for Windows.
6.3 Bluetooth Connection with Windows PC
This section outlines two methods for connecting your printer via Bluetooth to a Windows PC.
Method 1: Driver Pre-installed with USB Connection
- Ensure the printer driver has been installed using a USB cable connection (refer to Section 6.2).
- Go to Windows Settings > Bluetooth & devices > Add device > Bluetooth.
- Select the printer (e.g., "500203" or "Volcora Thermal Printer") from the list of available devices and pair it. Enter the default PIN (usually "0000" or "1234").
- After pairing, check the printer's properties in "Devices and Printers" to identify the assigned COM port (e.g., COM4).
- Use the Setting Tool (available from volcora.com/support) to select the correct COM port and perform a test print.
Method 2: Driver Installation After Bluetooth Connection
- Start by pairing the printer via Bluetooth directly (Windows Settings > Bluetooth & devices > Add device > Bluetooth). Enter the default PIN.
- Open Device Manager (search in Windows) and expand "Ports (COM & LPT)" to find the COM port used by the Bluetooth printer (e.g., COM3 or COM4).
- Install the printer driver (from volcora.com/support or CD), selecting the identified COM port during the installation process. If the first COM port doesn't work, try the other one listed.
- Once the driver is installed, the printer should appear in "Printers & Scanners" and be ready for use.
„6.3“ vaizdo įrašas: How to connect your Volcora Thermal Receipt Printer via Bluetooth to a Windows PC.
6.4 Bluetooth Connection with Android Tablets
To connect your printer to an Android tablet, follow these steps:
- Go to your Android tablet's Settings and enable Bluetooth.
- Ieškokite new devices and select your printer (e.g., "500203"). Pair the device using the default PIN (usually "0000" or "1234").
- Download the "PrintDemo Tool" from volcora.com/support.
- Open the PrintDemo Tool, go to "Setting", select "Bluetooth" as the interface, and search for your paired printer.
- Perform a "print test" to confirm connectivity.
- For POS applications like Loyverse POS or W&O POS, navigate to their printer settings, select "Bluetooth" as the interface, and choose your Volcora printer to perform a test print.
„6.4“ vaizdo įrašas: How to connect your Volcora Thermal Receipt Printer via Bluetooth to an Android Tablet.
7. Naudojimo instrukcijos
Once the printer is successfully connected and drivers are installed, it will function as a standard printer for your compatible system or POS application. Ensure your application is configured to use the Volcora Thermal Printer for receipt printing.
- Spausdinimas: Send print commands from your software. The printer will automatically feed and cut the receipt.
- Popieriaus padavimas: Press the "Feed" button on the front panel to manually advance the paper.
- Klaidos indikatorius: The "Error" LED will illuminate if there is a paper jam, paper out, or other issues. Refer to the troubleshooting section.
8. Priežiūra
Reguliarus aptarnavimas užtikrina optimalų našumą ir pailgina spausdintuvo tarnavimo laiką.
- Spausdinimo galvutės valymas: Naudokite minkštą, nepūkuotą audinį dampšvelniai nuvalykite terminio spausdinimo galvutę izopropilo alkoholiu suvilgytu tirpalu. Prieš valydami įsitikinkite, kad spausdintuvas yra išjungtas ir atvėsęs.
- Veleno volelio valymas: Rotate the platen roller and wipe it with an alcohol-dampened cloth to remove paper dust or adhesive residue.
- Išorinis valymas: Wipe the exterior of the printer with a soft, dry cloth. Avoid abrasive cleaners.
9. Specifikacijos
Detailed technical specifications for the Volcora Thermal Receipt Printer Model 500204:

9.1 paveikslas: Visual representation of printer dimensions and key specifications.
| Funkcija | Detalė |
|---|---|
| Gaminio matmenys | 4 "D x 8" P x 8" A |
| Spausdinimo greitis | 220 mm/s |
| Popieriaus plotis | 80 mm (79.5 millimeters) |
| Spausdinimo plotis | 72 mm |
| Taško tankis | 8 dot/mm, 576 dot/line |
| Spausdinimo raiška | 203 dpi (203 x 203 DPI) |
| Spausdintuvo komanda | ESC/POS |
| Brūkšninių kodų tipai | UPC-A/ UPC-E/ EAN13/ EAN8/ CODE39/ ITF25/ CODABAR/ CODE93/ CODE128/ QRCODE/ PDF417/ Data matrix |
| Įvesties galia | AC 110V/240V, 50-60Hz |
| Išėjimo galia | DC 24V/2A |
| Automatinio pjaustytuvo tarnavimo laikas | 1.5 mln |
| Ryšio technologija | Bluetooth, USB |
| Spausdinimo technologija | Šiluminis |
| Suderinami įrenginiai | Nešiojamieji kompiuteriai, asmeniniai kompiuteriai, planšetiniai kompiuteriai |
| Atminties talpa | 64 KB |
| Prekės svoris | 3.76 svaro (1.71 kilogramo) |
| Modelio numeris | 500204 |
| UPC | 810041565044 |
10. Problemų sprendimas
If you encounter issues with your Volcora Thermal Receipt Printer, consider the following common solutions:
- Spausdintuvas neatsako:
- Patikrinkite maitinimo jungtis ir įsitikinkite, kad spausdintuvas įjungtas.
- Verify USB or Bluetooth connection status.
- Perform a printer self-test (Section 5.2) to confirm internal functionality.
- Reinstall drivers if necessary.
- Prasta spausdinimo kokybė:
- Įsitikinkite, kad naudojate aukštos kokybės terminį popierių.
- Clean the thermal print head (Section 8).
- Check printer settings for print density or speed adjustments.
- Popieriaus strigtys:
- Turn off the printer and carefully open the paper cover.
- Pašalinkite įstrigusį popierių ar šiukšles.
- Ensure the paper roll is correctly installed and not too tight.
- „Bluetooth“ ryšio problemos:
- Ensure Bluetooth is enabled on both the printer and your device.
- Unpair and re-pair the printer.
- Verify the correct COM port is selected in your driver or application settings.
Daugiau pagalbos rasite 11 skyriuje pateiktoje pagalbos informacijoje.
11. Garantija ir palaikymas
All Volcora products are backed by a limited lifetime warranty. Our US-based customer support team is available to assist with any issues regarding setup, connection, compatibility, or other product-related concerns.
- Visit Help Portal: https://help.volcora.com
- Download Support Center: https://volcora.com/support
- Klientų aptarnavimo kontaktai: support@volcora.com

11.1 paveikslas: Volcora offers US-based customer support for product assistance.