1. Saugos informacija
Please read and understand all safety information before operating this digital multimeter. Failure to follow these instructions may result in electric shock, fire, or damage to the device.
- Always ensure the multimeter is set to the correct function and range before making any measurements.
- Neviršykite kiekvienai funkcijai nurodytų didžiausių įvesties verčių.
- Būkite atsargūs dirbdami su voltages above 30V AC RMS, 42V peak, or 60V DC, as they pose a shock hazard.
- Prieš kiekvieną naudojimą patikrinkite bandymo laidus, ar jie nepažeisti. Nenaudokite, jei pažeista izoliacija.
- ĮSPĖJIMAS: Before opening the case for battery or fuse replacement, always remove the test leads from the object being measured and disconnect from any power source to avoid electric shock.
- This device features F0.5A/600V fuse overload protection. Replace fuses only with specified types and ratings.
2. Produktas baigtasview
The ANENG AN101 is a portable digital multimeter designed for measuring AC voltage, AC current, DC voltage, DC current, and resistance. It features an easy-to-read LCD display with 1999 counts and supports both automatic and manual ranging for versatile use in various electrical and electronic applications.
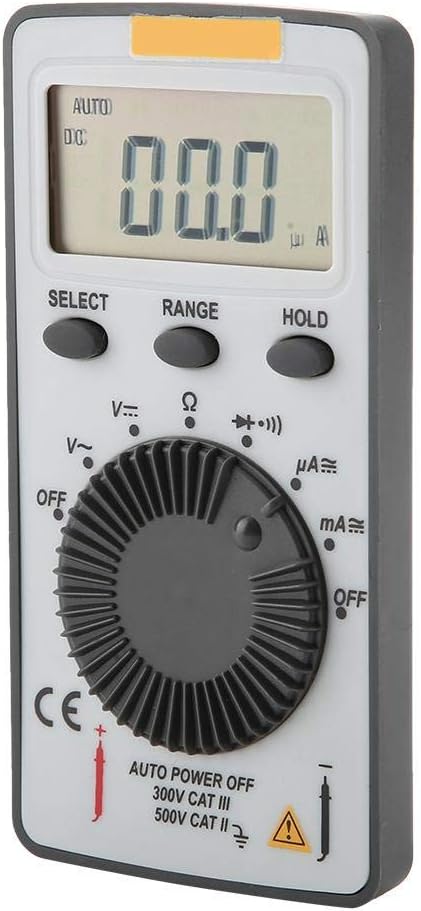
2.1 pav.: priekis view of the ANENG AN101 Digital Multimeter. This image displays the device's LCD screen, the central rotary function dial, and the 'SELECT', 'RANGE', and 'HOLD' buttons.
3. Sąranka
3.1 Akumuliatoriaus įdėjimas
- Įsitikinkite, kad multimetras yra išjungtas, ir atjunkite visus bandymo laidus.
- Suraskite akumuliatoriaus skyrių įrenginio gale.
- Baterijų skyriaus dangteliui atidaryti naudokite atsuktuvą.
- Insert two 3V CR2032 batteries, observing the correct polarity.
- Uždėkite akumuliatoriaus skyriaus dangtelį ir pritvirtinkite jį varžtu.

3.1 pav.: Nugara view of the ANENG AN101 Digital Multimeter. This image shows the battery compartment cover and a safety warning regarding opening the case.
3.2 Bandymo laidų prijungimas
- Insert the red test lead into the 'VΩmA' input jack.
- Įkiškite juodą bandymo laidą į „COM“ įvesties lizdą.
- Ensure the connections are firm before proceeding with measurements.
4. Naudojimo instrukcijos
4.1 Maitinimo įjungimas/išjungimas
Rotate the central dial from 'OFF' to any measurement function to power on the device. To power off, rotate the dial back to 'OFF'. The multimeter also features an auto power-off function to conserve battery life.
4.2 Funkcijos pasirinkimas
Turn the rotary dial to select the desired measurement function (e.g., DC Voltage (V=), AC Voltage (V~), Resistance (Ω), DC Current (μA=, mA=), AC Current (μA~, mA~)).
4.3 Range Selection (Auto/Manual)
The AN101 supports both automatic and manual ranging. In auto-ranging mode, the meter automatically selects the best range for the measurement. Press the 'RANGE' button to switch between auto and manual ranging. In manual mode, press 'RANGE' repeatedly to cycle through available ranges.
4.4 DC matavimas Voltage
- Set the rotary dial to 'V='.
- Connect the red test lead to the positive side of the circuit and the black test lead to the negative side.
- Perskaitykite ttage value on the LCD display. The polarity will be indicated automatically.
4.5 AC matavimas, ttage
- Set the rotary dial to 'V~'.
- Prijunkite bandymo laidus prie kintamosios srovės įtampostage šaltinis.
- Perskaitykite ttage reikšmė LCD ekrane.
4.6 Nuolatinės srovės matavimas
- Set the rotary dial to 'μA=' or 'mA=' depending on the expected current.
- ĮSPĖJIMAS: To measure current, the multimeter must be connected in series with the circuit. Do not connect it in parallel across a voltage šaltinis.
- Break the circuit and connect the multimeter in series, ensuring the red lead is towards the higher potential and the black lead towards the lower potential.
- Skaitykite dabartinę vertę LCD ekrane.
4.7 Measuring AC Current
- Set the rotary dial to 'μA~' or 'mA~'.
- ĮSPĖJIMAS: Prijunkite multimetrą nuosekliai prie grandinės.
- Break the circuit and connect the multimeter in series.
- Skaitykite dabartinę vertę LCD ekrane.
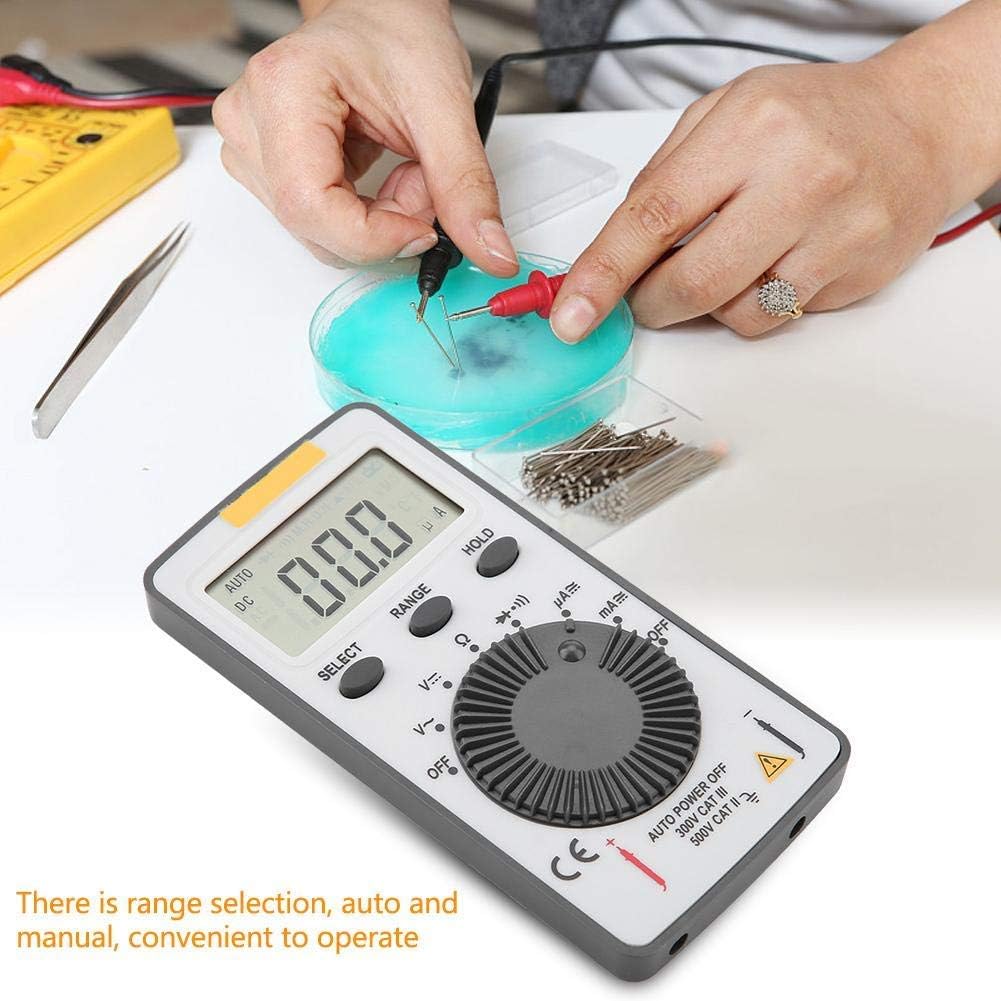
Figure 4.1: The ANENG AN101 Digital Multimeter in use, demonstrating its application for measuring electrical components. The image highlights the ease of operation with auto and manual range selection.
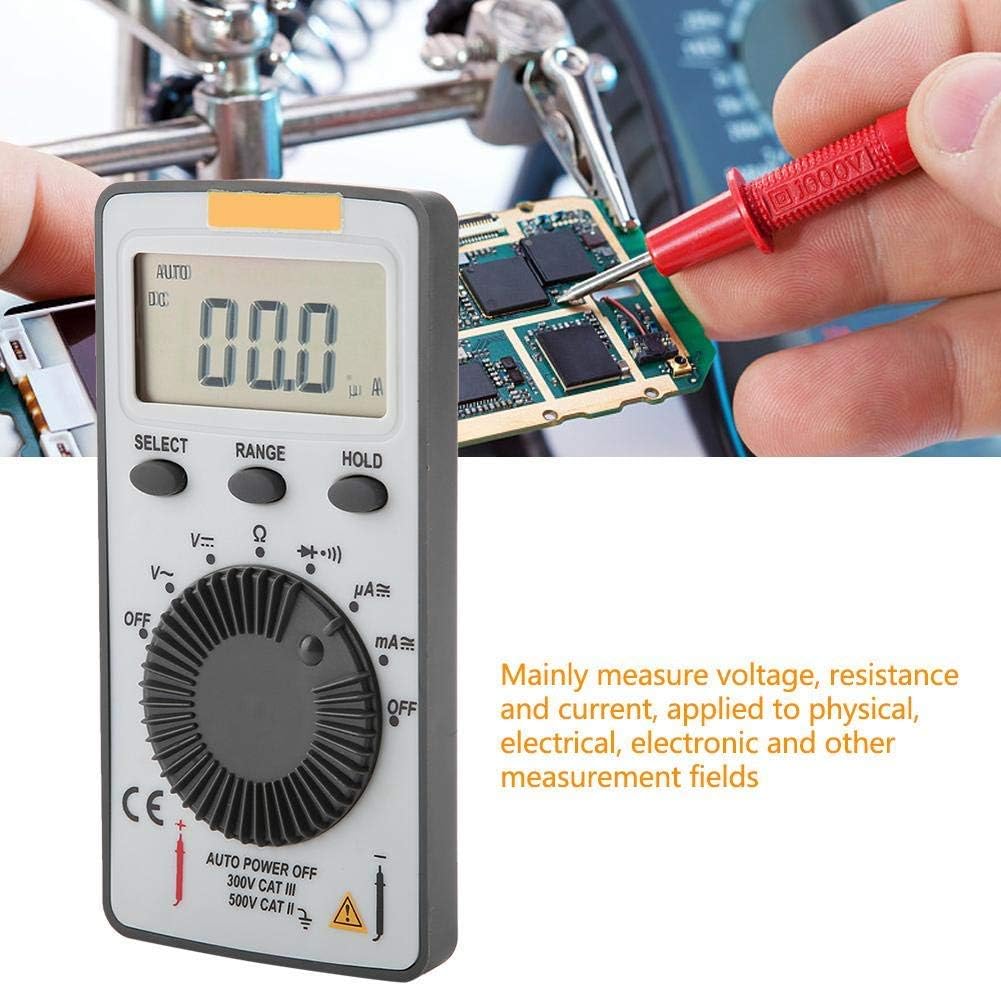
Figure 4.2: The ANENG AN101 Digital Multimeter being used to measure voltage or current on a circuit board. This illustrates its primary function in physical, electrical, and electronic measurement fields.
4.8 Laikymo funkcija
Press the 'HOLD' button to freeze the current reading on the display. Press it again to release the hold function and resume live measurements.
5. Priežiūra
5.1 Valymas
Wipe the device with a dry, soft cloth. Do not use abrasive cleaners or solvents. Keep the device free from dust and moisture.
5.2 Akumuliatoriaus keitimas
When the battery indicator appears on the display, replace the batteries as described in Section 3.1. Always use two new 3V CR2032 batteries.
5.3 Saugiklio keitimas
If the current measurement functions stop working, the fuse may need replacement. Refer to the safety warnings in Section 1 before attempting to open the case. Replace the fuse only with a F0.5A/600V type.
6. Problemų sprendimas
- Nėra ekrano: Patikrinkite baterijų įdėjimą ir įsitikinkite, kad jos nėra išsikrovusios.
- Rodomas „OL“: This indicates an over-range condition. Either the measured value exceeds the selected range, or the circuit is open (for resistance/current measurements). Select a higher range or check circuit continuity.
- Neteisingi rodmenys: Ensure test leads are properly connected, the correct function and range are selected, and the circuit connections are secure.
- Srovės matavimas neveikia: Check the fuse as described in Section 5.3.
7. Specifikacijos
| Funkcija | Specifikacija |
|---|---|
| Prekės ženklas | ANENG |
| Modelis | AN101 |
| Ekranas | LCD, 1999 Counts |
| Atnaujinimo rodiklis | 2 kartus per sekundę |
| LCD dydis | 40 * 20 mm |
| Poliškumo indikacija | Automatic '-' |
| Perviršio indikacija | 'OL' |
| Diapazono pasirinkimas | Automatinis arba Rankinis |
| Darbinė temperatūra | 0℃ to 40℃, Relative Humidity: <80% RH |
| Laikymo temperatūra | -10℃ to 50℃, Relative Humidity: <85% RH |
| Baterijos tipas | 2 * 3V, CR2032 size (not included) |
| DC ttage Įvesties varža | 10MΩ |
| DC ttage Apsauga nuo perkrovos | 600 V DC / AC RMS |
| Maks. DC ttage Įvestis | 600V DC |
| DC Current Overload Protection | F0.5A / 600V Fuse |
| Max. DC Current Input | 500 mA |
| AC Current Overload Protection | F0.5A / 600V Fuse |
| Max. AC Current Input | 500 mA |
| AC Current Frequency Range | 40Hz - 400Hz |
| AC ttage Įvesties varža | 10MΩ |
| AC ttage Dažnių diapazonas | 40Hz - 400Hz |
| AC ttage Apsauga nuo perkrovos | 600 V DC / AC RMS |
| Maks. AC ttage Įvestis | 600V AC RMS |
| Svoris | apytiksliai 102 g / 3.6 uncijos |
| Matmenys | Approx. 110 * 55 * 10 mm / 4.3 * 2.2 * 0.4 in |
| Pakuotės turinys | 1 * Digital Multimeter, 2 * Test Leads |

Figure 7.1: Dimensions of the ANENG AN101 Digital Multimeter, showing its compact size for portability.
8. Garantija ir palaikymas
Dėl garantijos informacijos ir techninės pagalbos žr. pirkimo metu pateiktus dokumentus arba susisiekite su pardavėju. Išsaugokite pirkimo kvitą kaip pirkimo įrodymą.