
1. Įvadas
Thank you for choosing the BONTEC OOXM3308 Adjustable Tilting Ceiling TV Mount. This product is designed to securely hold most 26-55 inch televisions, offering versatile viewing angles and space-saving installation. Please read this manual thoroughly before installation to ensure safe and correct assembly and operation. Keep this manual for future reference.
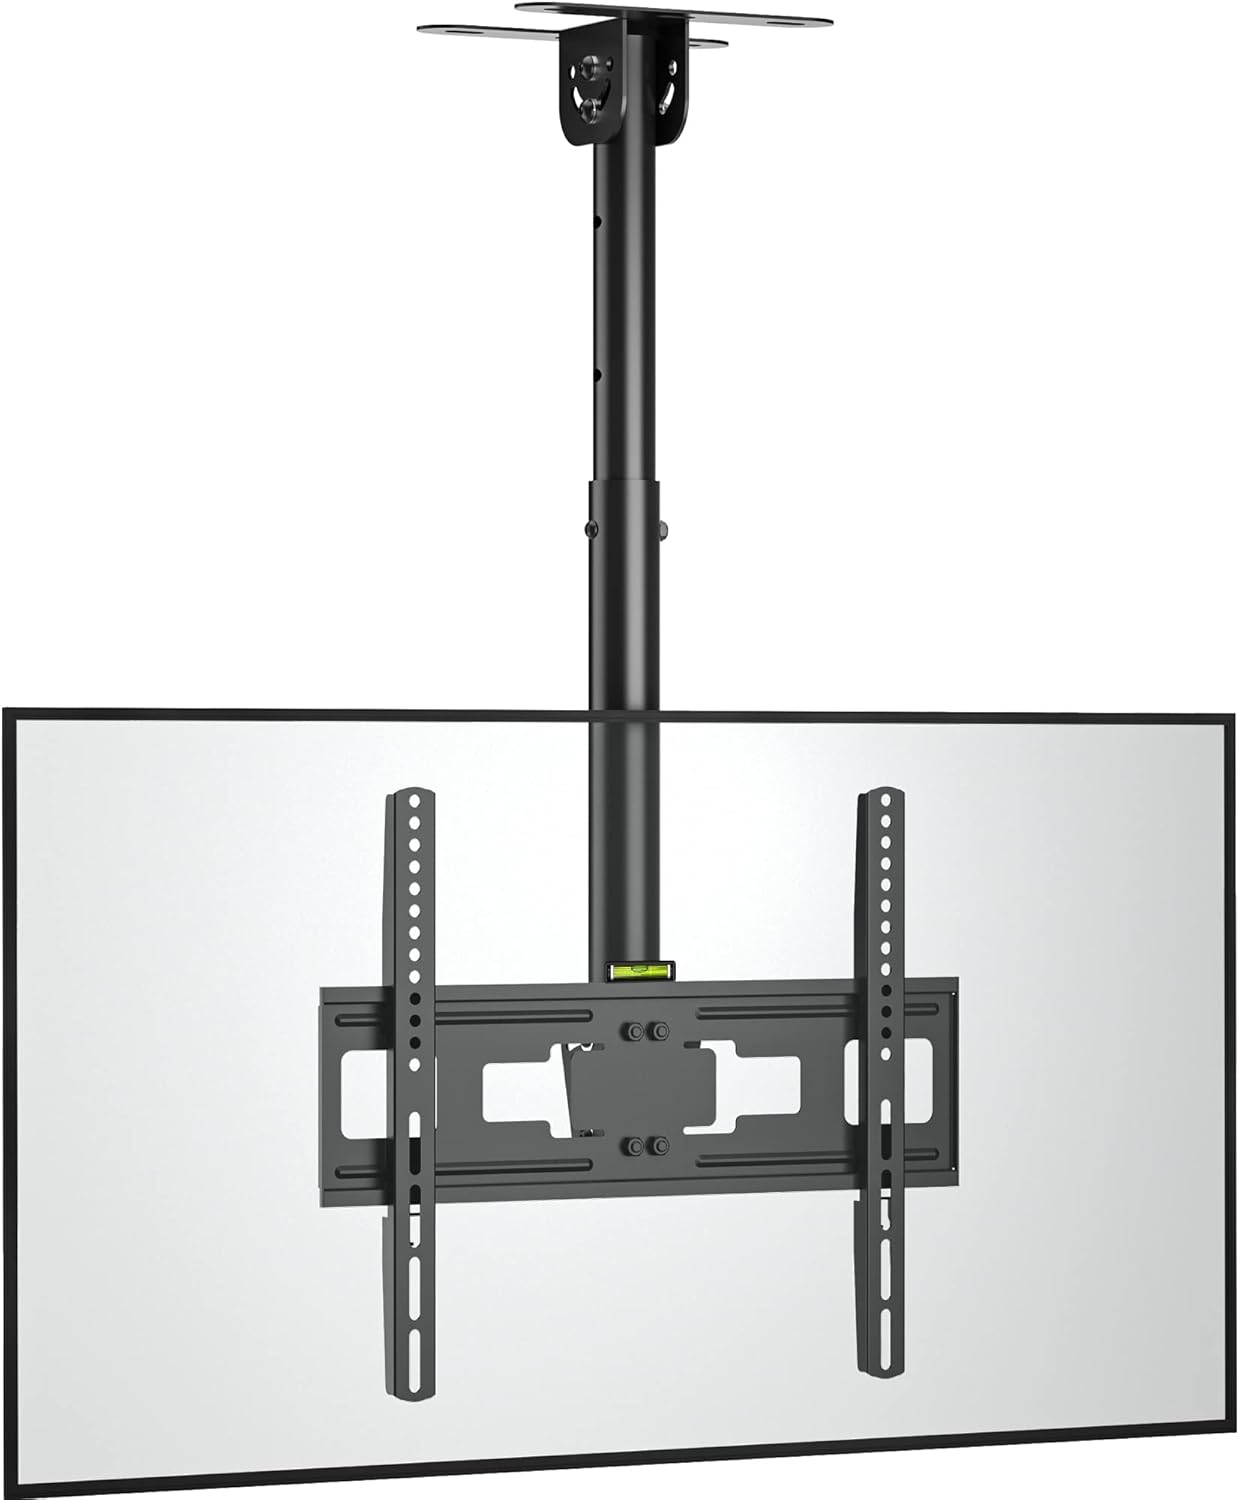
Image 1.1: The BONTEC OOXM3308 Ceiling TV Mount with a television attached.
2. Saugos informacija
ĮSPĖJIMAS: Failure to read and follow all instructions may result in personal injury, property damage, or voiding of warranty. Improper installation can lead to serious injury.
- Nepradėkite montavimo darbų, kol neperskaitysite ir nesuprasite visų šiame vadove pateiktų nurodymų ir įspėjimų.
- Įsitikinkite, kad tvirtinimo paviršius gali saugiai atlaikyti laikiklio ir televizoriaus bendrą svorį.
- Naudokite tik pateiktą įrangą. Nenaudokite pažeistų dalių.
- Šis gaminys skirtas naudoti tik patalpose.
- Neviršykite maksimalaus 45 kg (99 svarų) svorio.
- Ensure VESA patterns are compatible (75x75mm to 400x400mm).
- Always use a qualified technician for installation if you are unsure about the process.
- Do not use concrete anchors on wood studs. Do not mount on drywall alone.
3. Pakuotės turinys
Verify that all components are present and undamaged before installation. If any parts are missing or defective, contact BONTEC customer support.

3.1 vaizdas: Baigtaview of height adjustment and included fitting hardware.
Fitting Hardware Included:
- Concrete Anchors (x6)
- Lag Bolts (x6)
- Washers (φ8mm) (x6)
- Veržliaraktis (x1)
TV Mounting Screws:
- M4*30mm varžtai
- M6*16mm varžtai
- M8*16mm varžtai
- M4/M6/M8 Square Washers
- M6*30mm varžtai
- M8*50mm varžtai
- D8*5mm Spacers
- D8*10mm Spacers
4. Produkto ypatybės
The BONTEC OOXM3308 mount offers several features for optimal TV placement and viewpatirtį.

Image 4.1: Multiple features including forward tilt and swivel adjustment.
- Visuotinis suderinamumas: Designed for most 26-55 inch televisions.
- Tvirta konstrukcija: Made from strong alloy steel, supporting up to 45 kg (99 lbs).
- VESA atitiktis: Supports VESA patterns from 75x75mm to 400x400mm.
- Adjustable Swivel: Features a ±90° swivel adjustment for flexible viewkampų.
- Pakreipimo mechanizmas: The TV plate can be tilted downwards by 25° to reduce glare and optimize viewing.
- Integrated Height Adjustment: The mount offers an adjustable height range from 580mm to 840mm. Adjustments can be made using manual screws and the provided wrench.
- Secure Ceiling Attachment: Six locating holes ensure the mount is securely fastened to the ceiling.

Image 4.2: Illustration of the strong steel central column and secure locating holes.

Image 4.3: VESA compatibility and screen size range (26-55 inches).

Image 4.4: Low-profile tilting design with maximum capacity and VESA specifications.
5. Sąranka ir diegimas
Follow these steps carefully for safe and secure installation.
5.1 Patikrinimai prieš montavimą
- TV svoris: Ensure your TV weighs no more than 45 kg (99 lbs).
- VESA modelis: Check the VESA mounting holes on the back of your TV. They must be between 75x75mm and 400x400mm.
- Lubų tipas: Identify your ceiling type (wood stud, concrete, or brick) to use the correct hardware.
5.2 Lubų plokštės montavimas
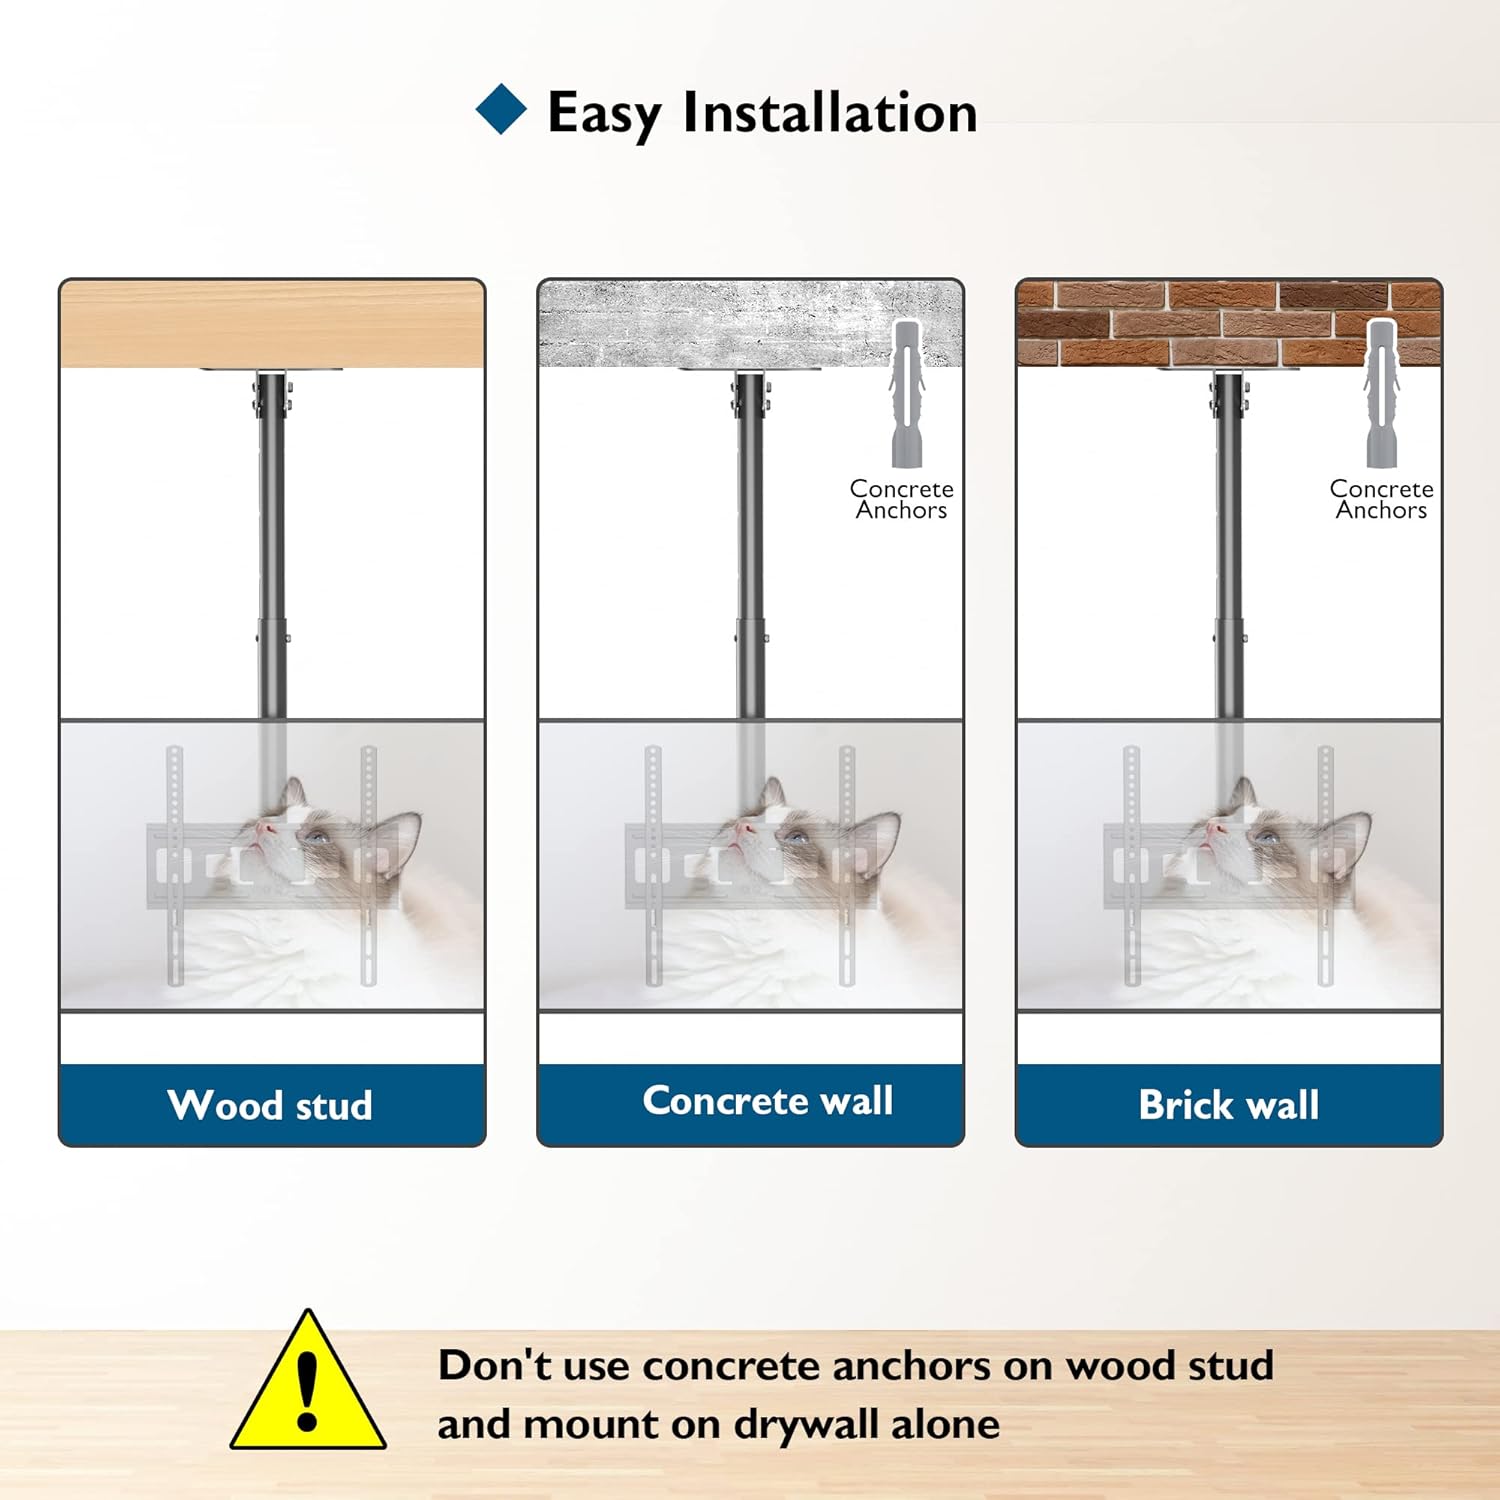
Image 5.1: Easy installation methods for various ceiling types.
- Position the ceiling plate at the desired location. Use a pencil to mark the six mounting holes.
- For Wood Stud: Drill pilot holes into the center of the wood stud. Secure the ceiling plate using the Lag Bolts and Washers.
- For Concrete/Brick Wall: Drill holes using an appropriate drill bit for concrete/brick. Insert the Concrete Anchors into the drilled holes. Secure the ceiling plate using the Lag Bolts and Washers.
- Ensure the ceiling plate is firmly attached and level.
5.3 Televizoriaus pritvirtinimas prie laikiklio
- Attach the TV mounting arms to the back of your television using the appropriate M4, M6, or M8 screws and spacers from the provided hardware kit. Ensure the arms are centered and securely fastened.
- Carefully lift the television and hook the mounting arms onto the main bracket of the ceiling mount.
- Secure the TV to the mount using the safety screws or locking mechanism, if applicable, to prevent accidental dislodgement.
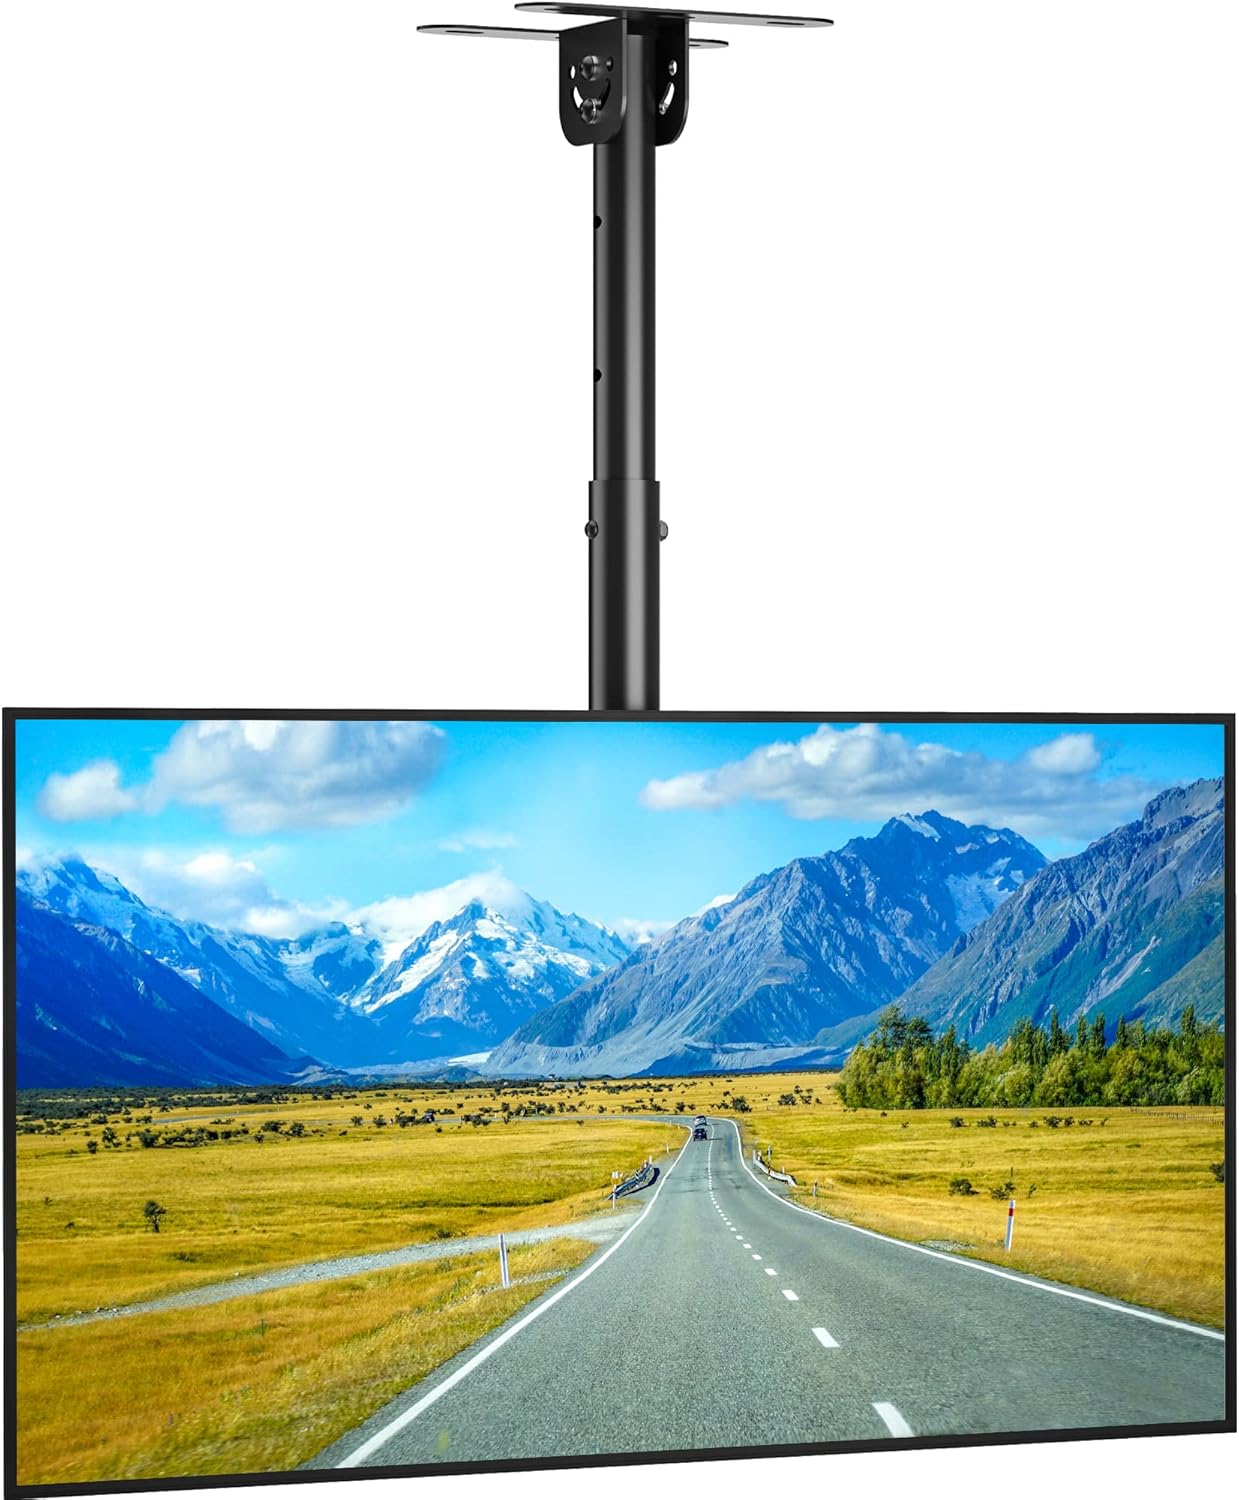
Image 5.2: The BONTEC ceiling TV mount with a television installed.
6. Naudojimo instrukcijos
Once installed, the BONTEC OOXM3308 mount allows for various adjustments to achieve your preferred viewing kampas.
6.1 Aukščio reguliavimas
The mount offers a height range of 580mm to 840mm. To adjust the height:
- Loosen the manual screws on the central column.
- Carefully slide the TV and lower column to the desired height.
- Tighten the manual screws firmly to secure the height.
6.2 Pakreipimo reguliavimas
The TV plate can be tilted downwards by 25°.
- Locate the tilt adjustment knob or mechanism on the mount.
- Loosen the knob/mechanism.
- Adjust the TV to the desired tilt angle.
- Tighten the knob/mechanism to lock the tilt in place.
6.3 Pasukimo reguliavimas
The mount allows for a ±90° swivel.
- Gently rotate the TV to the left or right to achieve the desired viewing kampas.
- Pasukimo mechanizmas sukurtas taip, kad išliktų savo padėtyje, kai jį sureguliavote.

6.1 pav.: pvz.amples of the wide range of applications for the BONTEC ceiling TV mount.
7. Priežiūra
- Periodiškai patikrinkite visus varžtus ir jungtis, kad jie būtų tvirtai priveržti ir užtikrinti jų tvirtumą.
- Laikiklį valykite minkštu, sausu skudurėliu. Venkite abrazyvinių valiklių ar tirpiklių.
- Do not hang objects from the mount or TV.
8. Problemų sprendimas
- Televizorius nėra lygus: Check the ceiling plate installation for levelness. Adjust the TV mounting arms if they allow for minor leveling adjustments.
- Laikiklis atrodo nestabilus: Re-check all mounting screws and bolts. Ensure they are tightened according to the instructions. Verify the ceiling structure can support the weight.
- Sunku reguliuoti pakreipimą / pasukimą: Ensure no locking mechanisms or knobs are overtightened. Apply a small amount of silicone lubricant to moving parts if necessary, avoiding contact with electrical components.
- Trūksta dalių: Refer to Section 3, "Package Contents." Contact BONTEC customer support for replacement parts.
9. Specifikacijos
| Specifikacija | Detalė |
|---|---|
| Prekės ženklas | BONTEC |
| Modelis | OOXM3308 |
| Suderinami televizoriaus dydžiai | 26–55 colių |
| Svorio talpa | Iki 45 kg (99 svarų) |
| VESA suderinamumas | 75x75mm iki 400x400mm |
| Pakreipimo kampas | 25° Downward |
| Pasukimo kampas | ±90° |
| Aukščio reguliavimo diapazonas | 580 mm - 840 mm |
| Medžiaga | Legiruotasis plienas |
| Montavimo tipas | Montavimas ant lubų |
| Produkto svoris | 3.71 kg |
10. Garantija ir palaikymas
BONTEC products are designed for durability and performance. For warranty information, technical support, or assistance with installation, please contact BONTEC customer service through the retailer where the product was purchased or visit the official BONTEC websvetainę.
Išsaugokite pirkimo įrodymą, kad galėtumėte kreiptis dėl garantijos.