
Įvadas
This manual provides comprehensive instructions for the installation, operation, and maintenance of the Haloview CA613 Camera, designed specifically for integration with the Haloview RD7 System. Please read this manual thoroughly before using the product to ensure proper functionality and safety.
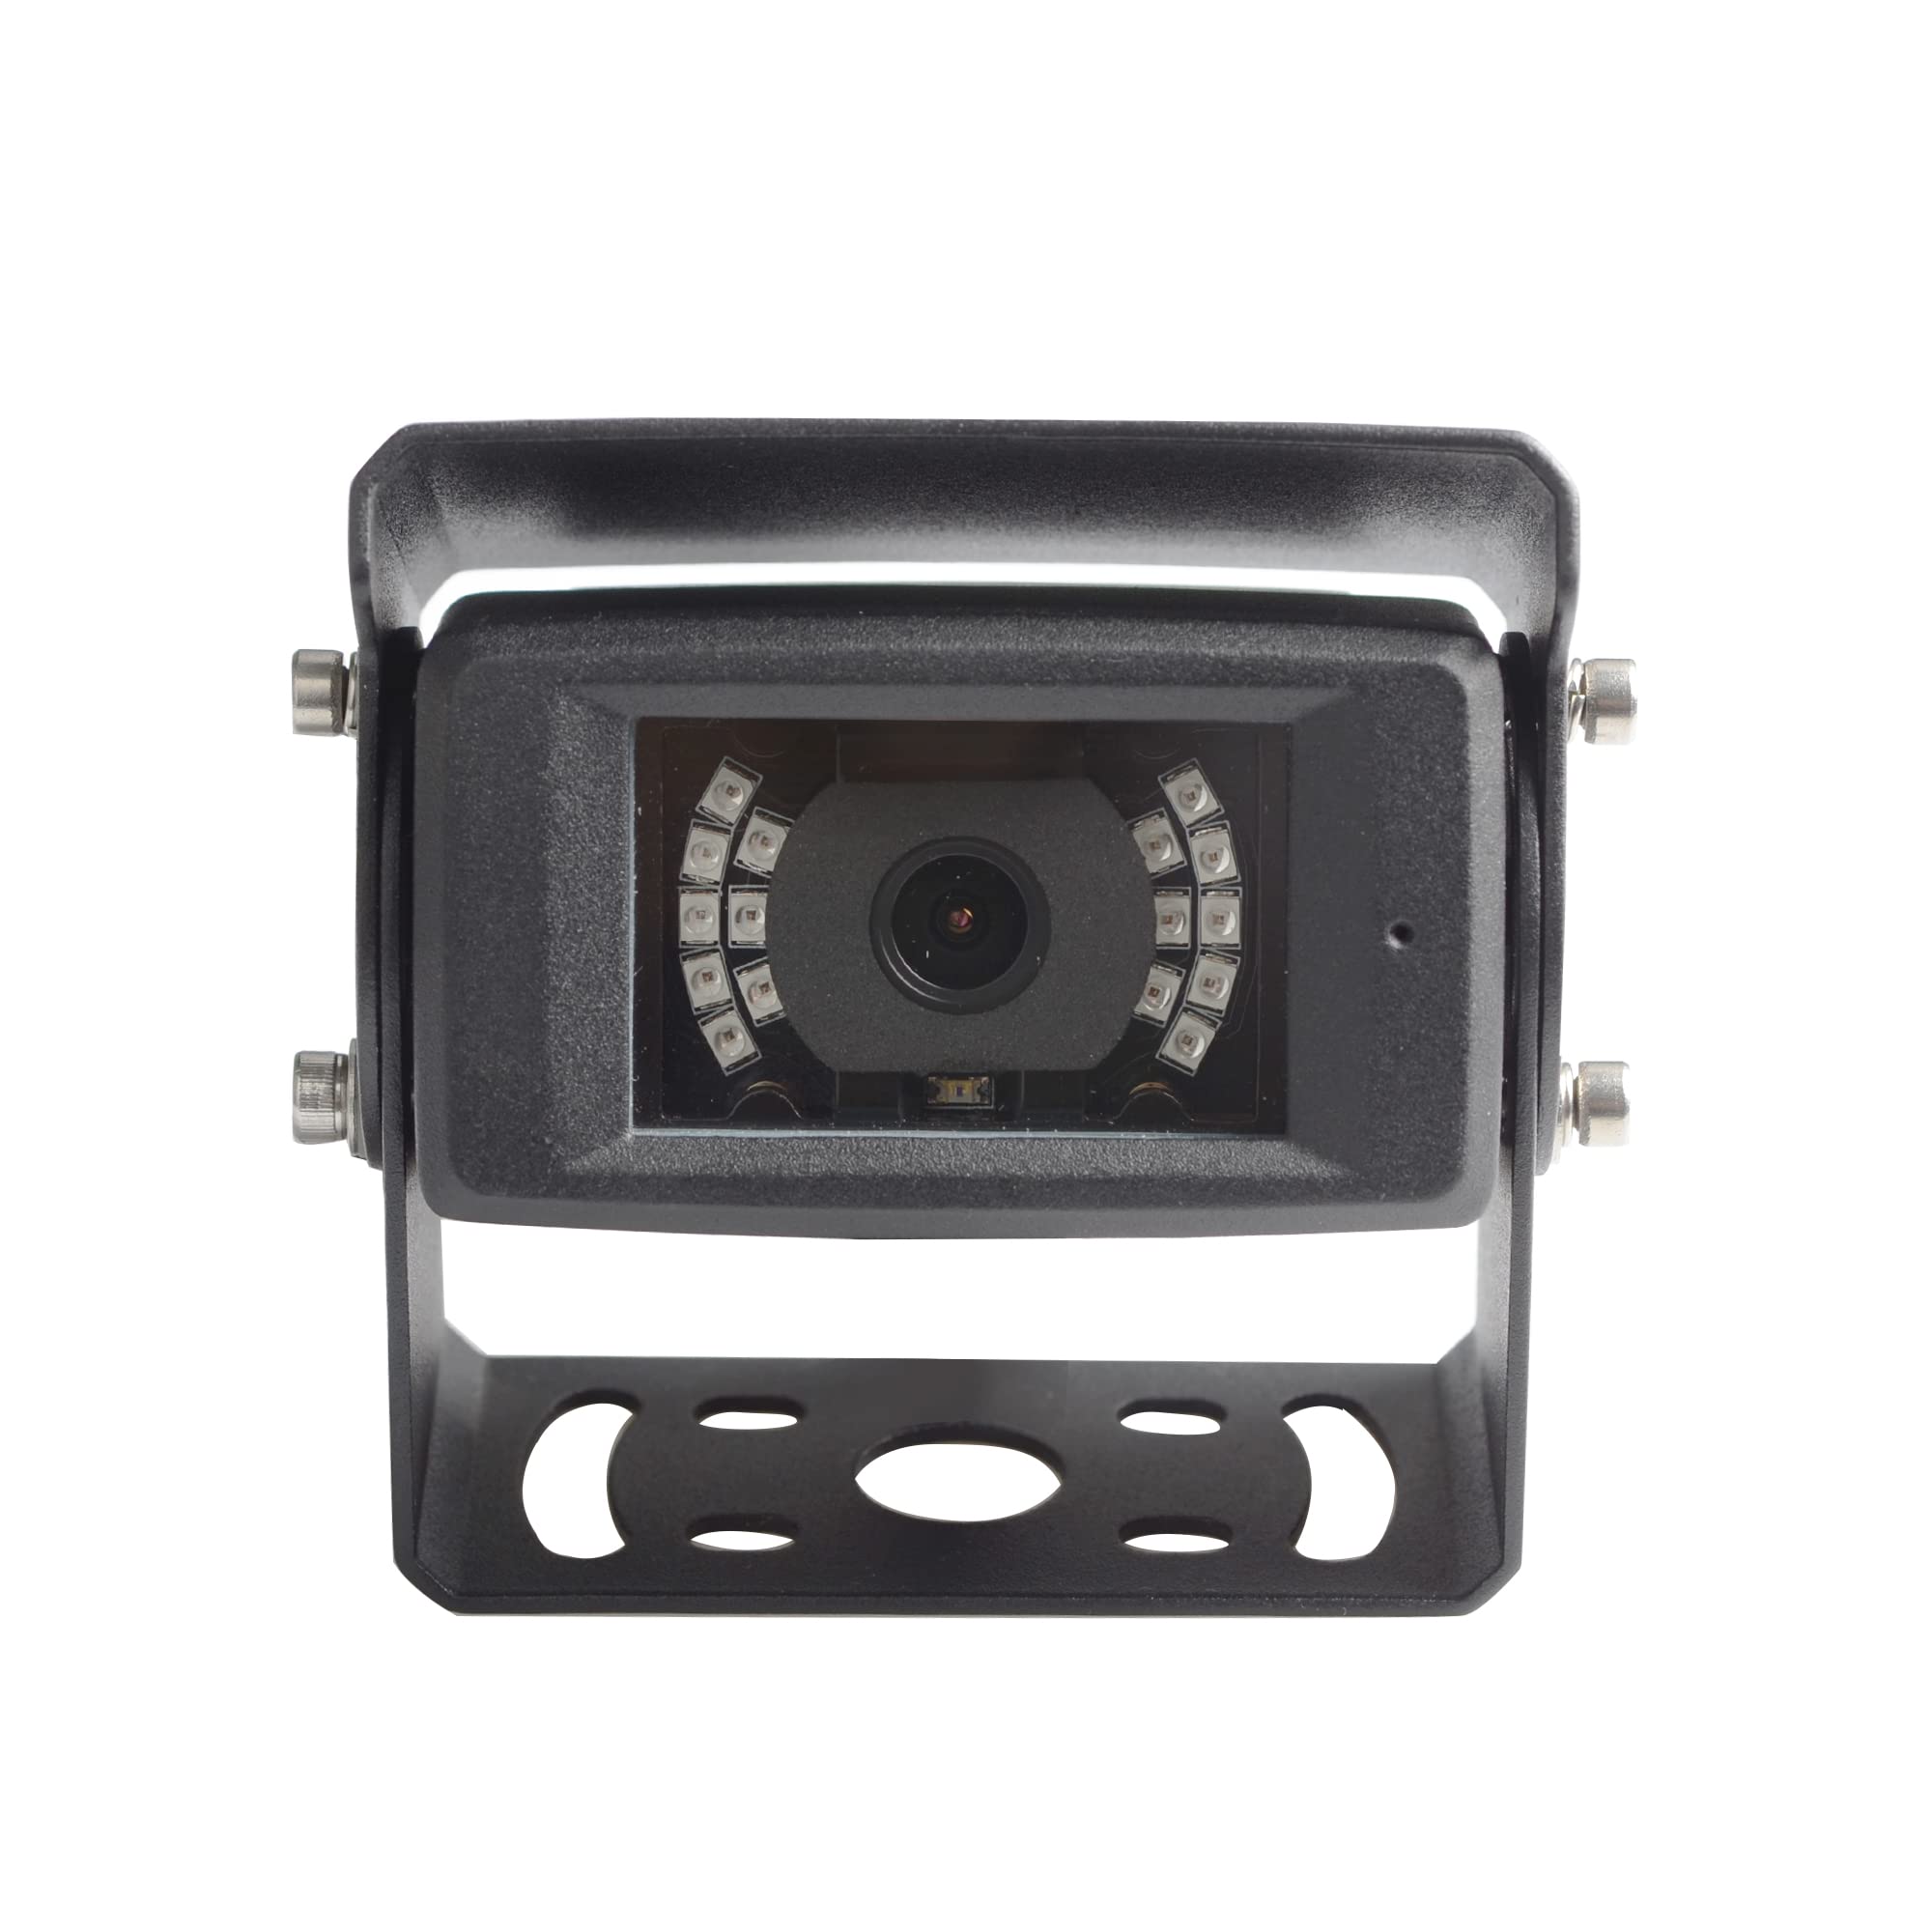
Priekyje view of the Haloview CA613 camera, showing the lens surrounded by infrared LEDs and the adjustable mounting bracket.
Kas yra dėžutėje
- Haloview CA613 Camera (1 unit)
Specifikacijos
| Funkcija | Detalė |
|---|---|
| Prekių skaičius | 1 |
| Įtraukti komponentai | Fotoaparatas |
| Kanalų skaičius | 1 |
| Belaidžio ryšio technologija | Wi-Fi |
| Diegimo tipas | Paviršinis montavimas |
| ttage | 12 voltų |
| Vattage | 3 vatų |
| Vaizdo įrašymo formatas | MPEG-4 |
| Prekės svoris | 1.17 svaro |
| Pakuotės matmenys | 5.75 x 4.8 x 3.5 colio |
| Gamintojas | Haloview |
| Suderinami įrenginiai | Monitorius |
| Ryšio protokolas | Wi-Fi |
Sąranka
Haloview CA613 camera is designed for easy integration with your existing Haloview RD7 system. Ensure all components are present and undamaged before beginning installation.
- Išpakuokite komponentus: Carefully remove the CA613 camera from its packaging. Verify that all listed components are included.
- Pasirinkite montavimo vietą: Select a suitable location for the camera, typically at the rear of the vehicle, ensuring a clear line of sight and protection from direct impact. The surface mount design allows for flexible positioning.
- Apsaugokite fotoaparatą: Use appropriate screws and mounting hardware (not included unless specified by Haloview) to securely attach the camera bracket to the chosen surface. Ensure the camera is oriented correctly for the desired viewing kampas.
- Prijunkite maitinimą: Connect the camera's power cable to a 12-volt DC power source. This is typically the vehicle's reverse light circuit for backup cameras, or a constant power source for continuous monitoring. Ensure proper polarity.
- Pair with RD7 System: Refer to your Haloview RD7 System manual for specific instructions on pairing new cameras. Generally, this involves putting the monitor into pairing mode and then activating the camera. The camera uses Wi-Fi for wireless communication.
- Bandymo funkcionalumas: After installation and pairing, test the camera's video feed on your RD7 monitor to confirm proper operation and adjust the viewkampą, jei reikia.
Naudojimo instrukcijos
Once the CA613 camera is successfully installed and paired with your Haloview RD7 monitor, its operation is largely managed through the monitor unit.
- Maitinimo įjungimas/išjungimas: The camera powers on automatically when it receives 12V power.
- Viewing Feed: The video feed from the CA613 camera will appear on your RD7 monitor when the system is active and the camera is selected or triggered (e.g., by engaging reverse gear if wired to reverse lights).
- Koregavimai: Any image adjustments (brightness, contrast, etc.) are typically performed via the RD7 monitor's menu system. Consult the RD7 monitor's user manual for detailed instructions on these settings.
Priežiūra
- Valymas: Reguliariai valykite fotoaparato objektyvą minkšta,amp cloth to ensure a clear image. Avoid abrasive cleaners.
- Kabelio apžiūra: Periodically check all cable connections for wear, corrosion, or damage. Ensure they are securely fastened.
- Montavimo apsauga: Verify that the camera remains securely mounted to its surface. Tighten any loose screws if necessary.
- Programinės įrangos atnaujinimai: While the camera itself may not have user-updatable firmware, ensure your RD7 monitor system is kept up-to-date as per Haloview's recommendations.
Trikčių šalinimas
| Problema | Galima priežastis | Sprendimas |
|---|---|---|
| Nėra vaizdo monitoriuje | Kamera neįjungta Camera not paired Laisva kabelio jungtis | Check power connection to the camera. Ensure 12V supply. Re-pair the camera with the RD7 monitor according to the monitor's manual. Inspect all cable connections for security. |
| Vaizdas neryškus arba neaiškus | Nešvarus objektyvas Incorrect focus (unlikely for fixed lens) | Nuvalykite fotoaparato objektyvą minkšta šluoste. Įsitikinkite, kad kamera yra tvirtai pritvirtinta ir nevibruoja. |
| Pertraukiamas signalas | Trukdymas Distance/Obstruction | Ensure no strong Wi-Fi or radio interference sources are near the camera or monitor. Reduce distance between camera and monitor, or clear obstructions. |
| Image is dark at night | IR illuminators not active | Ensure the camera is receiving sufficient power. The IR LEDs should activate automatically in low light. |
Garantijos ir palaikymo informacija
For warranty information and technical support, please refer to the official Haloview website or contact Haloview customer service directly. Keep your purchase receipt as proof of purchase for warranty claims.