1. Įvadas
This manual provides essential information for the safe and efficient operation of your TechniSat DIGITRADIO 370 IR. Please read these instructions carefully before using the device and retain them for future reference.
2. Saugos instrukcijos
- Saugokite įrenginį nuo lietaus ar drėgmės, kad išvengtumėte gaisro ar elektros smūgio.
- Neužblokuokite ventiliacijos angų. Užtikrinkite pakankamai vietos aplink įrenginį tinkamam oro cirkuliavimui.
- Naudokite tik su prietaisu pateiktą maitinimo adapterį.
- Nelaikykite įrenginio šalia šilumos šaltinių, tokių kaip radiatoriai, šildytuvai, viryklės ar kiti prietaisai (įskaitant ampkeltuvai), kurie gamina šilumą.
- Saugokite maitinimo laidą, kad ant jo neužeitų ar nesuspaustų, ypač prie kištukų, patogių lizdų ir toje vietoje, kur jie išeina iš aparato.
- Atjunkite šį įrenginį žaibuojant arba kai nenaudojate ilgą laiką.
- Visus techninės priežiūros darbus patikėkite kvalifikuotam techninės priežiūros personalui. Techninė priežiūra reikalinga, kai aparatas buvo kaip nors pažeistas, pvz., pažeistas maitinimo laidas arba kištukas, į aparatą išsiliejo skystis ar įkrito daiktai, aparatas buvo paveiktas lietaus ar drėgmės, neveikia normaliai. , arba buvo numestas.
3. Pakuotės turinys
Patikrinkite, ar pakuotėje yra visi reikalingi daiktai:
- TechniSat DIGITRADIO 370 IR (Black)
- Nuotolinio valdymo pultas
- Maitinimo adapteris
- Vartotojo vadovas (šis dokumentas)
4. Valdikliai ir jungtys

4.1 pav.: Priekinis skydelisview
The image above displays the front panel of the DIGITRADIO 370 IR, featuring the central display, volume and tuning/OK rotary knobs, and various control buttons such as Power, Mode, Preset, Scan, and Back.
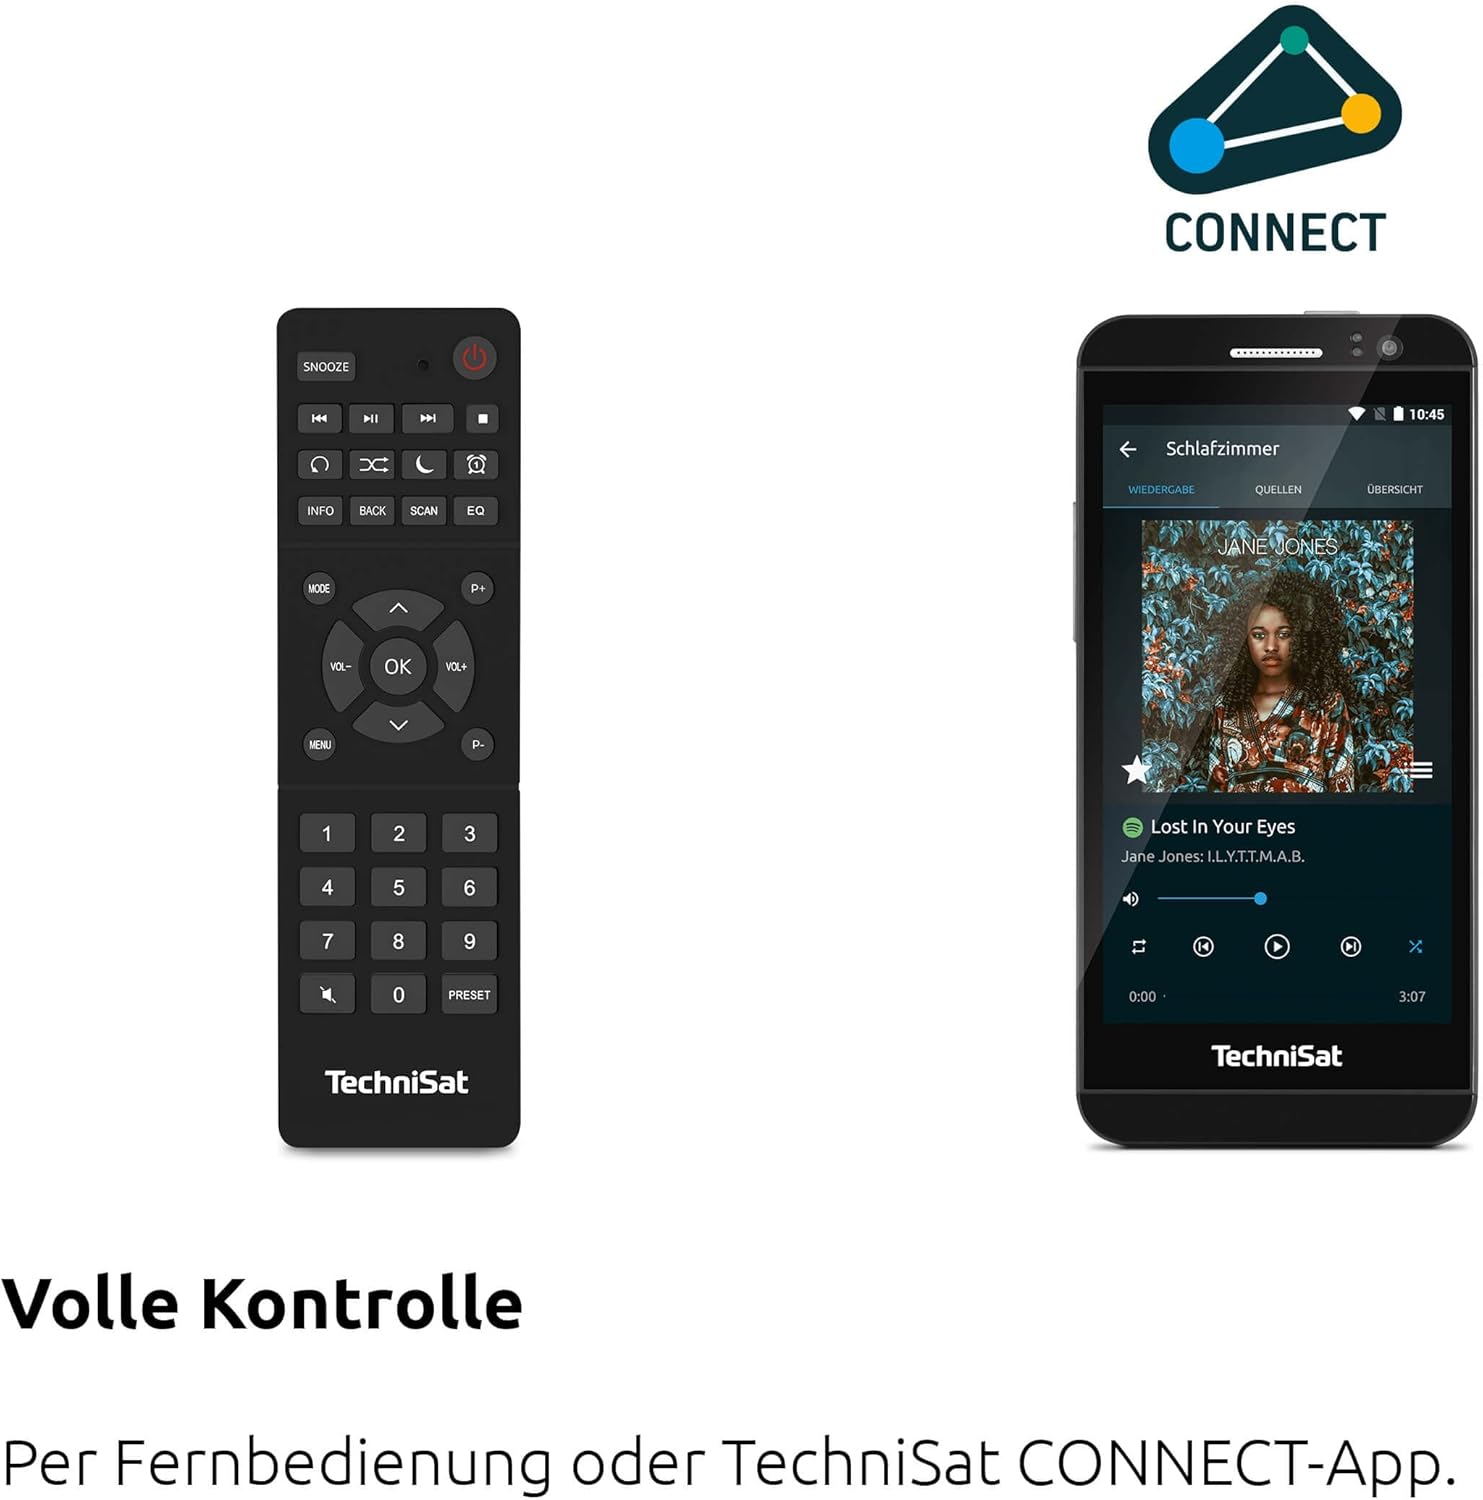
Figure 4.2: Remote Control and App Interface
This image shows the included remote control with buttons for power, snooze, mode, info, scan, EQ, preset numbers, volume, and navigation. It also illustrates the TechniSat CONNECT app interface on a smartphone, providing an alternative control method.
Priekinio skydelio valdikliai:
- Maitinimo mygtukas: Įjungia/išjungia įrenginį.
- Režimo mygtukas: Switches between DAB+, FM, Internet Radio, Bluetooth, AUX, and USB modes.
- Iš anksto nustatytas mygtukas: Pasiekia išsaugotas radijo stočių iš anksto nustatytas vietas.
- Garsumo rankenėlė: Reguliuoja garso išvesties lygį.
- Derinimo/OK rankenėlė: Naršo meniu ir patvirtina pasirinkimus.
- Nuskaitymo mygtukas: Initiates station scanning in radio modes.
- Atgal mygtukas: Grįžta į ankstesnį meniu arba ekraną.
- Ekranas: 2.4-inch TFT color display for information and menu navigation.
Galinio skydelio jungtys:
- Maitinimo įvestis: Prijunkite pridedamą maitinimo adapterį.
- AUX IN: 3.5 mm lizdas išoriniams garso įrenginiams prijungti.
- Ausinių lizdas: 3.5 mm lizdas privačiam klausymuisi.
- USB prievadas: For MP3 playback from USB drives and charging external devices.
5. Sąranka
5.1 Pradinis įjungimas
- Place the DIGITRADIO 370 IR on a stable, flat surface.
- Ištieskite teleskopinę anteną, kad gautumėte optimalų DAB+ ir FM priėmimą.
- Connect the power adapter to the DC IN port on the rear of the radio and then to a wall outlet.
- Press the Power button on the front panel or remote control to turn on the device.
- Vykdykite ekrane pateikiamus nurodymus, kad atliktumėte pradinę sąranką, įskaitant kalbos pasirinkimą ir tinklo konfigūraciją.
5.2 Tinklo konfigūracija (Wi-Fi)
To access Internet Radio and app control, the device must be connected to a Wi-Fi network.
- Navigate to the 'Settings' menu using the Tuning/OK knob.
- Select 'Network' and then 'Wi-Fi Setup'.
- The radio will scan for available networks. Select your desired network from the list.
- Enter the Wi-Fi password using the on-screen keyboard and the Tuning/OK knob.
- Patvirtinkite ryšį. Prisijungus, ekrane pasirodys „Wi-Fi“ piktograma.
6. Naudojimo instrukcijos

Figure 6.1: Radio Diversity
This image highlights the multiple radio reception options available: DAB+ Digital Radio, Internet Radio via WLAN, and UKW/FM analog radio.
6.1 DAB+ radijas
- Press the 'Mode' button until 'DAB+' is selected.
- The radio will automatically scan for available DAB+ stations during the first use. To initiate a scan manually, press the 'Scan' button.
- Use the Tuning/OK knob to scroll through the list of available stations. Press the knob to select a station.
- To save a station as a preset, press and hold the 'Preset' button, then select a preset number and confirm.
6.2 FM radijas
- Press the 'Mode' button until 'FM' is selected.
- Press the 'Scan' button to automatically search for and store FM stations.
- Alternatively, use the Tuning/OK knob to manually tune to a frequency.
- To save a station as a preset, press and hold the 'Preset' button, then select a preset number and confirm.
6.3 Interneto radijas
Įsitikinkite, kad radijas prijungtas prie „Wi-Fi“ tinklo (žr. 5.2 skyrių).
- Press the 'Mode' button until 'Internet Radio' is selected.
- Galite naršyti stotis pagal vietą, žanrą arba ieškoti konkrečių stočių.
- Use the Tuning/OK knob to navigate and select stations.
- To save a station as a preset, press and hold the 'Preset' button, then select a preset number and confirm.
6.4 „Bluetooth“ garso transliacija

Figure 6.2: Bluetooth Audio Streaming
This image demonstrates a smartphone wirelessly streaming music to the radio via Bluetooth, indicating the device's capability for wireless music enjoyment.
- Press the 'Mode' button until 'Bluetooth' is selected. The radio will enter pairing mode.
- Išmaniajame telefone ar kitame „Bluetooth“ įrenginyje įjunkite „Bluetooth“ ir ieškokite galimų įrenginių.
- Select 'DIGITRADIO 370 IR' from the list to pair.
- Susiejus, galite leisti garsą iš savo įrenginio per radiją.
6.5 USB atkūrimas ir įkrovimas

Figure 6.3: USB Playback and Charging Function
This image illustrates the dual functionality of the USB port: connecting USB storage devices for MP3 playback and using the port to charge compatible devices like smartphones.
- Įdėkite USB atmintinę su MP3 fileį USB prievadą, esantį radijo imtuvo gale.
- Press the 'Mode' button until 'USB' is selected.
- Use the Tuning/OK knob to navigate through folders and select tracks for playback.
- The USB port can also be used to charge compatible smartphones and other devices. Connect your device's charging cable to the USB port.
6.6 Belaidis įkrovimas

Figure 6.4: Wireless Charging Function
This image shows a hand placing a smartphone on the top surface of the radio, demonstrating the wireless charging capability for compatible smartphones.
The DIGITRADIO 370 IR features a wireless charging surface on its top panel.
- Ensure your smartphone or device supports Qi wireless charging.
- Place your compatible device centrally on the designated wireless charging area on top of the radio.
- The device should indicate that charging has begun.
6.7 Žadintuvas, miego laikmatis ir snaudimo laikmatis
The radio includes an alarm clock, sleep timer, and snooze function.
- Žadintuvas: Set up to two independent alarms with customizable sources (buzzer, DAB+, FM, Internet Radio) and volume. Access via the 'Settings' menu.
- Miego laikmatis: Allows the radio to turn off automatically after a set period (e.g., 15, 30, 60 minutes). Access via the 'Settings' menu.
- Snausti: When an alarm sounds, press the 'Snooze' button on the remote control to temporarily pause the alarm.
6.8 App Control (UNDOK App)
The DIGITRADIO 370 IR can be controlled via the UNDOK app on your smartphone or tablet.
- Download the 'UNDOK' app from your device's app store.
- Įsitikinkite, kad jūsų išmanusis telefonas / planšetinis kompiuteris ir radijas prijungti prie to paties „Wi-Fi“ tinklo.
- Open the UNDOK app; it should automatically detect your DIGITRADIO 370 IR.
- You can now control all major functions of the radio, including mode selection, station tuning, volume, and presets, directly from the app.
7. Priežiūra
7.1 Valymas
- Prieš valydami prietaisą visada ištraukite kištuką iš elektros lizdo.
- Išoriniams paviršiams valyti naudokite minkštą, sausą šluostę.
- Do not use liquid cleaners, aerosol cleaners, or strong chemical solvents, as these may damage the finish.
7.2 Saugykla
If storing the device for an extended period, unplug it from the power source and store it in a cool, dry place, away from direct sunlight and extreme temperatures.
8. Problemų sprendimas
| Problema | Galima priežastis | Sprendimas |
|---|---|---|
| Nėra galios | Maitinimo laidas neprijungtas; Maitinimo lizdo gedimas | Patikrinkite maitinimo laido jungtį; Pabandykite naudoti kitą maitinimo lizdą. |
| Nėra garso | Per mažas garsumas; Įjungtas nutildymas; Pasirinktas neteisingas šaltinis | Increase volume; Check if mute is active; Select the correct input source (DAB+, FM, Internet, Bluetooth, USB, AUX). |
| Prastas radijo signalo priėmimas (DAB+/FM) | Antena neištiesta; Silpnas signalas; Trukdžiai | Fully extend the telescopic antenna; Reposition the radio; Avoid placing near other electronic devices. |
| Internetinis radijas neveikia | No Wi-Fi connection; Incorrect Wi-Fi password; Router issue | Check Wi-Fi connection in settings; Re-enter Wi-Fi password; Restart your Wi-Fi router. |
| „Bluetooth“ susiejimas nepavyko | Radio not in pairing mode; Device too far; Bluetooth off on source device | Ensure radio is in Bluetooth mode; Move devices closer; Enable Bluetooth on your source device. |
| Belaidis įkrovimas neveikia | Device not Qi-compatible; Device not placed correctly; Phone case too thick | Verify device supports Qi charging; Adjust device position on charging pad; Remove thick phone cases. |
9. Specifikacijos
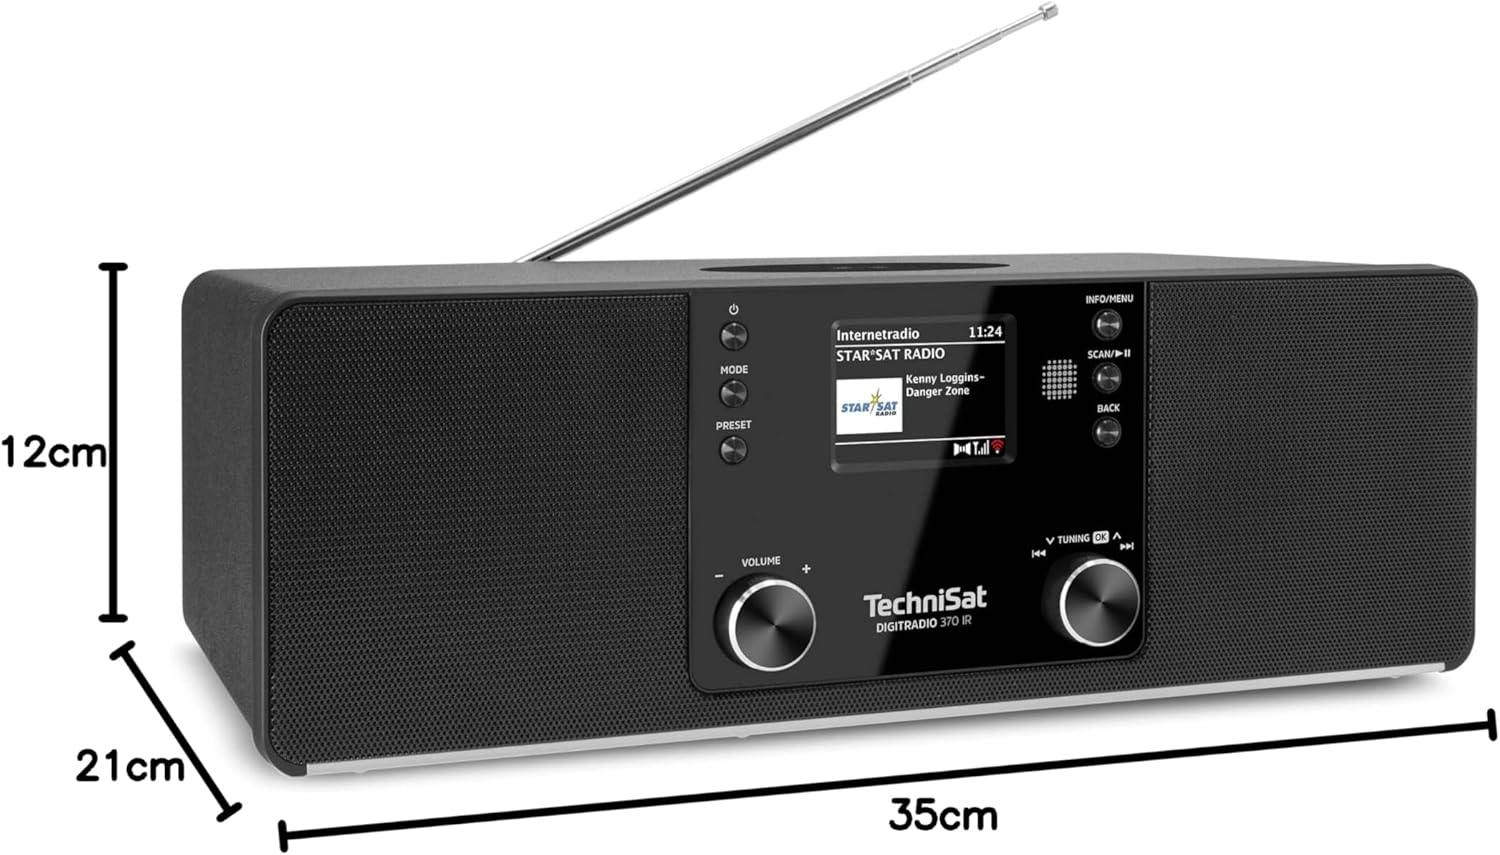
9.1 pav.: Gaminio matmenys
This image provides a visual representation of the radio's dimensions: 35 cm (length), 12 cm (height), and 21 cm (depth).
| Funkcija | Detalė |
|---|---|
| Modelio numeris | 0000/3971 |
| Prekės ženklas | TechniSat |
| Palaikomos radijo juostos | DAB+, FM, interneto radijas |
| Ryšio technologija | Bluetooth, USB, Wireless-Charging, WLAN (2.4 GHz & 5 GHz) |
| Ypatingos savybės | Wireless Charging, Bluetooth Audio Streaming, USB Playback & Charging, Alarm Clock, Sleep Timer, Snooze, App Control (UNDOK) |
| Garso išvesties režimas | Stereo |
| Garsiakalbio išėjimo galia | 2 x 5 Watts RMS (10 Watts total) |
| Ekrano tipas | 2.4 colių spalvotas TFT LCD |
| Maitinimo šaltinis | Electric Cord (230 Volts, 60 Hz) |
| Matmenys (I x P x A) | 35 x 21 x 12 cm |
| Svoris | 2.7 kilogramo |
| Būsto medžiaga | Mediena |
| Suderinami įrenginiai | Smartphone, MP3 player, tablet, laptop, headphones |
| Sąsajos | 3.5 mm Audio (AUX-IN), USB 2.0, 3.5 mm Headphone |
10. Garantija ir palaikymas
10.1 Informacija apie garantiją
This product comes with a 2-year warranty (Gewährleistung) from the date of purchase. Please retain your proof of purchase for any warranty claims. The warranty covers manufacturing defects and malfunctions under normal use. It does not cover damage caused by misuse, accidents, unauthorized modifications, or normal wear and tear.
10.2 Pagalba klientams
For technical assistance, troubleshooting beyond this manual, or warranty inquiries, please contact TechniSat customer support. Refer to the TechniSat official websvetainėje, kur rasite jūsų regionui būdingos kontaktinės informacijos.
Internetiniai ištekliai: Visit the official TechniSat website for updated manuals, FAQs, and support information.