Įvadas
This manual provides detailed instructions for the setup, operation, maintenance, and troubleshooting of your Pokitter Go Pro Mini Portable Projector. Please read this manual thoroughly before using the product to ensure proper functionality and to extend the lifespan of your device.
The Pokitter Go Pro is a compact and powerful portable projector featuring integrated Android TV 10.0, Google Assistant, 200 ANSI lumens brightness, 1080p Full HD resolution with 4K support, dual-band 2.4G/5G WiFi, and a maximum projection size of 120 inches. It is designed for versatile entertainment, offering a cinematic experience on the go.
Pakuotės turinys
Prašome patikrinti, ar pakuotėje yra visi reikalingi daiktai:
- Pokitter Go Pro Mini Portable Projector
- Nuotolinio valdymo pultas
- Maitinimo adapteris
- Vartotojo vadovas (šis dokumentas)
- Nešiojimo dirželis

Image: The Pokitter Go Pro Mini Portable Projector, highlighting its compact design and integrated handle for easy portability.
Produktas baigtasview
Priekyje View
Projektoriaus priekyje yra projekcijos lęšis ir ventiliacijos grotelės.
Galinis View
The rear panel typically includes various ports for connectivity.
- HDMI prievadas: Skirta išoriniams įrenginiams, pvz., nešiojamiesiems kompiuteriams, žaidimų konsolėms ar „Blu-ray“ grotuvams, prijungti.
- USB prievadas: For connecting USB drives for media playback or external peripherals.
- Garso išvestis (3.5 mm lizdas): Skirta išoriniams garsiakalbiams arba ausinėms prijungti.
- DC įvestis: Maitinimo įvesties prievadas.
Į viršų View
The top surface may include control buttons or indicators.
Šoninė View
The sides often feature additional ventilation and a carrying handle.
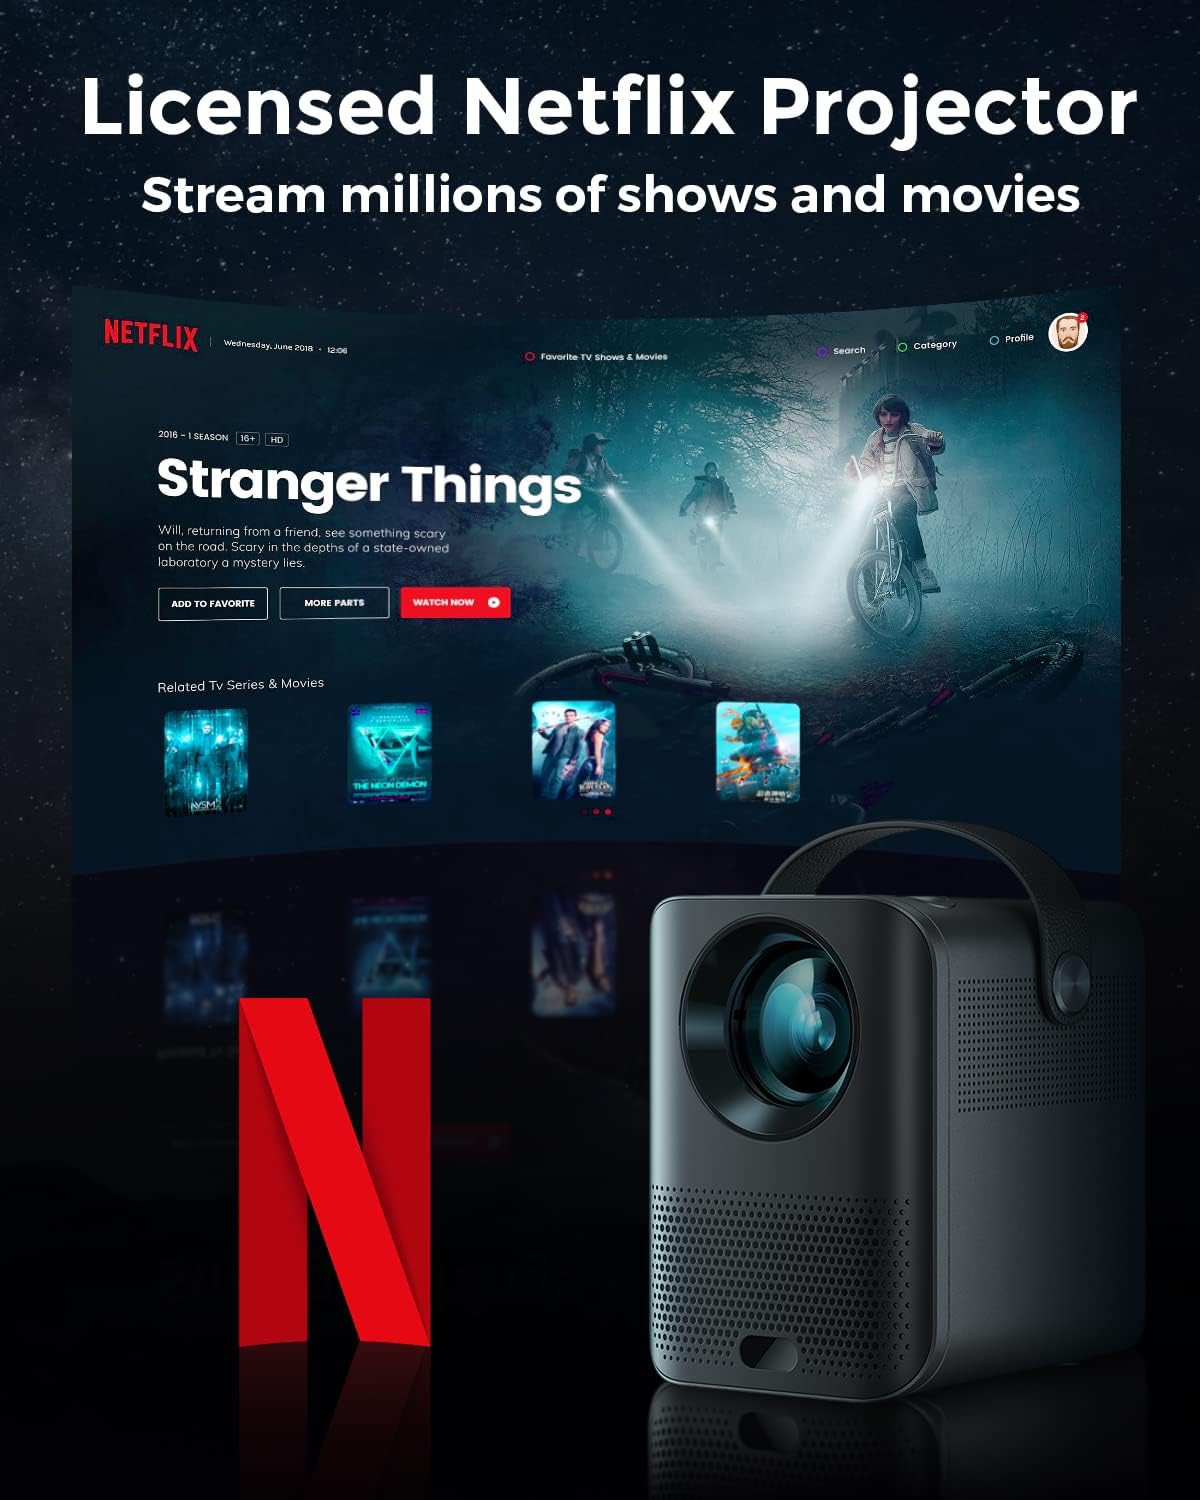
Image: The Pokitter Go Pro projector showcasing its integrated Netflix license and streaming capabilities.

Image: A size comparison of the Pokitter Go Pro projector with a smartphone, illustrating its mini and portable form factor.
Sąranka
1. Maitinimo prijungimas
- Connect the power adapter to the DC In port on the projector.
- Įkiškite maitinimo adapterį į sieninį lizdą.
- Užsidegs maitinimo indikatoriaus lemputė.
2. Pradinis įjungimas
- Norėdami įjungti įrenginį, paspauskite projektoriaus arba nuotolinio valdymo pulto maitinimo mygtuką.
- Allow a few moments for the Android TV system to boot up.
3. Fokuso reguliavimas
Use the focus ring (if mechanical) or the remote control's focus buttons to achieve a clear image. The Pokitter Go Pro features automatic vertical keystone correction up to 40 degrees.

Image: Illustration of the automatic keystone correction feature, which adjusts the image for optimal viewing even when the projector is not perfectly aligned.
4. Screen Size Adjustment
Adjust the distance between the projector and the projection surface to achieve the desired screen size. The projector supports a screen size up to 120 inches.

Image: Guide for optimal projection distances to achieve screen sizes of 40, 80, and 120 inches.
5. Tinklo ryšys („Wi-Fi“)
- Navigate to the Wi-Fi settings in the Android TV interface.
- Iš sąrašo pasirinkite norimą „Wi-Fi“ tinklą.
- Jei būsite paraginti, įveskite slaptažodį.
- The projector supports dual-band 2.4G and 5G Wi-Fi for stable and fast transmission.

Image: The Pokitter Go Pro projector demonstrating its 2.4/5GHz WiFi capabilities for seamless wireless screen casting from various devices.
Naudojimo instrukcijos
Nuotolinio valdymo pulto naudojimas
The included remote control allows full navigation and control of the Android TV interface. Key functions include:
- Maitinimo mygtukas: Įjungia/išjungia projektorių.
- Naršymo skydelis: For moving through menus.
- Gerai mygtukas: Patvirtina pasirinkimus.
- Atgal mygtukas: Grįžta į ankstesnį ekraną.
- Namų mygtukas: Grąžina į „Android TV“ pagrindinį ekraną.
- Garsumo mygtukai: Reguliuoja garso stiprumą.
- „Google“ asistento mygtukas: Aktyvuoja balso komandas.
„Android TV“ sąsaja
The Pokitter Go Pro runs on Android TV 10.0, providing access to a wide range of streaming applications such as Netflix, YouTube, Amazon Prime Video, and Disney+.
- Programos naršymas: Use the remote's navigation pad to select and open applications.
- Turinio transliacija: Log in to your streaming accounts to access content.
- „Google“ padėjėjas: Press the Google Assistant button on the remote and speak your commands to search for content, control playback, or get information.

Paveikslėlis: Viršview of the Pokitter Go Pro's key features, including its Android TV operating system, Google Assistant integration, and display capabilities.
Screen Mirroring (Chromecast Built-in)
The projector features built-in Chromecast for easy screen mirroring from compatible devices (smartphones, tablets, laptops).
- Įsitikinkite, kad jūsų įrenginys ir projektorius prijungti prie to paties „Wi-Fi“ tinklo.
- Open a Chromecast-enabled app on your device (e.g., YouTube, Netflix).
- Palieskite perdavimo piktogramą (paprastai stačiakampis su „Wi-Fi“ simboliu) programoje.
- Select your Pokitter Go Pro projector from the list of available devices.
- The content from your device will be mirrored or cast to the projector.

Image: Demonstrating the Chromecast built-in feature, allowing users to stream content from their smartphone to the projector's large display.
Išorinių įrenginių prijungimas (HDMI/USB)
- HDMI: Connect an HDMI cable from your external device (e.g., laptop, game console) to the HDMI port on the projector. The projector will automatically switch to the HDMI input or you may need to select it from the input source menu.
- USB: Insert a USB flash drive into the USB port. The Android TV system will typically prompt you to open a file browser to access media files diske.
Priežiūra
Objektyvo valymas
Projektoriaus objektyvą švelniai nuvalykite minkštu, nepūkuotu audiniu, specialiai skirtu optiniams lęšiams. Nenaudokite abrazyvinių valiklių ar per didelės jėgos, nes tai gali subraižyti objektyvą.
Projektoriaus korpuso valymas
Wipe the exterior of the projector with a soft, dry cloth. For stubborn stains, a slightly damp cloth can be used, followed by a dry cloth. Avoid getting liquids inside the projector.
Vėdinimas
Ensure that the ventilation grilles are not blocked during operation to prevent overheating. The Pokitter Go Pro features a dust-proof design to maintain picture quality.

Image: An internal diagram of the Pokitter Go Pro, illustrating its dust-proof design for long-lasting, flawless picture quality.
Sandėliavimas
When not in use for extended periods, store the projector in a cool, dry place, away from direct sunlight and extreme temperatures. It is recommended to use the original packaging or a protective case.
Trikčių šalinimas
| Problema | Galima priežastis | Sprendimas |
|---|---|---|
| Nėra galios | Neprijungtas maitinimo laidas; Maitinimo lizdas sugedęs. | Įsitikinkite, kad maitinimo laidas yra tvirtai prijungtas. Išbandykite kitą maitinimo lizdą. |
| Nėra vaizdo / neryškus vaizdas | Lens out of focus; Incorrect input source; Obstruction in projection path. | Adjust focus using the remote or focus ring. Select correct input source. Remove any obstructions. |
| Nėra garso | Volume too low; Muted; External speakers not connected properly. | Increase volume. Unmute the projector. Check external speaker connections. |
| „Wi-Fi“ ryšio problemos | Neteisingas slaptažodis; Maršrutizatorius per toli; Tinklo trukdžiai. | Patikrinkite „Wi-Fi“ slaptažodį. Perkelkite projektorių arčiau maršrutizatoriaus. Paleiskite maršrutizatorių ir projektorių iš naujo. |
| Nuotolinio valdymo pultas neveikia | Išsikrovusios baterijos; kliūtis tarp nuotolinio valdymo pulto ir projektoriaus. | Pakeiskite baterijas. Užtikrinkite, kad projektoriaus IR imtuvas būtų matomas tiesiogiai. |
Specifikacijos
- Modelis: F1A
- Prekinis ženklas: Pokitter
- Ekrano technologija: LED
- Vietinė skiriamoji geba: 1920 x 1080 (Full HD)
- Maksimali palaikoma skiriamoji geba: 3840 x 2160 (4K)
- Ryškumas: Iki 200 ANSI liumenų
- Projekcijos dydis: Iki 120 colių
- Operacinė sistema: Android TV 10.0
- Padėjėjas balsu: Įtaisytas „Google“ padėjėjas
- Belaidis ryšys: 2.4G/5G Dual-band Wi-Fi, Bluetooth 5.1
- Prisijungimo prievadai: HDMI, USB, 3.5mm Audio Out, DC In
- Garsiakalbiai: Integrated (2x5W as per infographic)
- Average Lifespan (Light Source): 50,000 valandų
- Formos faktorius: Nešiojami
- Montavimo tipas: Stalo laikiklis

Image: An illustration of the projector's internal speaker system, designed to provide true-to-life sound for a cinematic viewpatirtį.
Garantija ir palaikymas
The Pokitter Go Pro Mini Portable Projector comes with a 2 metų garantija. For any questions or professional assistance regarding this product, please contact Pokitter customer support. We are committed to supporting our customers.
For the latest support information, FAQs, and contact details, please visit the official Pokitter websvetainėje arba žr. kontaktinę informaciją, pateiktą kartu su pirkiniu.