
1. Įvadas
This manual provides detailed instructions for the Apera Instruments GroStar Series GS3 EC/ppm Pen Tester Kit (AI103G). This lab-grade conductivity meter is designed for accurate measurement of EC (Electrical Conductivity), 500ppm, and 700ppm, along with temperature, making it suitable for hydroponics and general water quality testing. The device features a replaceable titanium conductivity sensor and a user-friendly interface.
2. Produktas baigtasview
The GroStar Series GS3 EC/ppm Pen Tester is engineered for reliability and ease of use. Key features include:
- Measures conductivity (EC), 500ppm, 700ppm, and temperature.
- Replaceable titanium sensor for high accuracy in the 0 to 10 EC range.
- Backlit HD screen for clear readings.
- Grower-friendly calibration workflow with a calibration reminder function.

Figure 1: Apera Instruments GroStar Series GS3 EC/ppm Pen Tester.
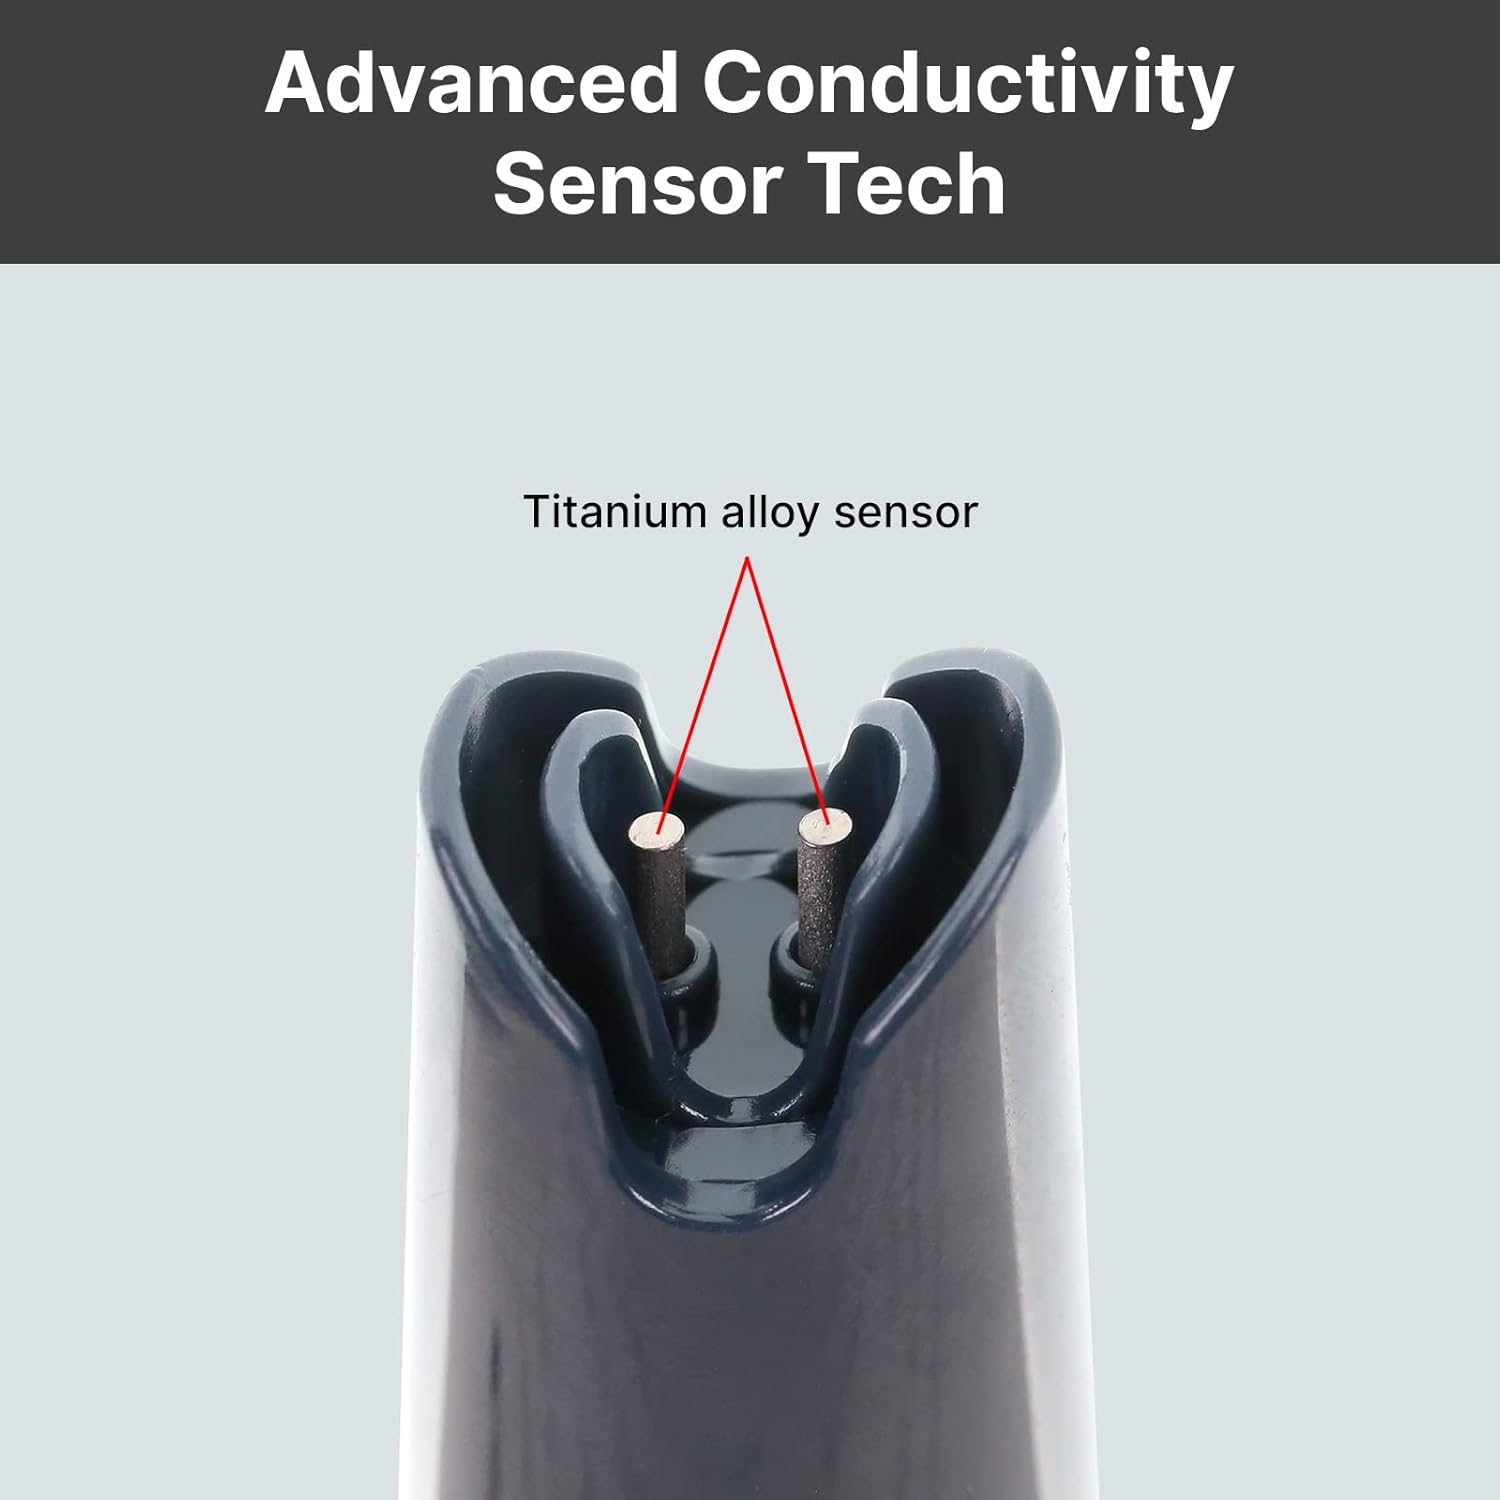
2 pav. Iš arti view of the durable titanium alloy sensor for conductivity measurements.
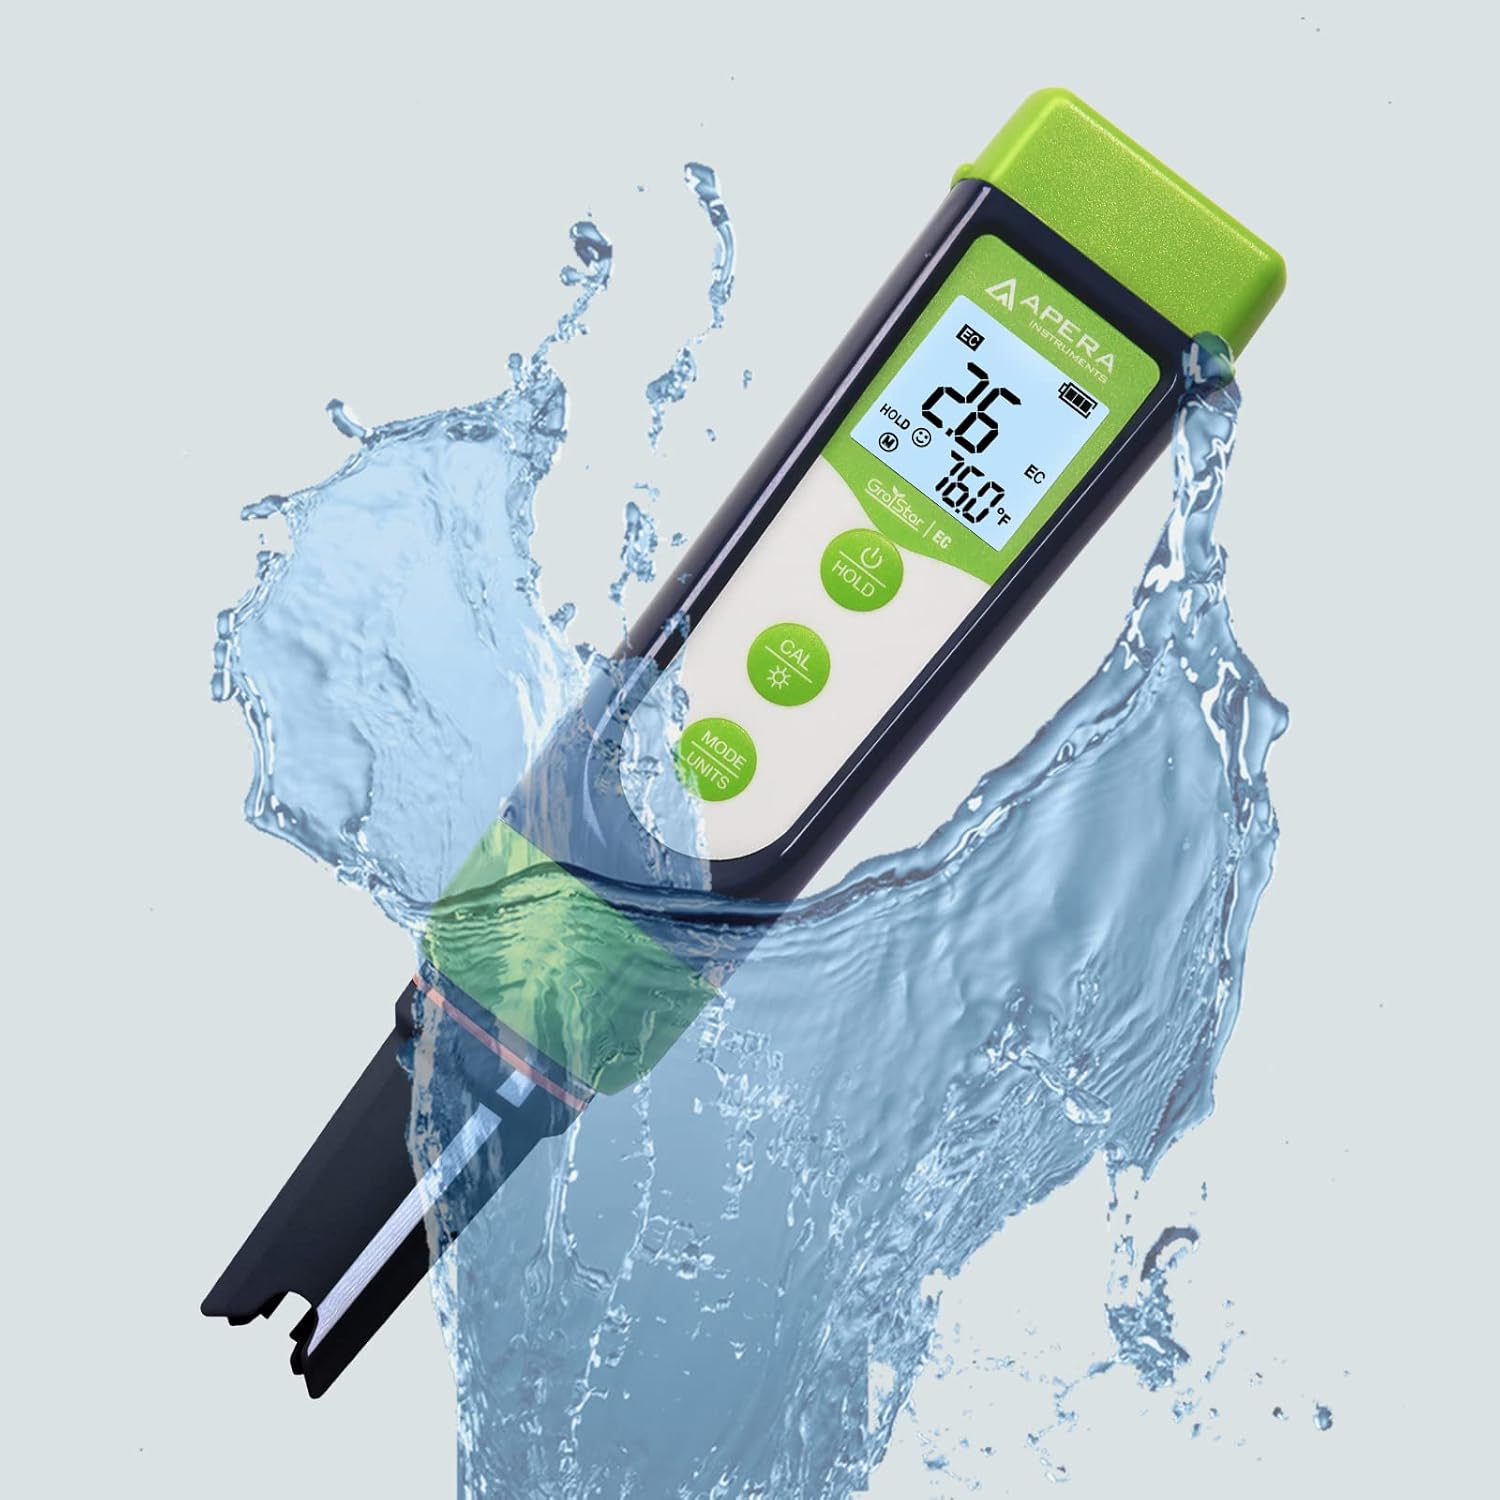
Figure 3: The GroStar GS3 Pen Tester demonstrating its water resistance during use.
3. Sąranka
Before first use, ensure all components are present and the device is ready for operation.
3.1 Kas yra dėžutėje
- Apera Instruments GroStar Series GS3 EC/ppm Pen Tester (Gen II)
- 2.77 EC Calibration Solution
- Virvelė
- 4 AAA batteries (pre-installed or included separately)

Figure 4: The complete kit contents, including the tester, calibration solution, and lanyard.
3.2 Akumuliatoriaus įdėjimas
The device requires 4 AAA batteries. If not pre-installed, open the battery compartment located at the top of the tester, insert the batteries according to the polarity indicators, and securely close the compartment.
3.3 Pradinis paruošimas
- Nuimkite apsauginį dangtelį nuo jutiklio.
- Rinse the sensor with distilled or deionized water.
- Gently shake off excess water.
4. Naudojimo instrukcijos
4.1 Maitinimo įjungimas/išjungimas
Paspauskite GALIA button to turn the tester on or off.
4.2 Matavimo atlikimas
- Ensure the tester is clean and calibrated.
- Panardinkite jutiklį į sample solution, ensuring the sensor is fully submerged.
- Švelniai pamaišykite ir palaukite, kol rodmuo ekrane stabilizuosis.
- The display will show EC/ppm and temperature readings.
4.3 Switching Measurement Modes (EC/ppm)
Paspauskite MODE/UNITS button to cycle through EC, 500ppm, and 700ppm measurement modes.

Figure 5: The tester's display cycling through different measurement units.
4.4 Laikymo funkcija
Paspauskite LAIKYTI mygtuką, kad sustabdytumėte dabartinį rodmenį ekrane. Paspauskite dar kartą, kad atleistumėte.
4.5 TruRead Display
The TruRead display provides MAX, AVG, and MIN readings, offering a comprehensive view jūsų matavimų.

Figure 6: The TruRead display feature, showing maximum, average, and minimum recorded values.
5. Kalibravimas
Regular calibration ensures accurate measurements. The GS3 features a grower-friendly calibration workflow and a reminder function.
5.1 Kalibravimo procesas
- Įjunkite testerį.
- Paspauskite CAL mygtuką, kad įjungtumėte kalibravimo režimą.
- Immerse the sensor into the 2.77 EC calibration solution.
- The tester will automatically recognize the solution and calibrate. Wait for the stable reading and confirmation.
- Rinse the sensor with distilled water after calibration.

Figure 7: Visual representation of the tester's display in measurement, calibration, and error states.
5.2 Calibration Reminder
The tester will automatically remind you when recalibration is due, ensuring consistent accuracy.
6. Priežiūra
6.1 Jutiklio valymas
After each use, rinse the sensor thoroughly with distilled or deionized water to prevent residue buildup. Do not scrub the sensor vigorously.
6.2 Saugykla
Always replace the protective cap after use. For long-term storage, ensure the sensor is kept moist. Refer to the product packaging or Apera Instruments website for specific storage solution recommendations if applicable.
6.3 Jutiklio keitimas
The titanium EC sensor is replaceable. If the sensor performance degrades significantly or it becomes damaged, a new sensor can be purchased and easily installed by twisting off the old one and attaching the new one.
7. Problemų sprendimas
| Problema | Galima priežastis | Sprendimas |
|---|---|---|
| Netikslūs rodmenys | Sensor is dirty or dry; Calibration is outdated or incorrect; Damaged sensor. | Clean the sensor; Recalibrate the tester; Replace the sensor if damaged. |
| Testeris neįsijungia | Išsikrovusios baterijos; neteisingas baterijų įdėjimas. | Replace batteries; Check battery polarity. |
| "CAL Er" error during calibration | Incorrect calibration solution; Contaminated solution; Sensor issue. | Ensure correct 2.77 EC solution is used; Use fresh calibration solution; Clean or replace sensor. |
8. Specifikacijos
- Modelio numeris: AI103G
- Gaminio matmenys: 7 x 1.5 x 1.3 colio
- Svoris: 4.69 uncijos
- Maitinimo šaltinis: 4 AAA baterijos (pridedamos)
- Jutiklio tipas: Replaceable Titanium EC Probe
- Matavimo parametrai: EC, 500ppm, 700ppm, Temperature
- Pirmoji prieinama data: 28 m. rugsėjo 2022 d
9. Garantija ir palaikymas
Apera Instruments products are backed by a manufacturer's warranty. For detailed warranty information, technical support, or to purchase replacement parts, please visit the official Apera Instruments websvetainėje arba susisiekite tiesiogiai su jų klientų aptarnavimo tarnyba. Išsaugokite pirkimo kvitą garantiniams reikalavimams.
Gamintojas: Apera instrumentai