
1. Įvadas
Thank you for choosing the EMART 8.5x10ft Adjustable Photography Backdrop Stand. This stand is designed to provide a stable and versatile support system for various backdrops, suitable for photography, parties, weddings, and other events. Its heavy-duty construction and adjustable features ensure reliable performance.
2. Pakuotės turinys
Prieš surinkdami patikrinkite, ar yra visi komponentai:
- 2 x Vertical Support Poles
- 1 x Retractable Crossbar (consisting of multiple sections)
- 2 x Heavy Duty Flat Bases
- 2 x Water Weight Bags (for added stability)
- 4 x Backdrop Clamps
- 1 x nešiojimo krepšys
- 1 x Allen Key (for assembly)
- Varžtai (M25*6)
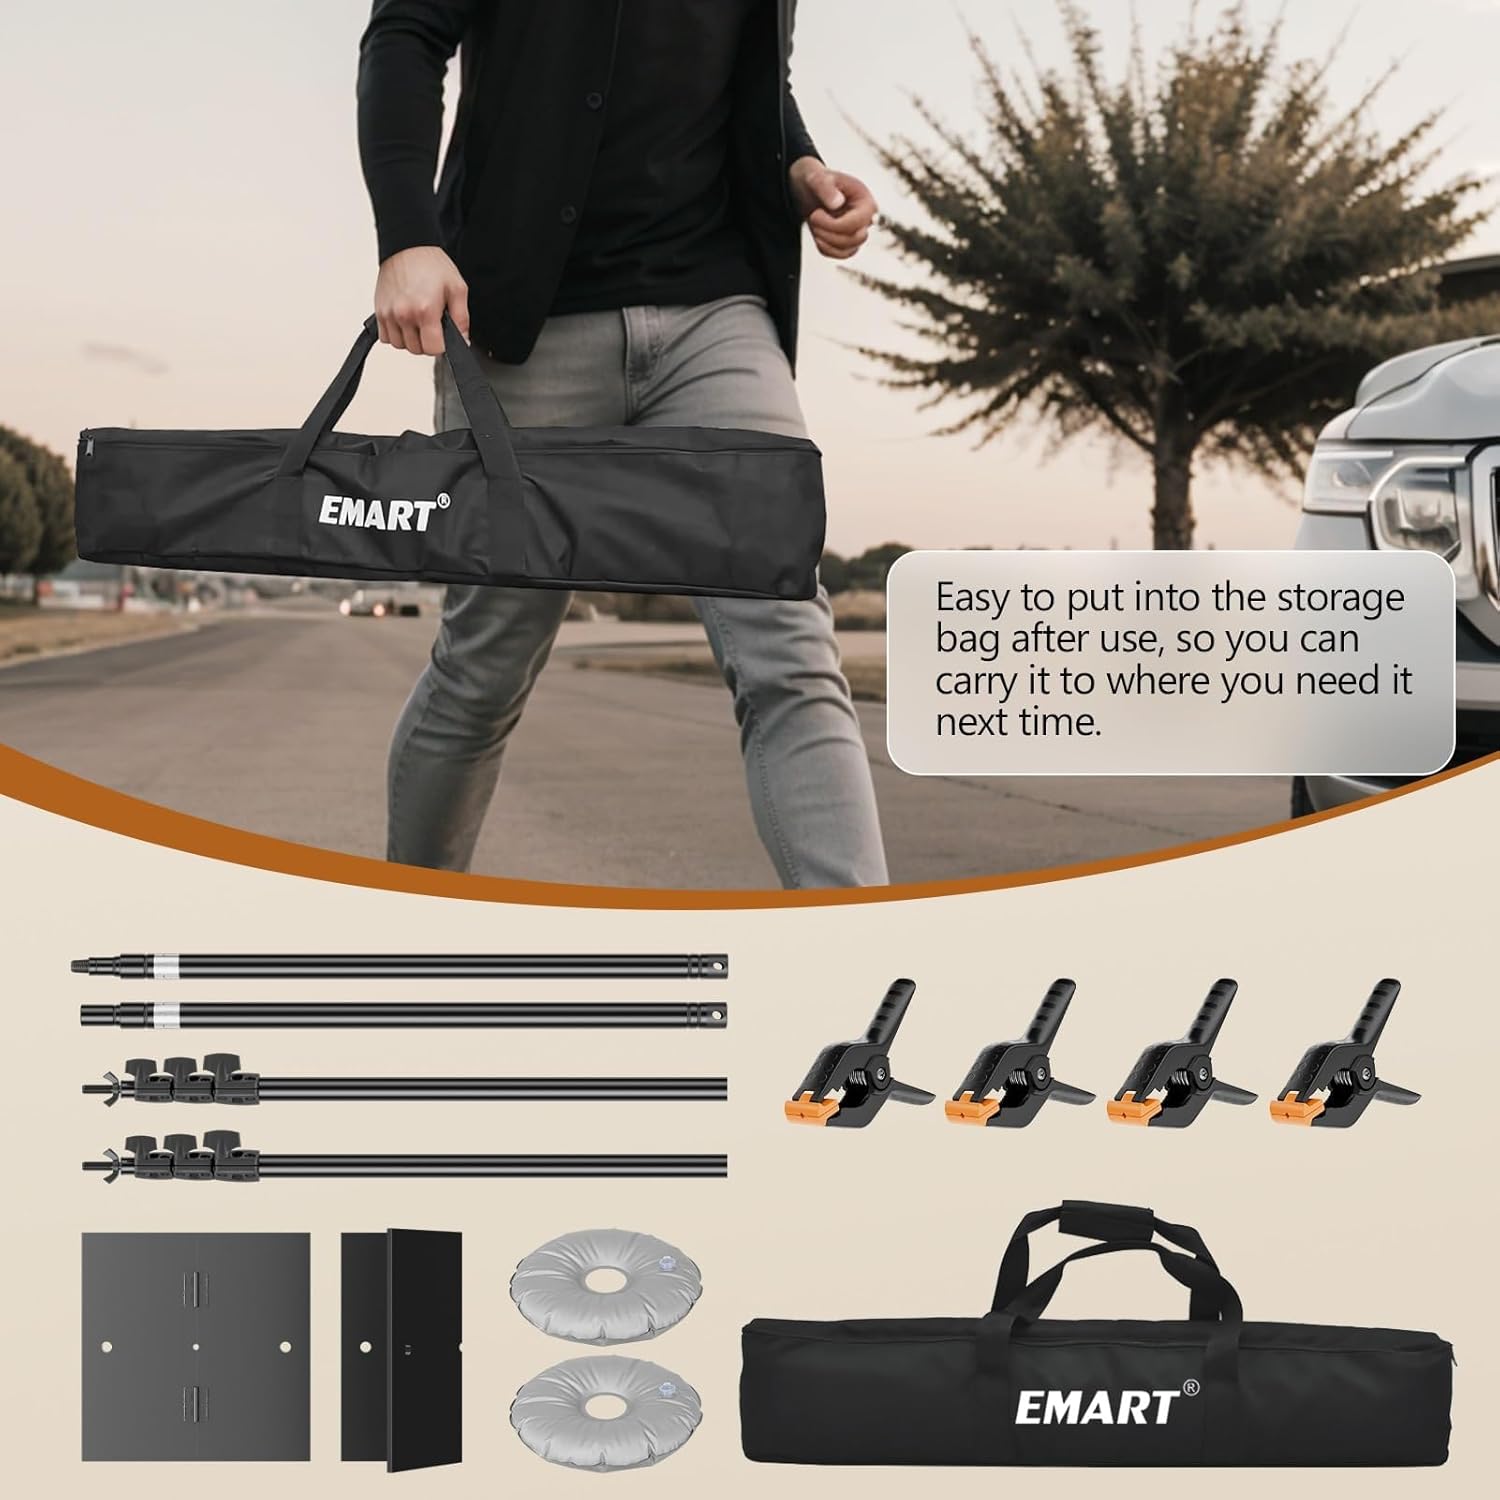
The carrying bag is designed for convenient transport and storage of all components.
3. Sąrankos instrukcijos
Follow these steps to assemble your backdrop stand:
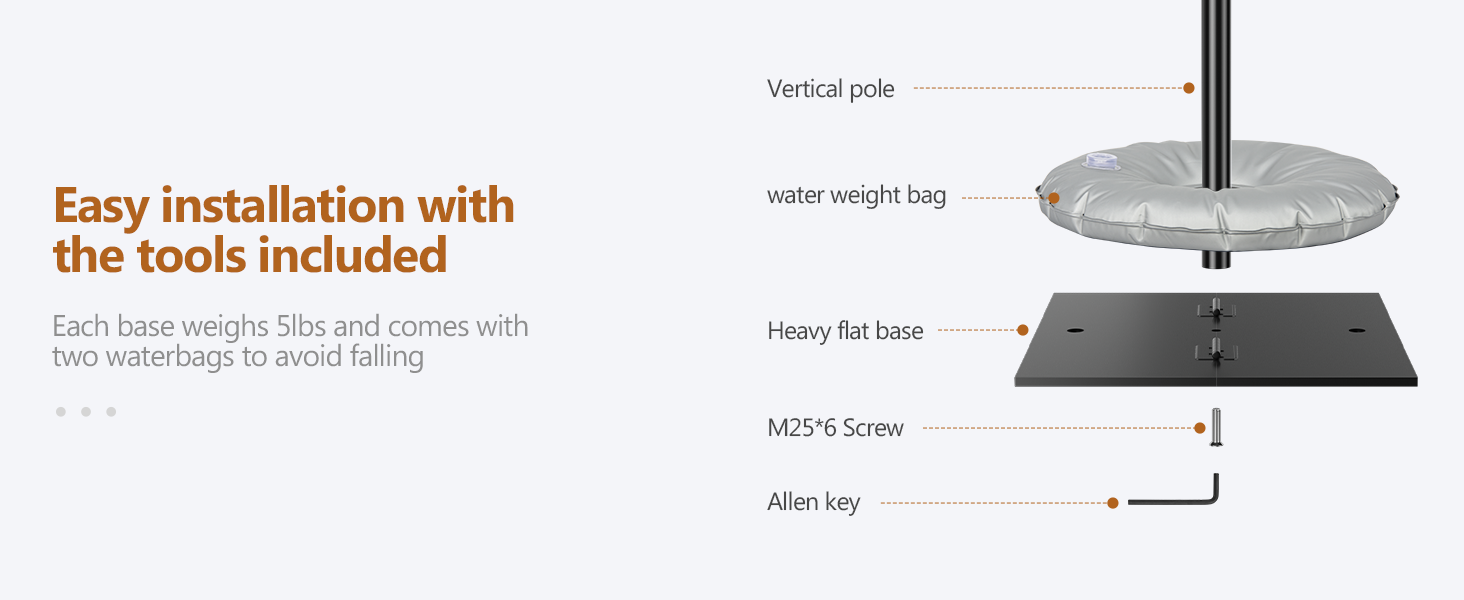
- Prepare the Bases: Unfold the two heavy-duty flat bases. Each base is made of iron and provides stable support. If needed, fill the included water weight bags and place them on the bases for additional stability, especially when using heavier backdrops or in outdoor conditions.
- Pritvirtinkite vertikalius stulpus: Insert one vertical support pole into the central hole of each flat base. Secure it by tightening the M25*6 screw using the provided Allen key.
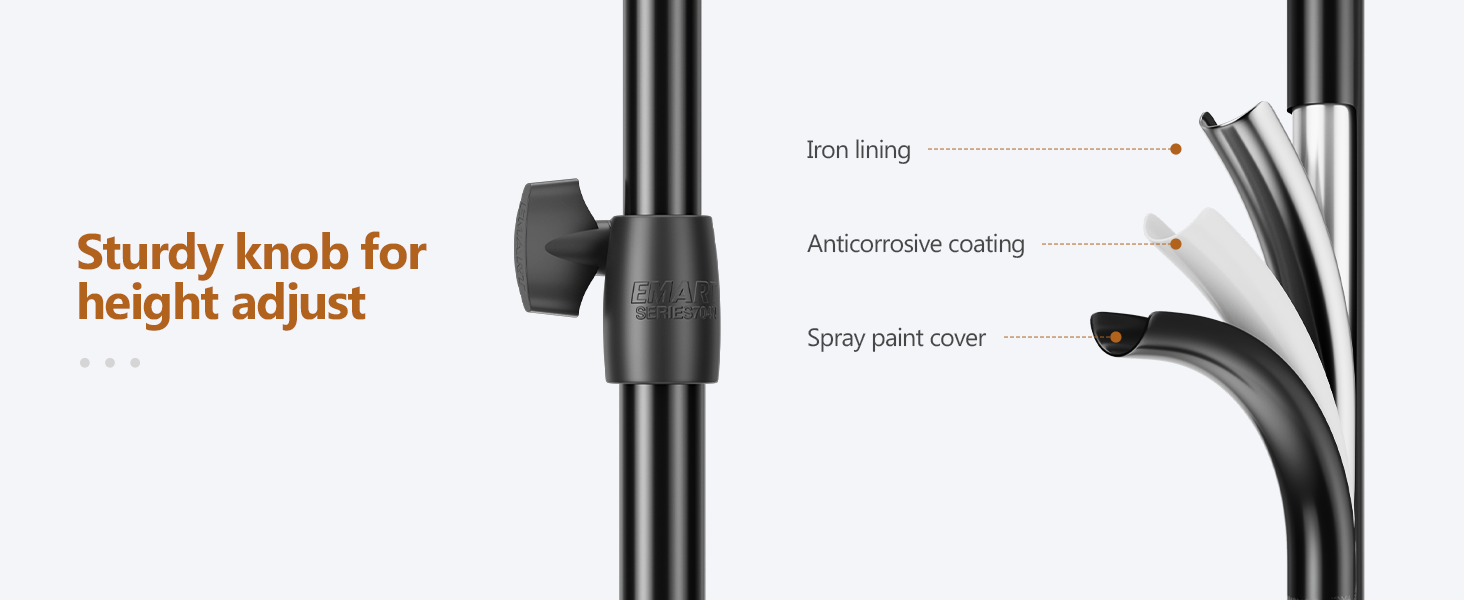
- Reguliuoti aukštį: Each vertical pole features knob locks for height adjustment. Loosen the knob, extend the pole to your desired height (from 3ft to 8.5ft), and then tighten the knob securely to lock it in place. Ensure both poles are set to the same height for an even crossbar.
- Surinkite skersinį: The crossbar consists of telescopic sections. Twist to loosen and extend the crossbar to your desired width (from 5.2ft to 10ft). Ensure it is securely locked before attaching to the vertical poles.
- Attach Crossbar to Poles: Place the assembled crossbar onto the top pins of the vertical support poles.
- Hang Backdrop: Naudokite pateiktą klamps to secure your backdrop to the crossbar. Ensure the crossbar is tightened before hanging the backdrop to prevent sagging.


Sąrankos vaizdo vadovas
Video 3.1: Official EMART installation and use guide for the heavy-duty backdrop stand. This video demonstrates the assembly process and how to utilize the stand effectively.
4. Naudojimo instrukcijos
The EMART backdrop stand is designed for ease of use and versatility:
- Aukščio reguliavimas: To change the height of the stand, loosen the knob on the vertical pole, slide the inner pole to the desired height, and then firmly tighten the knob. Ensure both vertical poles are adjusted to the same height.
- pločio reguliavimas: The crossbar can be adjusted by twisting its sections to unlock, extending or retracting to the desired width, and then twisting to lock it securely.
- Backdrop Attachment: Naudokite pateiktą klamps to attach your chosen backdrop material to the crossbar. For optimal appearance, ensure the backdrop is evenly distributed and taut.
- Stabilumas: Always ensure the flat bases are positioned on a level surface. For outdoor use or with heavy backdrops, utilize the water weight bags to enhance stability and prevent tipping.
5. Priežiūra
Proper maintenance will extend the life of your backdrop stand:
- Valymas: Wipe down metal parts with a soft, dry cloth. Avoid abrasive cleaners that could damage the finish.
- Saugykla: Disassemble the stand after each use and store all components in the provided carrying bag. This protects the parts from dust and damage and makes transport easier.
- Patikra: Periodically check all screws, knobs, and connections to ensure they are tight and secure. Replace any worn or damaged parts immediately.
- Produkto priežiūros instrukcijos: While no specific details are provided for the stand itself, we recommend hand cleaning or professional dry cleaning for any fabric backdrops used with the stand, if necessary.
6. Problemų sprendimas
| Problema | Galima priežastis | Sprendimas |
|---|---|---|
| Stand is unstable or wobbles. | Uneven surface; insufficient weight on bases; loose connections. | Ensure stand is on a level surface. Fill and place water weight bags on bases. Tighten all screws and knobs. |
| Crossbar sags in the middle. | Crossbar not fully locked; backdrop too heavy; crossbar extended too wide. | Ensure crossbar sections are twisted and locked securely. Reduce backdrop weight or use a shorter width. |
| Sunku reguliuoti aukštį/plotį. | Knobs/twist locks are too tight or stuck. | Loosen knobs/twist locks completely before attempting to adjust. Apply a small amount of lubricant if parts are stiff. |
| Components do not fit in carrying bag. | Improper disassembly or packing. | Ensure all poles are fully collapsed and disassembled. Organize components neatly within the designated sections of the bag. |
7. Specifikacijos
| Funkcija | Detalė |
|---|---|
| Prekės ženklas | EMART |
| Modelio pavadinimas | EM-BS2630-T |
| Spalva | Juoda |
| Reguliuojamas aukštis | 36 inches (3ft) to 102 inches (8.5ft) |
| Reguliuojamas plotis | 63 inches (5.2ft) to 120 inches (10ft) |
| Bazinė medžiaga | Heavy Metal (Iron) |
| Stovo medžiaga | Aliuminio lydinys |
| Prekės svoris | 4.5 kilogramo |
| UPC | 810038376783 |
8. Garantija ir palaikymas
For warranty information or technical support, please refer to the product packaging or contact EMART customer service directly. Keep your purchase receipt for any warranty claims.