Įvadas
Ačiū, kad pirkoteasing the Walfront Wooden LED Digital Alarm Clock. This manual provides comprehensive instructions to help you set up, operate, and maintain your new alarm clock. Please read this guide thoroughly before use to ensure proper functionality and longevity of the product.
Produktas baigtasview ir Pagrindinės funkcijos
The Walfront Wooden LED Digital Alarm Clock combines functionality with a sleek, natural design. Its wooden and ABS material construction ensures durability and a pleasant aesthetic. The clock features a clear LED display and several convenient functions.

Image: The Walfront Wooden LED Digital Alarm Clock, showcasing its digital display for time, date, and day of the week.
Savybės:
- Patvari medžiaga: Constructed from wood and ABS material, providing a textured, durable, and long-lasting design.
- LED skaitmeninis ekranas: Features a clear LED light digital display that illuminates through the smoothed wooden surface, visible even in low light.
- Valdymo balsu funkcija: Activates the display to show time, date, and day of the week simultaneously upon detecting sound.
- Laiko formato parinktys: Supports both 12-hour and 24-hour time systems.
- Reguliuojamas ryškumas: Offers three levels of brightness adjustment for comfortable viewesant įvairioms apšvietimo sąlygoms.
- Keli aliarmai: Includes three independent alarm functions.
- Weekday Alarm Setting: Option to set alarms to activate only on weekdays.
Sąrankos vadovas
Įrenginio maitinimas:
The Walfront Digital Alarm Clock can be powered in two ways:
- USB duomenų kabelis: Connect the provided USB data cable to the DC 5V port on the back of the clock and plug the other end into a compatible USB power adapter (not included) or a USB port.
- AAA baterijos: For portable use or as a backup, insert four (4) AAA batteries (not included) into the battery compartment located on the back of the clock. Ensure correct polarity.
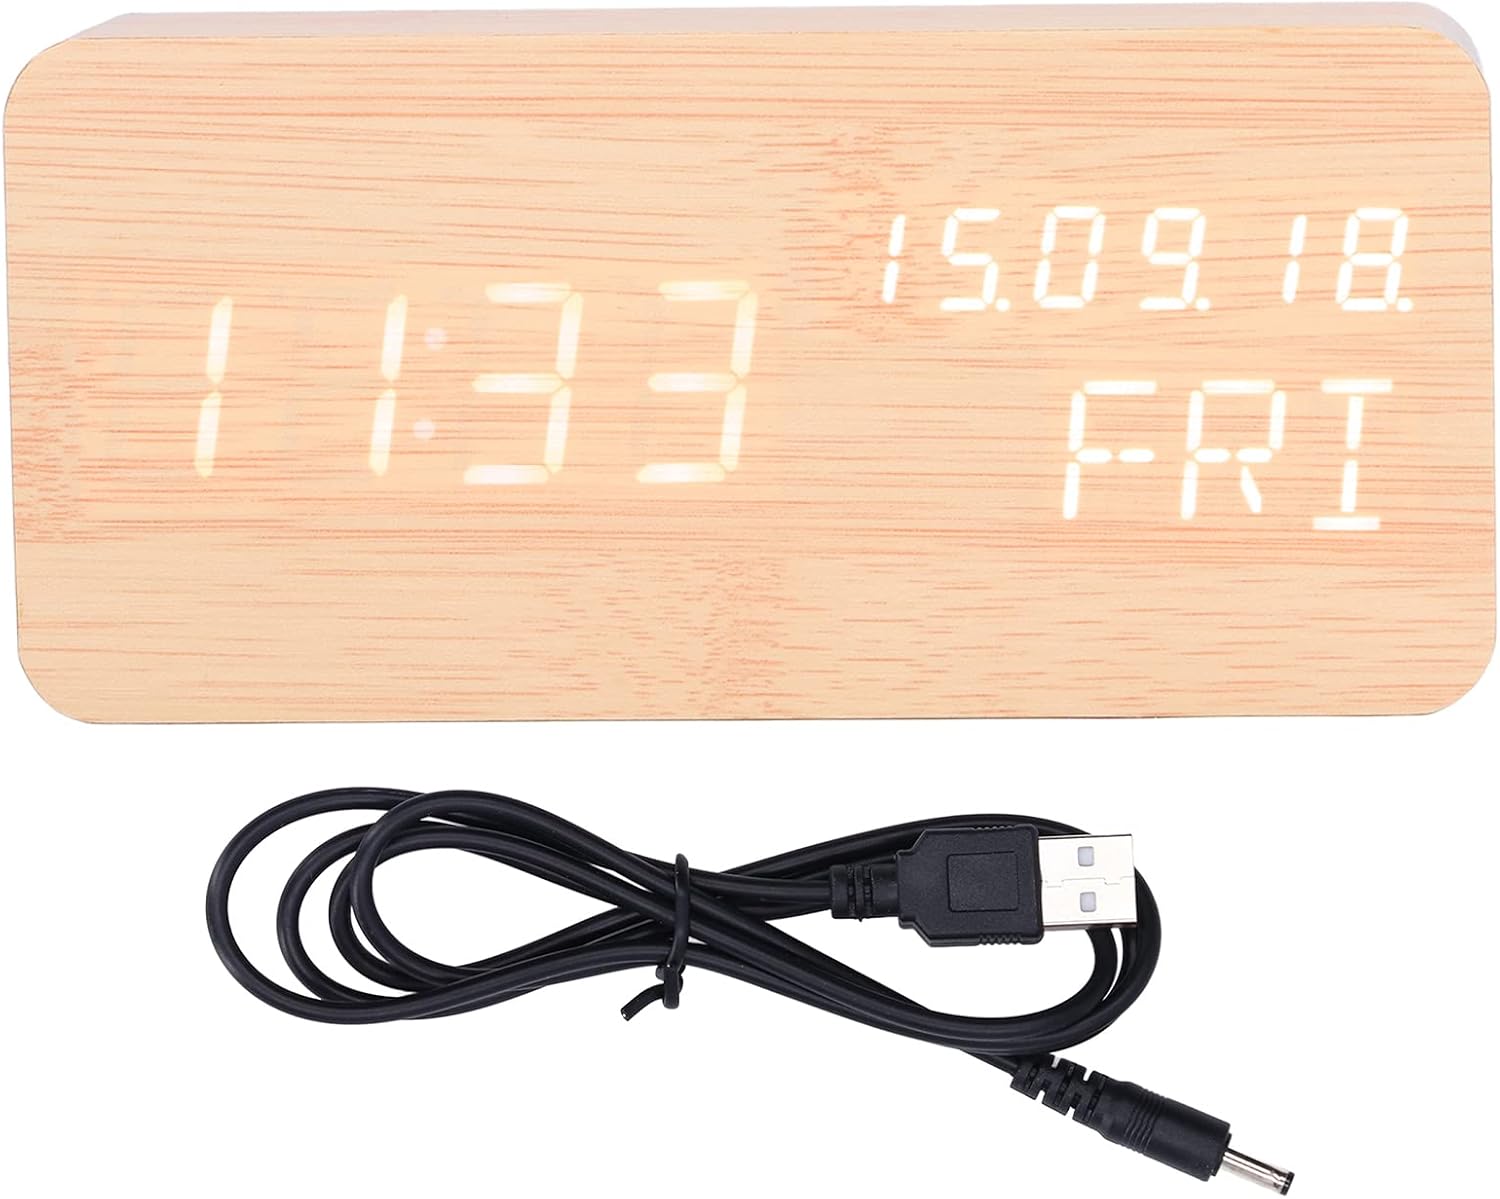
Image: The USB power cable used to power the alarm clock.

Vaizdas: Galinis view of the alarm clock, highlighting the battery compartment and control buttons (SET, UP, DOWN).
Naudojimo instrukcijos
The clock features three control buttons on the back: NUSTATYTI, UP, ir ŽEMYN.
Laiko ir datos nustatymas:
- Paspauskite ir palaikykite NUSTATYTI button to enter time setting mode. The display will flash.
- Naudokite UP ir ŽEMYN mygtukais nustatykite valandas. Paspauskite NUSTATYTI , kad patvirtintumėte ir pereitumėte prie minučių.
- Koreguokite minutes su UP/ŽEMYN, tada paspauskite NUSTATYTI patvirtinti.
- Tęskite šį procesą, kad nustatytumėte metus, mėnesį ir dieną.
- After setting the date, you can select 12-hour or 24-hour format using UP/ŽEMYN, tada paspauskite NUSTATYTI.

Image: Two Walfront alarm clocks, demonstrating the display of time, date, and day of the week.
Signalų nustatymas:
The clock supports three independent alarms (AL1, AL2, AL3).
- Įprastu laiko rodymo režimu paspauskite NUSTATYTI button repeatedly to cycle through AL1, AL2, AL3 settings.
- When an alarm (e.g., AL1) is displayed, press and hold NUSTATYTI to enter its setting mode.
- Naudokite UP/ŽEMYN , kad nustatytumėte žadintuvo valandą, tada paspauskite NUSTATYTI.
- Adjust alarm minutes with UP/ŽEMYN, tada paspauskite NUSTATYTI.
- You can then choose to enable/disable the alarm or set it for weekdays only (indicated by 'ON E' for weekday alarm). Use UP/ŽEMYN norėdami pasirinkti, tada paspauskite NUSTATYTI patvirtinti.
- Repeat for AL2 and AL3 as needed.
Ryškumo reguliavimas:
The clock offers three levels of brightness. In normal time display mode, press the UP button to cycle through the brightness levels (L1, L2, L3, where L3 is brightest).
Valdymo balsu funkcija:
To activate the voice control function, ensure the clock is in power-saving mode (display off). A sound (e.g., clap, tap) will temporarily illuminate the display to show the time, date, and day of the week.

Image: The alarm clock displaying the current temperature in Celsius, alongside the date and day.
Priežiūra
- Valymas: Use a soft, dry cloth to wipe the surface of the clock. Avoid using abrasive cleaners or solvents, which may damage the wooden finish or display.
- Vieta: Place the clock on a stable, flat surface. Avoid direct sunlight, high temperatures, or high humidity, which can affect the wood and electronic components.
- Baterijos keitimas: If using batteries, replace all four AAA batteries simultaneously when the display dims or functions become erratic. Do not mix old and new batteries.
- Maitinimo šaltinis: When not in use for extended periods, disconnect the USB power cable and remove batteries to prevent leakage.
Trikčių šalinimas
| Problema | Galima priežastis | Sprendimas |
|---|---|---|
| Display is dim or not visible. | Low battery power or brightness setting is too low. | Replace batteries or connect via USB. Press UP to adjust brightness level. |
| Clock not responding to voice control. | Voice control feature might be off or ambient noise is too low. | Ensure the clock is in power-saving mode (display off). Make a louder sound to activate. |
| Signalizacija neskamba. | Alarm is not set or is set for weekdays only and it's a weekend. | Check alarm settings (AL1, AL2, AL3) and ensure they are enabled for the desired days. |
| Rodomas neteisingas laikas arba data. | Time/date was not set correctly or power interruption. | Re-enter time and date settings as per "Setting Time and Date" instructions. |
Gaminio specifikacijos
| Funkcija | Detalė |
|---|---|
| Prekės tipas | Žadintuvas |
| Medžiaga | Mediena, ABS |
| Produkto dydis | Approx. 150 x 40 x 70 mm / 5.9 x 1.6 x 2.8 inches |
| Prekės svoris | 9.2 uncijos |
| Maitinimo šaltinis | USB data cable (DC 5V), 4 x AAA batteries (not included) |
| Ekrano funkcijos | Time, Date, Week, Temperature (Celsius/Fahrenheit) |
| Laiko sistema | 12/24 hour system |
| Ryškumo lygiai | Reguliuojama 3 lygių |
| Signalizacijos funkcijos | 3 sets of alarms, Weekday alarm option |
| Ypatingos savybės | Balso valdymo funkcija |
| Modelio numeris | WALFRONT73dgi05csv |
Garantija ir palaikymas
For warranty information or technical support, please refer to the retailer's return policy or contact Walfront customer service directly. Keep your purchase receipt as proof of purchase.