1. Įvadas
Thank you for choosing the COUGAR MX360 RGB Mid Tower Case. This manual provides essential information for the proper installation, operation, and maintenance of your new PC case. The MX360 RGB combines a sleek design with ARGB LED strips on the front panel, offering excellent cooling performance and support for a wide range of components, including up to a 360mm radiator, 315mm graphics cards, and 170mm CPU coolers. Its compact layout and full-length PSU shroud contribute to a clean and organized build.
2. Saugos informacija
- Prieš montuodami arba išimdami bet kokius komponentus, visada atjunkite maitinimo šaltinį nuo sieninio lizdo.
- Atsargiai elkitės su komponentais, kad jų nepažeistumėte statinė elektra. Apsvarstykite galimybę naudoti antistatinį riešo dirželį.
- Laikykite smulkias dalis ir varžtus vaikams nepasiekiamoje vietoje.
- Užtikrinkite tinkamą vėdinimą aplink korpusą, kad išvengtumėte perkaitimo.
- Nebandykite modifikuoti korpuso ar jo komponentų, nes tai gali panaikinti garantiją ir sukelti pavojų saugumui.
3. Pakuotės turinys
Patikrinkite, ar jūsų pakuotėje yra visi šie daiktai:
- COUGAR MX360 RGB Mid Tower dėklas
- Priedų dėžutė (kuriame yra varžtai, tarpikliai, kabelių laikikliai ir kt.)
- Vartotojo vadovas (šis dokumentas)
4. Produktas baigtasview
The COUGAR MX360 RGB case features a minimalist design with integrated ARGB lighting and a tempered glass side panel for showcasing your build.

4.1 pav.: Priekinė pusė view of the COUGAR MX360 RGB case, showing the interior and active RGB lighting.
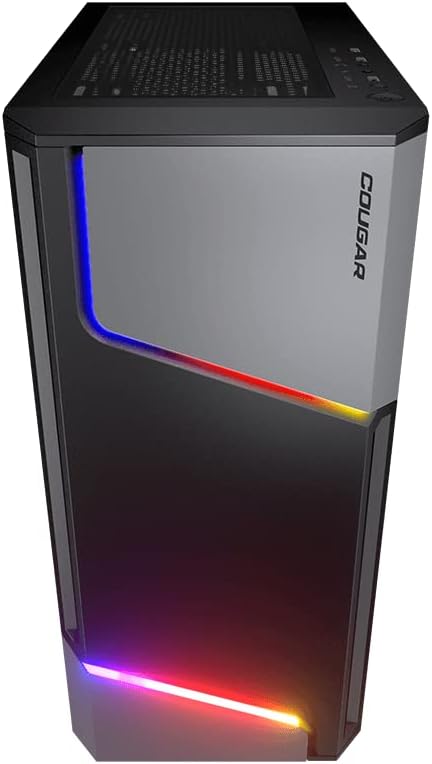
4.2 pav.: priekis view of the COUGAR MX360 RGB case, highlighting the integrated ARGB LED strips.
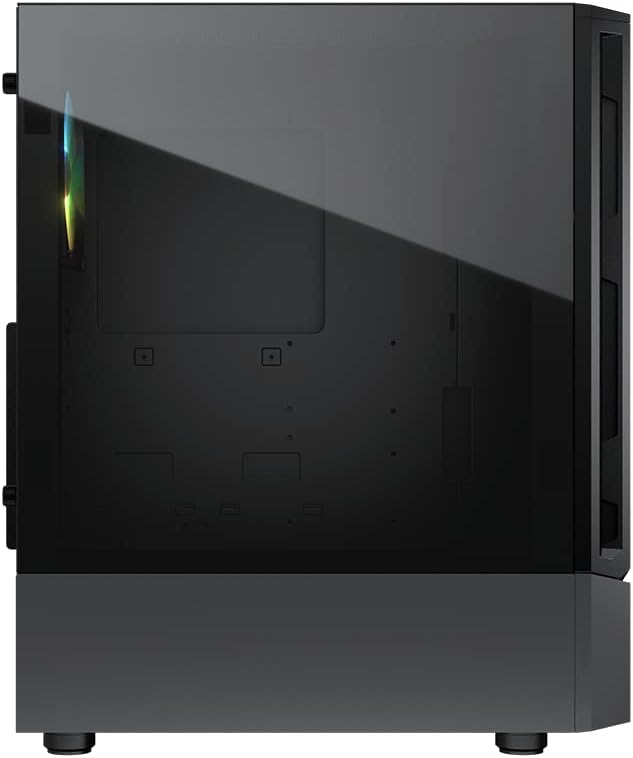
4.3 pav.: šonas view of the COUGAR MX360 RGB case, featuring the tempered glass panel.

4.4 pav.: Kampinis priekis view of the COUGAR MX360 RGB case, showcasing its design and ARGB elements.
5. Sąranka ir diegimas
Follow these steps to install your components into the COUGAR MX360 RGB case.
5.1 Bylos parengimas
- Padėkite dėklą ant lygaus, stabilaus paviršiaus.
- Remove the tempered glass side panel by unscrewing the thumb screws at the rear of the case and carefully sliding the panel off.
- Remove the opposite metal side panel by unscrewing the thumb screws and sliding it off.
5.2 Pagrindinės plokštės montavimas
- Install the I/O shield (if not pre-installed on your motherboard) into the rear opening of the case.
- Ensure the correct standoffs are installed for your motherboard form factor (ATX, Micro-ATX, Mini-ITX). Adjust or add standoffs as needed.
- Atsargiai uždėkite pagrindinę plokštę ant atramų, sulygiuodami varžtų skyles.
- Pritvirtinkite pagrindinę plokštę pridėtais varžtais.
5.3 Maitinimo bloko (PSU) montavimas
- Locate the PSU shroud at the bottom of the case.
- Įstumkite maitinimo šaltinį į tam skirtą skyrių iš korpuso galo.
- Pritvirtinkite maitinimo bloką varžtais iš korpuso galo.
- Route necessary cables through the cutouts in the PSU shroud for cable management.
5.4 Atminties disko diegimas
The MX360 RGB supports various storage configurations.
- 3.5 colio kietieji diskai: Install into the drive cage located under the PSU shroud.
- 2.5" SSDs/HDDs: Mount onto the dedicated trays or mounting points behind the motherboard tray.
5.5 Vaizdo plokštės (GPU) diegimas
- Nuimkite reikiamus PCIe lizdų dangtelius nuo korpuso galo.
- Įdėkite vaizdo plokštę į atitinkamą PCIe lizdą pagrindinėje plokštėje.
- Secure the graphics card with screws. The case supports graphics cards up to 315mm in length.
5.6 Aušinimo sistemos įrengimas (ventiliatoriai / radiatoriai)
The case supports up to six fans and a 360mm water cooling radiator.
- Priekyje: Supports up to 3 x 120mm or 2 x 140mm fans, or a 240/280/360mm radiator.
- Į viršų: Supports up to 2 x 120mm or 2 x 140mm fans, or a 240/280mm radiator.
- Galinis: Supports 1 x 120mm fan.
Install fans or radiators using the provided screws, ensuring proper airflow direction.
5.7 Priekinio skydelio jungtys
Connect the front panel cables (USB, Audio, Power, Reset, LED) to their corresponding headers on your motherboard. Refer to your motherboard manual for exact header locations.
5.8 ARGB Lighting Connection
The integrated ARGB LED strips on the front panel connect via a 5V/3Pin ARGB connector. Connect this cable to a compatible 5V/3Pin ARGB header on your motherboard to synchronize lighting effects with your system.
6. Bylos valdymas
Once all components are installed and connected, replace the side panels. Power on your system using the power button on the top I/O panel. The ARGB lighting will illuminate, controlled by your motherboard's software or a dedicated ARGB controller if you have one installed.
7. Priežiūra
Reguliarus techninis aptarnavimas padeda užtikrinti optimalų kompiuterio komponentų veikimą ir ilgaamžiškumą.
- Dulkių filtrai: The MX360 RGB includes removable dust filters (e.g., top, bottom). Periodically remove and clean these filters with compressed air or water (ensure they are completely dry before reinstallation).
- Vidaus valymas: Use compressed air to remove dust from internal components like fans, heatsinks, and the motherboard.
- Išorinis valymas: Išorinius paviršius nuvalykite minkšta, damp audinys. Venkite abrazyvinių valiklių.
8. Problemų sprendimas
Jei kyla problemų, vadovaukitės toliau pateiktais įprastais trikčių šalinimo veiksmais.
- Nėra galios: Ensure all power cables (24-pin ATX, 8-pin CPU, GPU power) are securely connected. Check the PSU switch is in the 'ON' position. Verify front panel power button connection to the motherboard.
- ARGB apšvietimas neveikia: Confirm the 5V/3Pin ARGB connector is correctly plugged into a compatible motherboard header. Check your motherboard's RGB software for control settings.
- Perkaitimas: Ensure all case fans are spinning and oriented correctly for optimal airflow. Check for dust buildup on filters and components. Verify CPU cooler and GPU cooler are properly installed.
- Atsipalaidavę jungtys: Re-seat all components (RAM, GPU, storage drives) and check all power and data cables.
9. Specifikacijos
| Funkcija | Specifikacija |
|---|---|
| Prekės ženklas | COUGAR |
| Modelio pavadinimas | MX360 RGB |
| Prekės modelio numeris | CGR-5CC6G-RGB |
| Atvejo tipas | Mid Tower |
| Matmenys (IxPxH) | 14.88 x 8.27 x 18.11 colio (378 x 210 x 460 mm) |
| Prekės svoris | 10.56 svaro (4.8 kilogramo) |
| Medžiaga | Tempered Glass, Fine Metal |
| Spalva | Juoda |
| Pagrindinės plokštės palaikymas | Mini ITX / Micro ATX / ATX |
| Maks. Vaizdo plokštės ilgis | 315 mm |
| Maks. CPU aušintuvo aukštis | 170 mm |
| PSU palaikymas | Standartinis ATX PS2 |
| Aušinimo būdas | Oras / Vanduo |
| Radiatoriaus palaikymas | Front: 360mm / 280mm / 240mm / 140mm / 120mm Top: 280mm / 240mm / 140mm / 120mm Galinis: 120 mm |
| Ventiliatorių palaikymas | Priekyje: 3 x 120 mm / 2 x 140 mm Viršus: 2 x 120 mm / 2 x 140 mm Užpakalinė dalis: 1 x 120mm |
| Drive Bays | 3.5" HDD: 2 2.5" SSD: 2+2 (converted from 3.5" drive bays) |
| I/O skydelis | 2 USB 3.0, 1 USB 2.0, 1 mikrofonas, 1 garsas, RGB mygtukas |
| Ypatinga funkcija | ARGB LED Strips, Full-length PSU Cover for Cable Hiding and Improved Airflow |
10. Garantija ir palaikymas
COUGAR products are designed and manufactured to the highest quality standards. For warranty information, please refer to the warranty card included with your product or visit the official COUGAR websvetainėje. Išsaugokite pirkimo įrodymą garantiniams reikalavimams.
For technical support or further assistance, please visit the official COUGAR websvetainėje arba susisiekite su jų klientų aptarnavimo skyriumi. Daugiau informacijos ir išteklių galite rasti COUGAR Store on Amazon.