
Įvadas
Ačiū, kad pirkoteasing the MUSE M-19 GL Alarm Clock Radio. This manual provides essential information for the safe and efficient operation of your device. Please read it thoroughly before use and retain it for future reference.
Saugos instrukcijos
- Saugokite įrenginį nuo lietaus ar drėgmės, kad išvengtumėte gaisro ar elektros smūgio.
- Užtikrinkite tinkamą vėdinimą; neužblokuokite jokių ventiliacijos angų.
- Padėkite įrenginį ant stabilaus, lygaus paviršiaus.
- Nestatykite įrenginio šalia šilumos šaltinių, tokių kaip radiatoriai, šildytuvai, viryklės ar kiti prietaisai (įskaitant ampkeltuvai), kurie gamina šilumą.
- Naudokite tik gamintojo nurodytus priedus/priedus.
- Atjunkite šį įrenginį žaibuojant arba kai nenaudojate ilgą laiką.
- Visus techninės priežiūros darbus patikėkite kvalifikuotam techninės priežiūros personalui.
- Dispose of batteries responsibly. Do not expose batteries to excessive heat.
Pakuotės turinys
- MUSE M-19 GL Alarm Clock Radio
- Kintamos srovės adapteris
- Vartotojo vadovas
Produktas baigtasview
The MUSE M-19 GL is a compact alarm clock radio featuring a clear 1.8-inch LCD display. It includes an FM tuner and multiple alarm functions, designed for bedside use.
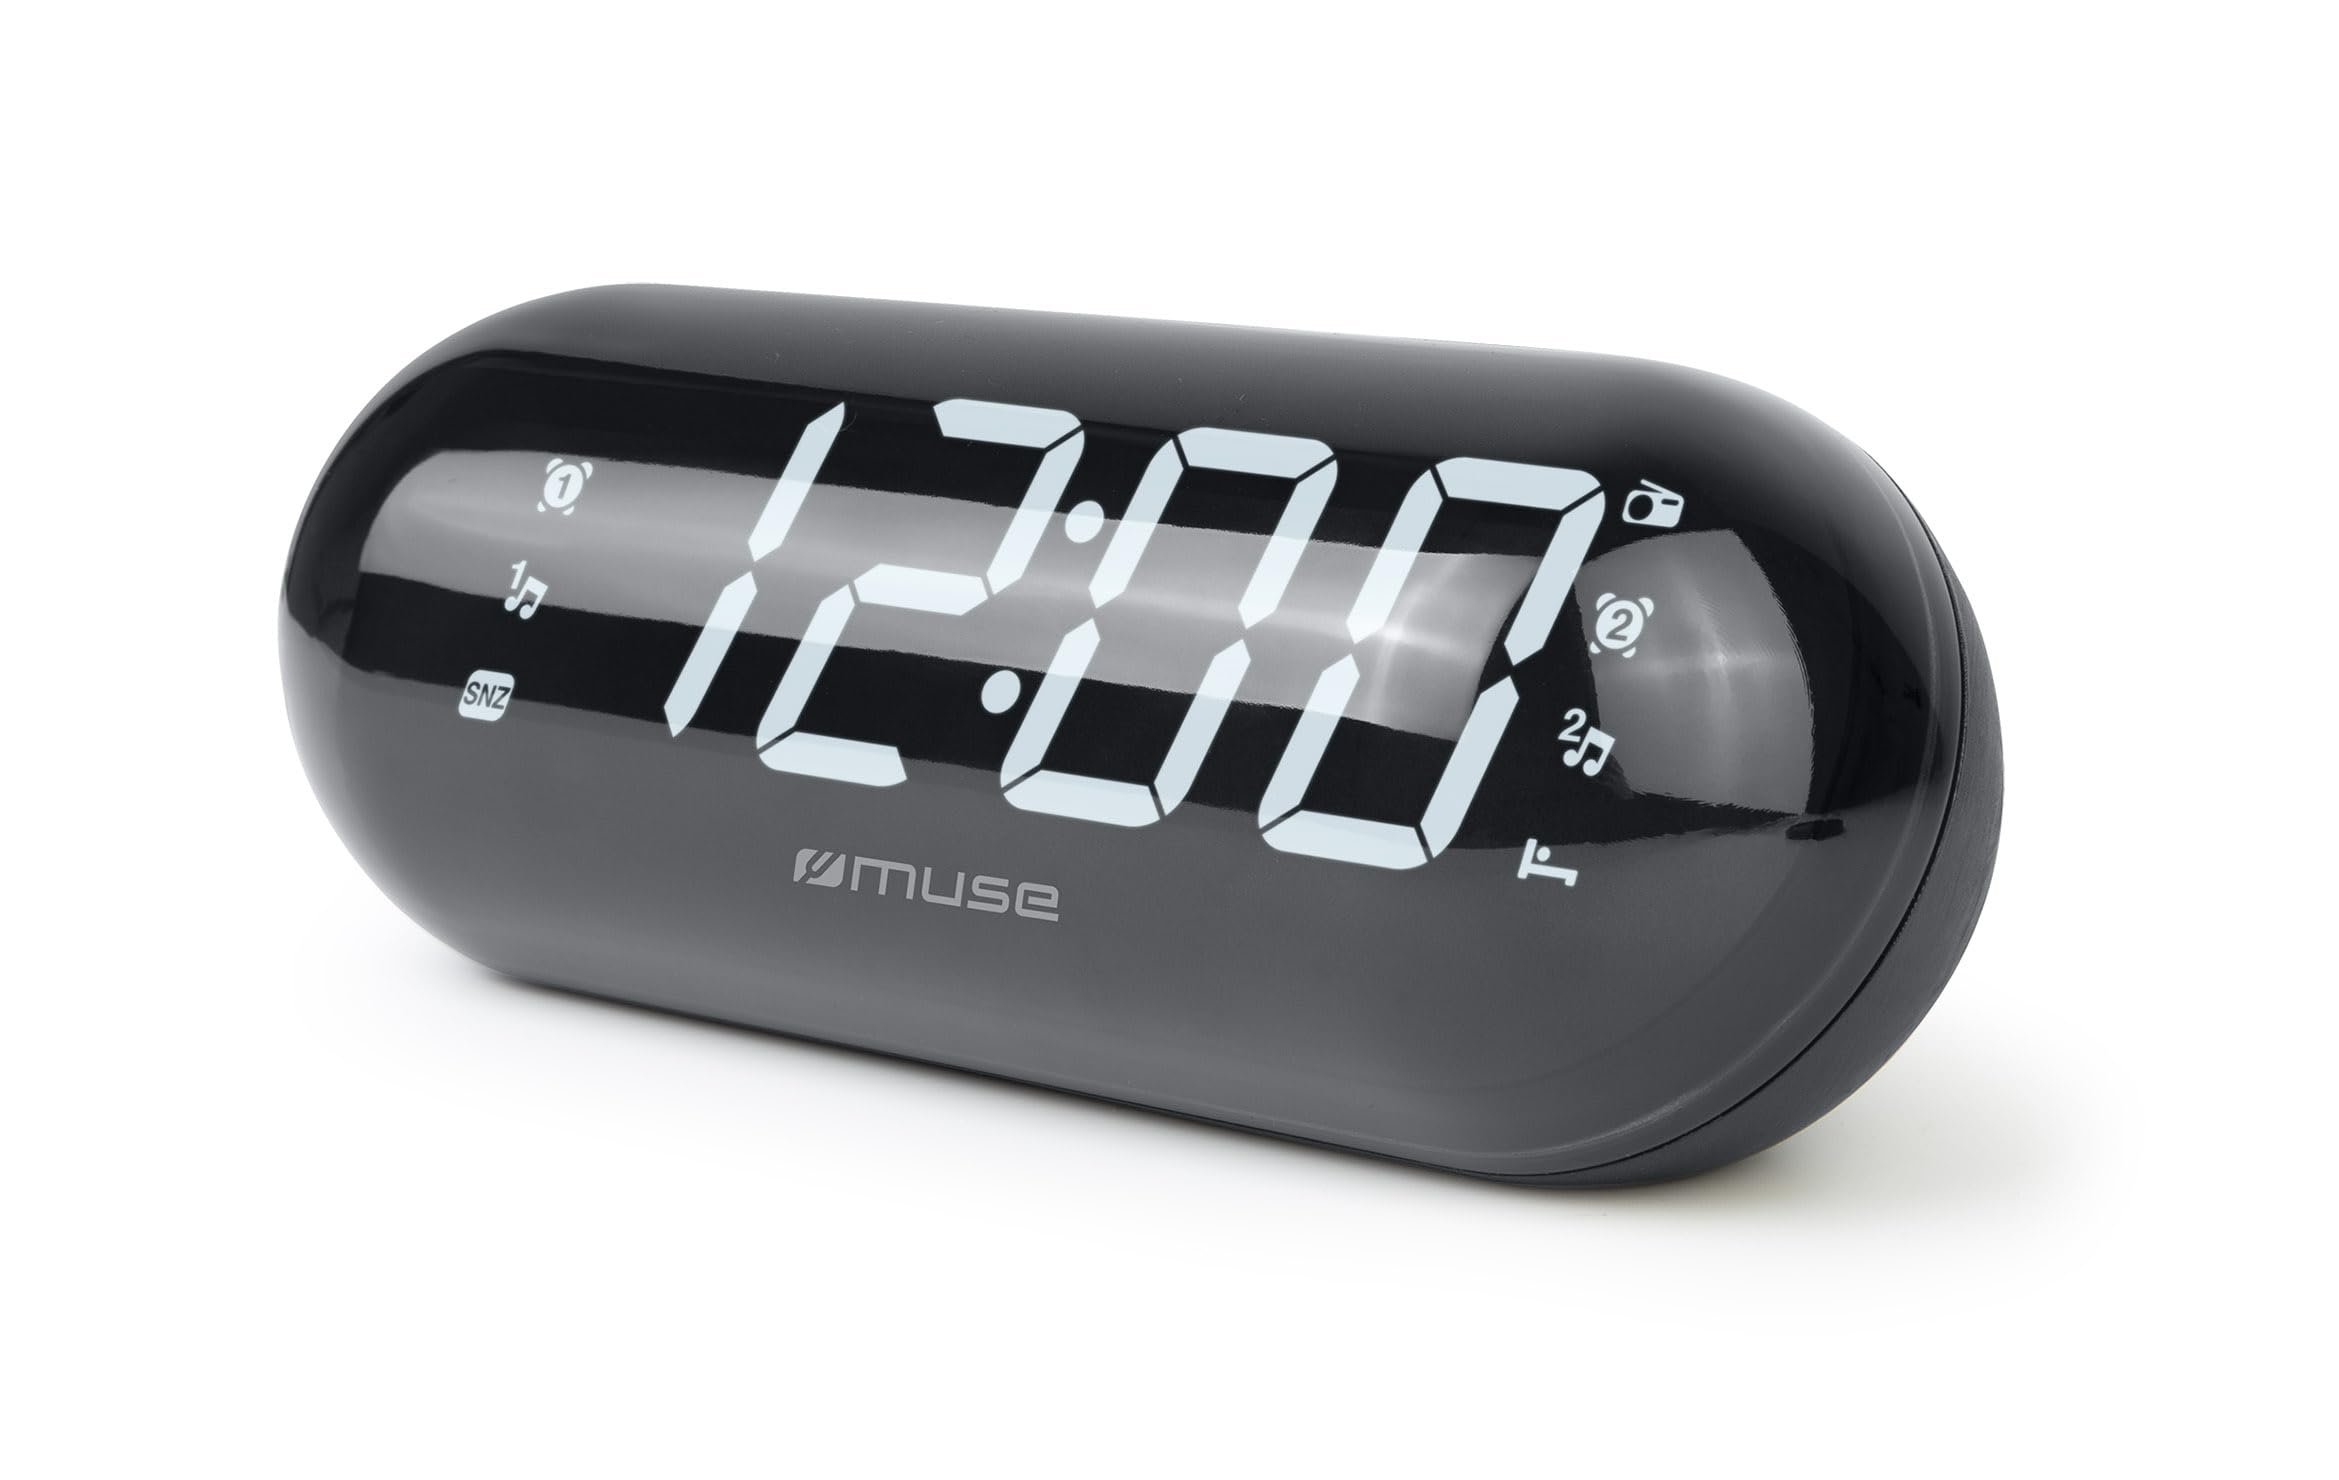
Image: The MUSE M-19 GL Alarm Clock Radio with its digital display showing '12:00', positioned on a wooden bedside table next to a bed.
Familiarize yourself with the buttons and display indicators for optimal use. Specific button functions will be detailed in the 'Operating' section.
Sąranka
1. Įrenginio maitinimas
- Kintamosios srovės maitinimas: Connect the provided AC power adapter to the DC IN jack on the back of the unit, then plug the adapter into a standard wall outlet. The display will light up.
- Baterijos atsarginė kopija: For time and alarm settings retention during a power outage, insert 2 x AAA batteries (not included) into the battery compartment on the bottom of the unit. Ensure correct polarity (+/-).
2. Laiko nustatymas
- Paspauskite ir palaikykite LAIKO NUSTATYMAS button (location may vary, refer to device diagram if available) until the hour digits flash.
- Naudokite VALANDA ir MINUTĖ mygtukai laikui reguliuoti.
- Paspauskite LAIKO NUSTATYMAS dar kartą, kad patvirtintumėte ir išeitumėte iš laiko nustatymo režimo.
Veikiantis
1. Radio Operation (FM Tuner)
- Įjungti/išjungti: Paspauskite RADIJO ĮJUNGTAS/IŠJUNGTAS mygtuką, kad įjungtumėte arba išjungtumėte radiją.
- Derinimo dažnis: Naudokite TUNE + or DERINIMAS - buttons to manually adjust the FM frequency. Press and hold for automatic scanning to the next available station.
- Nustatyti išankstinius nustatymus: Norėdami išsaugoti stotį, nustatykite norimą dažnį, tada paspauskite ir palaikykite NUSTATYMAS mygtuką, kol mirksės iš anksto nustatytos stoties numeris. TUNE + or DERINIMAS - , kad pasirinktumėte iš anksto nustatytos stoties numerį (1–20), tada paspauskite NUSTATYMAS dar kartą patvirtinti.
- Atšaukti išankstinius nustatymus: Trumpai paspauskite NUSTATYMAS mygtuką, kad peržiūrėtumėte išsaugotas stotis.
2. Signalizavimo funkcijos
The M-19 GL features dual alarms (Alarm 1 and Alarm 2).
- Signalo nustatymas:
- Paspauskite ir palaikykite 1 pavojaus signalas or 2 pavojaus signalas mygtuką, kol pradės mirksėti valandų skaitmenys.
- Naudokite VALANDA ir MINUTĖ mygtukus, kad nustatytumėte norimą žadintuvo laiką.
- Paspauskite 1 pavojaus signalas or 2 pavojaus signalas button again to select the alarm source (Buzzer or Radio). An indicator will appear on the display.
- Paspauskite 1 pavojaus signalas or 2 pavojaus signalas button one more time to confirm and activate the alarm.
- Snaudimo funkcija: Kai skamba žadintuvas, paspauskite SNAIGĖ button to temporarily silence it for approximately 9 minutes.
- Stabdymo signalas: Norėdami išjungti dienos žadintuvą, paspauskite ALARM ON / OFF button. The alarm icon will disappear from the display.
- Disable Alarm Permanently: Paspauskite ALARM ON / OFF button repeatedly until the alarm icon for the respective alarm (1 or 2) is no longer displayed.
Priežiūra
Valymas
Nuvalykite įrenginį minkštu, sausu skudurėliu. Nenaudokite abrazyvinių valiklių ar tirpiklių, nes jie gali pažeisti apdailą.
Baterijos keitimas
If the time display is blank or incorrect after a power outage, the backup batteries may need replacement. Open the battery compartment on the bottom of the unit, remove the old AAA batteries, and insert new ones, observing correct polarity.
Trikčių šalinimas
| Problema | Galima priežastis | Sprendimas |
|---|---|---|
| Nėra maitinimo / ekranas išjungtas | AC adapter not connected or power outage. | Ensure AC adapter is securely plugged in. Check power outlet. Replace backup batteries if needed. |
| Radijo priėmimas prastas | Silpnas signalas arba neištiesta antena. | Visiškai ištieskite FM laidinę anteną. Pakeiskite įrenginio padėtį, kad signalas būtų geresnis. |
| Signalizacija neskamba | Žadintuvas nenustatytas arba garsumas per mažas. | Verify alarm time and activation (alarm icon on display). Increase radio volume if alarm source is radio. |
| Laikas neteisingas | Time not set or backup batteries are depleted. | Reset the time. Replace backup batteries. |
Specifikacijos
- Modelis: M19GL
- Ekranas: 1.8-inch LCD, Digital
- Radijo imtuvas: FM with 20 Presets
- Maitinimo šaltinis: AC (main), 2 x AAA batteries (backup, not included)
- Matmenys (P x P x A): 15 x 3.81 x 10 cm (5.9 x 1.5 x 3.9 colio)
- Svoris: 300 gramai (0.66 svaro)
- Medžiaga: Plastic (structure), LCD (display)
- Spalva: Juoda
- Ypatingos savybės: Alarm, Snooze, Integrated Speaker
Garantija ir palaikymas
This MUSE M-19 GL Alarm Clock Radio comes with a dvejų metų garantija nuo gamybos defektų nuo įsigijimo datos. Išsaugokite pirkimo įrodymą garantiniams reikalavimams.
For technical support or warranty inquiries, please refer to the contact information provided with your purchase documentation or visit the official Muse websvetainę.