
1. Įvadas
This manual provides detailed instructions for the installation, operation, and maintenance of your ELUSH 100A MPPT Solar Charge Controller. This advanced controller is designed to efficiently manage power from your solar panels to your battery bank, ensuring optimal charging and system protection. It automatically recognizes 12V, 24V, 36V, and 48V systems and features dual USB 5V charging ports.
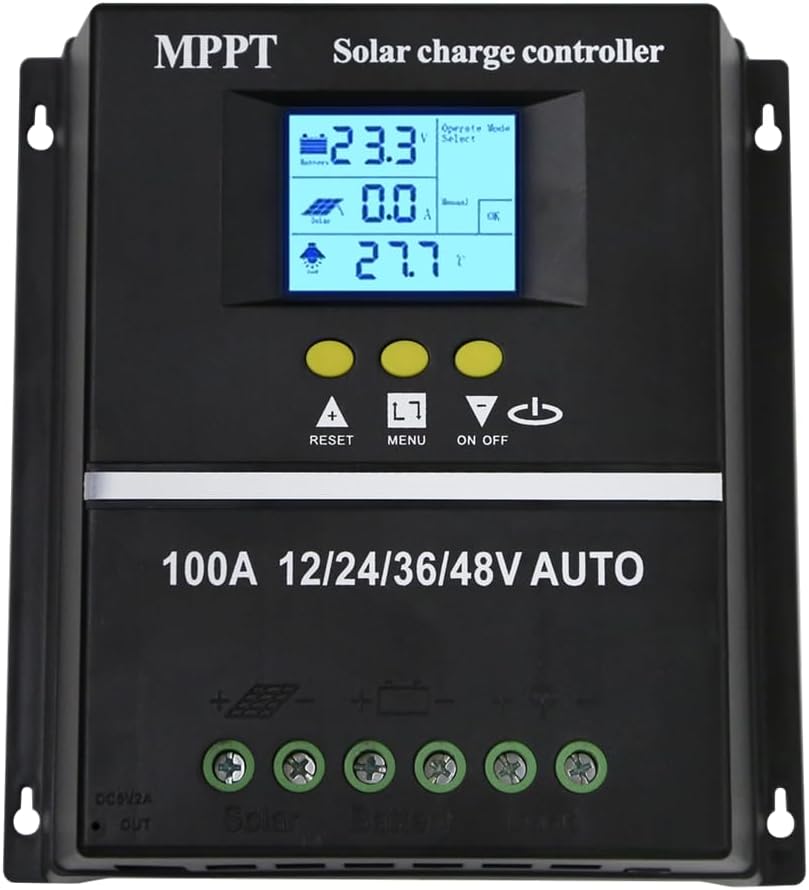
1.1 pav.: priekis view of the ELUSH 100A MPPT Solar Charge Controller.
2. Saugos instrukcijos
Please read all instructions carefully before installation and operation. Failure to follow these instructions may result in damage to the unit, personal injury, or property damage.
- Prieš įjungdami sistemą, įsitikinkite, kad visos jungtys yra tvirtos ir tinkamos.
- Neardykite ir nebandykite patys taisyti valdiklio. Dėl aptarnavimo kreipkitės į kvalifikuotus specialistus.
- Valdiklį montuokite gerai vėdinamoje vietoje, atokiau nuo degių medžiagų ir tiesioginių saulės spindulių.
- The controller provides comprehensive voltage protection, including safeguards against battery over-voltage, over-current, power failure, overcharge, deep discharge, reverse connection, and overheating.
- Device Startup Reminder: When connecting the equipment, first connect the rechargeable battery and ensure it has power. After successful startup, then connect the solar panel. This sequence ensures proper operation.
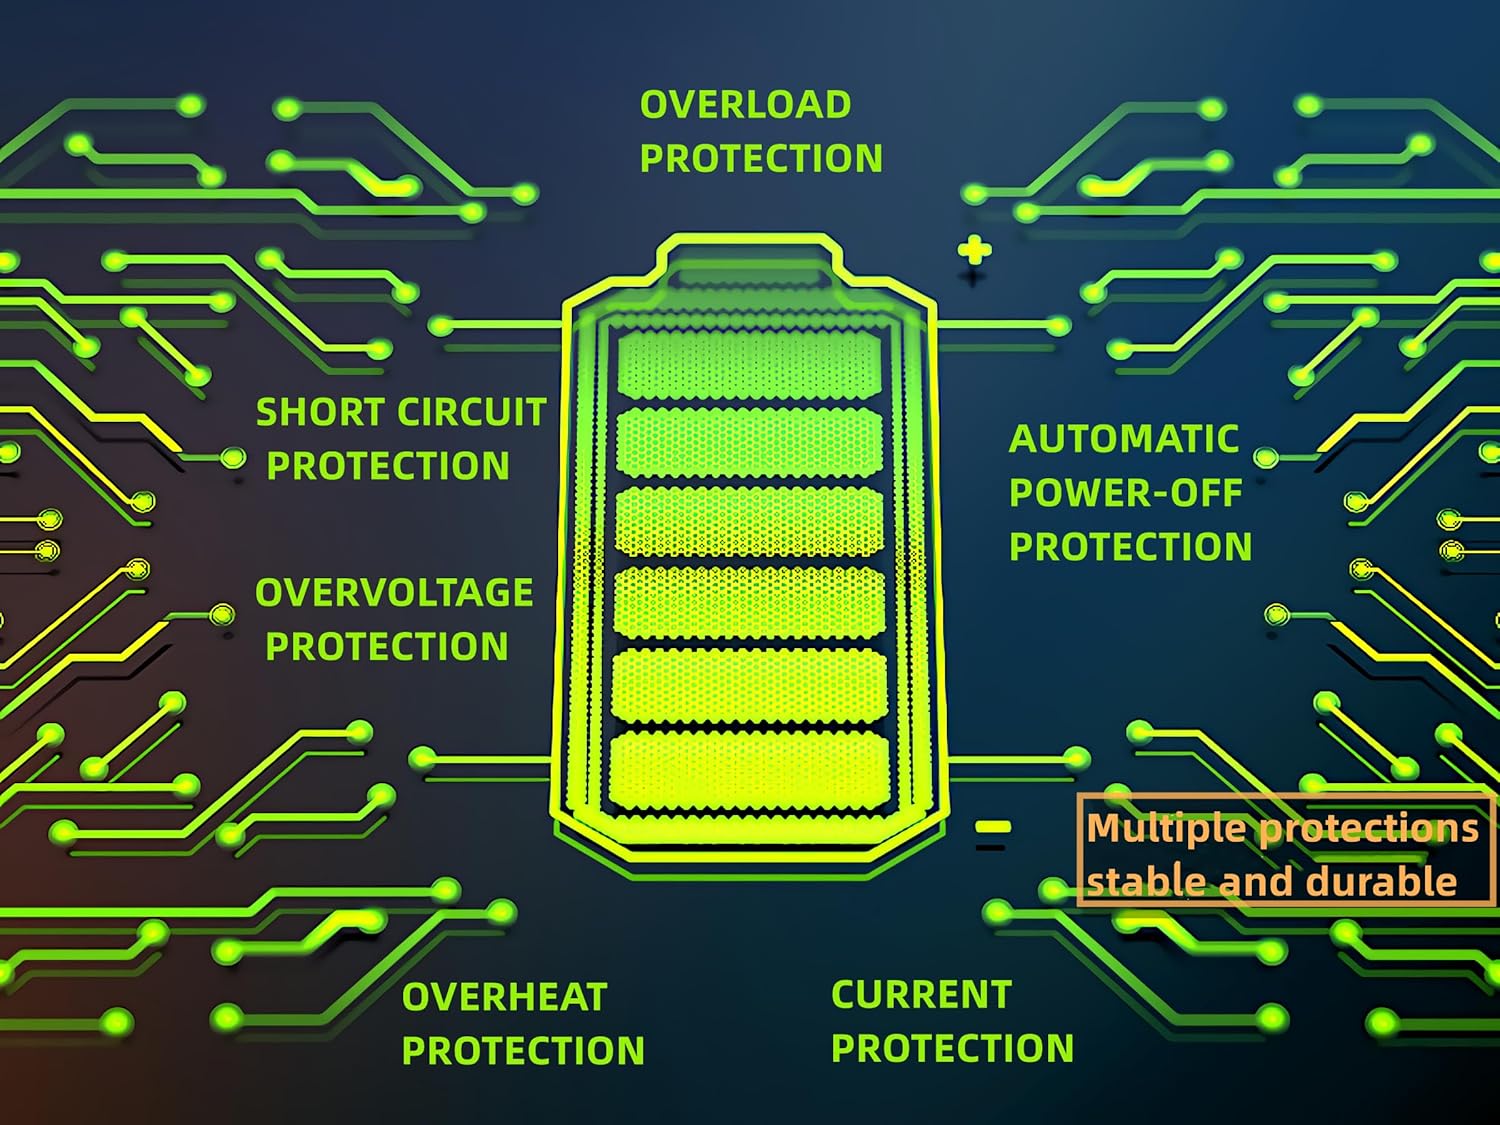
Figure 2.1: Built-in protection features for enhanced safety and durability.
3. Produkto ypatybės
The ELUSH MPPT Solar Charge Controller offers a range of features designed for efficient and reliable solar power management:
- Superior MPPT Technology: Equipped with an advanced Maximum Power Point Tracking algorithm, ensuring tracking efficiency of no less than 99.5% for enhanced energy utilization.
- Automatic System Recognition: Automatically recognizes 12V, 24V, 36V, and 48V battery systems.
- Įvairūs darbo režimai: Features seven operating modes including charging mode, light control mode, light control + time delay control mode, universal control mode, manual control mode, and timing control mode.
- Daugiafunkcis LCD ekranas: Dynamically displays operational data such as working mode, battery voltage, PV įkrovimo srovė, akumuliatoriaus iškrovimo srovė, gaminio darbinė temperatūra ir uždelsimo laikas.
- Dvigubos USB prievados: Includes dual USB 5V charging ports for convenient device charging.
- Platus baterijų suderinamumas: Compatible with various battery types, including Sealed, GEL, Flooded, and LifePO4.
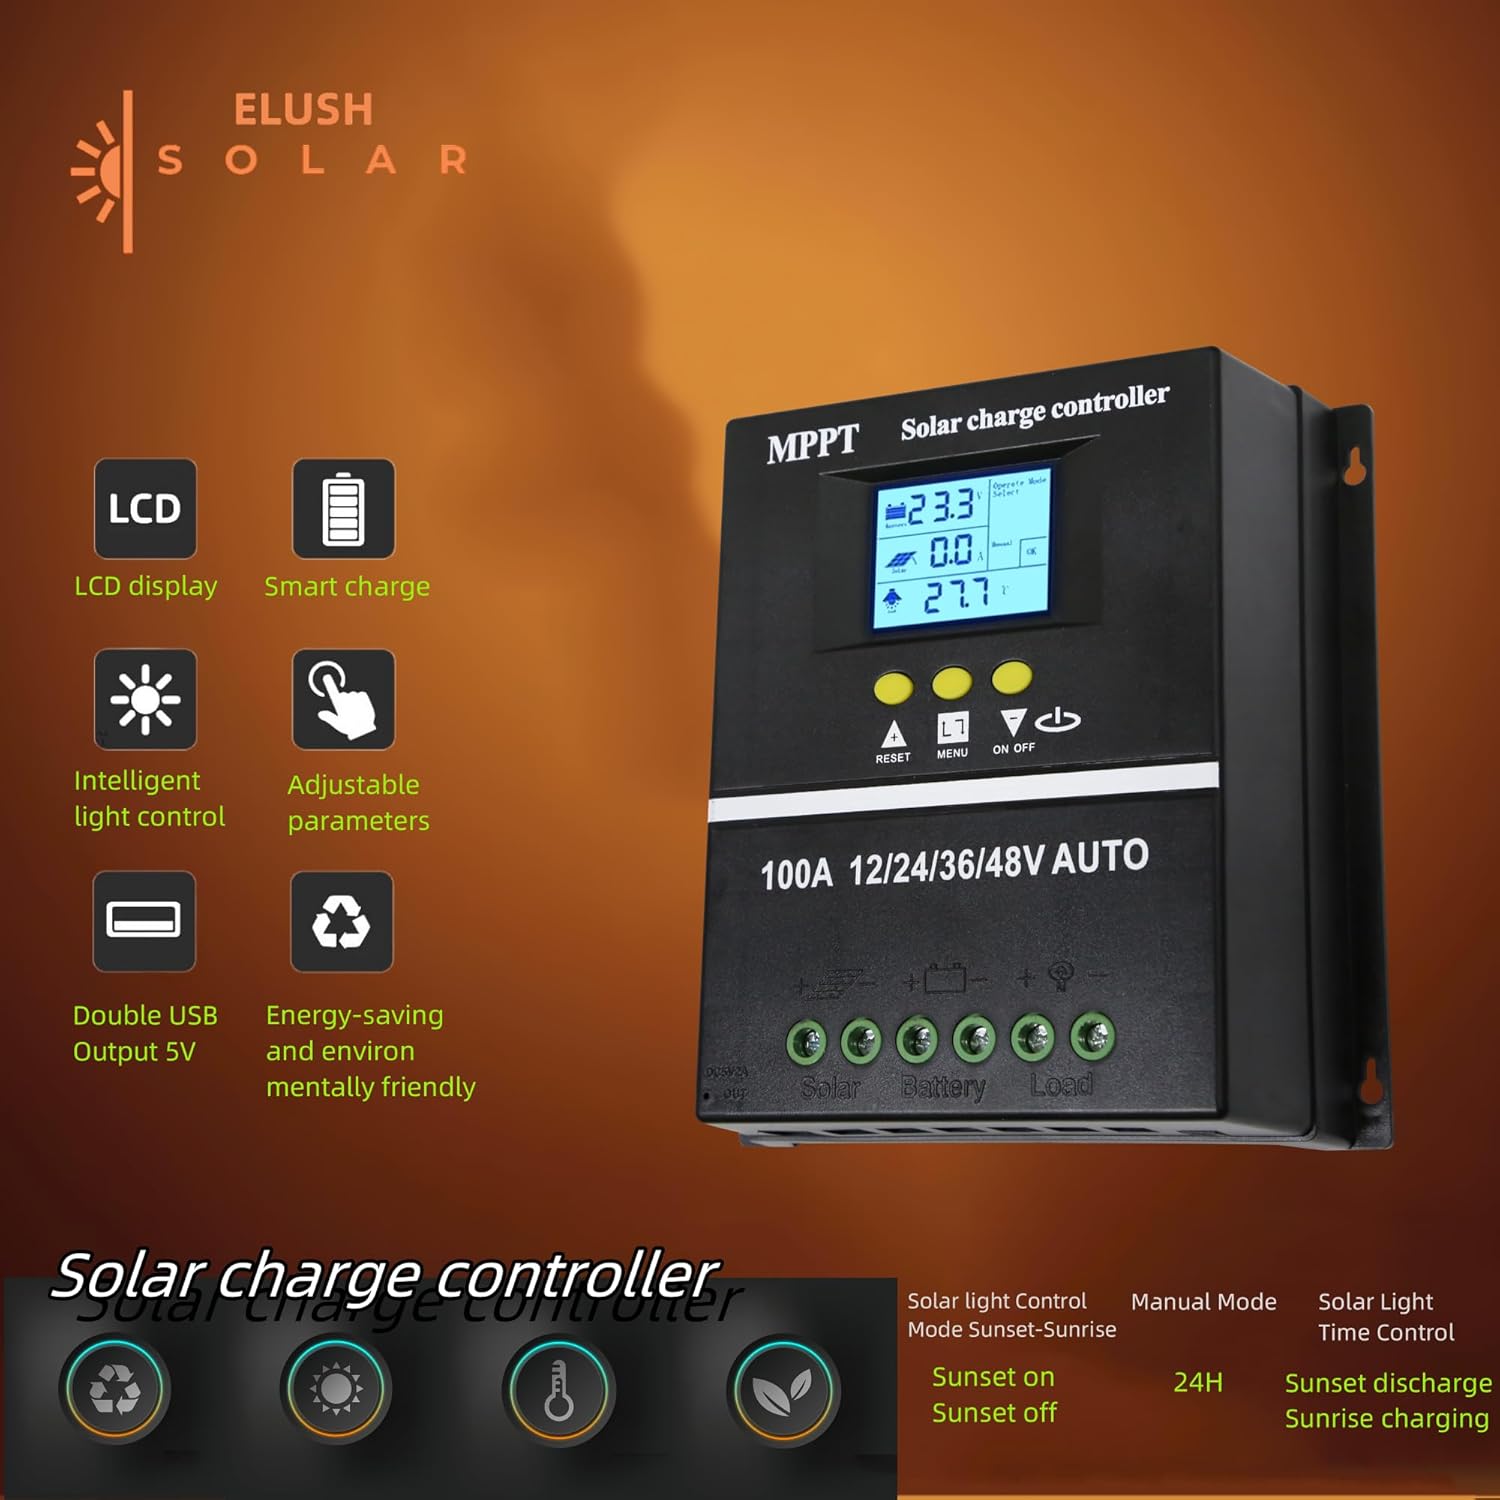
Figure 3.1: Key features of the ELUSH Solar Charge Controller.

3.2 pav. Išsamus view of connection ports and heat dissipation design.
4. Sąranka ir diegimas
Norėdami tinkamai įdiegti saulės baterijų įkrovimo valdiklį, atlikite šiuos veiksmus:
- Paruoškite montavimo vietą: Choose a dry, well-ventilated area, protected from direct sunlight and moisture. Ensure there is enough space around the controller for proper heat dissipation.
- Prijunkite akumuliatorių: First, connect the positive and negative terminals of your battery to the corresponding battery terminals on the controller. Ensure the battery has sufficient charge to power the controller's display.
- Prijunkite saulės baterijas: Next, connect the positive and negative terminals of your solar panel array to the corresponding solar panel terminals on the controller.
- Prijunkite apkrovą (neprivaloma): If you are connecting a DC load directly to the controller, connect its positive and negative terminals to the load terminals on the controller.
- Patikrinkite ryšius: Double-check all connections to ensure they are secure and correctly polarized.

Figure 4.1: Typical connection diagram for the solar charge controller.
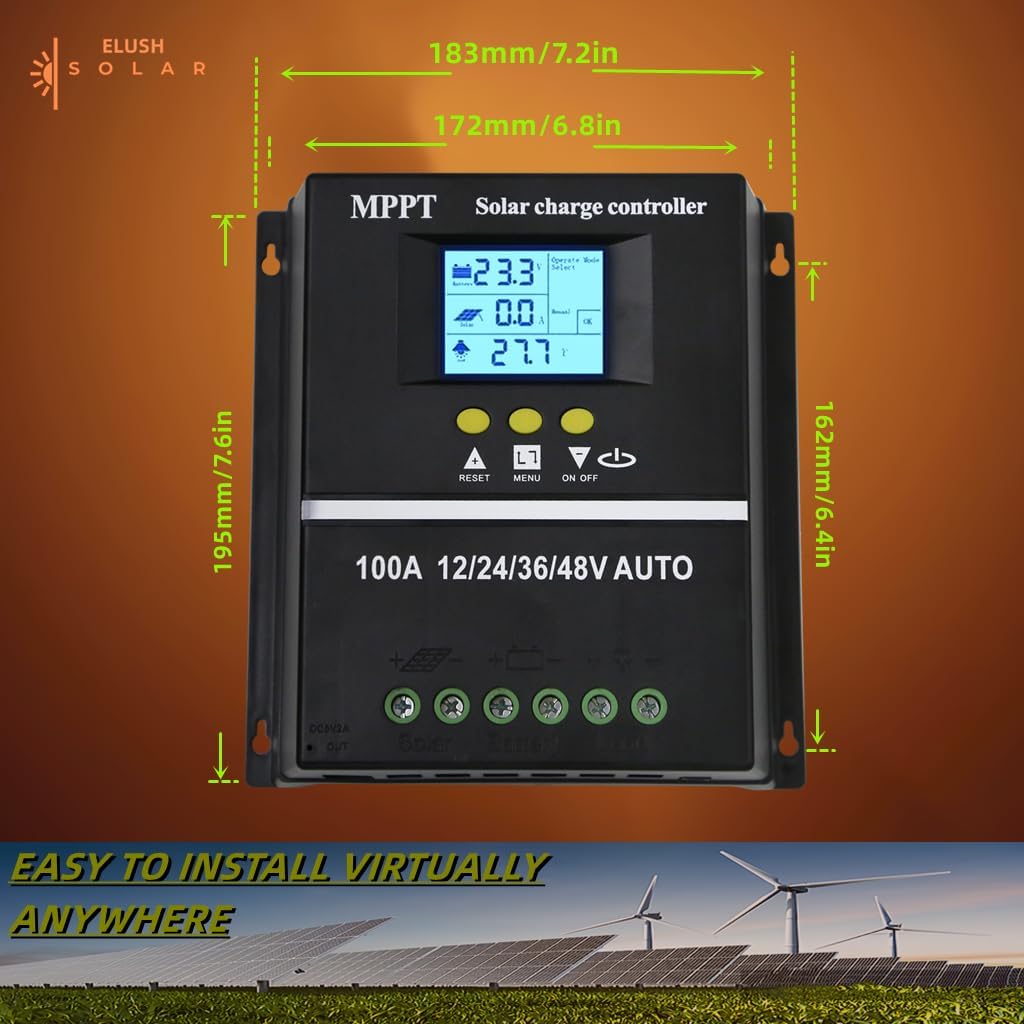
4.2 pav.: Gaminio matmenys, skirti montavimo planavimui.
5. Naudojimo instrukcijos
The controller's LCD display provides real-time information and allows for configuration of various settings.
5.1 LCD ekranas ir mygtukai
The LCD dynamically displays operational data. Use the buttons below the screen to navigate menus and adjust settings:
- NUSTATYTI: Resets certain parameters or enters settings mode.
- MENIU: Navigates through different display screens and settings.
- Rodyklės aukštyn/žemyn: Adjust values or select options within menus.
- ĮJUNGTA/IŠJUNGTA: Controls the DC load output.
5.2 įkrovimo režimai
The controller supports a rapid, efficient, and safe battery charging algorithm with four stages:
- Masinis mokestis: Pradinis stage where the battery receives maximum current.
- „Boost Charge“: Charges the battery to a higher voltage, kad būtų užtikrintas visiškas įkrovimas.
- Plūdinis mokestis: Palaiko pastovų akumuliatoriaus įkrovos lygįtage, kad būtų išvengta perkrovimo.
- Išlyginimo mokestis: Periodically overcharges the battery to balance cell voltages (for certain battery types).

Figure 5.1: Four-stage battery charging process.
5.3 Baterijos tipo pasirinkimas
The controller is compatible with Sealed, GEL, Flooded, and LifePO4 batteries. Ensure you select the correct battery type in the settings for optimal charging and battery longevity.

5.2 pav.: Suderinami akumuliatorių tipai.
5.4 Taikymo scenarijai
The ELUSH MPPT Solar Charge Controller is suitable for various applications, including:
- Residential solar power systems
- RV and marine solar setups
- Off-grid cabins and remote power solutions
- Portable solar power kits
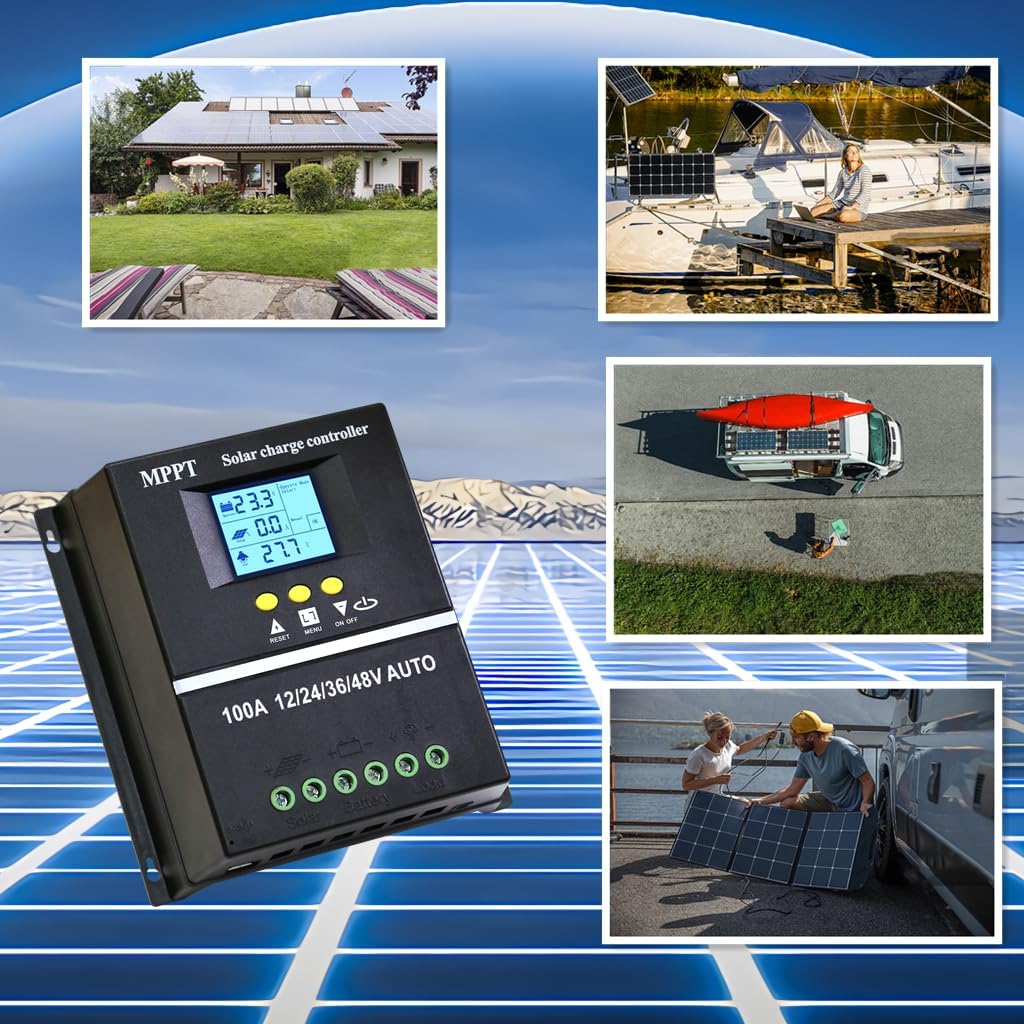
Figure 5.3: Diverse application scenarios for the solar charge controller.
6. Priežiūra
Reguliarus aptarnavimas užtikrina jūsų saulės energijos įkrovimo valdiklio ilgaamžiškumą ir optimalų veikimą:
- Švara: Valiklį laikykite švarų, be dulkių ir šiukšlių. Valymui naudokite sausą, minkštą šluostę.
- Jungtys: Periodiškai tikrinkite visas laidų jungtis, kad įsitikintumėte, jog jos tvirtos ir be korozijos. Atsilaisvinusios jungtys gali sukelti elektros energijos tiekimo sutrikimus arba perkaitimą.
- Vėdinimas: Ensure the installation area remains well-ventilated to prevent overheating, especially during peak operation.
- Firmware atnaujinimai: Patikrinkite gamintojo websvetainėje, kurioje pateikiami visi galimi programinės įrangos atnaujinimai, kad jūsų valdiklyje būtų naujausios funkcijos ir klaidų ištaisymai.
7. Problemų sprendimas
Jei kyla problemų dėl saulės energijos įkrovimo valdiklio, žr. šias dažniausiai pasitaikančias problemas ir sprendimus:
| Problema | Galima priežastis | Sprendimas |
|---|---|---|
| Controller not powering on / No display | Battery not connected or insufficient battery voltage. | Ensure battery is connected first and has adequate charge (minimum 9V for 12V systems). Charge battery externally if completely depleted. |
| No solar charging current | Solar panels not connected, insufficient sunlight, or panel issues. | Check solar panel connections. Ensure panels are receiving direct sunlight. Verify panel voltage. |
| Baterija nevisiškai įkraunama | Neteisingas akumuliatoriaus tipo nustatymas, nepakankamas saulės energijos tiekimas arba akumuliatoriaus veikimo sutrikimas. | Verify battery type setting on the controller. Increase solar panel capacity if needed. Test battery health. |
| Įkrova neveikia | Load output disabled, overload, or low battery voltage. | Check load output setting (ON/OFF button). Reduce load if overloaded. Charge battery. |
| Perkaitimas | Prasta ventiliacija arba per didelė apkrova / įkrovimo srovė. | Užtikrinkite pakankamą oro srautą aplink valdiklį. Sumažinkite apkrovą arba patikrinkite, ar nėra trumpųjų jungimų. |
8. Specifikacijos
Detailed technical specifications for the ELUSH 100A MPPT Solar Charge Controller:
| Parametras | Vertė |
|---|---|
| Baterijos tūristage | 12V/24V/36V/48V Auto |
| Įkrovimo srovė | 100A |
| Max Solar Input (Voc) | 15-25V (12V Battery); 30-50V (24V Battery); 45-75V (36V Battery); 60-100V (48V Battery) |
| Maksimali PV įvesties galia | 1200W (12V Battery); 2400W (24V Battery); 3600W (36V Battery); 4800W (48V Battery) |
| USB prievadas | DC 5V/1.5A x 2 USB |
| Darbinė temperatūra | -25°C ~ 55°C |
| Gamintojas | ELUSH |
| Prekės svoris | 1.79 svaro |
| Pakuotės matmenys | 8.11 x 8.03 x 2.91 colio |

Figure 8.1: Detailed specifications of the 100A model.
9. Garantija ir palaikymas
ELUSH offers a 1-year warranty for this product. For technical support or any issues you may encounter, please feel free to contact our team. Our engineers are available to provide advice and solutions.
Daugiau informacijos ir produktų rasite apsilankę ELUSH Store.