1. Įvadas
This manual provides essential information for the proper setup, operation, and maintenance of your NexiGo NG17QH 4K Portable Monitor. Please read this manual thoroughly before using the device to ensure optimal performance and to prevent damage. Keep this manual for future reference.

Image: The NexiGo NG17QH 4K Portable Monitor, showcasing its sleek design and smart cover.
2. Pakuotės turinys
Verify that all items listed below are included in your package. If any items are missing or damaged, please contact NexiGo customer support.
- NexiGo NG17QH 4K Portable Monitor
- Smart Cover / Stand
- USB-C į USB-C laidas
- Mini HDMI į HDMI kabelis
- USB-A į USB-C maitinimo laidas
- Maitinimo adapteris
3. Produktas baigtasview
Familiarize yourself with the ports and controls on your NexiGo NG17QH portable monitor.
Vaizdas: Išsamus view of the monitor's ports and controls.
Prievadai ir mygtukai:
- Pilnas USB-C prievadas: Used for power, video, and audio transmission with compatible devices.
- Mini HDMI prievadas: Used for video and audio transmission with HDMI-compatible devices.
- Maitinimo mygtukas: Press and hold to power the monitor on or off. Short press to access the OSD menu.
- Maitinimo indikatoriaus lemputė: Indicates the monitor's power status.
- Multi-Function Key: Used to navigate the OSD menu and adjust settings.
- OTG Interface (USB-C): Allows connection of USB peripherals like keyboards or mice when the monitor is connected via the full-featured USB-C port.
- 3.5 mm ausinių lizdas: Skirtas prijungti išorinius garso įrenginius.
4. Sąranka
Follow these steps to set up your NexiGo NG17QH portable monitor.
4.1 Monitoriaus maitinimas
- Using a single USB-C cable (Full-Featured): If your device (laptop, smartphone) supports full-featured USB-C output, connect the monitor to your device using the provided USB-C to USB-C cable. This single cable can provide both power and display signal.
- Using an external power adapter: If your device does not provide sufficient power or if you are using the Mini HDMI port, connect the provided USB-A to USB-C power cable to the monitor's full-featured USB-C port and plug the USB-A end into the power adapter, then into a wall outlet.
4.2 Prisijungimas prie įrenginių
- Laptop/PC (USB-C): Connect the monitor to your laptop/PC using the USB-C to USB-C cable. Ensure your laptop's USB-C port supports DisplayPort Alternate Mode.
- Laptop/PC (HDMI): Connect the monitor to your laptop/PC using the Mini HDMI to HDMI cable. Ensure the monitor is powered externally via the USB-C power cable.
- Gaming Consoles (PS5, Xbox, Switch): Connect the monitor to your console using the Mini HDMI to HDMI cable. Ensure the monitor is powered externally via the USB-C power cable.
- Išmanusis telefonas: Connect the monitor to your smartphone using the USB-C to USB-C cable. Ensure your smartphone's USB-C port supports video output.
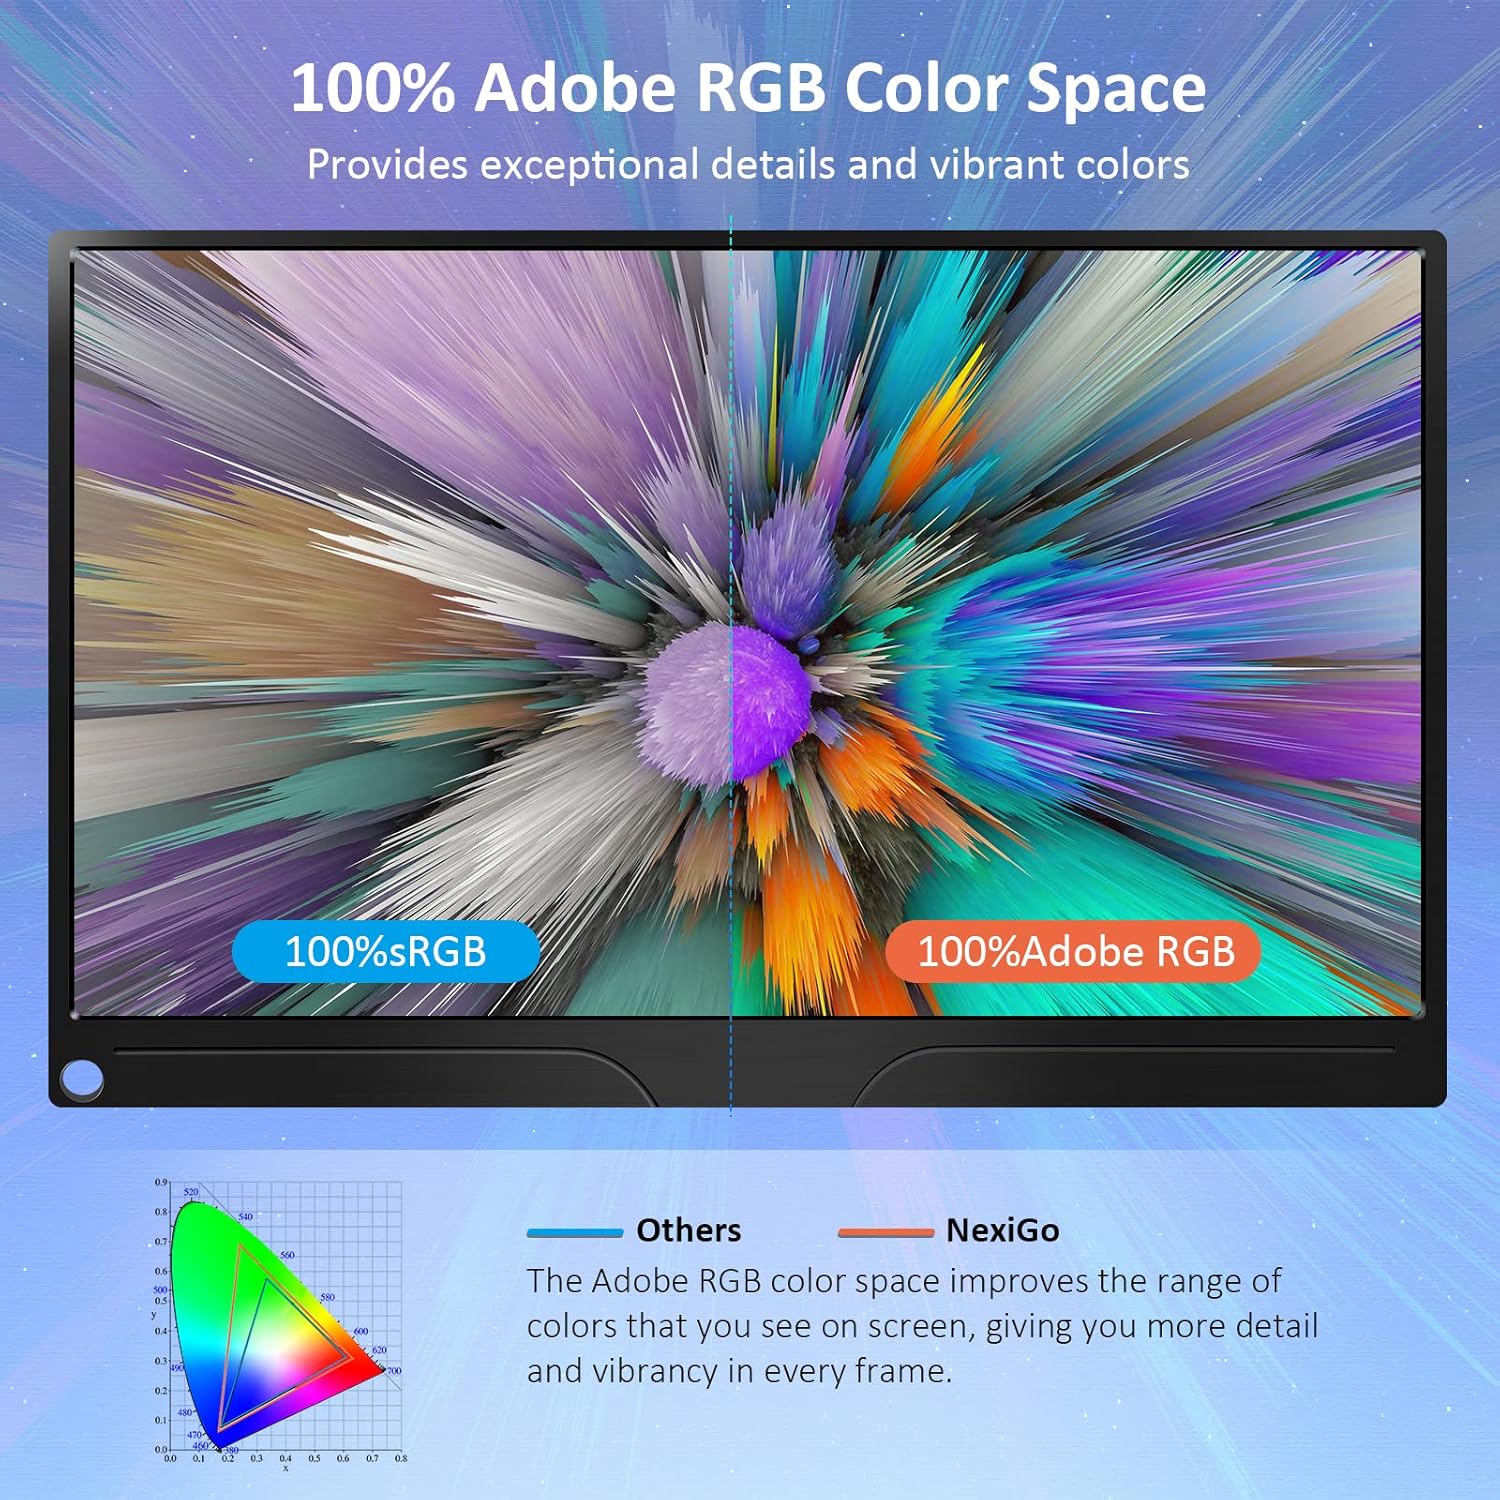
Image: The portable monitor connected to a laptop, demonstrating an extended display setup.
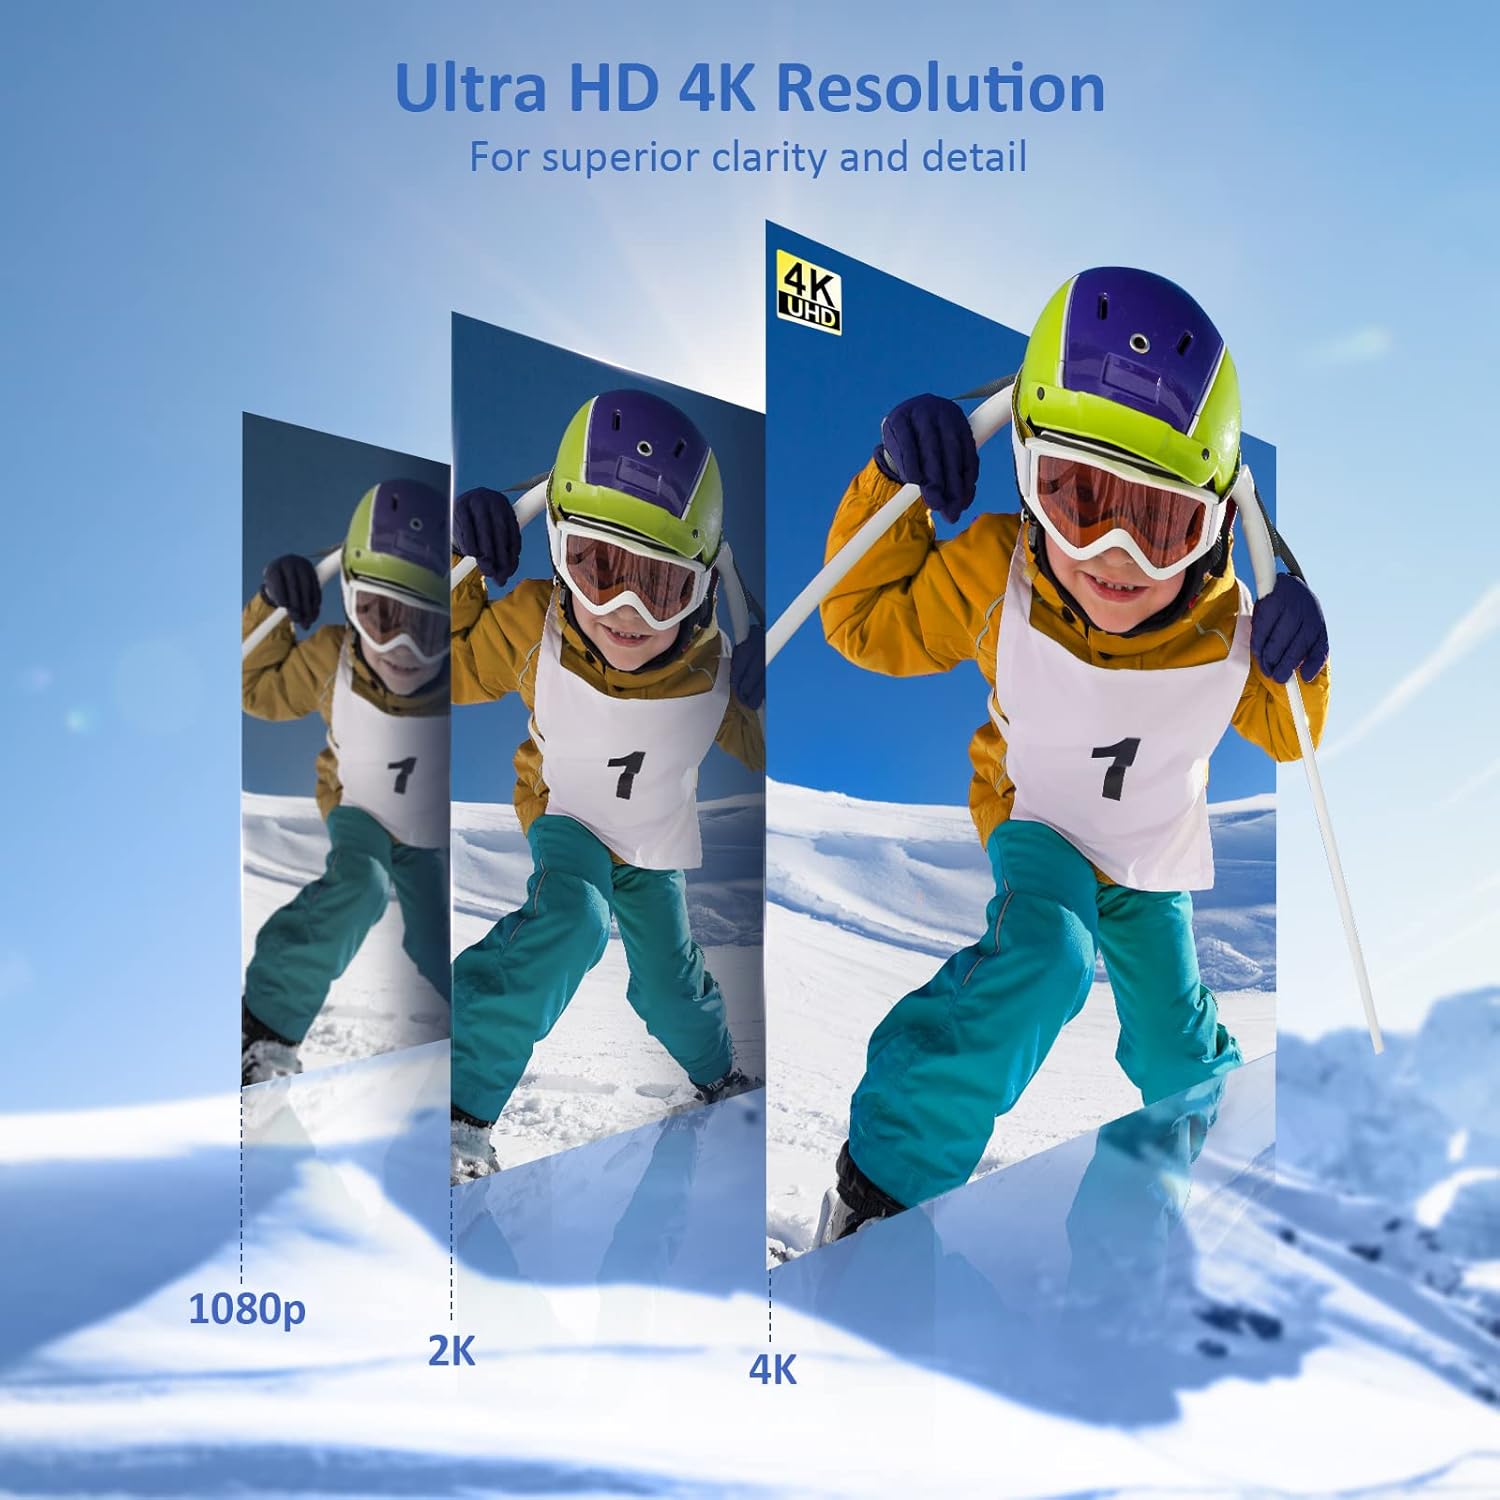
Image: The portable monitor connected to a smartphone, displaying content.
4.3 VESA montavimas
The monitor is compatible with VESA mounts (75x75mm). To mount the monitor, remove the smart cover and attach it to a compatible VESA arm or wall mount using appropriate screws (not included).
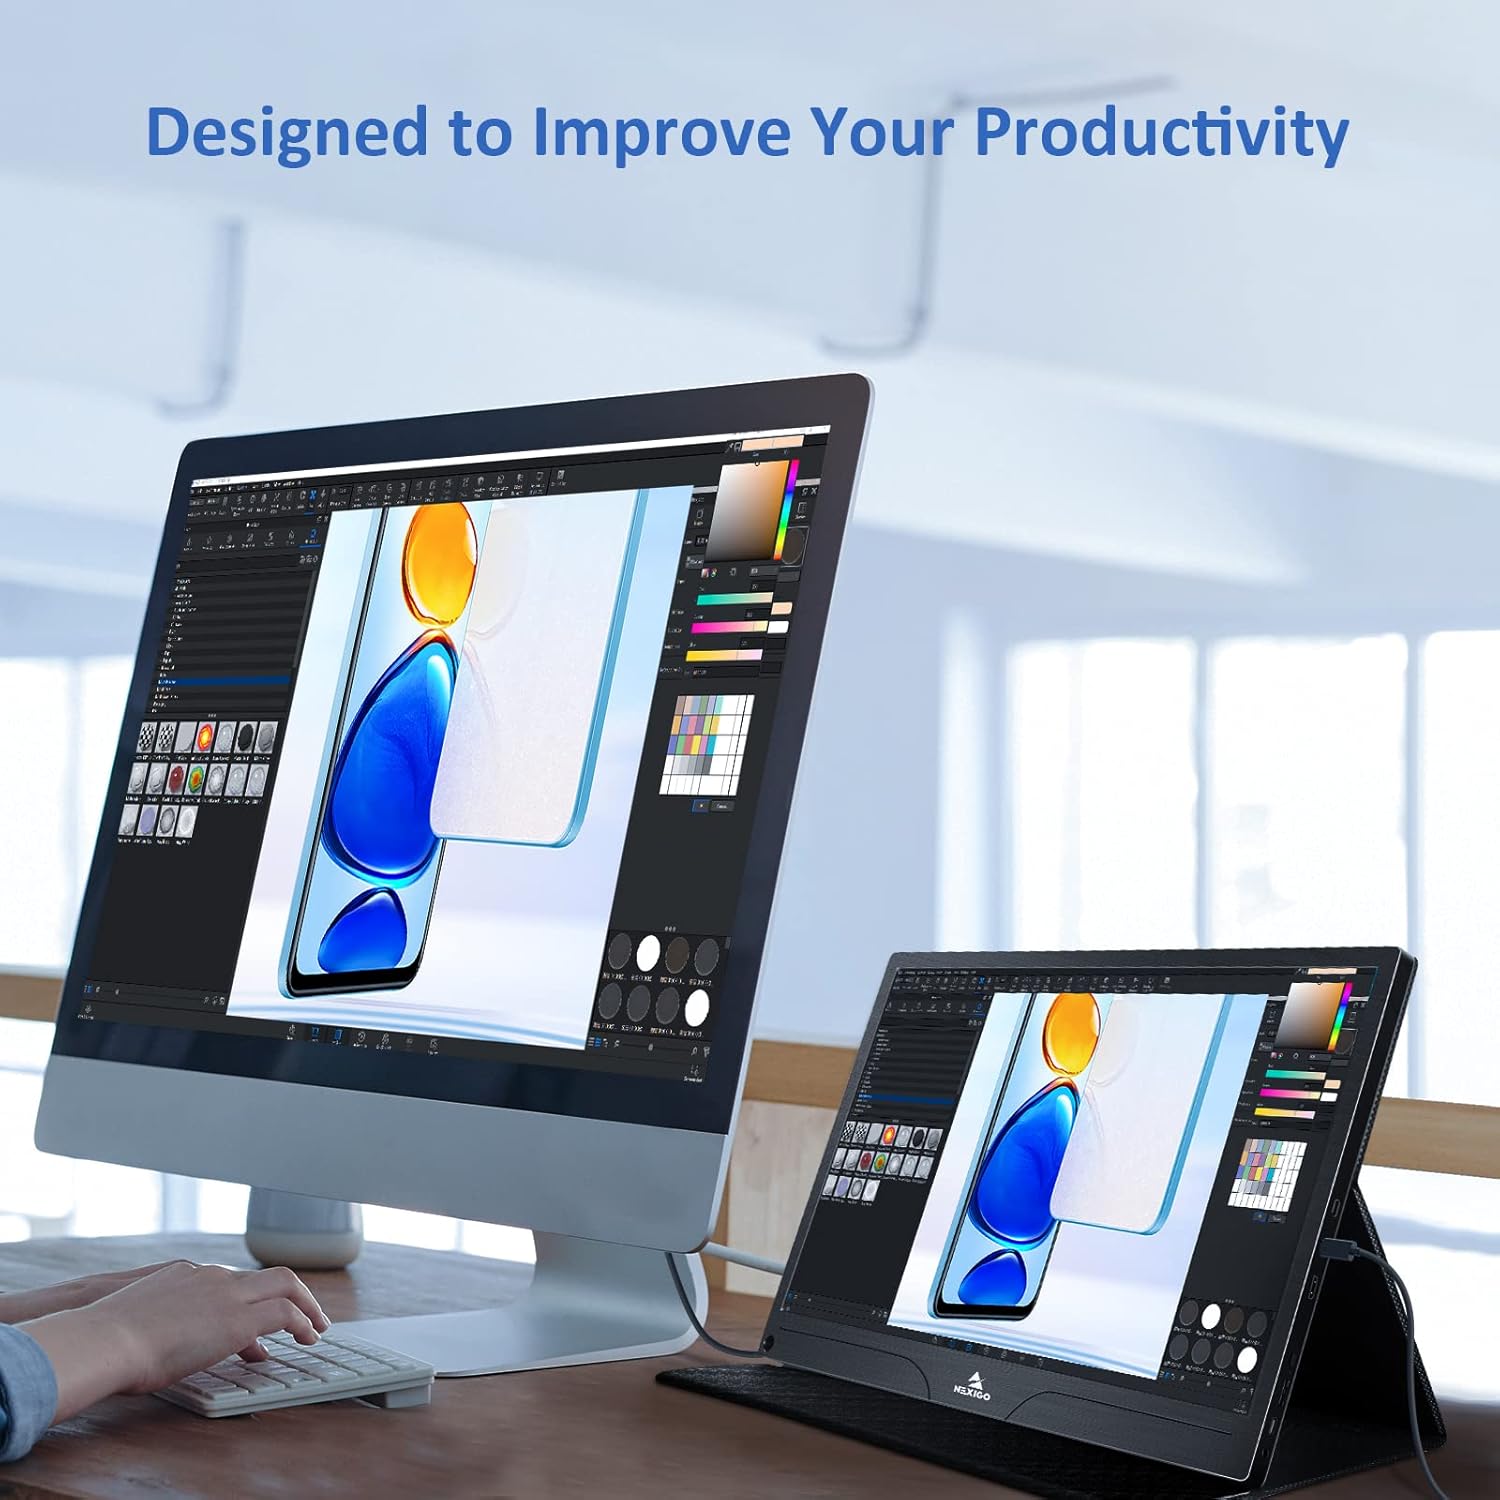
Image: The monitor mounted on a VESA-compatible desk arm.
5. Monitoriaus valdymas
5.1 Maitinimo įjungimas/išjungimas
Paspauskite ir palaikykite Maitinimo mygtukas for approximately 3 seconds to turn the monitor on or off.
5.2 Ekrano meniu (OSD)
The OSD menu allows you to adjust various display settings. Short press the Maitinimo mygtukas to open the OSD menu. Use the Daugiafunkcis klavišas to navigate and select options.
- Aukštyn žemyn: Move the Multi-Function Key up or down to navigate through menu options.
- Įveskite: Press the Multi-Function Key inward to select an option or confirm a setting.
- Išeiti: Press the Power Button to exit the current menu or the OSD.
5.3 Ekrano nustatymai
- Ryškumas / kontrastas: Sureguliuokite bendrą ekrano šviesumą ir kontrastą.
- Spalvų nustatymai: Keisti spalvų temperatūrą, atspalvį ir sodrumą.
- HDR režimas: Enable or disable High Dynamic Range for enhanced visual quality with compatible content.
- FreeSync: Enable FreeSync for smoother gaming experiences by synchronizing the monitor's refresh rate with your GPU's frame rate.
- Kraštinių santykis: Sureguliuokite ekrano kraštinių santykį (pvz., 16:9, 4:3).
5.4 Garso nustatymai
Adjust the volume of the built-in dual speakers or connected headphones through the OSD menu.
6. Priežiūra
- Ekrano valymas: Lengvai naudokite minkštą, nepūkuotą audinį dampnuplaukite vandeniu arba neabrazyviniu ekrano valikliu. Nepurkškite skysčio tiesiai ant ekrano.
- C valymasasing: Nuvalykite monitorių casing with a soft, dry cloth. Avoid using harsh chemicals or solvents.
- Saugykla: When not in use, store the monitor in a cool, dry place, preferably in its original packaging or smart cover to protect it from dust and scratches.
- Venkite ekstremalių sąlygų: Nelaikykite monitoriaus ekstremalioje temperatūroje, drėgmėje ar tiesioginiuose saulės spinduliuose.
7. Problemų sprendimas
Jei kyla problemų dėl monitoriaus, dažniausiai pasitaikančias problemas ir jų sprendimus rasite šioje lentelėje.
| Problema | Galima priežastis | Sprendimas |
|---|---|---|
| Nėra ekrano / pranešimas „Nėra signalo“ | Incorrect cable connection, insufficient power, incorrect input source. | Ensure cables are securely connected. Verify external power is supplied if needed. Check the input source setting in the OSD menu. |
| Monitorius neįsijungia | No power supply, faulty cable. | Ensure the power adapter is connected and working. Try a different USB-C cable or power source. |
| Mirgantis ekranas | Faulty cable, unstable power, incompatible resolution/refresh rate. | Replace the cable. Ensure stable power. Adjust the display resolution or refresh rate on your connected device. |
| Nėra garso | Volume too low, incorrect audio output setting, faulty cable. | Increase volume via OSD or connected device. Ensure the monitor is selected as the audio output device on your source. Check cable connections. |
| OTG port not working | Monitor not powered via full-featured USB-C, device incompatibility. | Ensure the monitor is connected to a device via the full-featured USB-C port that supports OTG functionality. |
8. Specifikacijos
Detailed technical specifications for the NexiGo NG17QH 4K Portable Monitor.
| Funkcija | Specifikacija |
|---|---|
| Modelio numeris | NG17QH |
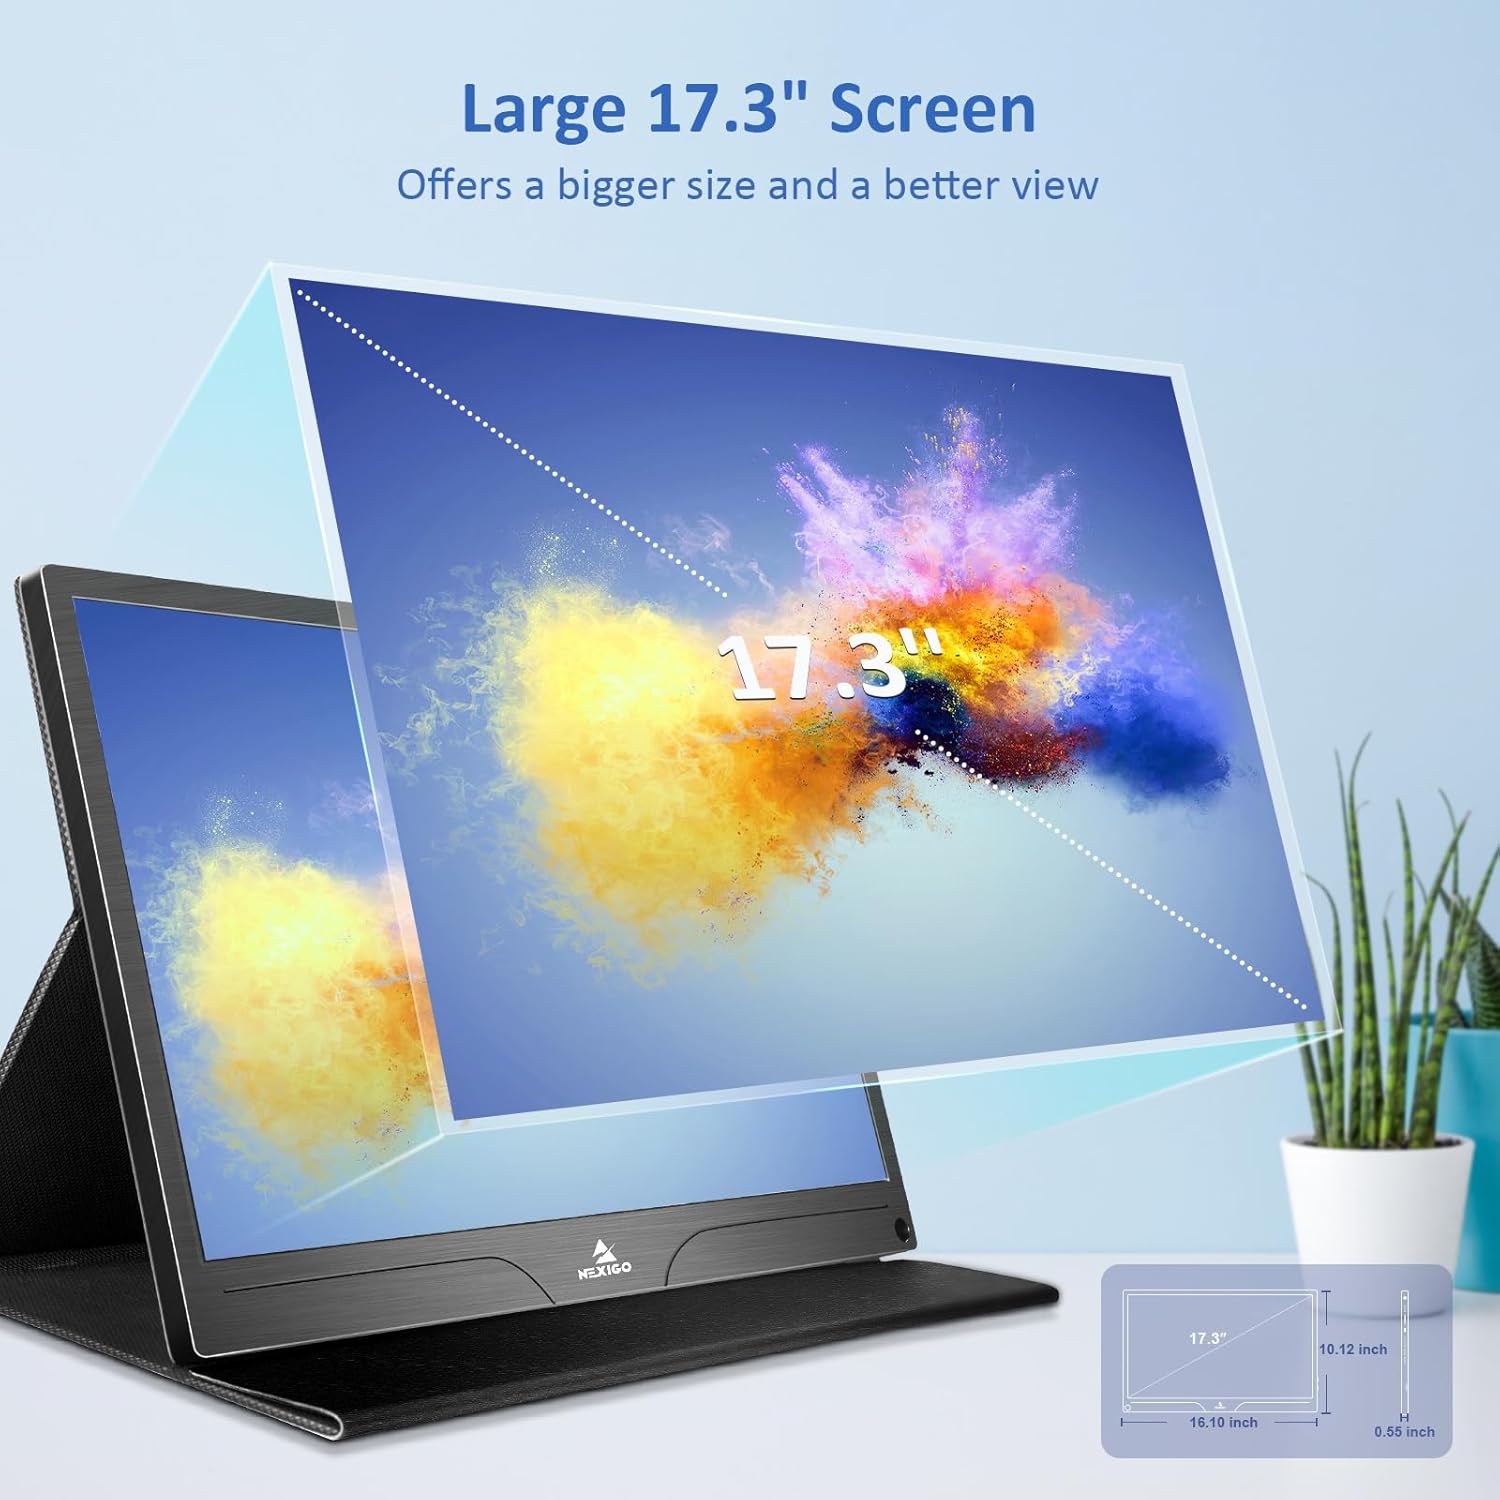
| Ekrano dydis | 17.3 colių |
| Rezoliucija | 3840 x 2160 (4K UHD) |
| Skydelio tipas | IPS |
| Ryškumas | 400 cd/m² |
| Spalvų gama | 100% Adobe RGB |
| Krašto santykis | 16:9 |
| Viewing kampas | 178° |
| Savybės | FreeSync, HDR, Eye Care Screen |
| Garsiakalbiai | Dvigubi įmontuoti garsiakalbiai |
| Ryšys | Full-Featured USB-C (x1), Mini HDMI (x1), OTG USB-C (x1), 3.5mm Audio Jack (x1) |
| VESA suderinamumas | 75 x 75 mm |
| Gaminio matmenys | 16.1 x 10.12 x 0.55 colio |
| Prekės svoris | 6.39 svaro |

Image: Visual comparison of 1080p, 2K, and 4K resolutions, demonstrating the clarity of the 4K display.
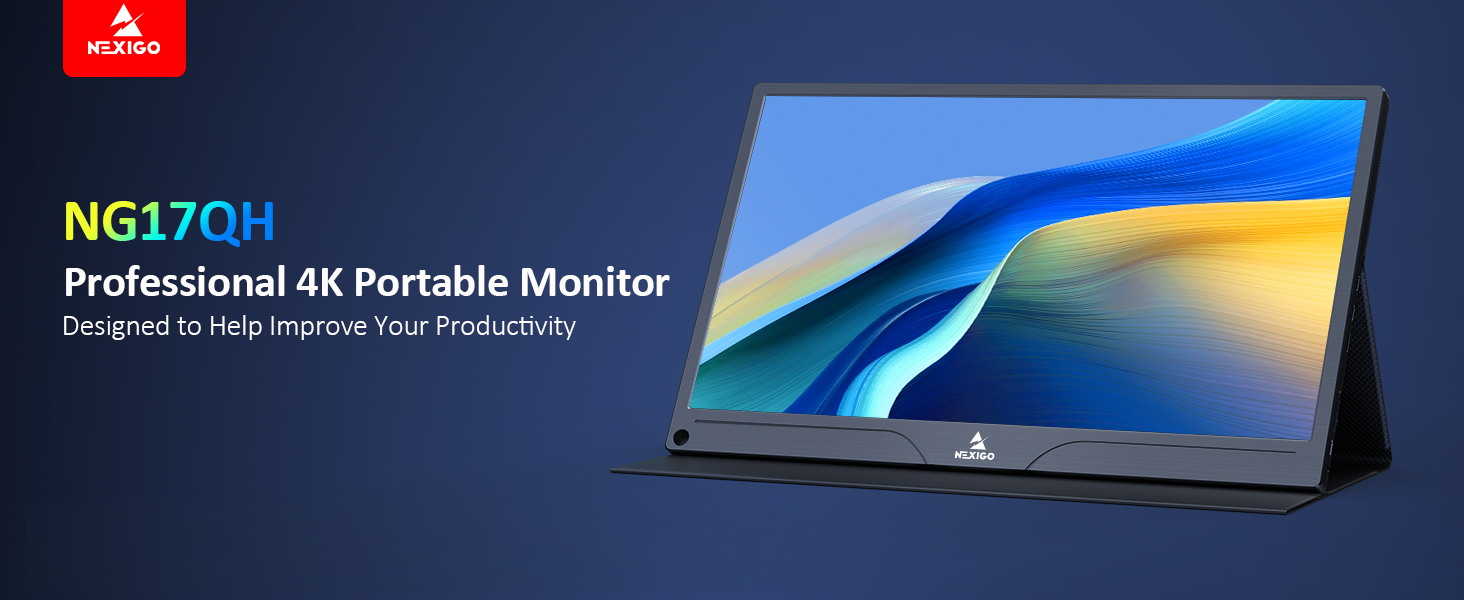
Image: A visual representation of 100% Adobe RGB color space coverage, indicating vibrant and detailed color reproduction.
9. Garantija ir palaikymas
Your NexiGo NG17QH Portable Monitor comes with a manufacturer's warranty. For detailed warranty information, product registration, or technical support, please visit the official NexiGo websvetainėje arba susisiekite tiesiogiai su jų klientų aptarnavimo tarnyba. Išsaugokite pirkimo kvitą kaip pirkimo įrodymą garantijos pretenzijoms.
NexiGo Official Websvetainė: www.nexigo.com