
1. Įvadas
The Ortis Hi-Lo Sump Pump Switch Controller KJ-033 is an electronic adjustable float switch designed for automatic water level management in various applications such as sewage pits, fish tanks, and water tanks. It features stainless steel anti-corrosion dual sensors and supports both 220V and 110V AC power inputs. This manual provides detailed instructions for installation, operation, maintenance, and troubleshooting to ensure optimal performance and longevity of your device.
2. Saugos informacija
Prieš montuodami ir naudodami atidžiai perskaitykite visas saugos instrukcijas. Nesilaikant šių instrukcijų, gali kilti elektros smūgis, gaisras arba sunkūs sužalojimai.
- Elektros pavojus: Prieš atlikdami bet kokius montavimo, techninės priežiūros ar trikčių šalinimo darbus, įsitikinkite, kad maitinimo šaltinis yra atjungtas.
- ttage Suderinamumas: Patikrinkite, ar maitinimo šaltinio ttage matches the controller's specifications (220V/110V AC).
- Tinkamas įžeminimas: Always connect the device to a properly grounded outlet.
- Vandens ekspozicija: Do not immerse the controller unit in water. The controller unit is designed to be mounted above the water level.
- Kvalifikuotas personalas: Installation and electrical connections should be performed by qualified personnel if you are unsure.
- Aplinkos sąlygos: Do not operate the device in explosive atmospheres or where flammable liquids or gases are present.
3. Produkto ypatybės
The Ortis KJ-033 controller offers several features for reliable water level management:
- Dual Stainless Steel Sensors: Anti-corrosion sensors for accurate water level detection.
- Reguliuojamas jutiklio diapazonas: Sensors can be adjusted from 1/2 inch to 20 inches to define high and low water levels.
- Keli veikimo režimai: Supports Drain Mode (for emptying) and Water Mode (for filling).
- LED indikatoriai: Visual feedback for power, load status, and alarm conditions.
- Apsauga nuo perkrovos: Integrated protection for connected pumps.
- Nutildymo funkcija: Allows silencing of the alarm.
- Platus pritaikymas: Suitable for sewage pits, fish tanks, water tanks, and other water management systems.
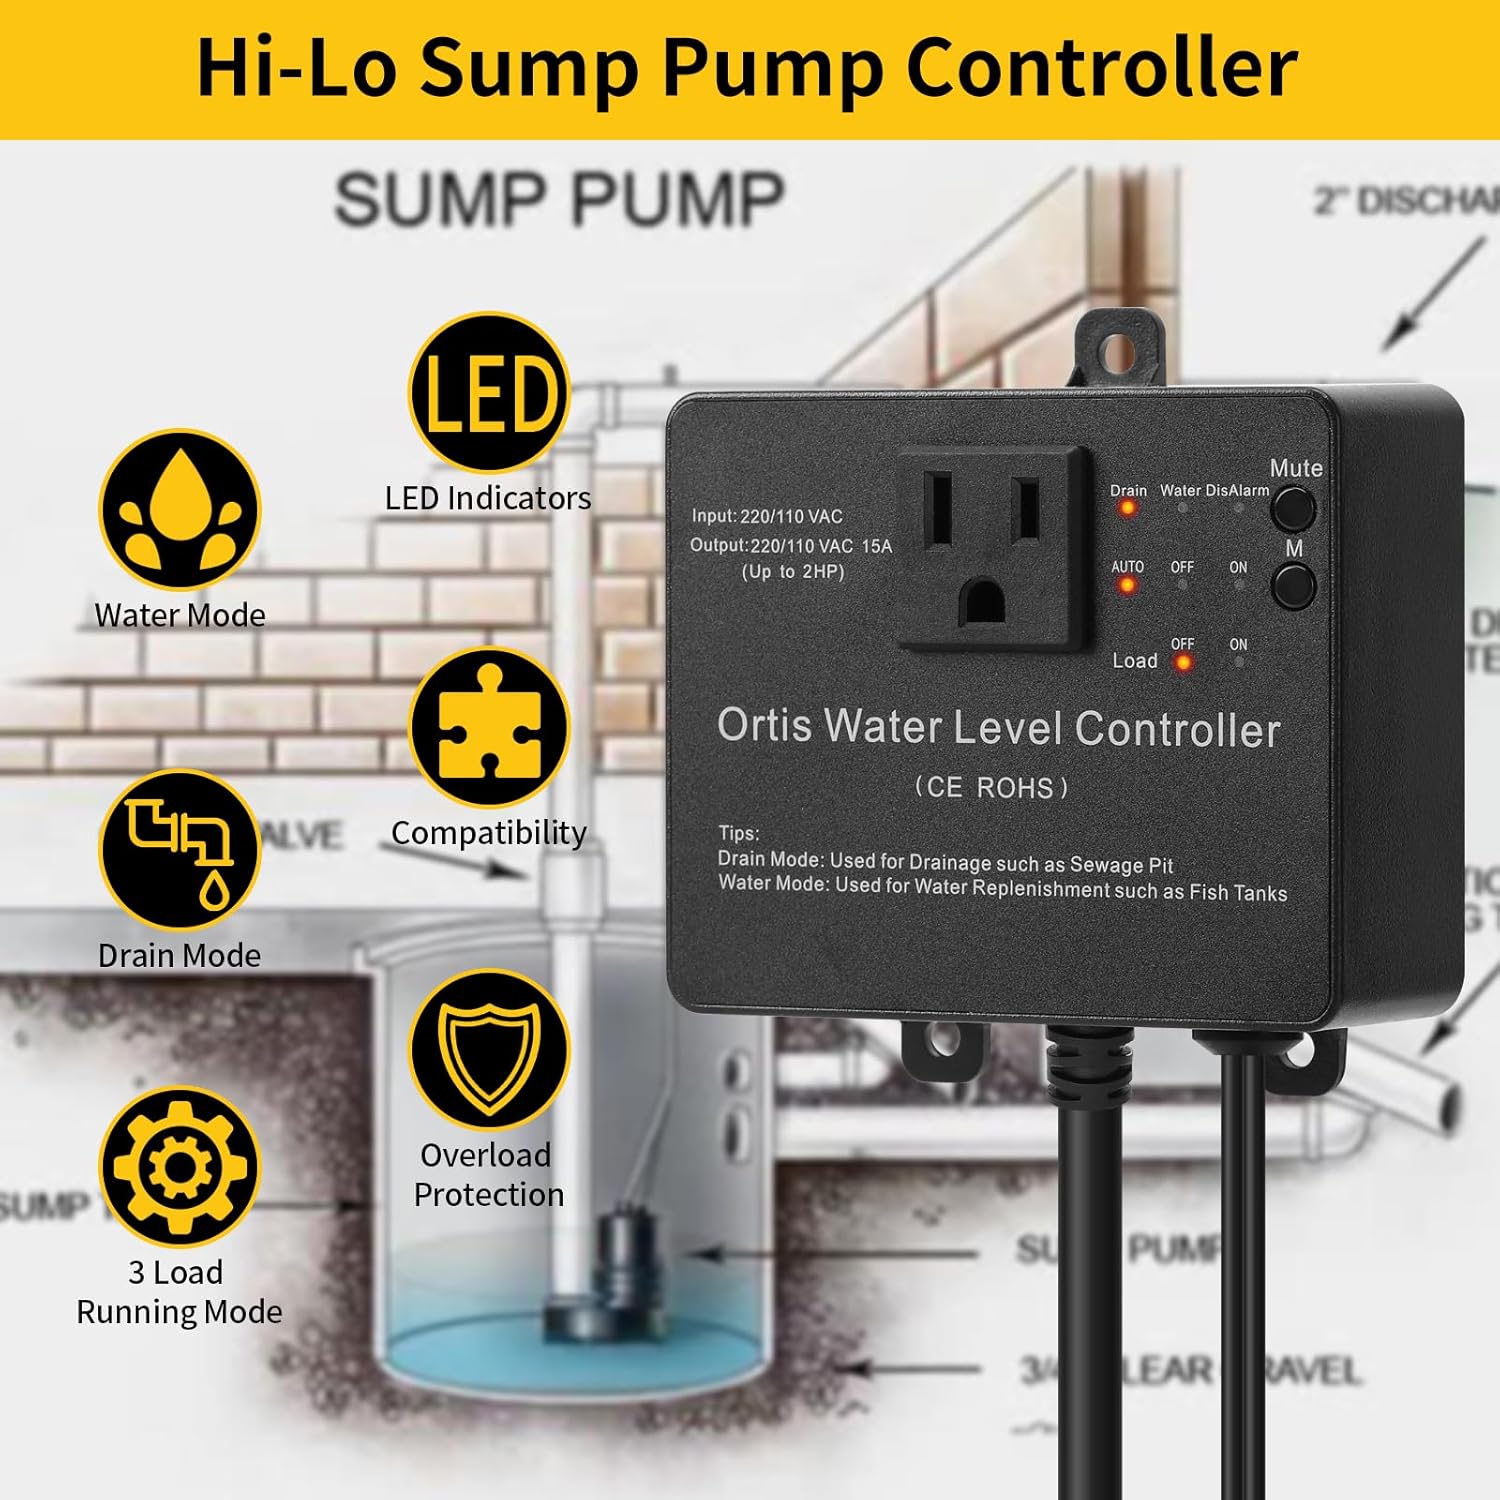
3.1 paveikslas: Ortis Water Level Controller Overview with Key Features.
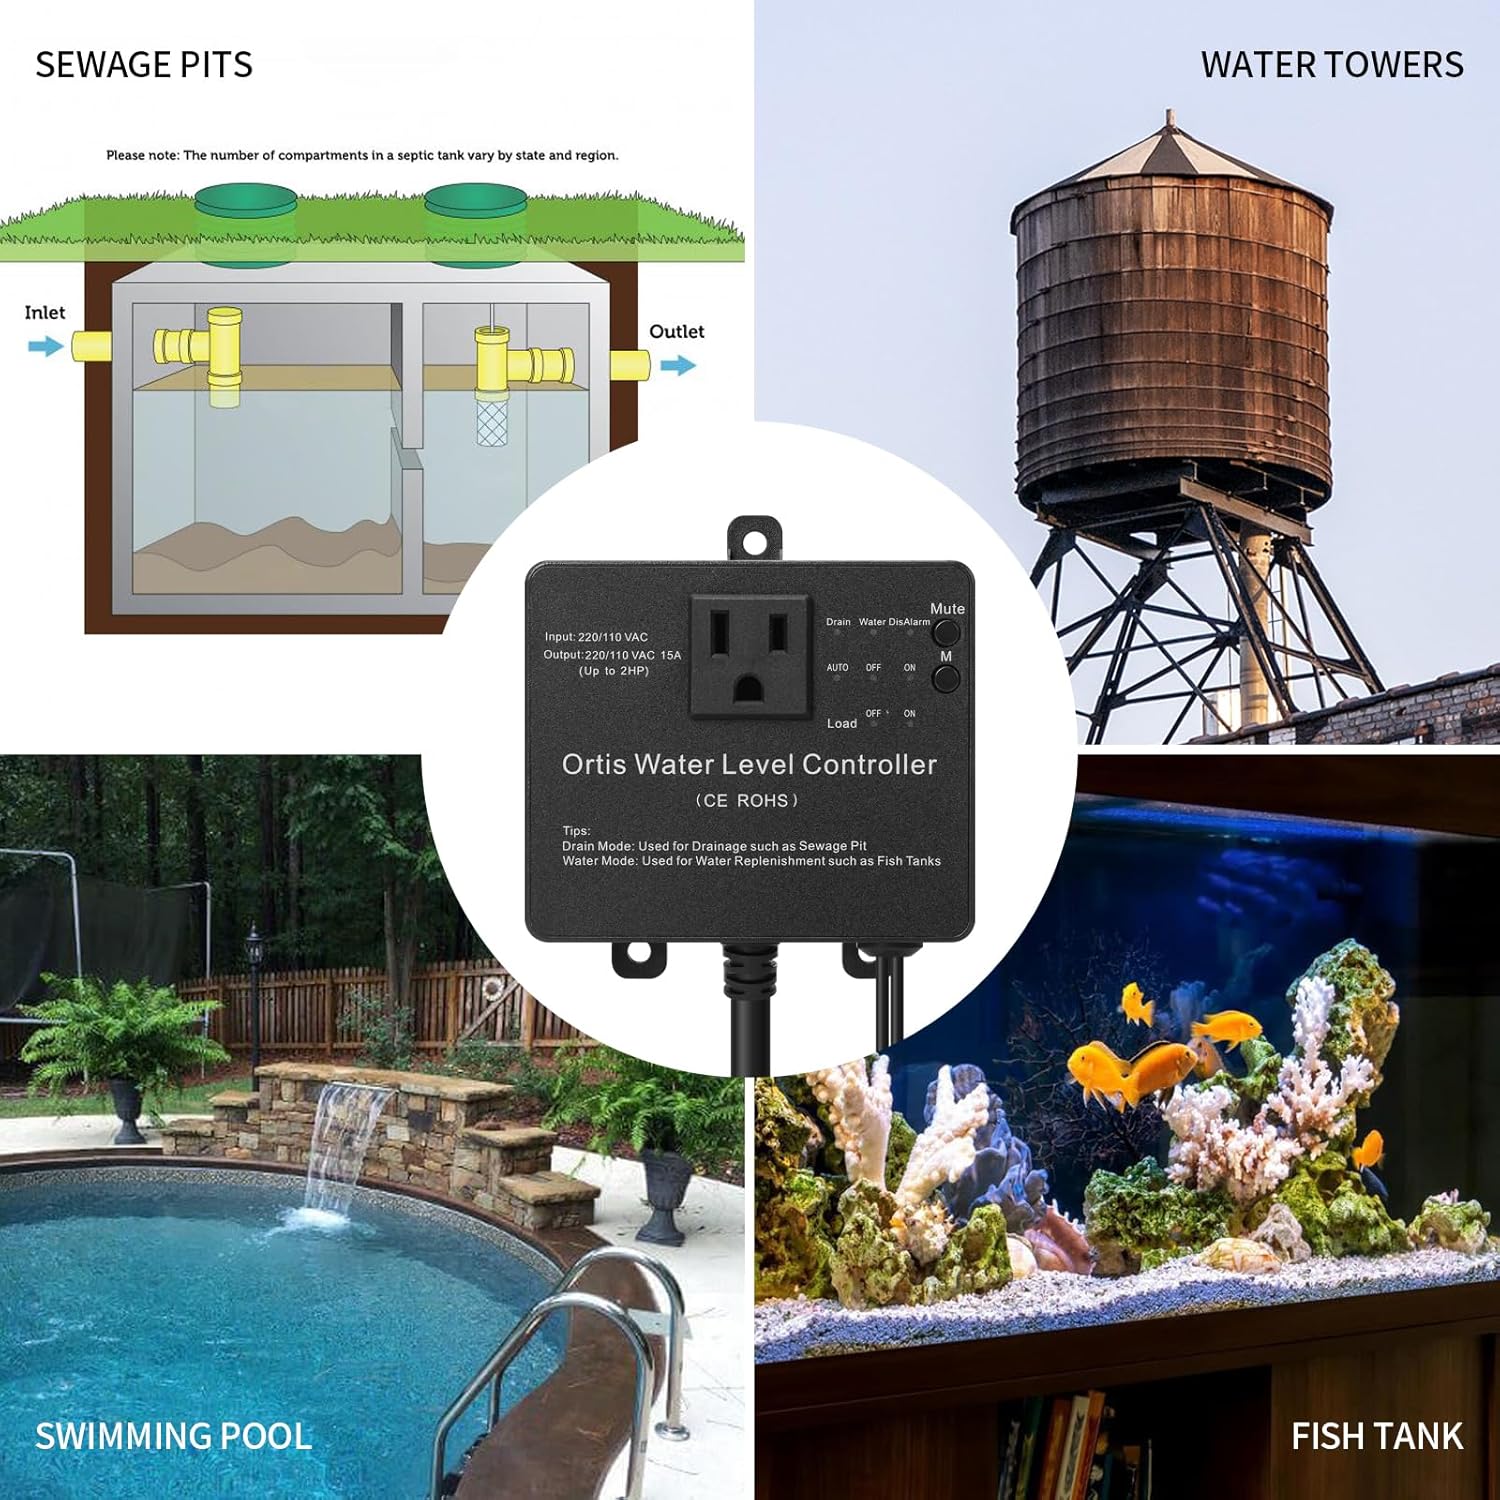
3.2 paveikslas: Various Application Scenarios for the Controller.
4. Sąranka ir diegimas
Proper installation is crucial for the reliable operation of the controller.
4.1 Valdiklio tvirtinimas
The controller unit should be mounted in a dry location, above the maximum water level, and within reach of a grounded power outlet.
- Tvirtinimas varžtais: Use appropriate screws and anchors to secure the controller to a wall or stable surface through the mounting tabs.
- Siurbimo taurės montavimas: For temporary or non-permanent installations, a suction cup can be used to attach the controller to a smooth, clean surface.

4.1 paveikslas: Controller Installation Methods.
4.2 Sensor Installation and Adjustment
The dual sensors detect the high and low water levels. Their position determines the operating range of your pump.
- Jutiklio vieta: Position the sensors vertically in the water, ensuring they are securely fastened and will not move. The lower sensor defines the 'low' water level, and the upper sensor defines the 'high' water level.
- Reguliuojamas diapazonas: The sensors can be adjusted along their cables to set the desired water level range, from 1/2 inch to 20 inches apart. Ensure both sensors are submerged at the desired 'on' level and the lower sensor is exposed at the desired 'off' level for drain mode, or vice versa for water mode.
- Kabelių valdymas: Route sensor cables to prevent entanglement or damage.

4.2 paveikslas: Adjustable Sensor Installation.
4.3 Elektros prijungimas
- Maitinimo kištukas: Plug the controller's power cord into a grounded 220V or 110V AC outlet.
- Siurblio jungtis: Plug your sump pump or other load device into the outlet on the front of the controller. Ensure the pump's power requirements do not exceed the controller's output capacity (15A, up to 2HP).

4.3 paveikslas: Example Sump Pit Installation.
5. Naudojimo instrukcijos
The controller features a simple interface for selecting operating modes and managing alarms.

5.1 paveikslas: Valdymo skydas baigtasview.
5.1 Režimo pasirinkimas
Use the 'Drain' and 'Water' buttons to select the desired operating mode:
- Drenažo režimas: (LED indicator 'Drain' illuminates) In this mode, the controller activates the pump when the water level reaches the upper (high) sensor and deactivates it when the water level drops below the lower (low) sensor. This mode is typically used for emptying sewage pits or sumps.
- Vandens režimas: (LED indicator 'Water' illuminates) In this mode, the controller activates the pump when the water level drops below the lower (low) sensor and deactivates it when the water level reaches the upper (high) sensor. This mode is typically used for replenishing water in fish tanks or water tanks.
5.2 Power and Operation Switch
The main switch controls the power and operational state of the connected load:
- AUTOMATINIS: (LED indicator 'AUTO' illuminates) The controller operates automatically based on the selected mode (Drain or Water) and sensor readings.
- IŠJUNGTA: (LED indicator 'OFF' illuminates) The connected pump is turned off, regardless of water levels.
- ĮJUNGTA: (LED indicator 'ON' illuminates) The connected pump is continuously turned on, regardless of water levels. Use this for manual override or continuous operation.
5.3 Nutildymo funkcija
Press the 'Mute' button to silence any active alarms. The 'DisAlarm' LED will illuminate when the alarm is muted.

5.2 paveikslas: Operational Logic in Drain Mode (Sewage Pit Example).
6. Priežiūra
Regular maintenance ensures the longevity and reliable operation of your Ortis controller.
- Jutiklio valymas: Periodically inspect and clean the stainless steel sensors to remove any buildup of debris, algae, or mineral deposits that could affect their accuracy. Disconnect power before cleaning.
- Kabelio apžiūra: Check all cables and connections for signs of wear, damage, or corrosion. Replace any damaged components immediately.
- Valdiklio blokas: Keep the controller unit clean and dry. Avoid exposing it to direct sunlight or extreme temperatures.
- Bandomoji operacija: Periodically test the controller's operation by manually raising or lowering water levels to ensure the pump activates and deactivates as expected in the selected mode.
7. Problemų sprendimas
Dažniausiai pasitaikančias problemas ir jų sprendimus žr. toliau pateiktoje lentelėje.
| Problema | Galima priežastis | Sprendimas |
|---|---|---|
| Pump does not turn on/off automatically. | 1. Controller not in AUTO mode. 2. Sensors are dirty or improperly positioned. 3. Pump is not plugged in or is faulty. | 1. Ensure the switch is set to 'AUTO'. 2. Clean sensors and verify their high/low positions. 3. Check pump connection and functionality. |
| Signalizacija skamba dažnai. | 1. Water level not reaching desired sensor within expected time. 2. Jutiklio gedimas. 3. Alarm sensitivity setting (if applicable, check product documentation). | 1. Check pump operation and water flow. Adjust sensor positions if needed. 2. Inspect sensors for damage or debris. Replace if faulty. 3. Use the 'Mute' button temporarily. Consult manufacturer for alarm logic details. |
| Valdiklis neturi galios. | 1. Maitinimo laidas ištrauktas. 2. Išvadas neturi galios. 3. Perdegė vidinis saugiklis. | 1. Ensure power cord is securely plugged in. 2. Test the outlet with another device. Check circuit breaker. 3. Dėl pagalbos kreipkitės į klientų aptarnavimo skyrių. |
| Pump runs continuously in AUTO mode. | 1. Sensor stuck in 'on' position (e.g., upper sensor always wet in Drain Mode). 2. Controller malfunction. | 1. Clean and reposition sensors. Ensure they can freely detect water level changes. 2. Disconnect power and reconnect. If issue persists, contact support. |
8. Specifikacijos

8.1 paveikslas: Controller Dimensions.
| Funkcija | Specifikacija |
|---|---|
| Modelis | KJ-033 |
| Prekės ženklas | Ortis |
| Įvesties tomastage | 220V / 110V kintamoji srovė |
| Išėjimo srovė | 15A |
| Maksimali apkrovos galia | Iki 2 AG |
| Jutiklio medžiaga | Nerūdijantis plienas |
| Adjustable Sensor Range | 1/2 inch to 20 inches |
| Gamintojas | FJKJ INC. |
9. Garantija ir palaikymas
For warranty information and technical support, please refer to the product packaging or contact the seller/manufacturer directly. Keep your purchase receipt as proof of purchase.
Gamintojas: FJKJ INC.