
1. Įvadas
This manual provides essential information for the proper use and maintenance of your Andoer Mini Digital Video Camera. Please read it thoroughly before operating the device to ensure optimal performance and longevity.
2. Pakuotės turinys
Patikrinkite, ar pakuotėje yra visi toliau išvardyti daiktai:
- Andoer Mini Digital Video Camera
- USB įkrovimo laidas
- Vartotojo vadovas (šis dokumentas)
Note: A Micro SD card is required for operation and is not included in the package.
3. Produktas baigtasview
The Andoer Mini Digital Video Camera is a compact and lightweight device designed for capturing photos and 1080P videos. It features a built-in LCD screen for direct viewing and a flash for improved low-light performance.

Image: The Andoer Mini Digital Video Camera, demonstrating its small form factor when held in hand.
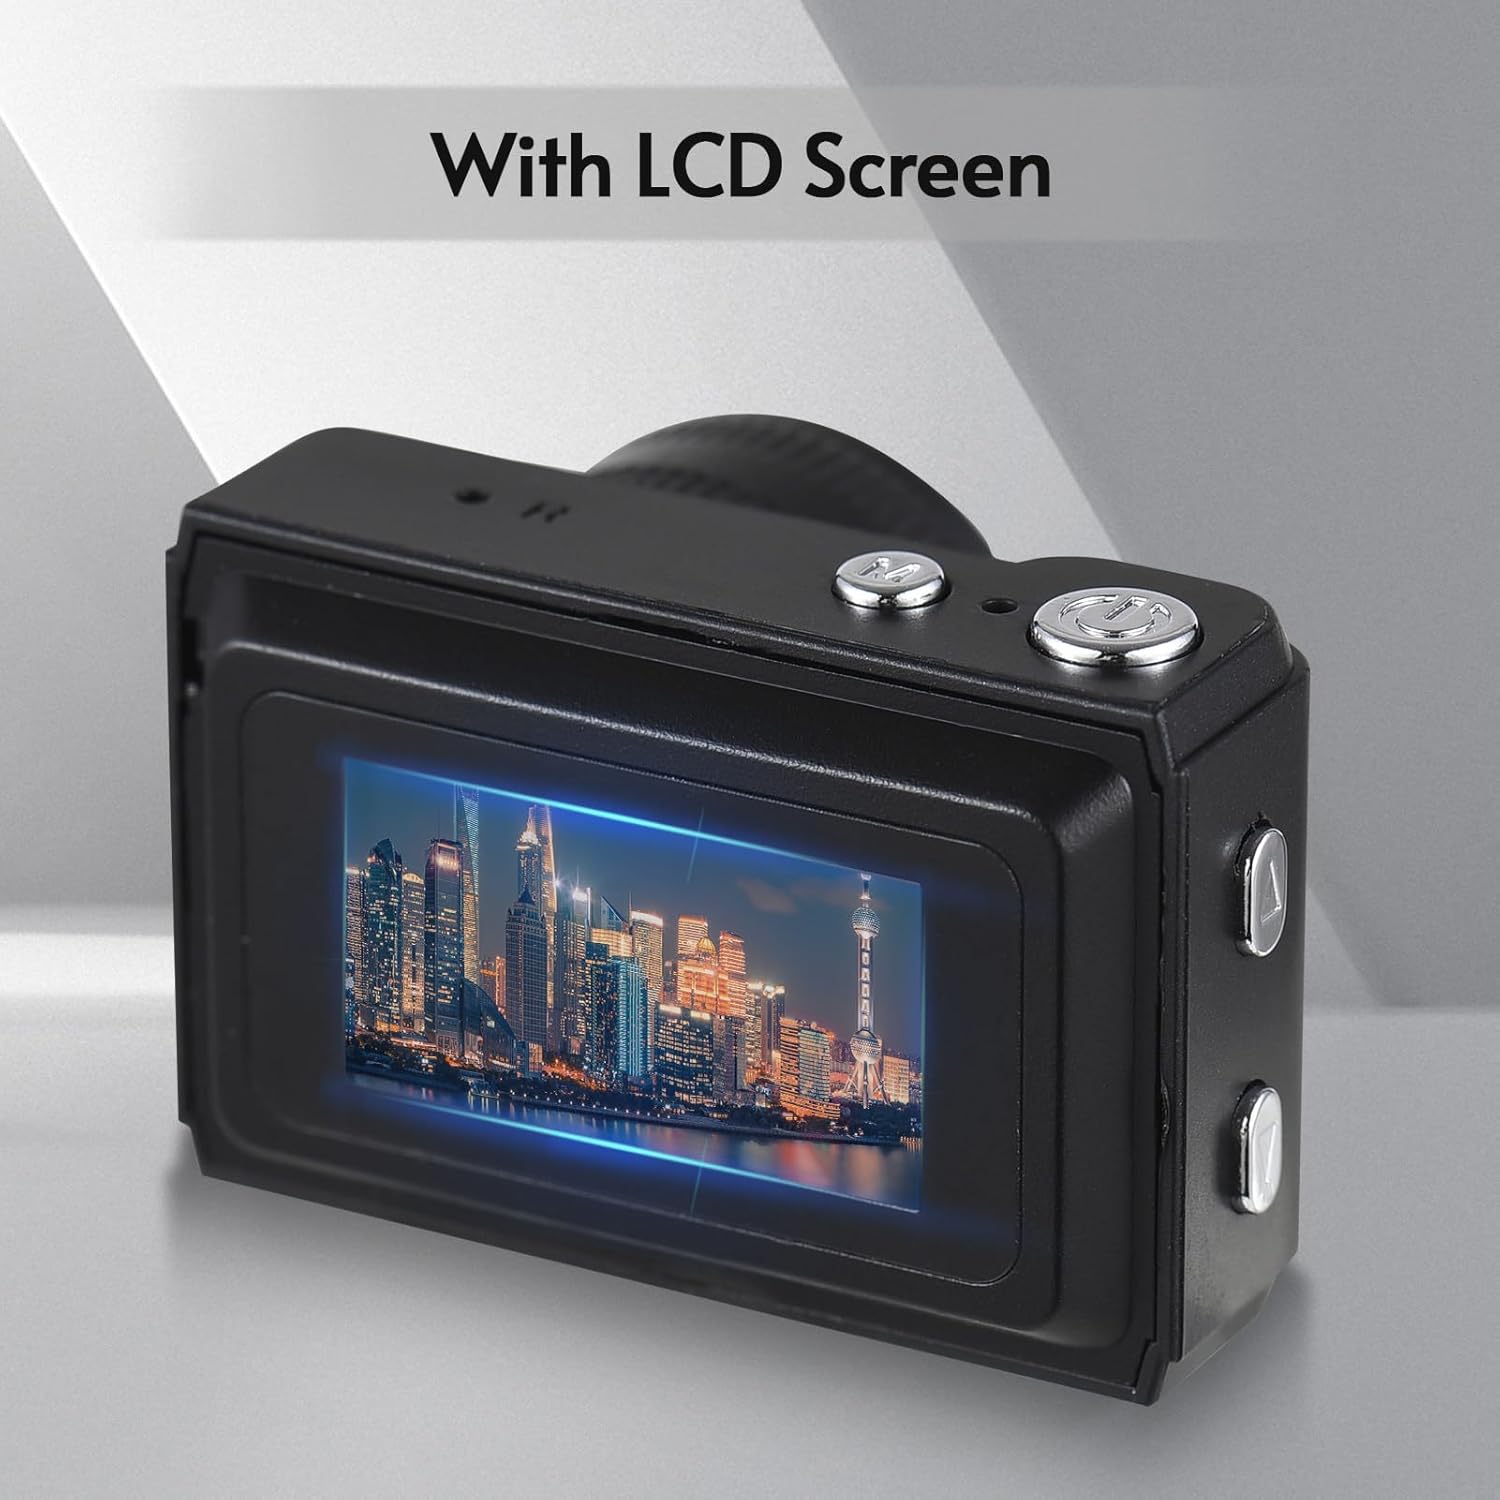
Vaizdas: Galinis view of the camera, highlighting the integrated LCD screen displaying an image.

Vaizdas: Šoninė view of the camera with approximate dimensions indicated, showing its compact design.
4. Sąranka
4.1. Akumuliatoriaus įkrovimas
The camera features a built-in rechargeable battery. Before first use, fully charge the camera using the provided USB charging cable.
- Prijunkite mažąjį USB kabelio galą prie fotoaparato USB prievado.
- Prijunkite didesnį USB kabelio galą prie USB maitinimo adapterio (nepridedamas) arba kompiuterio USB prievado.
- Užsidegs įkrovimo indikatoriaus lemputė. Kai prietaisas bus visiškai įkrautas, lemputė gali pakeisti spalvą arba užgesti.

Image: Illustration of the camera's built-in rechargeable battery and its USB charging interface.
4.2. „Micro SD“ kortelės įdėjimas
A Micro SD card (not included) is required to store photos and videos. The camera supports Micro SD cards up to a certain capacity (refer to specifications for details).
- Kameroje raskite „Micro SD“ kortelės lizdą.
- Insert the Micro SD card with the metal contacts facing down until it clicks into place.
- Norėdami išimti, švelniai stumkite kortelę, kol ji iššoks.
5. Naudojimo instrukcijos
5.1. Įjungimas/išjungimas
Press and hold the Power button (usually located on the top or side) for a few seconds to turn the camera on or off.
5.2. Fotografavimas
The camera can capture still images with 1080P resolution.
- Įsitikinkite, kad fotoaparatas veikia fotografavimo režimu (rodomas LCD ekrane).
- Kadruokite kadrą naudodami LCD ekraną.
- Press the Shutter button (typically on top) to take a photo.
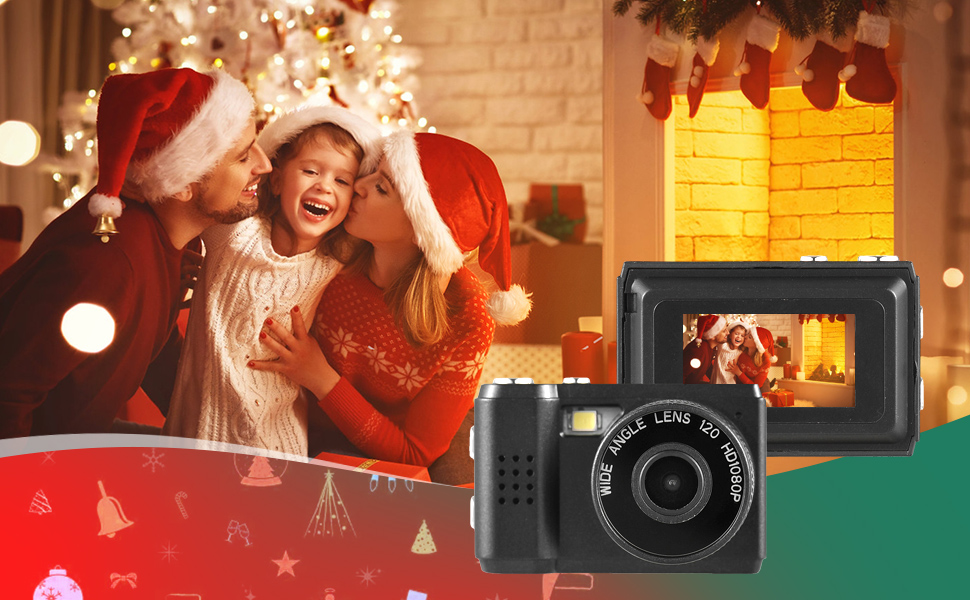
Vaizdas: pvzamples of scenes that can be captured with the camera's photo and video functions.
5.3. Vaizdo įrašų įrašymas
Record videos in 1080P resolution.
- Perjunkite kamerą į vaizdo įrašymo režimą.
- Press the Record button (often the same as the Shutter button, or a dedicated button) to start recording.
- Norėdami sustabdyti įrašymą, dar kartą paspauskite įrašymo mygtuką.
5.4. Integruotos blykstės naudojimas
The camera includes a built-in flash for illuminating subjects in low-light conditions.
- Access the flash settings through the camera's menu.
- Select the desired flash mode (e.g., Auto, On, Off).
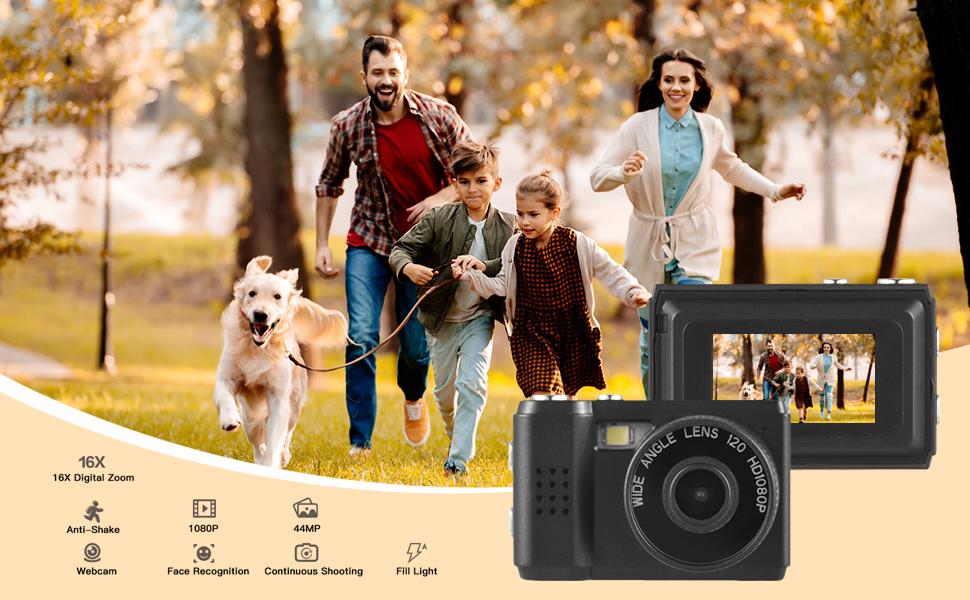
Image: The camera's built-in flash in operation, providing illumination for a photo.
5.5. Applying Filter Effects
The camera offers various filter effects to enhance your photos.
- In photo mode, navigate to the filter settings in the menu.
- Select from the available filter options to apply them to your images.
5.6. Prisijungimas prie kompiuterio
You can transfer photos and videos to your computer using the USB cable.
- Įsitikinkite, kad fotoaparatas įjungtas.
- Prijunkite fotoaparatą prie kompiuterio naudodami USB kabelį.
- Kamera kompiuteryje turėtų būti rodoma kaip išimamas diskas.
- Prieiga prie saugomų fileir nukopijuokite juos į savo kompiuterį.
6. Priežiūra
- Valymas: Use a soft, dry cloth to clean the camera body. For the lens and LCD screen, use a specialized lens cleaning cloth. Avoid abrasive materials or harsh chemicals.
- Saugykla: Laikykite kamerą vėsioje, sausoje vietoje, toliau nuo tiesioginių saulės spindulių ir ekstremalių temperatūrų. Jei ketinate ją laikyti ilgesnį laiką, išimkite „Micro SD“ kortelę.
- Akumuliatoriaus priežiūra: Norėdami palaikyti akumuliatoriaus būklę, venkite dažnai visiškai jį iškrauti. Reguliariai jį įkraukite, net jei nenaudojate.
7. Problemų sprendimas
- Kamera neįsijungia: Ensure the battery is charged. If the issue persists, try charging for a longer period.
- "No SD Card" error: Verify that a Micro SD card is properly inserted and that it is not full or corrupted. Try reinserting the card or using a different one.
- Prasta vaizdo / vaizdo kokybė: Ensure adequate lighting. Check lens for smudges or dirt. Note that image quality may vary based on environmental conditions and the camera's compact sensor.
- Kamera užstringa: If the camera becomes unresponsive, try pressing and holding the Power button for an extended period (e.g., 10-15 seconds) to force a shutdown.
8. Specifikacijos
| Funkcija | Specifikacija |
|---|---|
| Prekės ženklas | Andoer |
| Modelio numeris | d26ed34e-1e4d-4f4c-8a08-ff20d919aeaa |
| Vaizdo raiška | 1080p |
| Veiksminga nejudančioji raiška | 1.92 MP |
| Nuotraukų jutiklių technologija | CMOS |
| Ekrano dydis | 4.2 Centimeters (LCD) |
| Vaizdo stabilizavimas | Optinis |
| „Flash“ atminties tipas | Micro SD |
| Įrašymo talpa | 330 minučių |
| Ryšio technologija | USB |
| Prekės svoris | 0.05 kilogramo |
| Ar yra baterijos | Taip (įtaisyta) |
| Spalva | Juoda |
9. Garantija ir palaikymas
For warranty information and technical support, please refer to the documentation provided with your purchase or contact Andoer customer service through their official websvetainėje. Išsaugokite pirkimo įrodymą garantiniams reikalavimams.