
1. Įvadas
This manual provides comprehensive instructions for the Andoer Mini Compact Digital Camera. This portable device is designed for capturing 1080P photos and videos, featuring a built-in LCD screen, flash, and rechargeable battery. It is suitable for beginners and casual users seeking a simple and functional camera.
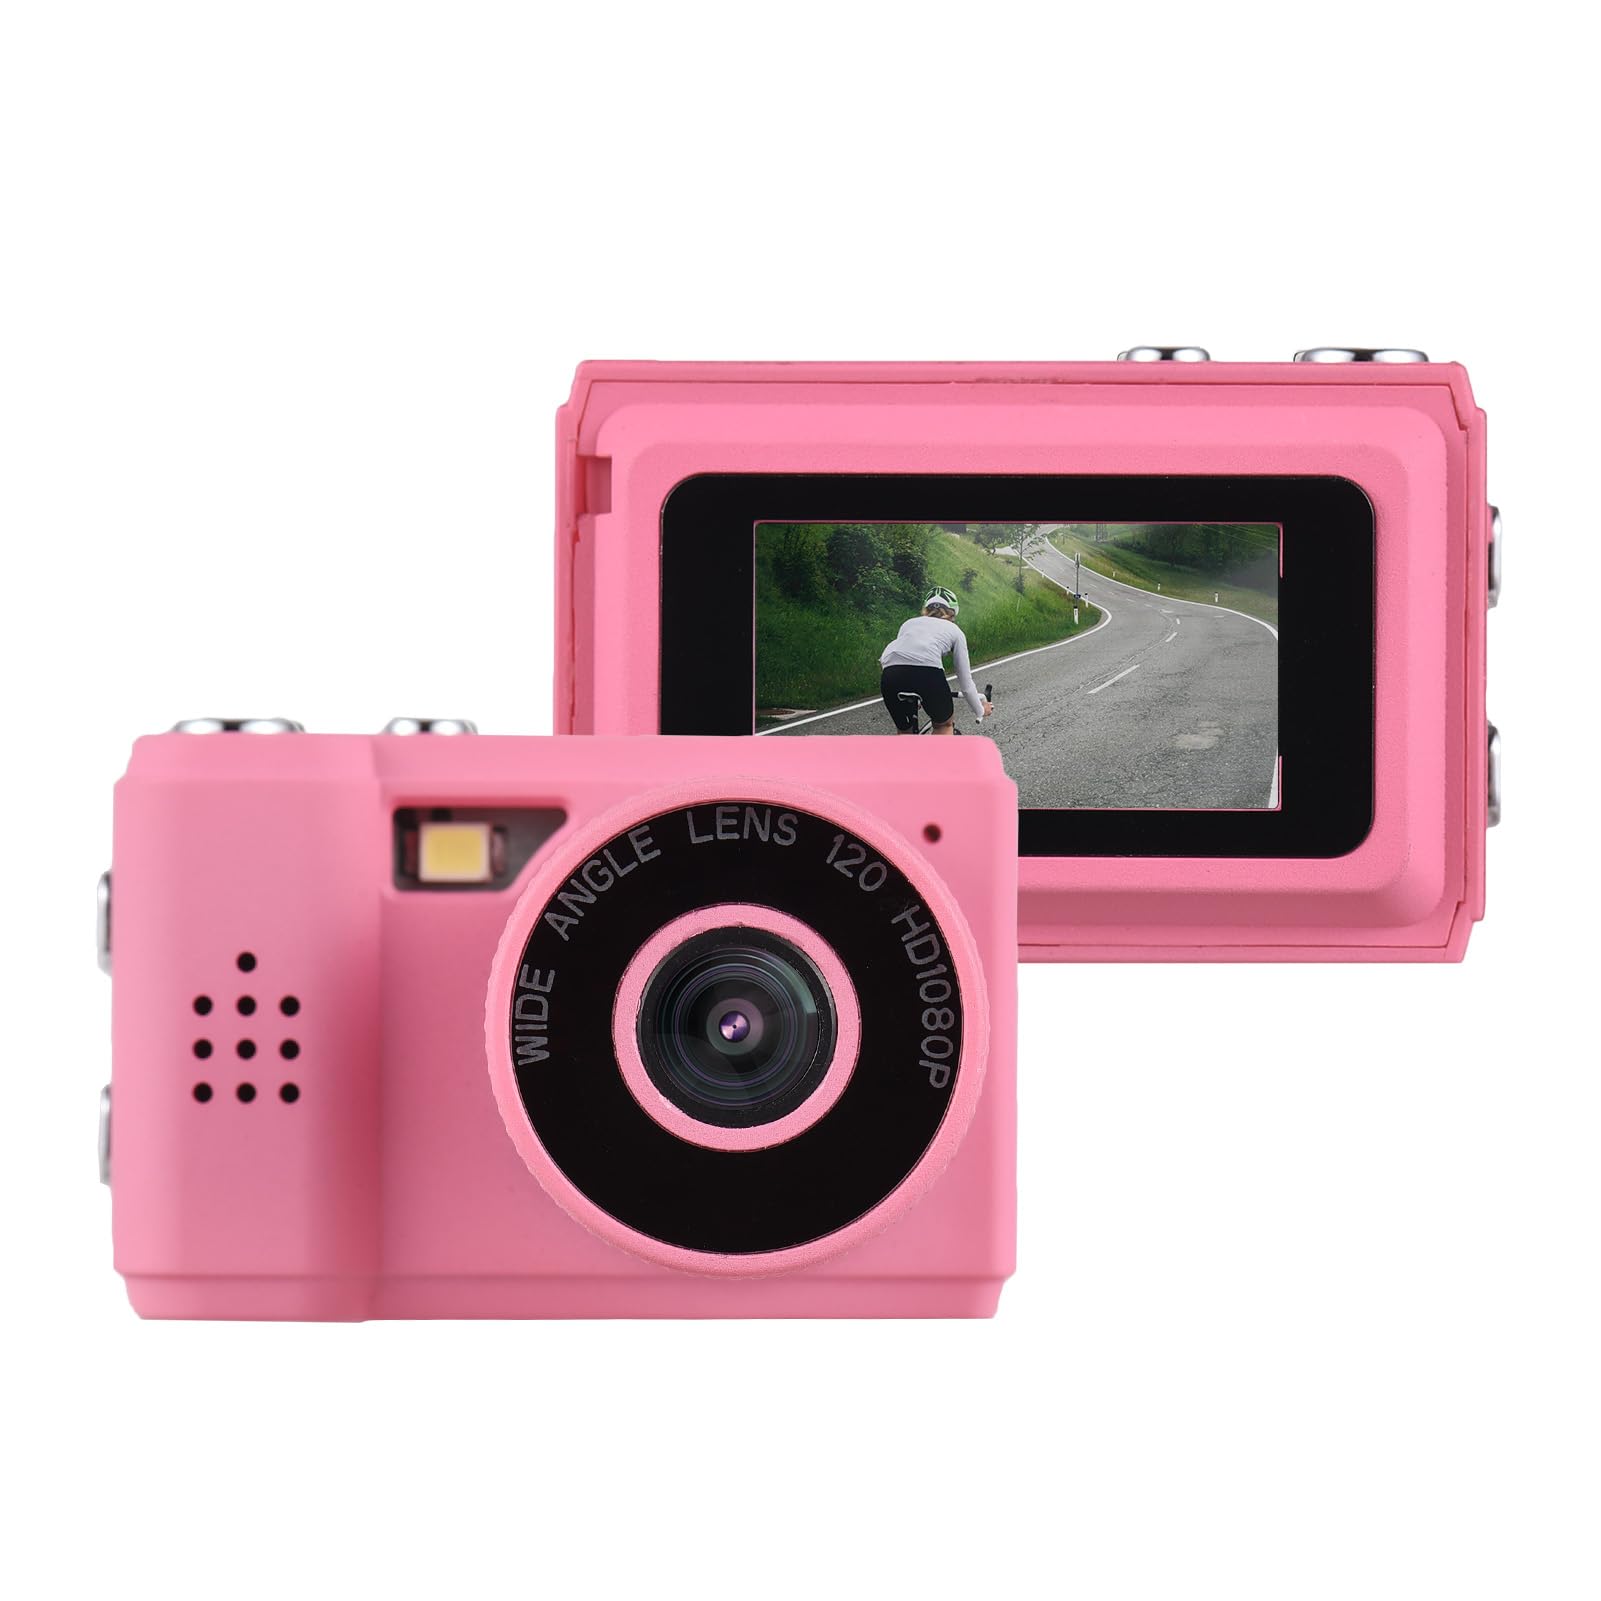
Image: The Andoer Mini Compact Digital Camera, demonstrating its compact size when held in a hand.
2. Kas yra dėžutėje
Atidarius pakuotę, patikrinkite, ar yra visi komponentai:
- Kameros korpusas
- Accessories (e.g., USB charging cable, strap)
3. Produkto ypatybės
The Andoer Mini Compact Digital Camera offers the following key features:
- Super mini size, with a net weight of only 18g, ensuring portability.
- Capable of capturing both still images and 1080P videos.
- Integrated LCD screen for direct viewnuotraukų ir vaizdo įrašų kūrimas.
- Integruota blykstė pagerintoms fotografijoms esant prastam apšvietimui.
- Includes 5 filter effects for creative photo enhancements.
- Built-in rechargeable battery, chargeable via the included USB cable.
4. Sąranka
4.1 Akumuliatoriaus įkrovimas
The camera is equipped with a built-in rechargeable lithium-ion battery. Before initial use, fully charge the battery.
- Raskite USB įkrovimo prievadą kameroje.
- Connect one end of the provided USB charging cable to the camera's port.
- Kitą USB kabelio galą prijunkite prie suderinamo USB maitinimo šaltinio (pvz., kompiuterio USB prievado, USB sieninio adapterio).
- Įkrovimo indikatoriaus lemputė šviečia įkrovimo metu ir paprastai užgęsta arba pakeičia spalvą, kai visiškai įkraunama.
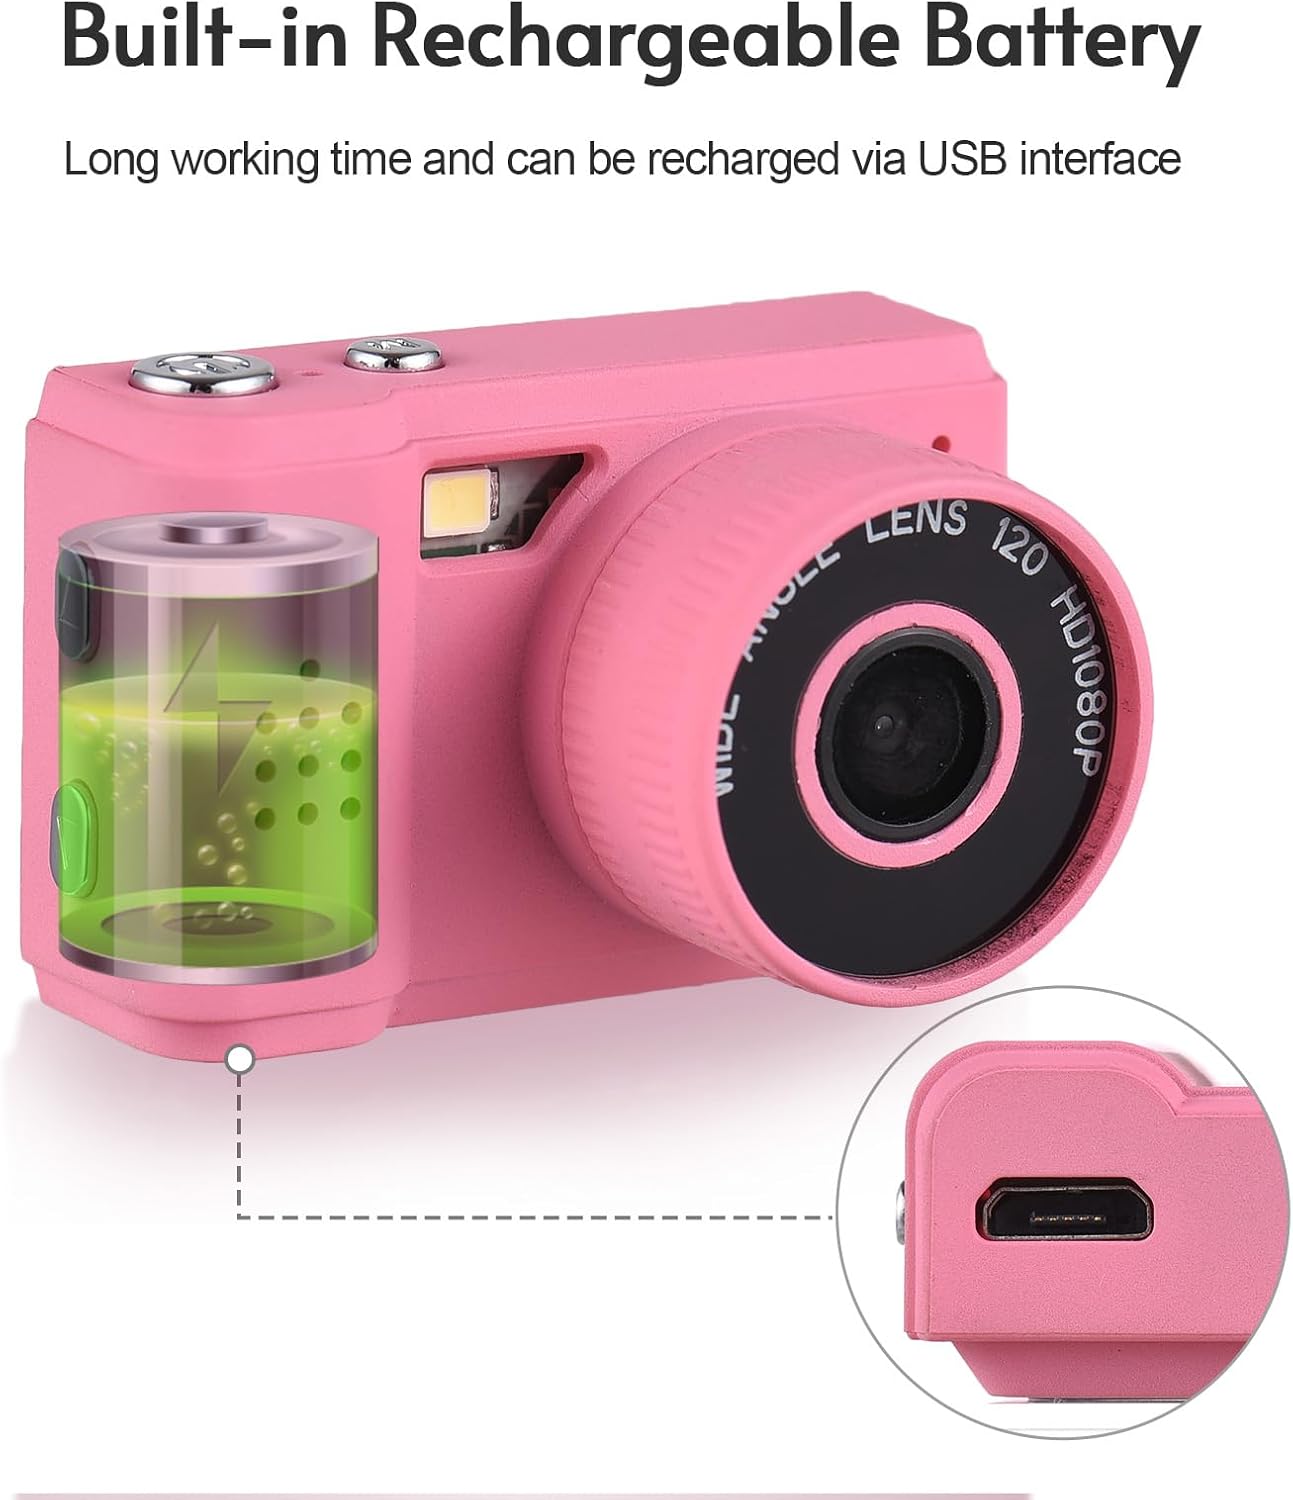
Image: Illustration of the camera's built-in rechargeable battery and the location of the USB charging port.
4.2 Micro SD kortelės įdėjimas
A Micro SD card (not included) is required to store photos and videos. The camera supports Micro SD cards.
- Locate the Micro SD card slot on the camera, usually on the side or bottom.
- Insert the Micro SD card with the metal contacts facing downwards (or as indicated by a diagram near the slot) until it clicks into place.
- To remove the card, gently push it in until it springs out.
5. Naudojimo instrukcijos
5.1 Maitinimo įjungimas/išjungimas
Press and hold the power button (typically located on the top or side) for a few seconds to turn the camera on or off.
5.2 Fotografavimas
- Ensure the camera is in photo mode. This is usually indicated by an icon on the LCD screen.
- Frame your desired shot using the LCD screen.
- Press the shutter button (usually a larger button on the top) to capture the photo.

Vaizdas: Kameros galas view, highlighting the LCD screen for framing and reviewšūvius.
5.3 Vaizdo įrašų įrašymas
- Perjunkite kamerą į vaizdo įrašymo režimą.
- Press the record button (often marked with a red dot or video camera icon) to begin recording.
- Press the record button again to stop recording. The camera records videos in 1080P resolution.
5.4 Using the Built-in Flash
The camera features a built-in flash to assist in low-light conditions.
- Access the camera's menu or dedicated flash button to cycle through flash modes (e.g., Auto Flash, Fill Flash, Flash Off).
- Select the appropriate mode based on your lighting environment.

Image: The camera with its built-in flash activated, demonstrating its use in a low-light setting.
5.5 Viewnuotraukų ir vaizdo įrašų
Norėdami iš naujoview jūsų užfiksuota medija:
- Enter playback mode (usually indicated by a play icon).
- Use the navigation buttons (up/down/left/right) to scroll through your photos and videos on the LCD screen.
- Press the 'OK' or 'Play' button to view vaizdo įrašą.
5.6 Prijungimas prie kompiuterio
Norėdami perkelti files prie kompiuterio:
- Įsitikinkite, kad fotoaparatas įjungtas.
- Prijunkite fotoaparatą prie kompiuterio naudodami pateiktą USB kabelį.
- The camera should appear as a removable disk or mass storage device on your computer.
- Open the camera's folder to access and transfer your photos (JPEG) and videos (MJPEG).
6. Priežiūra
6.1 Valymas
- Fotoaparato korpusą valykite minkštu, sausu, nepūkuotu audiniu.
- For the lens and LCD screen, use a specialized lens cleaning cloth and a small amount of lens cleaning solution. Avoid applying liquid directly to the screen or lens.
- Nenaudokite abrazyvinių valiklių, tirpiklių ar stiprių cheminių medžiagų.
6.2 Saugykla
- Store the camera in a cool, dry place, away from direct sunlight, high humidity, and extreme temperatures.
- If storing for an extended period, remove the Micro SD card.
6.3 Akumuliatoriaus priežiūra
- Charge the battery regularly, even if the camera is not in frequent use, to help maintain its lifespan.
- Avoid fully discharging the battery frequently, as this can reduce its overall capacity over time.
7. Problemų sprendimas
Žr. toliau pateiktus bendrų problemų sprendimus:
7.1 Kamera neįsijungia
- Ensure the battery is sufficiently charged. Connect the camera to a power source using the USB cable and try again.
- Paspauskite ir palaikykite maitinimo mygtuką ilgiau (5–10 sekundes).
7.2 Cannot Take Photos or Record Videos
- Verify that a Micro SD card is inserted correctly.
- Check if the Micro SD card has sufficient free space. Delete unnecessary files or insert a new card if full.
- Įsitikinkite, kad fotoaparatas yra teisingame režime (fotografavimas arba filmavimas).
7.3 Prasta vaizdo kokybė
- Clean the camera lens with a suitable lens cleaning cloth.
- Ensure adequate lighting. Use the built-in flash in low-light conditions.
- Hold the camera steady during capture to prevent blur.
7.4 Files Not Transferring to Computer
- Įsitikinkite, kad USB kabelis yra tvirtai prijungtas tiek prie fotoaparato, tiek prie kompiuterio.
- Try connecting to a different USB port on your computer or using a different USB cable.
- Verify that the camera is powered on and recognized as a storage device by your computer's operating system.
8. Specifikacijos
Detailed technical specifications for the Andoer Mini Compact Digital Camera:
| Funkcija | Specifikacija |
|---|---|
| Prekės ženklas | Andoer |
| Modelio pavadinimas | Mini |
| Modelio numeris | ded11659-e9f8-4b07-a44a-8be1159f3ded |
| Nuotraukų jutiklio skiriamoji geba | 2.1 MP (bendra nuotraukų raiška: 2 MP) |
| Vaizdo raiška | 1080p |
| Ekrano tipas | LCD |
| Ryšio technologija | USB |
| Baterijos tipas | Ličio jonų (įmontuotas) |
| „Flash“ atminties tipas | Micro SD |
| Palaikoma File Formatas | JPEG (Image), MJPEG (Video) |
| Vaizdo stabilizavimas | Skaitmeninis |
| Elemento matmenys (D x P x A) | 1 "D x 1.7" P x 1" A |
| Grynasis svoris | 18 gramų |
| Spalva | Rožinė |
9. Garantija
This product is sold without an explicit manufacturer's warranty. For information regarding returns or exchanges, please refer to the return policy of the retailer from whom you purchased this device.
10. Parama
For further assistance, technical support, or any inquiries not covered in this manual, please contact Andoer customer support through their official channels. You may also visit the official Andoer Store on Amazon for additional product information and resources: