
PEMP PP-9213A
PEMP 10.25" Linux Head Unit Instruction Manual
Model: PP-9213A
For BMW 3 Series F30 F20 NBT CIC (2013-2015 328i, 320i)
1. Įvadas
This manual provides detailed instructions for the installation, operation, and maintenance of your PEMP 10.25" Linux Head Unit. This unit is designed to enhance your driving experience by integrating modern features like wireless and wired CarPlay and Android Auto, while retaining original vehicle functionalities.
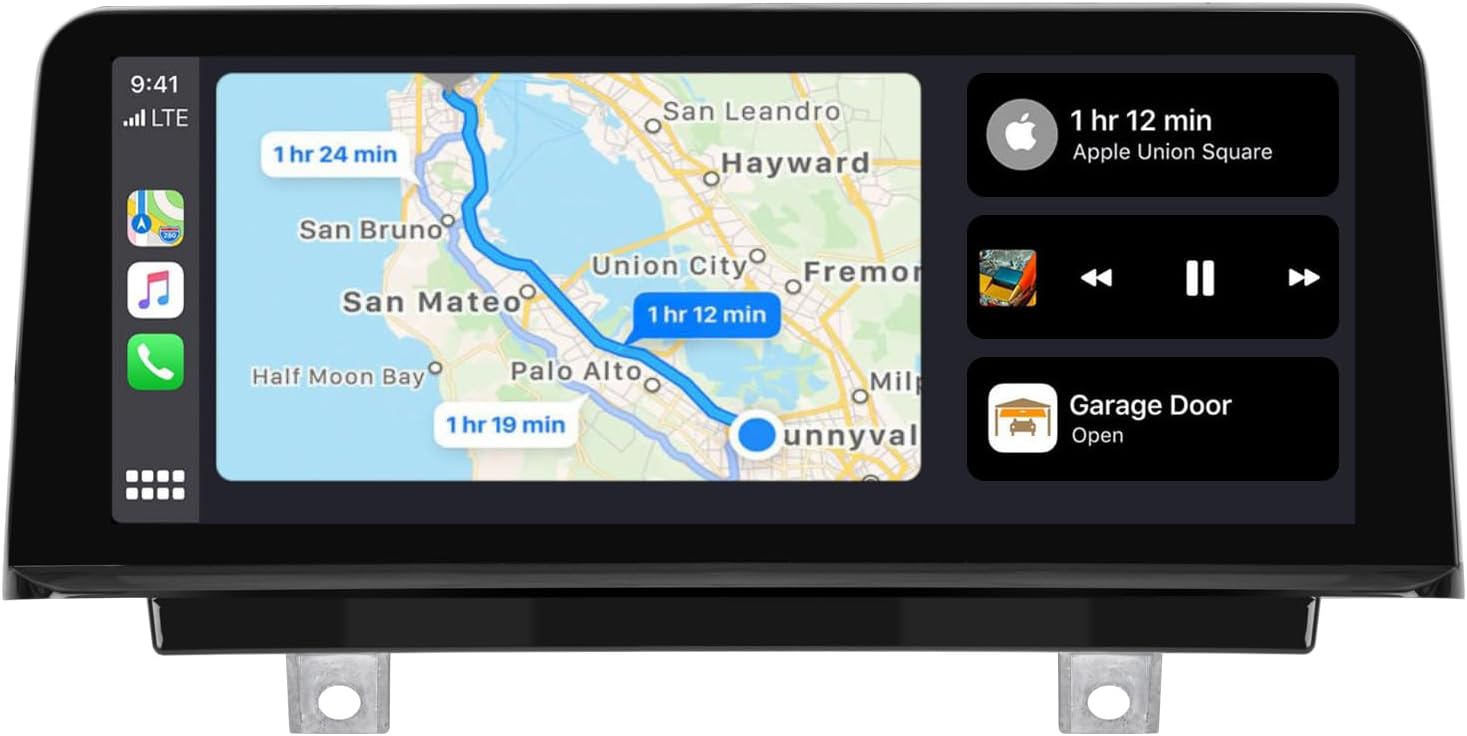
Image 1.1: The PEMP 10.25" Linux Head Unit showcasing Apple CarPlay with navigation and music playback.
2. Pagrindinės savybės
- OEM Bluetooth Support: Seamless integration with your vehicle's original Bluetooth for calls, ensuring high-quality audio and no echo during CarPlay and Android Auto usage.
- HD ekranas: Features a 1920x720 resolution capacitive touch screen for clear visuals and responsive interaction.
- „CarPlay“ ir „Android Auto“: Supports both wireless and wired connections for Apple CarPlay and Android Auto, eliminating the need for additional adapters.
- OEM Information Retention: Displays factory monitor information and allows switching between the original OEM interface and the new CarPlay/Android Auto interface by long-pressing the Menu button.
- Vairo valdymas: Maintains compatibility with original steering wheel button functions.
- Quick Boot & Reverse Camera: Linux system ensures fast boot-up times and quick display of reverse camera video (within 2 seconds).
- Fotoaparato palaikymas: Compatible with both OEM and aftermarket cameras (720P or less) for clear reversing images.
- USB laikmenos atkūrimas: Supports playing music and video fileper USB.
3. Pakuotės turinys
Patikrinkite, ar pakuotėje yra visi reikalingi daiktai:
- 1 x PEMP 10.25" Linux Head Unit
- 1 x ISO laidų pynė
- 1x USB laidas
- 1x garso laidas
- 1 x Įrengimo vadovas (šis dokumentas)

3.1 vaizdas: Baigtaview of the head unit dimensions and included accessories.
4. Sąranka ir diegimas
Rekomenduojama, kad montavimą atliktų profesionalas. Prieš pradėdami montuoti, įsitikinkite, kad transporto priemonės maitinimas yra išjungtas.
4.1. Suderinamumo patikrinimas
This unit is compatible with BMW 3 Series F30 F20 models with NBT or CIC systems, typically from 2013 to 2015 (e.g., 328i, 320i). Verify your vehicle's OEM display interface type (4-pin CIC, 6-pin CIC, 6-pin NBT, or 6-pin EVO) to ensure proper LVDS connection.

Image 4.1: Guide to checking the LVDS connection socket on the back of the OEM display.
4.2. Laidų jungtys
Follow the wiring diagram carefully for correct connections. Pay special attention to the optical fiber cable and AUX input.

Image 4.2: Comprehensive wiring diagram for the head unit installation.
- Optical Fiber Cable: Carefully transfer the 2-pin green optical fiber cable from the original vehicle's ISO plug to the new Linux harness. This is crucial for sound and OEM information.
- AUX įvestis: For models where the AUX directly enters the audio amplifier, you must plug the provided audio cable into the AUX IN connector in the armrest box to enable sound from the Linux system.

Image 4.3: Steps for transferring the optical fiber cable.

Image 4.4: Connecting the audio cable to the AUX IN port.
4.3. Setting OEM Resolution
After installation, it is essential to set the correct OEM screen resolution for proper display. If the display appears distorted, adjust the resolution in the settings.
Video 4.1: This video demonstrates how to correctly set the OEM resolution on your new head unit. It shows navigating through the settings menu to find 'Car Settings' and 'Original Car's Screen Resolution' to select the appropriate resolution for your vehicle's original display.
Norėdami nustatyti skiriamąją gebą:
- Eikite į Sąranka.
- Pasirinkite Automobilio nustatymai.
- Pasirinkite Original Car's Screen Resolution.
- Select the resolution that matches your original car's display (e.g., 800x480 or 1280x480).

Image 4.5: Menu path for adjusting screen resolution.
5. Naudojimo instrukcijos
5.1. Switching Interfaces
You can easily switch between the new Linux system interface (CarPlay/Android Auto) and your original BMW OEM interface. Long-press the Menu button on your iDrive controller to toggle between the two systems.

Image 5.1: Switching between OEM info and the new system.
5.2. „CarPlay“ ir „Android Auto“
The head unit supports both wireless and wired connections for CarPlay and Android Auto. For wired connections, ensure you use USB IN 1.

Image 5.2: Built-in CarPlay and Android Auto support.

Image 5.3: USB input for wired CarPlay/Android Auto.
5.3. Kameros funkcionalumas
The unit supports both your vehicle's original camera and aftermarket cameras (CVBS or 720P AHD format). You can select the camera type in the settings.

Image 5.4: Support for OEM and aftermarket front and rear view fotoaparatai.
To select camera type:
- Eikite į Sąranka.
- Pasirinkite Automobilio nustatymai.
- Pasirinkite Atbulinės eigos nustatymai.
- Pasirinkite Kameros tipas and choose between 'Original Camera' or 'Aftermarket Camera'.

Image 5.5: Menu path for camera settings.
6. Priežiūra
To ensure the longevity and optimal performance of your PEMP Head Unit, follow these maintenance guidelines:
- Valymas: Ekraną ir įrenginį valykite minkšta, sausa šluoste. Venkite abrazyvinių valiklių ar tirpiklių, kurie gali pažeisti paviršių.
- Temperatūra: Nelaikykite įrenginio ilgą laiką tiesioginiuose saulės spinduliuose ar ekstremaliose temperatūrose.
- Programinės įrangos atnaujinimai: Periodically check for firmware updates from PEMP to ensure you have the latest features and bug fixes.
7. Problemų sprendimas
Jei kyla problemų dėl pagrindinio įrenginio, žr. šias dažniausiai pasitaikančias problemas ir sprendimus:
7.1. No OEM Car Info or Sound
If you are not getting OEM car information or sound, check the following:
- OEM Radio Sound: Press the FM/AM button on your original car radio to confirm if it has sound.
- Rezoliucijos nustatymas: If the OEM radio has sound, ensure the correct resolution is set in the unit's settings (refer to Section 4.3).
- Fiber Optic Cable: If there is no sound from the OEM radio, you may need to reconnect the 2-pin green optical fiber cable on the back of the OEM radio to the new harness (refer to Section 4.2).
- AUX jungtis: Ensure the audio cable is correctly plugged into the armrest box AUX IN connector (refer to Section 4.2).
Image 7.1: Common issues causing loss of OEM car info and sound.
7.2. Distorted or Incorrect Display
If the display is distorted or not showing correctly, verify that the OEM screen resolution is set properly in the unit's settings (refer to Section 4.3).
7.3. Bendrieji klausimai
For any other issues, please contact PEMP customer support. They respond to messages within 24 hours and have a professional after-sales team to assist you.
8. Specifikacijos
| Funkcija | Specifikacija |
|---|---|
| Prekės ženklas | PEMP |
| Modelio numeris | PP-9213A |
| Operacinė sistema | Linux |
| Ekrano dydis | 10.25 colių |
| Ekrano raiška | 1920x720 |
| Jutiklinio ekrano tipas | Talpinis |
| Ryšio technologija | Bluetooth |
| Ypatingos savybės | Android Auto, Bluetooth, CarPlay, Touchscreen |
| Gaminio matmenys | 12.2 x 2 x 5.1 colio |
| Prekės svoris | 5.28 svaro (2.4 kilogramo) |
9. Garantija ir palaikymas
PEMP is committed to providing quality products and excellent customer service. While specific warranty details are not provided in this manual, please be assured that product quality is a top priority. For any vehicle fitment questions or support inquiries, please send a photo of your car's dashboard and model year to PEMP customer service to avoid mistakes. Messages are typically responded to within 24 hours by a professional after-sales team.
Norėdami gauti daugiau pagalbos, apsilankykite PEMP Store on Amazon.
Ask a question about this manual
Ask about setup, troubleshooting, compatibility, parts, safety, or missing instructions. Manuals+ will review the question and use this page’s manual context to help answer it.