
Įvadas
The Melnor MiniMax Turbo Oscillating Sprinkler on Tripod (Model 65178AMZ) provides extensive coverage and precise adjustability for your lawn and garden watering needs. This compact sprinkler covers up to 4,000 sq. ft. and features a versatile tripod base that extends up to 39 inches, making it suitable for various plant heights and landscape designs. Its 4-way adjustment system allows for independent control of width, range, and flow, along with 360-degree head rotation to target specific areas. The integrated QuickConnect system simplifies attaching and detaching watering tools, enhancing user convenience.
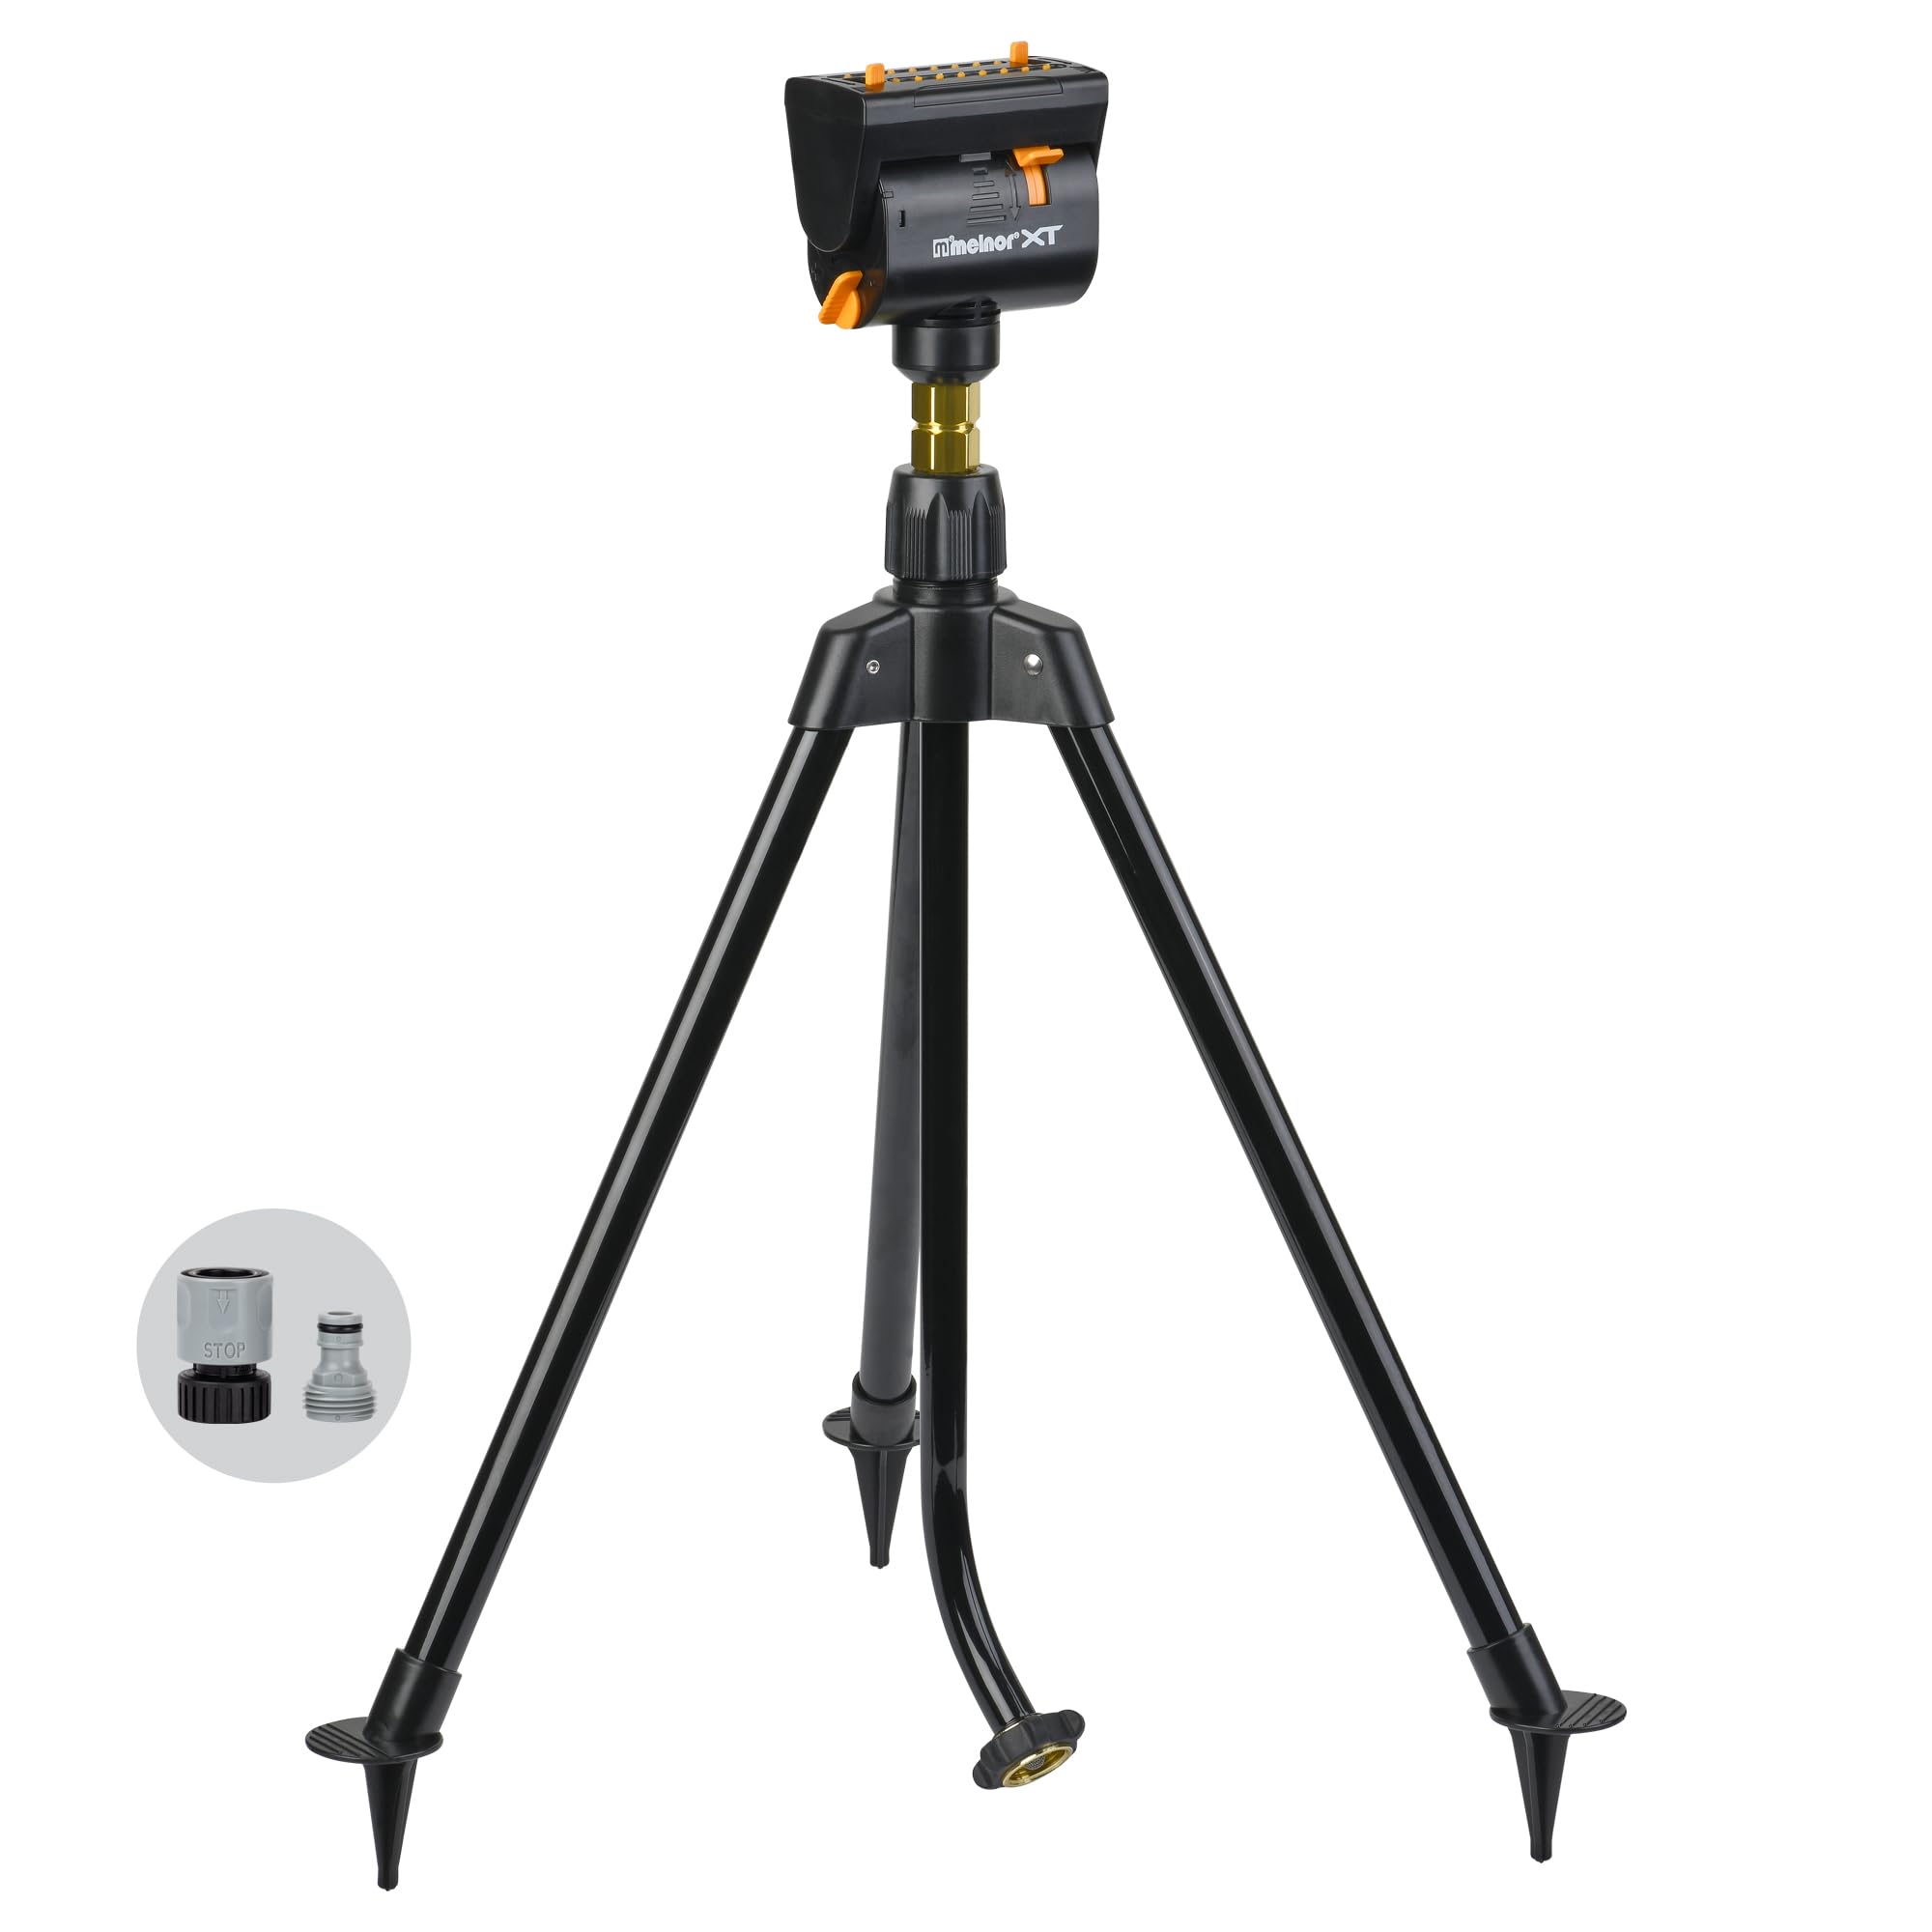
Image: The Melnor MiniMax Turbo Oscillating Sprinkler on Tripod, fully assembled and ready for use.
Sąranka
- Išpakuokite komponentus: Carefully remove all parts from the packaging. Ensure you have the sprinkler head, tripod base, and QuickConnect adapters.
- Surinkite trikojį: Extend the legs of the tripod base to a stable position. The tripod can be adjusted in height from 27 to 39 inches. Secure the height adjustment clamps.
- Attach Sprinkler Head: Screw the MiniMax Turbo Oscillating Sprinkler head onto the top of the tripod base. Hand-tighten until secure.
- Connect Hose with QuickConnect: Attach the QuickConnect Product Adapter to your garden hose. Then, snap the hose with the adapter onto the QuickConnect Product End Connector on the sprinkler base. This allows for quick and easy attachment and detachment.
- Position Sprinkler: Place the assembled sprinkler in the desired watering area. Ensure the tripod legs are firmly planted for stability.

Image: Diagram illustrating the QuickConnect system for easy hose attachment and detachment.
Video: An official Melnor video demonstrating the MiniMax Turbo Oscillating Sprinkler, including an overview of its features and operation.
Naudojimo instrukcijos
The MiniMax Turbo Oscillating Sprinkler offers precise control over your watering area:
- Reguliavimo diapazonas: Use the range control levers on the sprinkler head to define the length of the watering pattern. Move the levers inward to shorten the range or outward to extend it.
- Pločio reguliavimas: The width control allows you to narrow or widen the spray pattern. Adjust the sliders on the side of the sprinkler head to match your desired area.
- Controlling Flow: The flow control mechanism regulates the water volume, allowing you to fine-tune the intensity of the spray.
- 360-Degree Adjustability: The sprinkler head can be rotated 360 degrees on the tripod. This feature allows you to direct the water exactly where needed without repositioning the entire tripod.
- Mastelio keitimo funkcija: Utilize the unique Zoom feature to adjust the overall watering area, from a small flower bed to maximum lawn coverage.
The Dirt-Resistant Drive ensures reliable operation even with well water, as it allows grit to bypass the gears, maintaining consistent watering performance.

Image: A diagram illustrating the four-way adjustment capabilities of the sprinkler head, including range, width, flow, and 360-degree rotation.

Vaizdas: Stambus planas view of the sprinkler head, highlighting the yellow adjustment levers for precise control of the spray pattern.

Image: The Melnor MiniMax Turbo Oscillating Sprinkler actively watering a lawn, demonstrating its coverage.
Priežiūra
- Saugojimas žiemą: Before freezing temperatures arrive, drain all water from the sprinkler and store it indoors. This prevents damage from ice expansion.
- Valymas: Periodically check the sprinkler nozzles for any debris or mineral buildup. Use a small brush or pin to clear any blockages to ensure an even spray pattern.
- Dirt-Resistant Drive: The sprinkler is designed with a Dirt-Resistant Drive to handle water containing grit. However, if you notice reduced performance, inspect the water inlet filter for any large debris and clean if necessary.
- Bendra priežiūra: Avoid dropping the sprinkler or subjecting it to excessive force, which could damage its components.
Trikčių šalinimas
| Problema | Galima priežastis | Sprendimas |
|---|---|---|
| Uneven spray pattern or reduced coverage | Clogged nozzles or low water pressure. | Check and clear any debris from the nozzles. Ensure adequate water pressure from your spigot. |
| Purkštuvas nevibruoja | Internal mechanism blockage or insufficient water flow. | Verify water pressure. Inspect for any visible obstructions. If the issue persists, contact customer support. |
| Vanduo teka iš jungčių | Atsilaisvinusios jungtys arba susidėvėjusios poveržlės. | Tighten all hose connections. Replace worn rubber washers in the QuickConnect adapters or hose. |
| Sprinkler falls over easily | Tripod legs not fully extended or unstable ground. | Ensure tripod legs are fully extended and locked. Place the sprinkler on level, firm ground. |
Specifikacijos
| Funkcija | Detalė |
|---|---|
| Modelio numeris | 65178AMZ |
| Aprėpties sritis | Iki 4,000 kv. |
| Trikojo aukščio reguliavimas | Nuo 27 iki 39 colių |
| Reguliavimo valdikliai | 4-Way (Width, Range, Flow, 360° Rotation) |
| Medžiaga | Metalas, Plastikas |
| Spalva | Juoda, Geltona |
| Prekės matmenys (I x P x A) | 5.03 x 4.64 x 28.93 colio |
| Prekės svoris | 3.17 svaro |
| Maksimalus slėgis | 50 PSI |
| Įleidimo angos dydis | 0.47 colių |
| Ypatingos savybės | QuickConnect System, Dirt-Resistant Drive |
Garantija ir palaikymas
This Melnor product is backed by a Ribota viso gyvenimo garantija. This warranty covers defects in material and workmanship under normal use. For warranty claims, replacements, troubleshooting assistance, or any other questions or concerns, please contact Melnor Customer Care.
For further assistance, please visit the official Melnor websvetainėje arba žr. kontaktinę informaciją, pateiktą ant produkto pakuotės.

Image: Information regarding Melnor's Limited Lifetime Warranty and customer support.