
1. Įvadas
This manual provides detailed instructions for the installation, operation, maintenance, and troubleshooting of the HUANANZHI B760M D5 PLUS motherboard. Designed for Intel LGA 1700 processors (12th, 13th, and 14th Gen Core CPUs), this motherboard offers robust performance and extensive connectivity for your personal computer build.
2. Saugos informacija
Please read and follow these safety guidelines carefully to prevent damage to the motherboard or injury to yourself:
- Prieš montuodami arba išimdami bet kokius komponentus, visada atjunkite maitinimo šaltinį nuo sieninio lizdo.
- Prieš liesdami pagrindinę plokštę ar kitus komponentus, dėvėkite antistatinį riešo dirželį arba dažnai lieskite įžemintą metalinį objektą, kad iškrautumėte statinę elektrą.
- Pagrindinę plokštę imkite už kraštų, kad neliestumėte jautrių komponentų.
- Užtikrinkite tinkamą ventiliaciją kompiuterio korpuse, kad jis neperkaistų.
- Saugokite pagrindinę plokštę nuo drėgmės ir ekstremalių temperatūrų.
3. Pakuotės turinys
Verify that all items are present in your motherboard package. Standard contents typically include:
- HUANANZHI B760M D5 PLUS Motherboard
- SATA duomenų kabeliai
- I / O skydas
- M.2 Screw Kit
- Vartotojo vadovas (šis dokumentas)
Jei trūksta kokių nors prekių arba jos pažeistos, susisiekite su pardavėju.
4. Produktas baigtasview
The HUANANZHI B760M D5 PLUS motherboard is engineered for high performance and reliability. Key features include:
4.1. DDR5 Dual Channel Memory Support
The motherboard supports DDR5 memory in a dual-channel configuration, allowing for high-speed data transfer and up to 96GB capacity. This ensures efficient multitasking and demanding application performance.
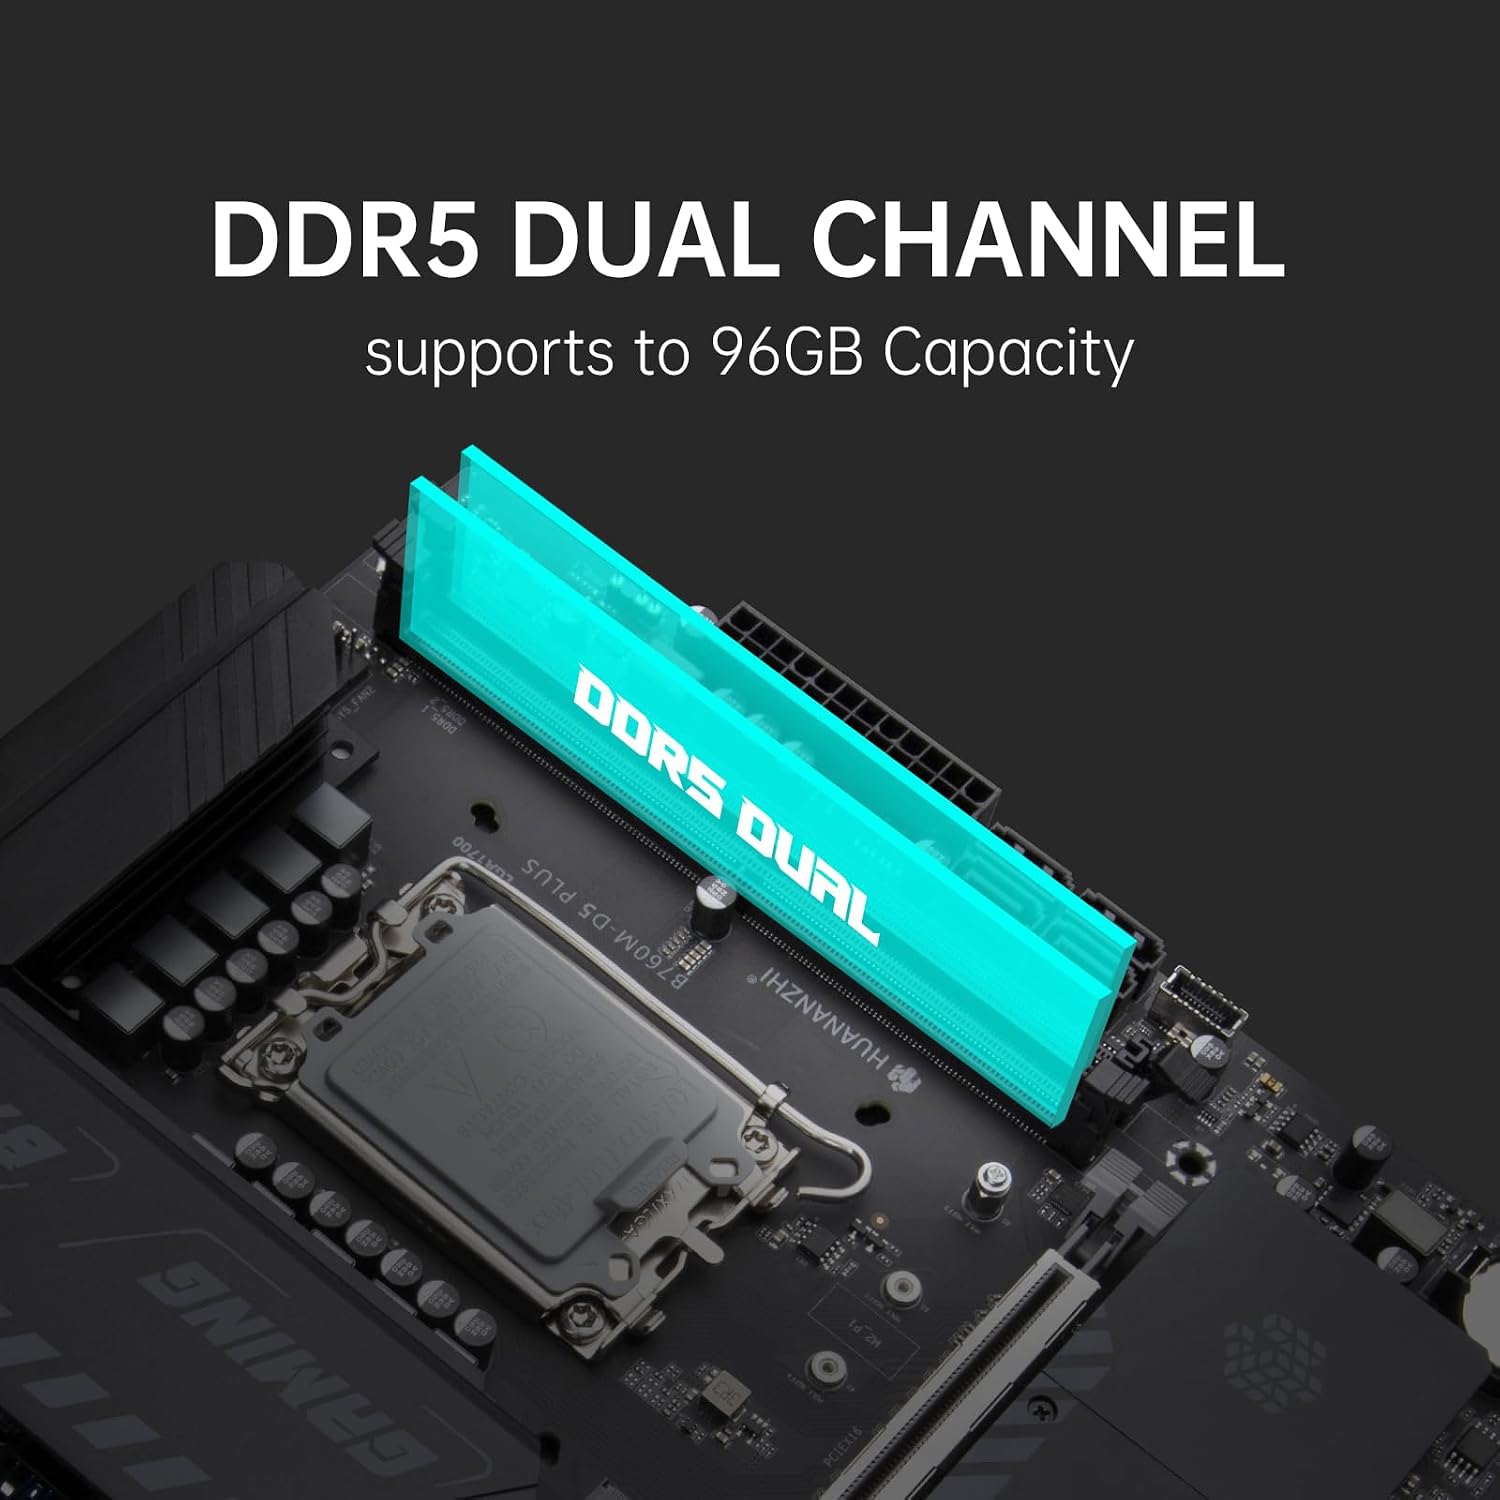
Image: The motherboard features two DDR5 memory slots, highlighted to show dual-channel support and up to 96GB capacity.
4.2. Full Speed PCIe 4.0 M.2 NVMe Slots
Equipped with multiple full-speed PCIe 4.0 M.2 slots, the motherboard provides advanced storage solutions with significantly faster data transfer rates compared to previous generations. This is ideal for high-performance NVMe SSDs.

Image: Three PCIe 4.0 M.2 slots are visible on the motherboard, indicating support for high-speed NVMe storage devices.
4.3. 2.5G Gigabit Network Card
The integrated Realtek 2.5G Gigabit network card offers enhanced network performance, providing faster internet speeds and lower latency for online gaming and data transfers.

Image: A visual representation of the 2.5G network card, emphasizing its high-speed capability.
4.4. PCIe x16 4.0 Slot
The PCIe x16 4.0 slot provides double the bandwidth of PCIe 3.0, ensuring optimal performance for modern graphics cards and other expansion cards, leading to a smoother gaming and computing experience.

Image: The PCIe x16 4.0 slot is highlighted on the motherboard, indicating its high-speed data transfer capability for graphics cards.
4.5. SATA 3.0 Interfaces
The motherboard includes four SATA 3.0 interfaces, meeting the needs for large-capacity storage with traditional hard drives and SATA SSDs.

Image: Four SATA 3.0 ports are shown on the motherboard, ready for connecting storage devices.
4.6. ARGB Support
The motherboard supports 3*5V ARGB headers, allowing for customizable and dazzling lighting effects. Users can utilize HUANANZHI RGB gaming light control software to personalize their system's aesthetics.

Image: Three 5V ARGB headers are labeled on the motherboard, indicating support for addressable RGB lighting.
4.7. 10-Phase Power Supply
A stable 10-phase power supply design ensures reliable and efficient power delivery to the CPU, crucial for maintaining system stability and performance under load.

Image: A close-up of the motherboard's CPU power delivery area, illustrating the 10-phase power supply components.
4.8. Reasonable Layout and Connectivity
The motherboard features a well-thought-out layout for easy installation and excellent extensibility, including various ports for modern peripherals and displays.

Image: A detailed diagram of the motherboard's layout, labeling various ports, slots, and connectors such as USB, HDMI, DP, M.2, and fan headers.
5. Sąranka ir diegimas
Norėdami tinkamai įdiegti pagrindinę plokštę ir jos komponentus, atlikite šiuos veiksmus:
5.1. CPU diegimas
- Atidarykite procesoriaus lizdo svirtį ant LGA 1700 lizdo.
- Atsargiai sulygiuokite procesorių su lizdu, užtikrindami, kad trikampis žymėjimas ant procesoriaus sutaptų su žymėjimu ant lizdo. Nespauskite procesoriaus į vietą jėga.
- Uždarykite lizdo svirtį, kad pritvirtintumėte procesorių.
- Užtepkite terminę pastą ant procesoriaus ir įdiekite procesoriaus aušintuvą pagal gamintojo instrukcijas.
5.2. RAM (DDR5) diegimas
- Atidarykite spaustukus abiejuose DDR5 atminties lizdų galuose.
- Sulygiuokite atminties modulį su lizdu, užtikrindami, kad modulio įpjova sutaptų su lizdo rakteliu.
- Tvirtai spauskite abu atminties modulio galus, kol spaustukai užsifiksuos vietoje.
5.3. Saugojimo įrenginio diegimas
M.2 NVMe SSD
- Locate an available M.2 slot. Remove the M.2 standoff screw.
- Įdėkite M.2 SSD diską į lizdą 30 laipsnių kampu.
- Push the SSD down and secure it with the M.2 screw.
SATA diskai
- Prijunkite vieną SATA duomenų kabelio galą prie pagrindinės plokštės SATA 3.0 prievado.
- Prijunkite kitą SATA duomenų kabelio galą prie SATA kietojo disko arba SSD disko.
- Prijunkite SATA maitinimo laidą nuo maitinimo šaltinio prie disko.
5.4. Graphics Card (PCIe x16) Installation
- Atidarykite PCIe x16 lizdo tvirtinimo spaustuką.
- Sulygiuokite vaizdo plokštę su lizdu ir tvirtai spauskite žemyn, kol ji visiškai užsifiksuos, o fiksavimo spaustukas užsifiksuos vietoje.
- Pritvirtinkite vaizdo plokštę prie kompiuterio korpuso varžtais.
- Prijunkite visus reikalingus PCIe maitinimo laidus iš maitinimo šaltinio į vaizdo plokštę.
5.5. Maitinimo jungtys
- Connect the 24-pin ATX power connector from your power supply to the 24-pin main power socket on the motherboard.
- Connect the 8-pin CPU power connector (EPS 12V) from your power supply to the CPU 8-pin power socket.
5.6. Priekinio skydelio jungtys
Connect the cables from your PC case's front panel (USB, audio, power button, reset button, HDD LED, power LED) to the corresponding headers on the motherboard. Refer to the motherboard layout diagram (Section 4.8) for header locations.
6. Naudojimo instrukcijos
6.1. Pirmas įkrovimas
After assembling all components, connect your monitor, keyboard, and mouse. Power on your system. The system should display the BIOS/UEFI splash screen. If not, check all connections.
6.2. BIOS / UEFI sąranka
Press the designated key (usually DEL or F2) during startup to enter the BIOS/UEFI setup utility. Here you can configure boot order, system time, fan speeds, and other advanced settings. Save changes before exiting.
6.3. Tvarkyklės diegimas
After installing your operating system, install the necessary drivers for the motherboard chipset, network card, audio, and any other integrated components. These drivers are typically provided on a support CD or can be downloaded from the HUANANZHI websvetainę.
7. Priežiūra
- Valymas: Regularly clean dust from inside your PC case, especially around fans and heatsinks, using compressed air. Ensure the system is powered off and unplugged before cleaning.
- BIOS atnaujinimai: Periodically check the HUANANZHI webBIOS / UEFI atnaujinimų svetainė. Atnaujinimai gali pagerinti stabilumą, pridėti naujos aparatinės įrangos palaikymą arba ištaisyti klaidas. Atidžiai vykdykite atnaujinimo instrukcijas, kad nesugadintumėte pagrindinės plokštės.
- Kabelių valdymas: Įsitikinkite, kad laidai yra tvarkingai išdėstyti, kad pagerėtų oro srautas ir būtų išvengta trukdžių.
8. Problemų sprendimas
Jei kyla problemų, vadovaukitės toliau pateiktais įprastais trikčių šalinimo veiksmais.
- Nėra galios: Check all power connections (24-pin ATX, 8-pin CPU, GPU power). Ensure the power supply switch is on and the wall outlet is functional.
- Nėra ekrano: Verify that the monitor is connected to the graphics card (or motherboard if using integrated graphics) and is powered on. Reseat the graphics card and RAM modules.
- Sistemos nestabilumas / gedimai: Check CPU and GPU temperatures. Ensure RAM is properly seated and compatible. Update drivers and BIOS.
- Įkrovos įrenginys nerastas: Check SATA/M.2 cable connections. Verify boot order in BIOS/UEFI. Ensure the operating system is properly installed on the drive.
- Periferinės problemos: Try connecting peripherals to different USB ports. Ensure relevant drivers are installed.
For persistent issues, consult the HUANANZHI support websvetainėje arba susisiekite su technine pagalba.
9. Specifikacijos
| Funkcija | Specifikacija |
|---|---|
| Prekės ženklas | HUANANZHI |
| Modelio pavadinimas | B760M D5 PLUS |
| CPU lizdas | LGA 1700 |
| Suderinami procesoriai | Intel 12th, 13th, 14th Gen Core CPUs |
| Lustų rinkinio tipas | Intel B760 |
| RAM atminties technologija | DDR5 |
| Galimi atminties lizdai | 2 |
| Maksimali RAM talpa | 96 GB |
| Atminties laikrodžio greitis | 3200 MHz (bazinis) |
| Grafikos plokštės sąsaja | PCI Express 4.0 |
| M.2 Lizdai | 1x M.2 2280 NVME PCIE X4 4.0, 1x M.2 WIFI |
| SATA prievadai | 4x SATA 3.0 |
| Tinklo plokštė | Realtek 2.5G Gigabit |
| USB prievadai | Total 8 (including 1x Type-C 5Gb/s) |
| HDMI prievadai | 2x HDMI 2.1 |
| DisplayPort | 1x DP 1.4 |
| Pagrindinė maitinimo jungtis | 24-Pin |
| Matmenys (I x P x A) | 20.3L x 15.2W x 5.1H centimetrai |
10. Informacija apie garantiją
HUANANZHI motherboards typically come with a limited manufacturer's warranty. Please refer to the warranty card included with your product or visit the official HUANANZHI website for specific terms, conditions, and duration of your warranty. Keep your proof of purchase for warranty claims.
11. Parama
For technical assistance, driver downloads, BIOS updates, or further inquiries, please visit the official HUANANZHI support website. You may also contact their customer service through the channels provided on their websvetainę.
- Oficialus Websvetainė: www.huananzhi.com (Patikrinkite naujausią informaciją URL)
- Klientų aptarnavimas: Žr websvetainė, kurioje rasite kontaktinius duomenis.