
1. Įvadas
Thank you for choosing the LiebeWH ZT-300AB Wireless Digital Multimeter. This device is a high-precision, 6000-count True RMS multimeter designed for a wide range of electrical measurements. It features wireless connectivity, allowing real-time data recording, analysis, and processing via a mobile application. This manual provides essential information for the safe and effective use of your multimeter.
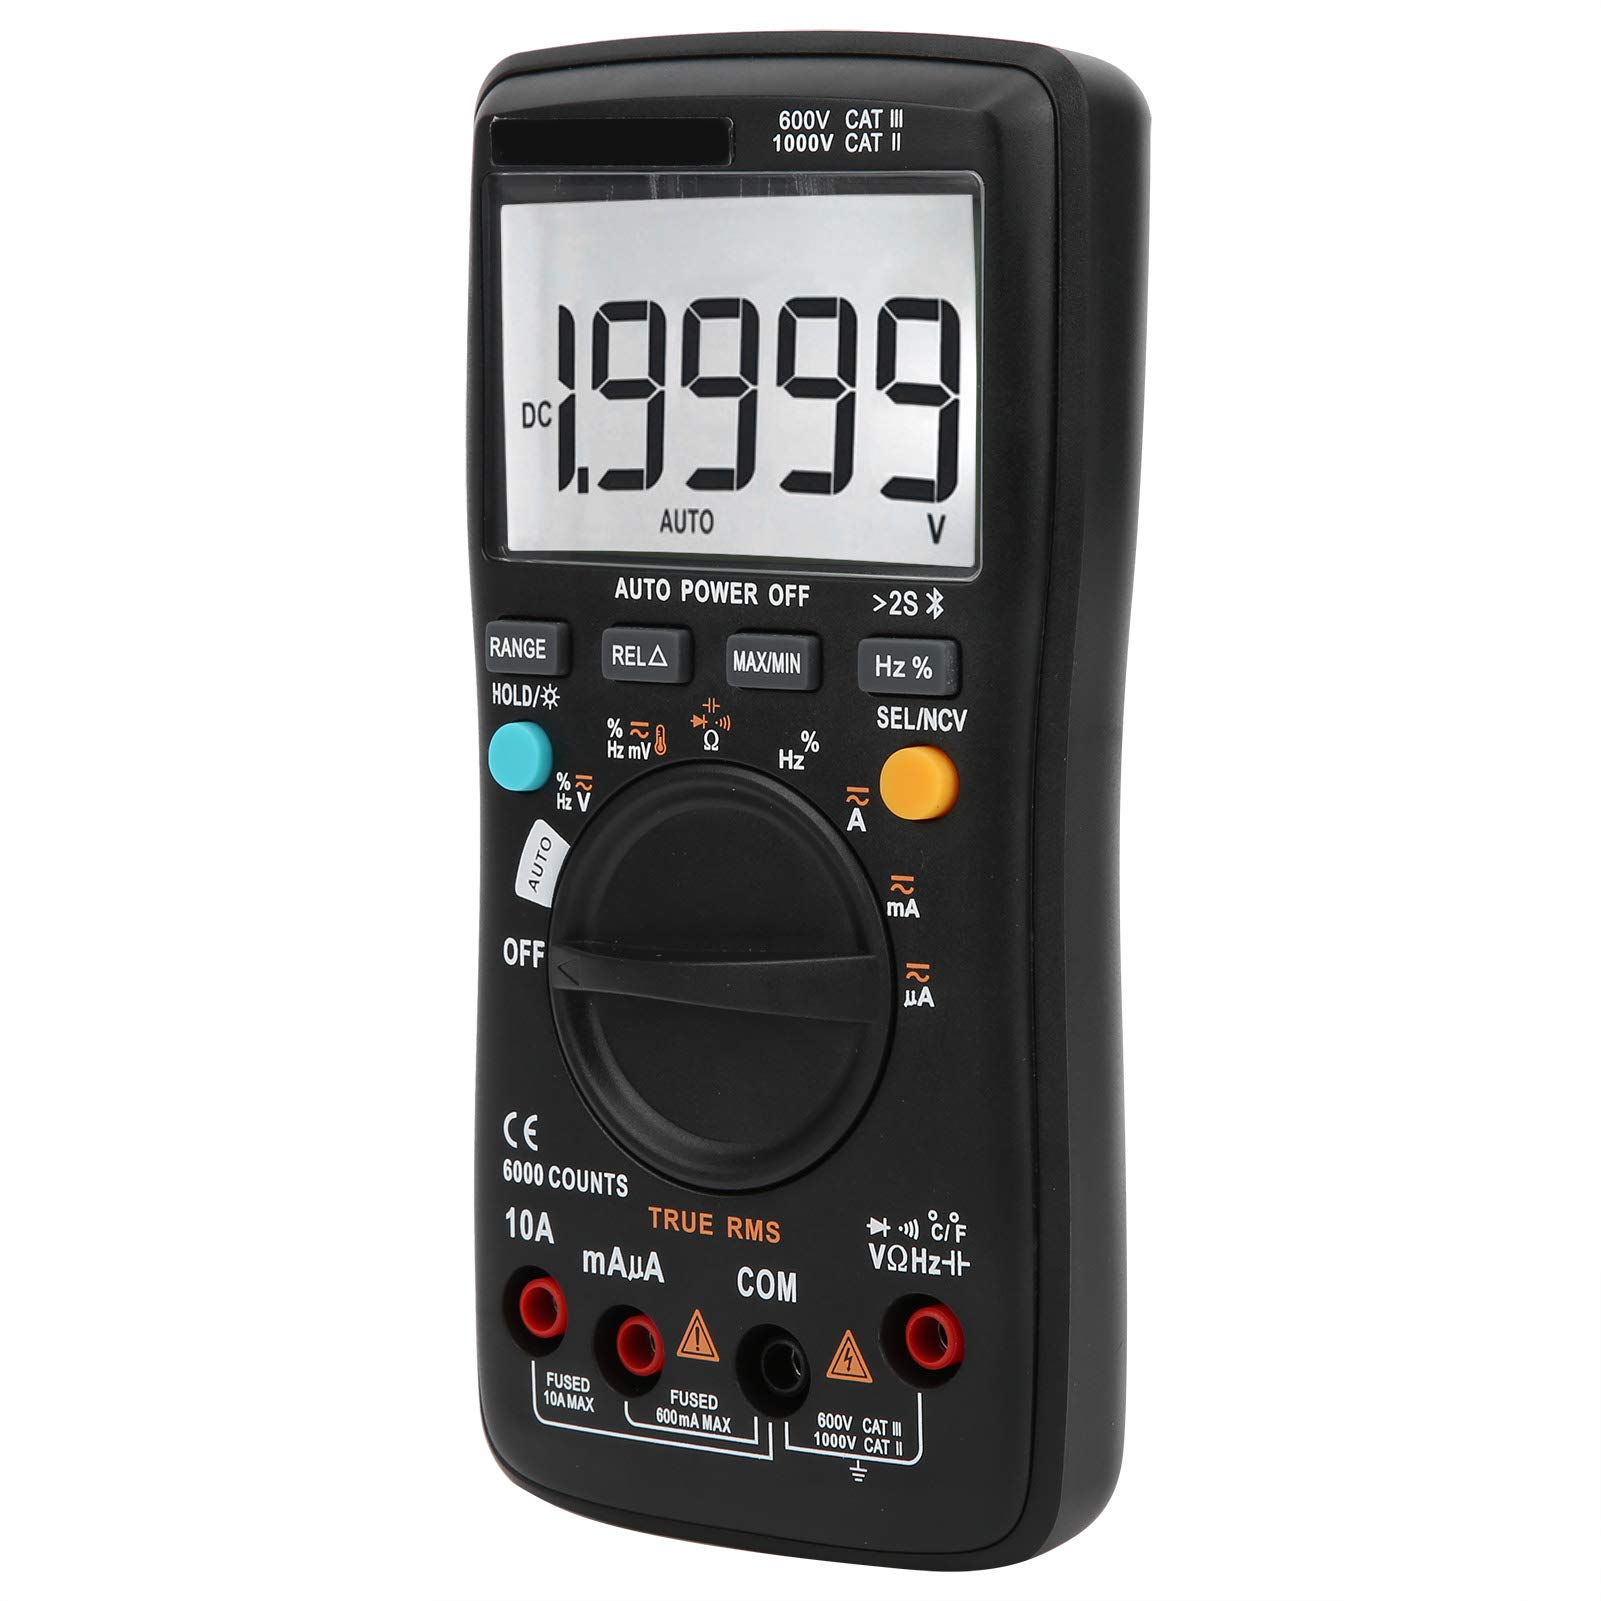
1.1 vaizdas: priekis view of the LiebeWH ZT-300AB Wireless Digital Multimeter, showing the large LCD display and function dial.
2. Saugos informacija
Norėdami užtikrinti saugų skaitiklio veikimą ir aptarnavimą, vadovaukitės šiomis instrukcijomis. Nesilaikant šių įspėjimų galima sunkiai susižeisti arba mirtis.
- Prieš keisdami funkcijas, visada atjunkite bandymo laidus nuo grandinės.
- Netepkite daugiau nei vardinis tūristage, kaip pažymėta ant skaitiklio, tarp gnybtų arba tarp bet kurio gnybto ir įžeminimo.
- Būkite atsargūs dirbdami su voltagesant didesnei nei 30 V kintamosios srovės RMS įtampai, 42 V pikinei vertei arba 60 V nuolatinės srovės įtampai. Tokia įtampatagtai kelia šoko pavojų.
- Matavimams visada naudokite tinkamus gnybtus, funkciją ir diapazoną.
- Nenaudokite matuoklio, jei jis atrodo pažeistas arba jei korpusas yra atidarytas.
- Kad išvengtumėte neteisingų rodmenų, pakeiskite bateriją, kai tik pasirodys išsikrovusios baterijos indikatorius.
- Nenaudokite matuoklio sprogioje dujų, garų ar dulkių aplinkoje.
- Ensure test leads are in good condition, with no damaged insulation.
3. Sąranka
3.1 Pakuotės turinys
Patikrinkite, ar jūsų pakuotėje yra šie elementai:
- LiebeWH ZT-300AB Digital Multimeter
- Bandymo laidai (raudoni ir juodi)
- Temperatūros zondas
- Vartotojo vadovas

Image 3.1: The multimeter shown with its included test leads and temperature probe.
3.2 Akumuliatoriaus įdėjimas
Multimetrui veikti reikalingos baterijos. Norėdami įdėti arba pakeisti baterijas:
- Įsitikinkite, kad multimetras yra IŠJUNGTAS, ir atjunkite visus bandymo laidus.
- Įrenginio gale suraskite baterijų skyriaus dangtelį.
- Atsuktuvu atidarykite akumuliatoriaus skyrių.
- Insert the new batteries, observing the correct polarity (+ and -).
- Uždėkite akumuliatoriaus skyriaus dangtelį ir pritvirtinkite jį varžtu.
3.3 Bandymo laidų prijungimas
Prijunkite bandymo laidus prie atitinkamų multimetro įvesties lizdų:
- Prijunkite juodas bandymo laidas prie COM (įprastas) domkratas.
- Prijunkite raudona bandymo laidas prie VΩHz jack for voltage, varžos, dažnio, talpos, diodo ir tęstinumo matavimai.
- For current measurements (mA/µA), connect the raudona bandymo laidas prie mAµA domkratas.
- For high current measurements (up to 10A), connect the raudona bandymo laidas prie 10A domkratas.
3.4 Wireless Function and Mobile App
The ZT-300AB can connect to your smartphone via its wireless function for real-time data monitoring and analysis.
- Download the dedicated mobile application from your device's app store. (App name not specified, refer to product packaging or manufacturer's websvetainė).
- Enable wireless on your smartphone and the multimeter.
- Open the app and follow the on-screen instructions to pair your multimeter.
- The app allows real-time data display, recording, and curve graphing. It can connect to and monitor up to four wireless multimeters simultaneously.

Image 3.2: The multimeter displaying a reading, with a smartphone screen showing the companion application for data monitoring.
4. Naudojimo instrukcijos
4.1 Maitinimo įjungimas/išjungimas
Turn the rotary dial from the OFF position to any measurement function to power on the multimeter. To power off, turn the dial back to the OFF position. The multimeter also features an automatic power-off function to conserve battery life.
4.2 Funkcijos pasirinkimas
Rotate the central dial to select the desired measurement function (e.g., V~ for AC Voltage, V – nuolatinės srovės įtampaitage, Ω for Resistance, A~ for AC Current, A- for DC Current, Temp for Temperature, etc.).
4.3 Mygtukų funkcijos
- DIAPAZONAS: Switches between automatic and manual ranging. In manual range, press repeatedly to cycle through available ranges.
- LAIKYTI/☀: Press once to hold the current reading on the display. Press again to release. Long press to activate/deactivate the backlight.
- REL△: Relative measurement mode. Displays the difference between the current reading and a stored reference value.
- MAX/MIN: Records and displays the maximum and minimum values measured during a session.
- Hz %: For frequency and duty cycle measurements.
- SEL/NCV: Selects between different sub-functions within a dial position (e.g., AC/DC, Diode/Continuity). Long press to activate Non-Contact Voltage (NCV) aptikimas.
4.4 Matavimų atlikimas
Always ensure the test leads are connected to the correct jacks and the function dial is set to the appropriate measurement type before connecting to a circuit.
- ttagMatavimas (kintamoji/nuolatinė): Select V~ for AC or V- for DC. Connect test leads in parallel with the circuit or component.
- Srovės matavimas (AC/DC): Select A~ for AC or A- for DC. Connect test leads in series with the circuit. Ensure the correct current jack (mAµA or 10A) is used.
- Varžos matavimas (Ω): Select Ω. Connect test leads across the component when it is de-energized.
- Talpos matavimas: Select the capacitance function. Connect test leads across the capacitor when it is de-energized.
- Diodo testas: Select the diode function. Connect test leads across the diode.
- Tęstinumo testas: Select the continuity function. Connect test leads across the circuit. A beep indicates continuity.
- Dažnis (Hz) / Darbo ciklas (%): Select the Hz% function. Connect test leads to the signal source.
- Temperatūros matavimas: Connect the temperature probe to the appropriate jacks (usually VΩHz and COM). Select the temperature function.
- Nekontaktinis ttage (NCV): Long press the SEL/NCV button. Bring the top of the multimeter near an AC voltage source. The meter will indicate the presence of voltage be tiesioginio kontakto.
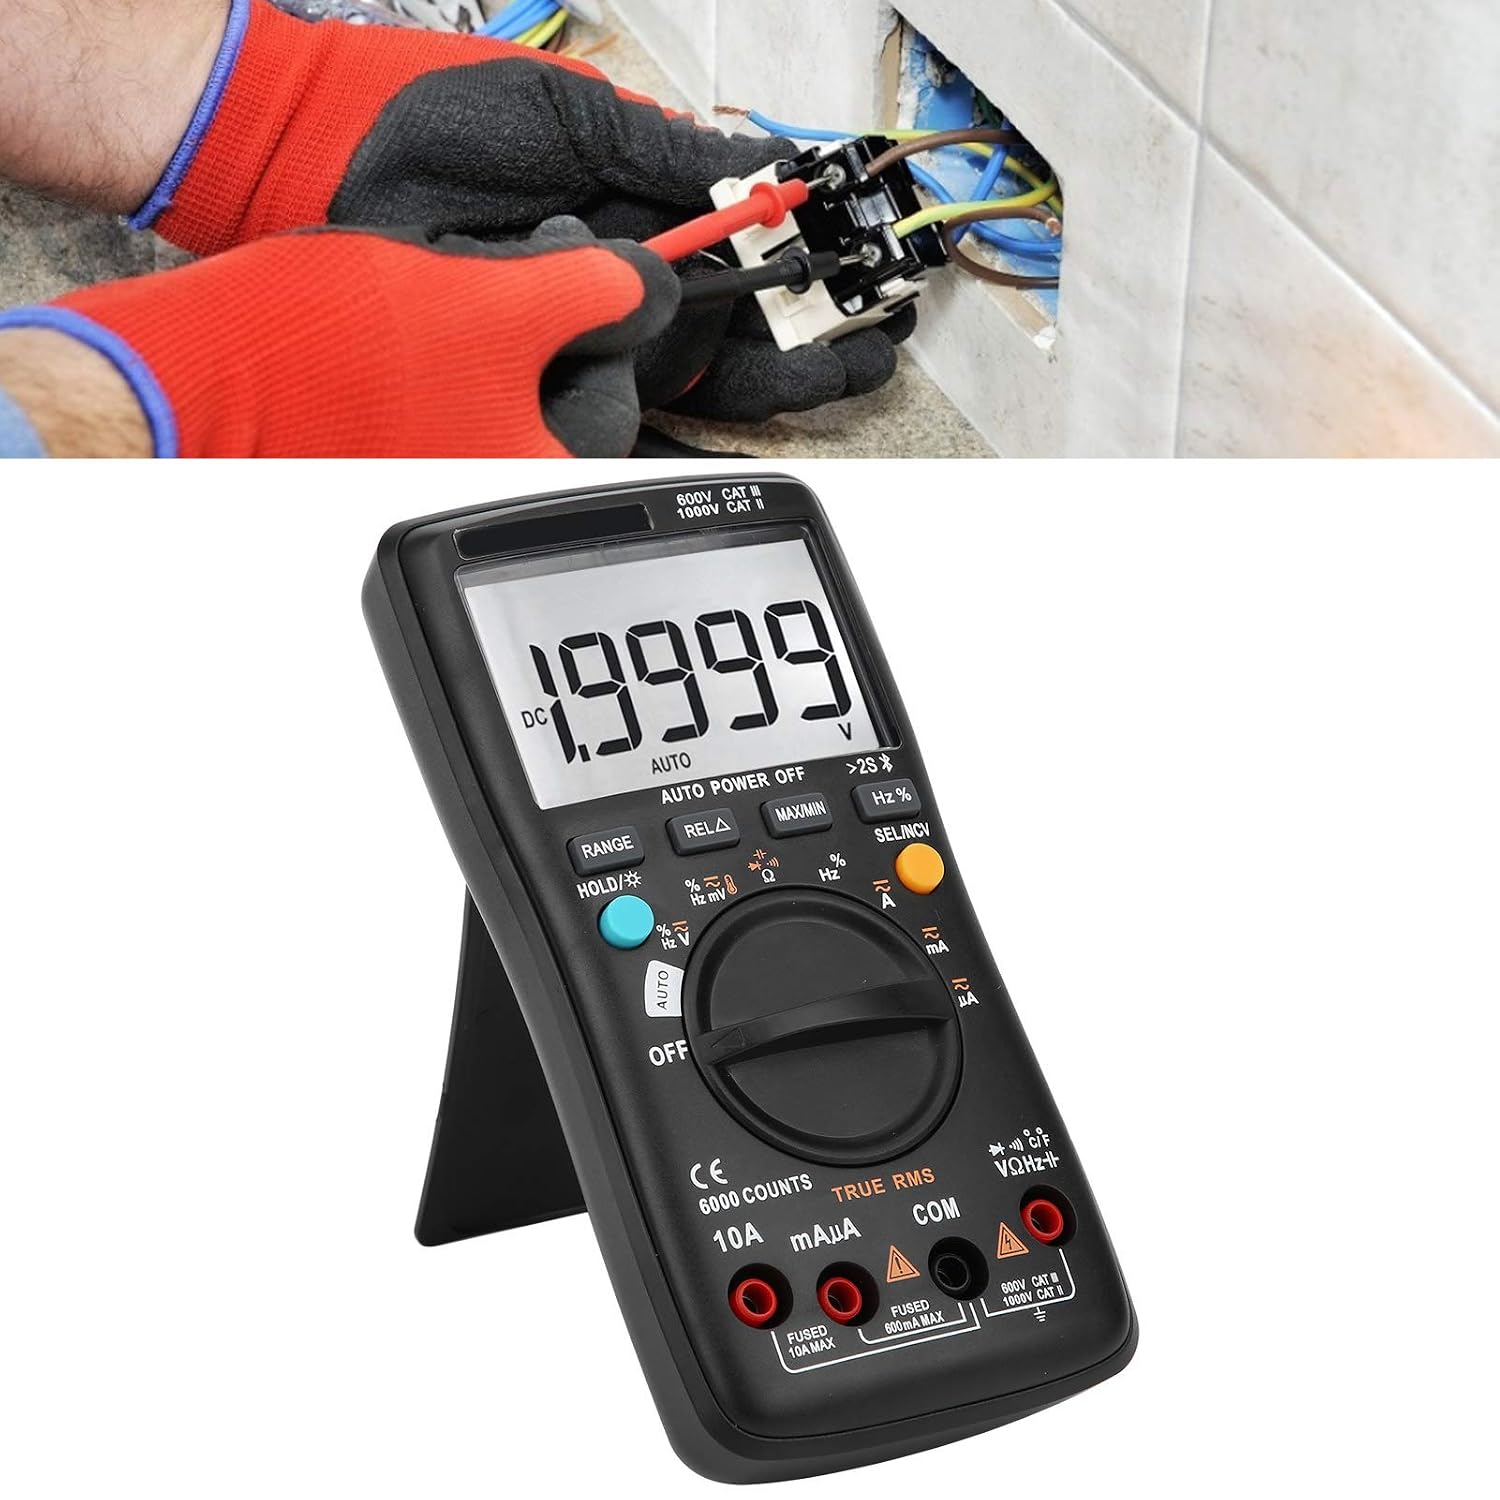
Image 4.1: The multimeter in use, positioned on its integrated kickstand for convenient viewmatavimų metu.
5. Priežiūra
5.1 Valymas
Nuvalykite dėklą su skelbimuamp šluoste ir švelniu plovikliu. Nenaudokite abrazyvinių medžiagų ar tirpiklių. Saugokite gnybtus nuo purvo ir drėgmės.
5.2 Akumuliatoriaus keitimas
Refer to Section 3.2 for battery replacement instructions. Replace batteries promptly when the low battery indicator appears on the display.
5.3 Saugiklio keitimas
If the current measurement functions stop working, the fuse may need replacement. Fuses are located inside the multimeter. Fuse specifications are typically printed near the current input jacks (e.g., FUSED 10A MAX, FUSED 600mA MAX). To replace a fuse:
- Įsitikinkite, kad multimetras yra IŠJUNGTAS, ir atjunkite visus bandymo laidus.
- Open the back case of the multimeter (this may require removing screws).
- Atsargiai suraskite ir išimkite perdegusį saugiklį.
- Replace it with a fuse of the exact same type and rating. Using an incorrect fuse can damage the meter or pose a safety hazard.
- Reassemble the multimeter, ensuring all screws are securely fastened.
6. Problemų sprendimas
- Nėra ekrano arba ekranas silpnas: Patikrinkite baterijų įdėjimą ir įkrovos lygį. Jei reikia, pakeiskite baterijas.
- Neteisingi rodmenys: Ensure test leads are properly connected to the correct jacks. Verify the function dial is set to the appropriate measurement type and range. Check for damaged test leads.
- Srovės matavimas neveikia: Check the fuse (refer to Section 5.3). Ensure the red test lead is connected to the correct current input jack (mAµA or 10A).
- Belaidžio ryšio problemos: Ensure wireless is enabled on both the multimeter and your smartphone. Restart both devices and try pairing again. Check the mobile app for troubleshooting tips.
- Meter does not respond: Turn the meter off and then on again. If the issue persists, remove batteries for a few minutes and then reinsert them.
7. Specifikacijos
| Funkcija | Specifikacija |
|---|---|
| Ekranas | 6000 Skaičių |
| Range | Automatinis/rankinis |
| Samplingo norma | 3 sekundės per kartą |
| Tikras RMS | Palaikoma |
| Duomenų sulaikymas | Palaikoma |
| Foninis apšvietimas | Palaikoma |
| Išsikrovusio akumuliatoriaus indikatorius | Palaikoma |
| Automatinis išjungimas | Palaikoma |
| DC ttage (V) | 6V, 60V, 600V, 1000V |
| DC ttage (mV) | 60mV |
| Matmenys | 20 x 12 x 5 cm (7.9 x 4.7 x 2 colio) |
| Svoris | 374 g (0.82 svaro) |
| Gamintojas | LiebeWH |
| Produkto modelio numeris | LiebeWHso0iq29gfn |

Image 7.1: Dimensions of the LiebeWH ZT-300AB Multimeter, showing its compact size.
8. Garantija ir palaikymas
For warranty information and technical support, please refer to the documentation included with your purchase or contact the manufacturer directly. Contact details can typically be found on the product packaging or the official LiebeWH websvetainę.