
VIRTAVO LJH10
VIRTAVO VistaFlask Wireless Outdoor Security Camera User Manual
Model: LJH10
1. Įvadas
This manual provides instructions for the installation, operation, and maintenance of your VIRTAVO VistaFlask Wireless Outdoor Security Camera (Model: LJH10). Please read this manual thoroughly before using the product to ensure proper function and safety. Keep this manual for future reference.
2. Pakuotės turinys
Patikrinkite, ar jūsų pakuotėje yra visi toliau išvardyti daiktai:
- VIRTAVO VistaFlask Wireless Outdoor Security Camera (LJH10)
- Mounting Bracket
- Tvirtinimo varžtai ir sieniniai inkarai
- USB įkrovimo laidas
- Vartotojo vadovas (šis dokumentas)
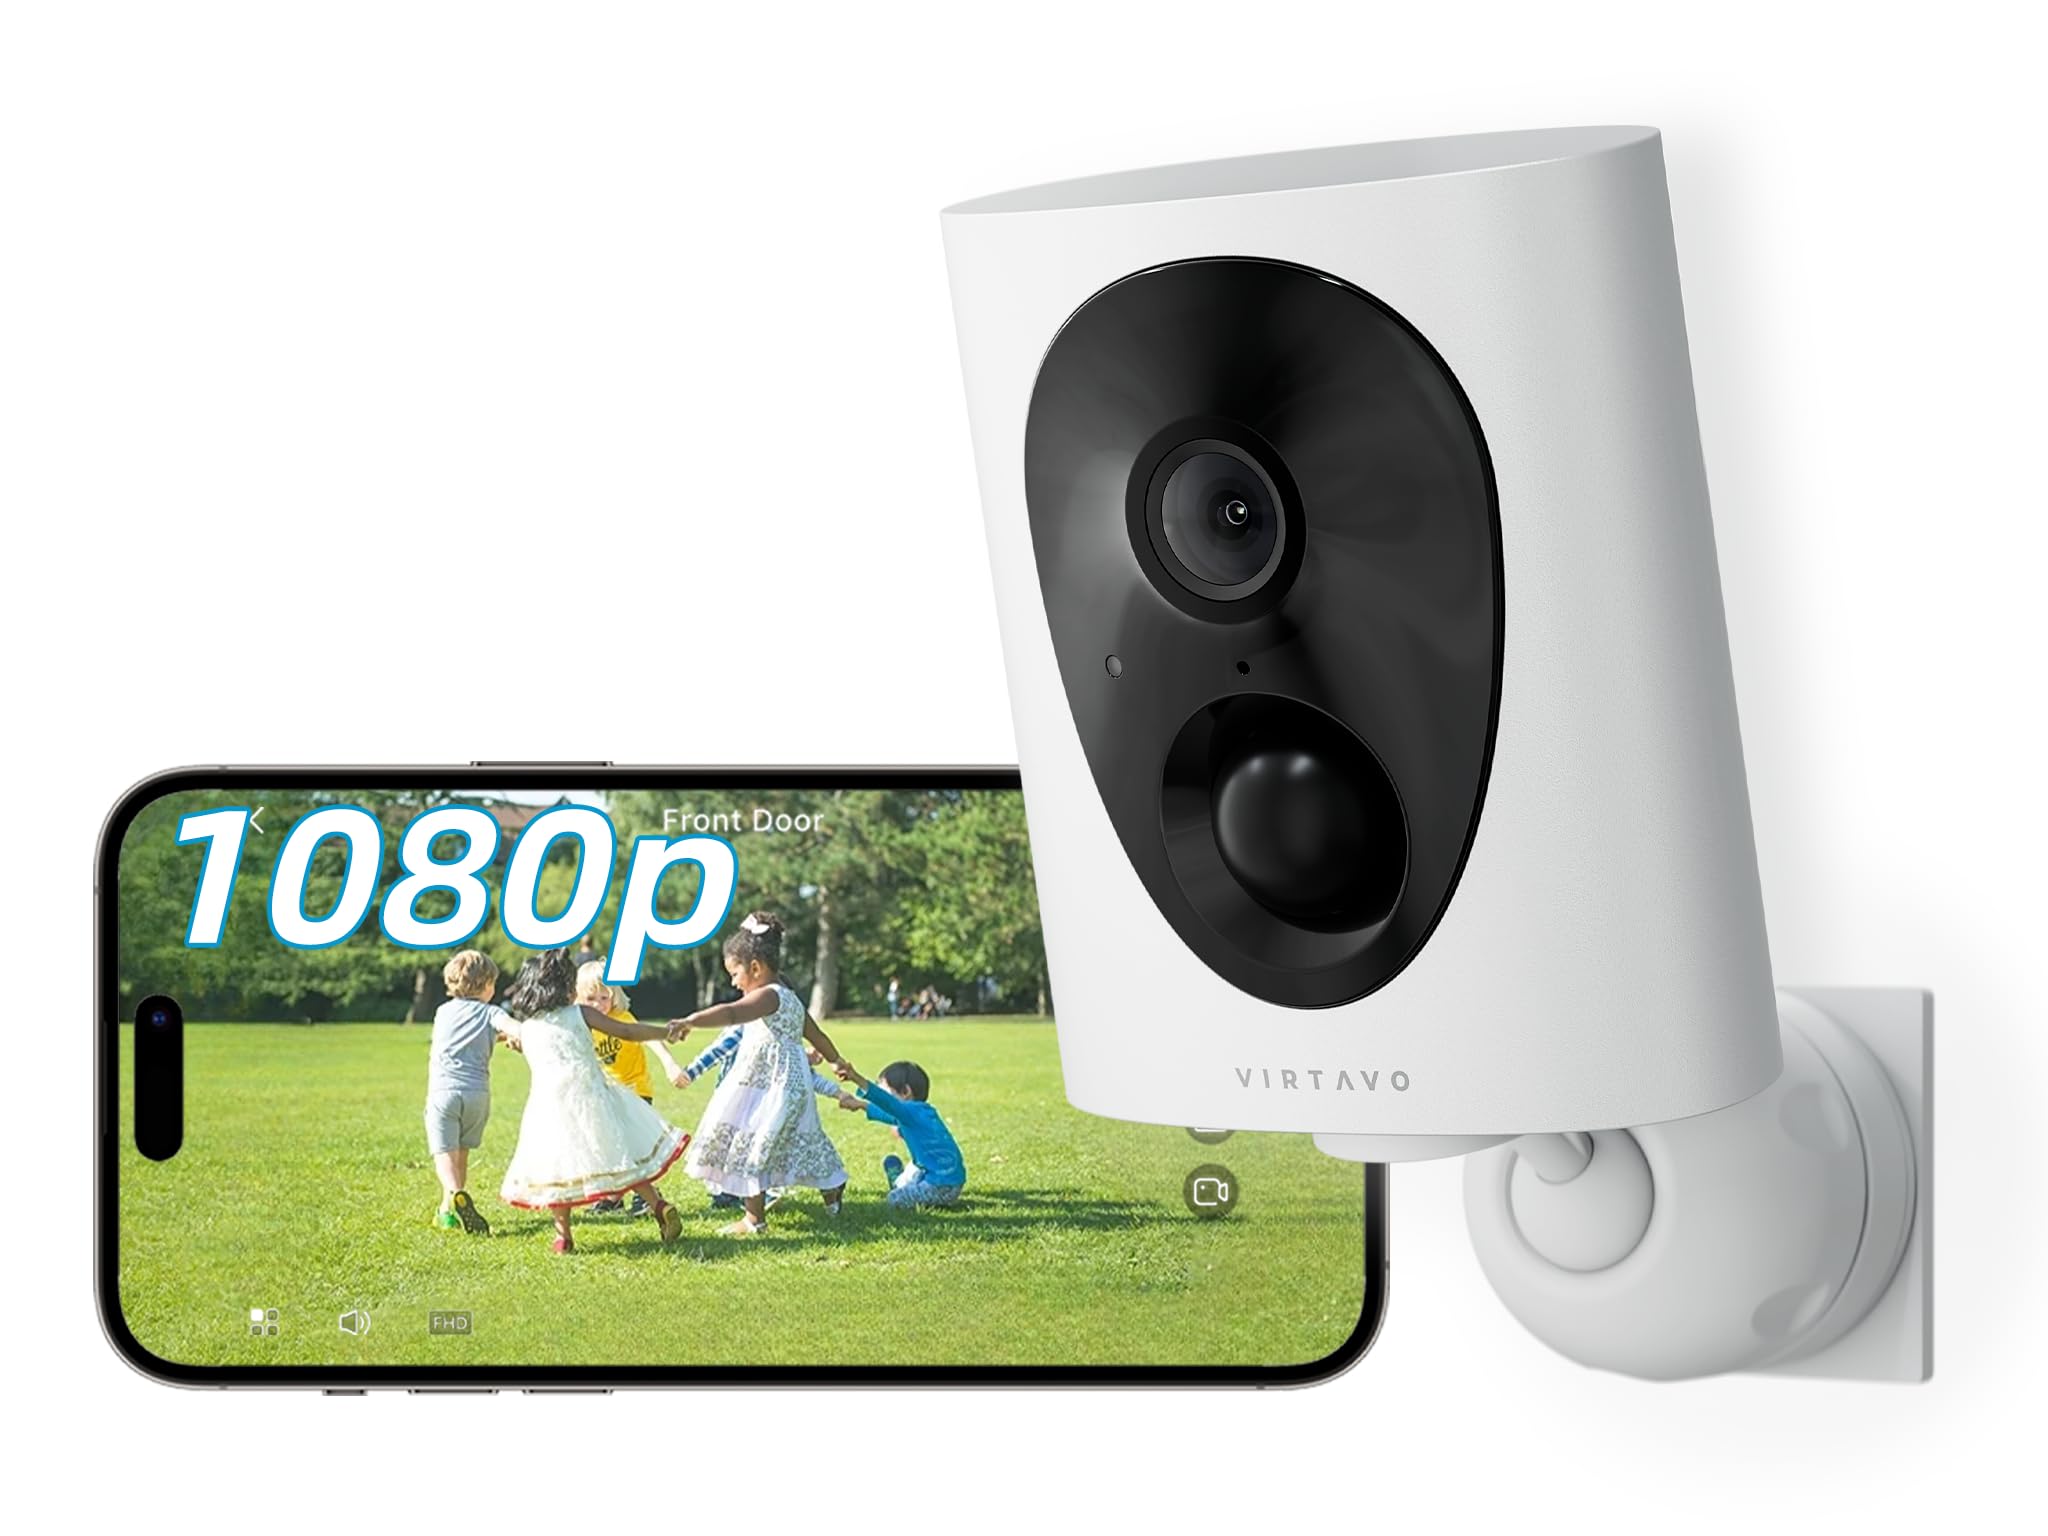
Image 1: VIRTAVO VistaFlask Camera and included accessories. The image shows the camera unit, a mounting bracket, screws, and a charging cable.
3. Produktas baigtasview
Familiarize yourself with the components of your VIRTAVO VistaFlask camera.
2 paveikslas: Priekinė ir šoninė dalys view of the VIRTAVO VistaFlask camera. Key components include the lens, IR LEDs, PIR sensor, microphone, speaker, and charging port.
- Kameros objektyvas: Captures 1080P FHD video.
- Starlight Sensor: Enables color-rich night vision in low-light conditions.
- IR LEDs (x2): Provides infrared illumination for clear night vision.
- PIR judesio jutiklis: Aptinka pasyvius infraraudonųjų spindulių pokyčius judesio aptikimui.
- Mikrofonas: Įrašo garsą dvipusiam ryšiui.
- Pranešėjas: Outputs audio for two-way communication and alerts.
- Būsenos indikatoriaus lemputė: Displays camera status (e.g., charging, connected, recording).
- Atkūrimo mygtukas: Naudojamas norint atkurti gamyklinius fotoaparato nustatymus.
- „Micro SD“ kortelės lizdas: Supports local storage (32GB to 256GB, not included).
- USB įkrovimo prievadas: Skirta vidinei baterijai įkrauti.
4. Sąranka
4.1 Kameros įkrovimas
Before initial use, fully charge the camera's internal 4400mAh battery. Connect the provided USB charging cable to the camera's charging port and a standard 5V/1A USB power adapter (not included). The status indicator light will show charging status and turn off when fully charged. A full charge typically takes 6-8 hours.
4.2 Installing the 'HOME V' App
The VIRTAVO VistaFlask camera operates via the 'HOME V' mobile application.
- Scan the QR code below or search for "HOME V" in your device's app store (App Store for iOS, Google Play Store for Android).
- Atsisiųskite ir įdiekite programą.
- Registruokite naują paskyrą arba prisijunkite, jei jau turite.
Image 3: Placeholder QR code for downloading the 'HOME V' application. Scan this code with your smartphone to quickly find and install the app.
4.3 Kameros prijungimas prie „Wi-Fi“
Follow these steps to connect your camera to your home Wi-Fi network:
- Įsitikinkite, kad jūsų išmanusis telefonas prijungtas prie 2.4 GHz „Wi-Fi“ tinklo. Kamera nepalaiko 5 GHz „Wi-Fi“.
- Open the 'HOME V' app and tap "Add Device" or the "+" icon.
- Pasirinkite „Baterijos kamera“ arba atitinkamą kameros tipą.
- Power on the camera. The status indicator light should blink blue, indicating it's ready for pairing. If not, press and hold the reset button for 5 seconds until it blinks.
- Follow the in-app instructions to enter your Wi-Fi network name (SSID) and password.
- The app will generate a QR code. Hold your phone approximately 6-8 inches (15-20 cm) in front of the camera lens until you hear a confirmation sound.
- Once connected, the status indicator light will turn solid blue, and the camera will appear in your 'HOME V' app.
4.4 Fotoaparato montavimas
Choose a suitable location for mounting, ensuring good Wi-Fi signal strength and an unobstructed view. The camera is weatherproof for outdoor use.
- Pažymėkite norimas gręžimo vietas, naudodami tvirtinimo laikiklį kaip šabloną.
- Jei tvirtinate prie mūro arba gipso kartono, išgręžkite kreipiamąsias skyles ir įstatykite sieninius inkarus.
- Pritvirtinkite tvirtinimo laikiklį prie sienos arba lubų naudodami pateiktus varžtus.
- Pritvirtinkite kamerą prie tvirtinimo laikiklio ir sureguliuokite kampą, kad užtikrintumėte optimalų aprėpties lygį.
Image 4: Illustrative diagram of the camera mounting process. It depicts marking drill points, securing the bracket, and attaching the camera.
5. Naudojimo instrukcijos
5.1 Tiesiogiai View ir Atkūrimas
Access the 'HOME V' app to view gyvas kvailystage arba review užfiksuoti įvykiai.
- Open the 'HOME V' app and select your camera from the device list.
- Tap on the camera feed to enter live view.
- Į view įrašytas footage, tap the "Playback" or "History" icon within the live view sąsaja.
5.2 Dvipusis garsas
The camera supports two-way audio communication.
- Gyvai view, palieskite mikrofono piktogramą, kad kalbėtumėte per kameros garsiakalbį.
- Norėdami klausytis garso iš kameros mikrofono, palieskite garsiakalbio piktogramą.
5.3 Judesio aptikimas ir įspėjimai
The camera uses PIR motion detection to trigger recordings and send alerts.
- Enable or disable motion detection in the camera settings within the 'HOME V' app.
- Adjust sensitivity levels to minimize false alarms.
- Gaukite momentinius „push“ pranešimus savo išmaniajame telefone, kai aptinkamas judesys.
5.4 Naktinis matymas
The camera automatically switches to night vision mode in low-light conditions, utilizing its Starlight lens and IR LEDs for clear imaging up to 30 feet.
- The camera will automatically activate IR LEDs for black and white night vision.
- The Starlight lens provides color-rich images in very low ambient light before IR activation.
5.5 Saugojimo parinktys
The camera supports both local Micro SD card storage and optional cloud storage.
- „Micro SD“ kortelė: Insert a Micro SD card (32GB-256GB, Class 10 or higher) into the designated slot. The camera will automatically begin recording motion-triggered events to the card.
- Saugykla debesyje: Subscribe to the optional cloud storage service via the 'HOME V' app for additional features and secure off-site storage.
6. Priežiūra
6.1 Kameros valymas
To ensure optimal performance, periodically clean the camera lens and housing.
- Kameros korpusą nuvalykite minkštu, sausu skudurėliu.
- For the lens, use a lens cleaning cloth and a specialized lens cleaning solution if necessary. Avoid abrasive materials.
6.2 Akumuliatoriaus valdymas
The camera's 4400mAh rechargeable battery provides 1-3 months of operation depending on usage and motion detection frequency.
- Recharge the battery when the app indicates a low battery level.
- Use the provided USB cable and a 5V/1A power adapter for charging.
- Avoid exposing the camera to extreme temperatures during charging or operation, as this can affect battery life.
6.3 Firmware atnaujinimai
Periodically check the 'HOME V' app for available firmware updates. Updates can improve performance, add new features, and enhance security.
- Follow the in-app instructions to download and install firmware updates.
- Ensure the camera has sufficient battery charge before starting an update.
7. Problemų sprendimas
| Problema | Galima priežastis | Sprendimas |
|---|---|---|
| Kamerai nepavyksta prisijungti prie „Wi-Fi“. | Incorrect Wi-Fi password; 5GHz Wi-Fi network; weak Wi-Fi signal; camera too far from router. |
|
| Nėra judesio aptikimo įspėjimų. | Motion detection disabled; low sensitivity; app notifications blocked; camera offline. |
|
| Prasta naktinio matymo kokybė. | Dirty lens; obstructions near IR LEDs; insufficient ambient light for Starlight vision. |
|
| Baterija greitai išsikrauna. | Frequent motion detection; live view accessed often; extreme temperatures. |
|
8. Specifikacijos
| Funkcija | Detalė |
|---|---|
| Modelis | LJH10 |
| Rezoliucija | 1080p FHD |
| Laukas View | 130 laipsnių |
| Naktinis matymas | Starlight Color Night Vision, 2x IR LEDs (up to 30 feet) |
| Garsas | Dvipusis garsas |
| Judesio aptikimas | PIR (Passive Infrared), 30-foot range |
| Ryšys | 2.4 GHz „Wi-Fi“ (IEEE 802.11b/g/n) |
| Maitinimo šaltinis | 4400 XNUMX mAh įkraunama baterija |
| Sandėliavimas | Micro SD Card (32GB-256GB), Cloud Storage (optional) |
| Atsparumas oro sąlygoms | Atsparus oro sąlygoms |
| Programų suderinamumas | 'HOME V' (iOS, Android) |
| Matmenys | 2.7 x 1.3 x 3.2 colio |
| Svoris | 11.2 uncijos |
9. Garantija ir palaikymas
VIRTAVO products come with a limited warranty. For detailed warranty information, please refer to the warranty card included in your package or visit the official VIRTAVO websvetainę.
For technical support, troubleshooting assistance, or customer service inquiries, please contact VIRTAVO support through the 'HOME V' app or visit our websvetainę.
- Palaikymas internetu: VIRTAVO Official Store
- Pagalba el. paštu: Refer to the 'HOME V' app or product packaging for contact details.
Ask a question about this manual
Ask about setup, troubleshooting, compatibility, parts, safety, or missing instructions. Manuals+ will review the question and use this page’s manual context to help answer it.