
1. Įvadas
Thank you for choosing the Yechiry Keychain Camera. This compact and versatile device is designed for easy capture of high-definition videos and photos. Its small size and simple operation make it ideal for various recording needs. Please read this manual thoroughly to understand the camera's features and ensure proper usage.
Pakuotės turinys:
- 1 x Yechiry Keychain Camera
- 1 x Riešo dirželis
- 1x įkrovimo laidas
- 1 x raktų pakabukas
- 1 x Vartotojo vadovas
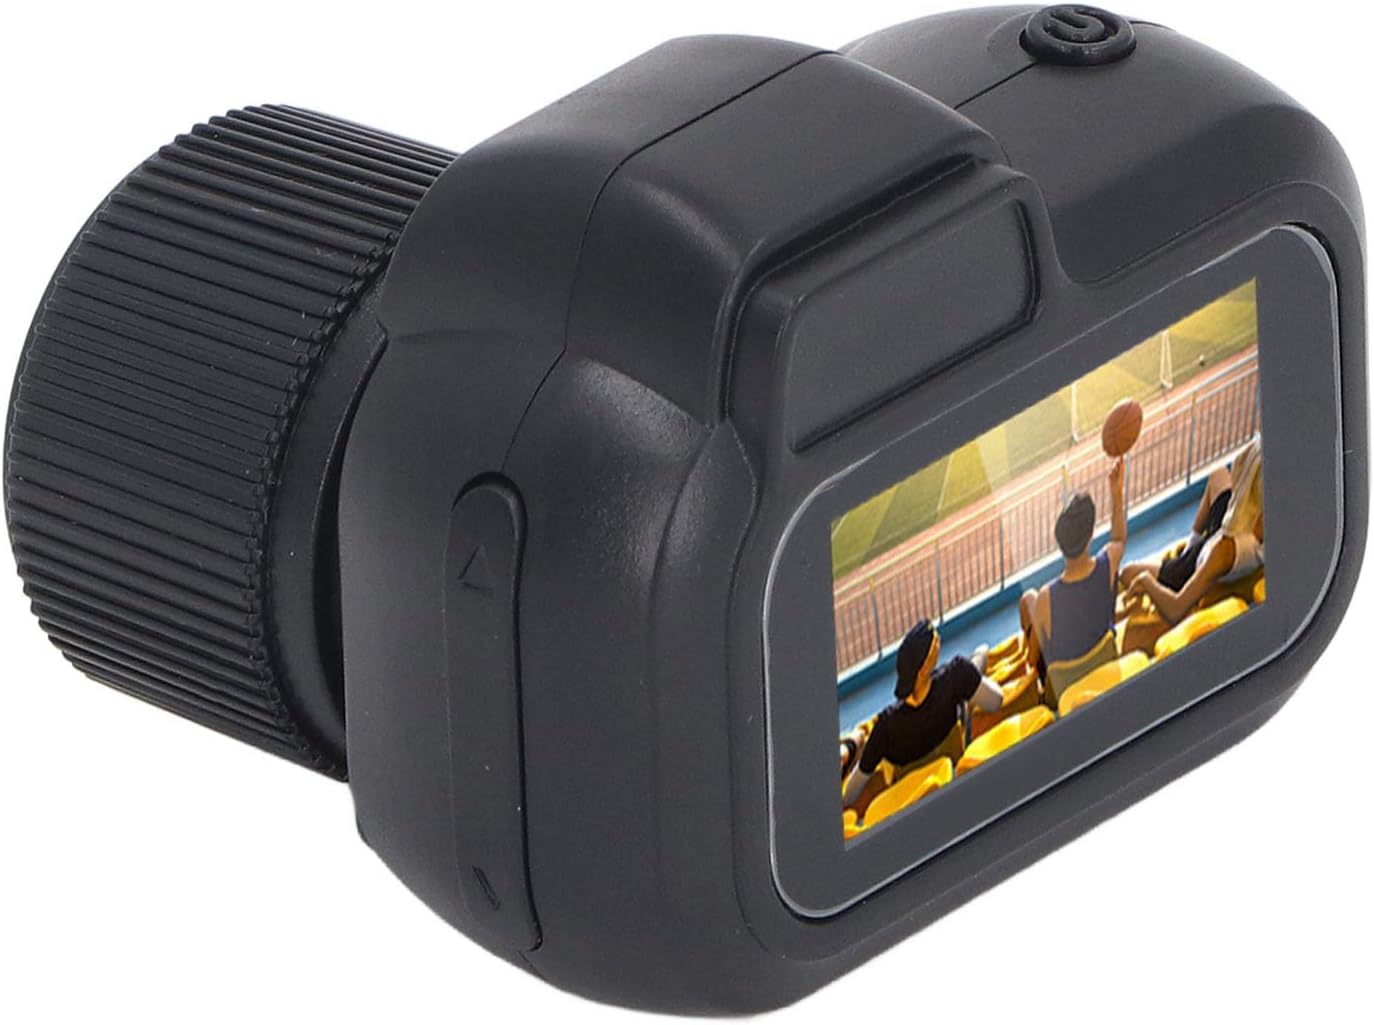
Image: The Yechiry Keychain Camera, along with its included wrist strap, charging cable, and keychain.
2. Produktas baigtasview
Susipažinkite su fotoaparato komponentais:
- Objektyvas: 160-degree wide angle, 2MP for 1080P HD video.
- Spalvotas ekranas: For real-time video viewing.
- Mygtukai: Three primary buttons for mode selection and recording initiation.
- Mikro USB sąsaja: Įkrovimui ir duomenų perdavimui.
- TF kortelės lizdas: Supports 8-128GB TF cards (not included).
- Keychain Loop: For attaching the included keychain or wrist strap.

Vaizdas: priekis view of the camera, showing the lens and screen.
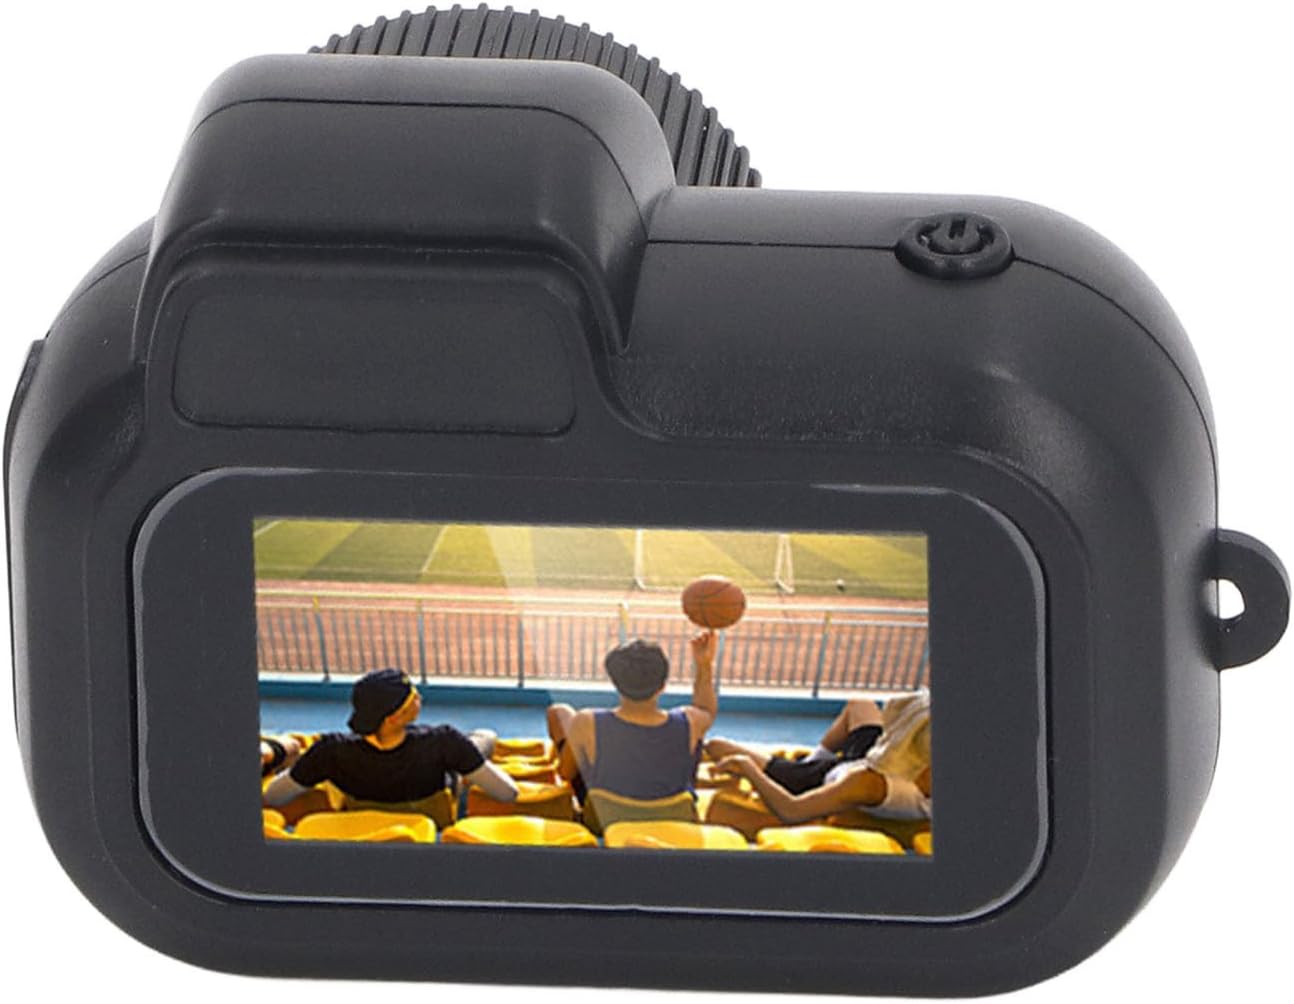
Vaizdas: Viršus view kameros, paryškinant maitinimo mygtuką.

Vaizdas: Šoninė view of the camera, showing the control buttons.

Vaizdas: Apačia view of the camera, revealing the Micro USB port and TF card slot.
3. Sąranka
- Įkraukite fotoaparatą: Connect the camera to a power source using the provided Micro USB cable. The charging indicator will show the charging status. A full charge provides approximately 100 minutes of battery life. The camera supports charging while recording.
- Įdėkite TF kortelę: Locate the TF card slot. Gently insert a compatible TF card (8-128GB, not included) into the slot until it clicks into place. Ensure the card is inserted correctly to avoid damage.
- Maitinimas: Press and hold the power button until the screen illuminates. The camera will boot up and display the main interface.

Image: A visual representation of inserting a Micro SD card into the camera's slot.
4. Naudojimo instrukcijos
The camera features a simple three-button operation for ease of use.
4.1. Vaizdo įrašymas
- Įjunkite vaizdo režimą: After powering on, use the mode button to navigate to the video recording mode. The screen will display a video icon.
- Pradėti įrašymą: Press the record button once to begin video recording. A recording indicator (e.g., a flashing light or on-screen icon) will appear.
- Sustabdyti įrašymą: Press the record button again to stop recording. The video file will be saved automatically to the TF card.
4.2. Nuotraukų fotografavimas
- Enter Photo Mode: Use the mode button to switch to the photo capture mode. The screen will display a camera icon.
- Fotografuoti: Press the capture button once to take a still photograph. The image will be saved to the TF card.
4.3. Atkūrimas
The color screen allows for immediate review of captured content.
- Įjunkite atkūrimo režimą: Use the mode button to navigate to the playback mode.
- Naršyti Files: Norėdami peržiūrėti įrašytus vaizdo įrašus ir nuotraukas, naudokite naršymo mygtukus.
- View/Play: Pasirinkite a file į view the photo or play the video on the screen.

Image: An illustration emphasizing the 1080P 2MP clarity of the camera's output.

Image: A visual demonstrating the 0.96-inch HD screen for quick review.
5. Priežiūra
- Valymas: Use a soft, dry cloth to clean the camera body and lens. Avoid using liquid cleaners or abrasive materials.
- Saugykla: Fotoaparatą laikykite vėsioje, sausoje vietoje, toliau nuo tiesioginių saulės spindulių ir ekstremalių temperatūrų.
- Akumuliatoriaus priežiūra: Norėdami pailginti baterijos veikimo laiką, venkite jos dažnai visiškai iškrauti. Reguliariai įkraukite fotoaparatą, net jei jo ilgą laiką nenaudojate.
- TF kortelių valdymas: Svarbu reguliariai kurti atsargines kopijas files from your TF card to a computer. Format the TF card periodically to maintain optimal performance.
6. Problemų sprendimas
| Problema | Galima priežastis | Sprendimas |
|---|---|---|
| Kamera neįsijungia. | Žema akumuliatoriaus įkrova; įrenginio gedimas. | Charge the camera fully. If problem persists, contact customer service. |
| Nepavyksta įrašyti vaizdo / fotografuoti. | No TF card inserted; TF card full or corrupted. | Insert a TF card. Check TF card storage or format it. |
| Prasta vaizdo įrašų / nuotraukų kokybė. | Insufficient lighting; dirty lens. | Ensure adequate lighting. Clean the camera lens with a soft cloth. |
| Kamera užstringa. | Programinės įrangos triktis. | Paspauskite ir palaikykite maitinimo mygtuką, kad priverstumėte paleisti iš naujo. |
7. Specifikacijos
- Modelis: Yechiry03xunow5hc
- Vaizdo įrašo raiška: 1080p HD
- Nuotraukos raiška: 2 MP
- Objektyvo kampas: 160 degrees wide angle
- Ekrano dydis: 0.96 colio spalvotas ekranas
- Baterija: Integruota 180 mAh polimerinė ličio baterija
- Baterijos veikimo laikas: Maždaug 100 minučių nepertraukiamo įrašymo
- Saugykla: Supports 8-128GB TF card (not included)
- Ryšys: Mikro USB
- Matmenys: 3.39 x 2.76 x 1.5 colių (pakuotė)
- Svoris: 1.76 uncijos (prekė)
- Palaikoma File Formatai: JPG (Photo), AVI (Video)
8. Pagalba klientams
For any questions, concerns, or assistance with your Yechiry Keychain Camera, please contact our customer service team. We are available 24/7 to provide support.
If you are not satisfied with your purchase, please contact us for a refund.
For more information and product updates, visit the official Yechiry store: Yechiry Store on Amazon