
Įvadas
Ačiū, kad pirkoteasing the Andoer Digital Camera H12. This manual provides detailed instructions for the proper use and maintenance of your camera. Please read this manual thoroughly before using the camera to ensure optimal performance and longevity.
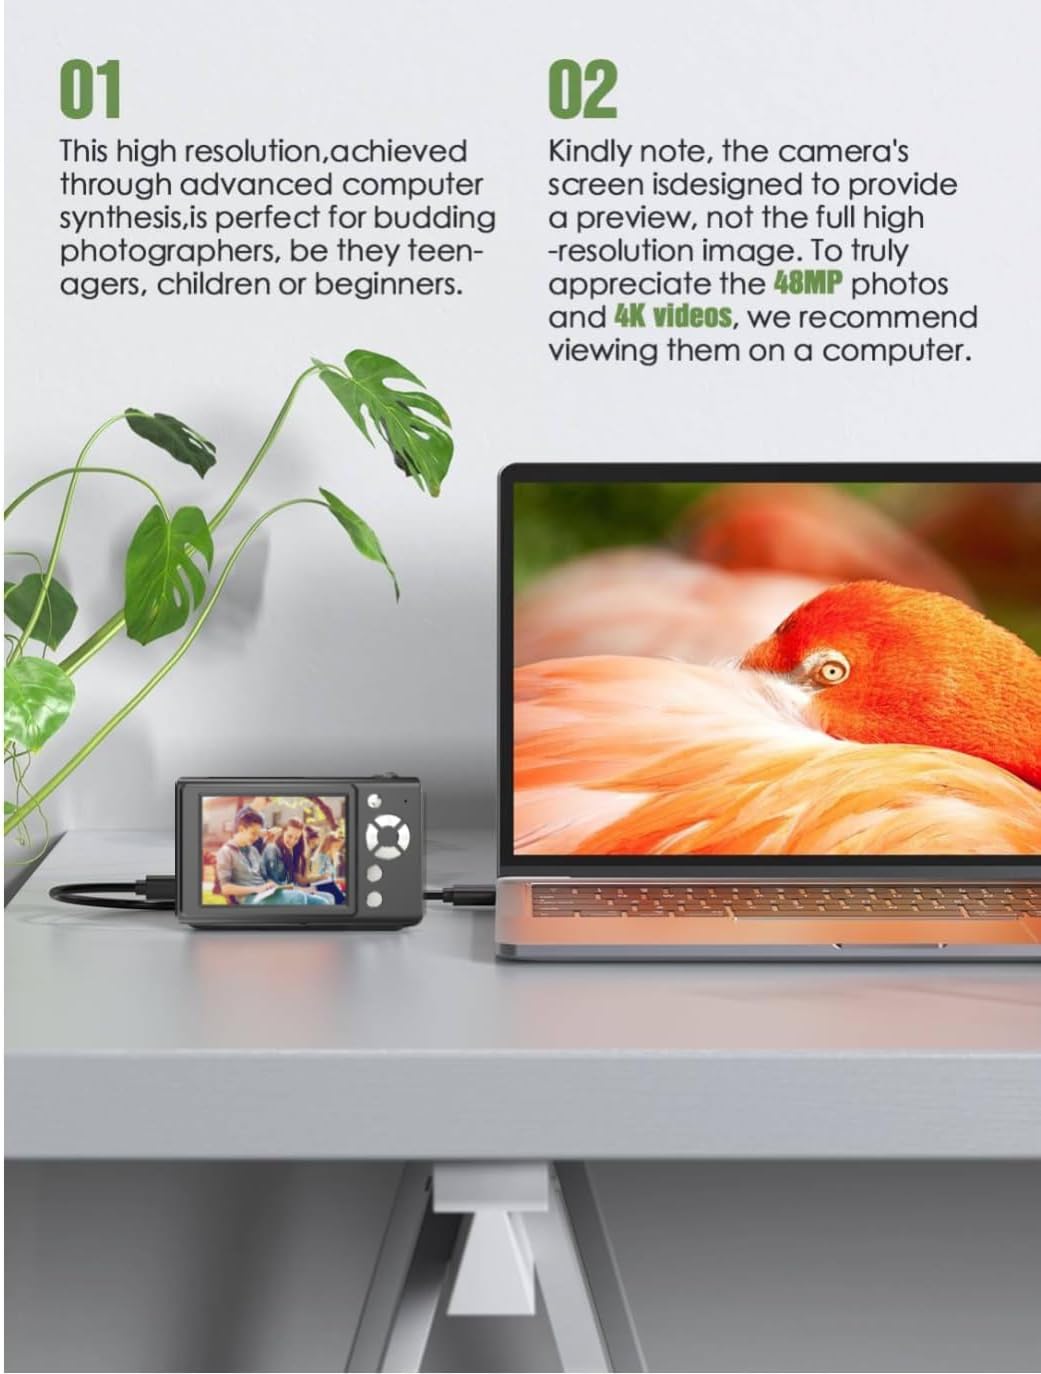
The Andoer H12 is a compact digital point-and-shoot camera featuring 1080P video recording, 48MP photo resolution, 16x digital zoom, autofocus, and an anti-shake function. It is designed for ease of use, making it suitable for various users.
Pakuotės turinys
Išpakuodami patikrinkite pakuotės turinį, kad įsitikintumėte, jog yra visi reikalingi daiktai:
- 1 x Andoer Digital Camera H12
- 1 x USB laidas (C tipo)
- 1 x Riešo dirželis
- 1 x 32GB atminties kortelė
- 1 x kortelių skaitytuvas
- 1 x Vartotojo vadovas
Sąranka
1. Akumuliatoriaus įkrovimas
The camera is equipped with a built-in 3.7V 700mAh lithium battery. Before first use, fully charge the battery.
- Connect the included Type-C USB cable to the camera's USB port.
- Kitą USB kabelio galą prijunkite prie USB maitinimo adapterio (nepridedamas) arba kompiuterio USB prievado.
- The charging indicator light will illuminate. Once charging is complete, the indicator light will change or turn off.
Pastaba: A full charge typically takes approximately 2-3 hours. Do not use the camera while it is charging.
2. Atminties kortelės įdėjimas
The camera supports TF (MicroSD) cards up to 128GB. A 32GB memory card is included in the package.
- Suraskite atminties kortelės angą fotoaparato šone.
- Gently insert the TF card into the slot with the metal contacts facing the front of the camera until it clicks into place.
- To remove the card, gently push it in again until it springs out.

3. Riešo dirželio pritvirtinimas
Attach the included wrist strap to the camera for added security and to prevent accidental drops.
- Thread the thin loop of the wrist strap through the strap eyelet on the camera body.
- Pass the larger end of the strap through the thin loop and pull tight to secure it.
Naudojimo instrukcijos
1. Maitinimo įjungimas/išjungimas
- Norėdami įjungti, paspauskite ir palaikykite maitinimo mygtuką, kol ekranas įsijungs.
- Norėdami išjungti, dar kartą paspauskite ir palaikykite maitinimo mygtuką, kol ekranas išsijungs.
- The camera features an auto power-off function (off/3 mins/5 mins) which can be configured in the settings.
2. Fotografavimas
- Įjunkite fotoaparatą. Paprastai fotoaparatas įsijungs fotografavimo režimu.
- Kadruokite kadrą naudodami 2.8 colio IPS ekraną.
- Press the shutter button halfway down to activate autofocus. The camera will recognize and track subjects.
- Once focus is achieved (indicated by a green frame), press the shutter button fully to take the picture.

3. Vaizdo įrašų įrašymas
- Switch to video mode (refer to the camera's on-screen interface for the mode switch button).
- Press the shutter button to start recording. A red indicator or timer will appear on the screen.
- Norėdami sustabdyti įrašymą, dar kartą paspauskite užrakto mygtuką.
The camera supports 1080P and 720P video resolutions in AVI format. Loop recording can be set for 3, 5, or 10 minutes.
4. Priartinimo funkcija
Use the zoom buttons (usually marked 'W' for Wide and 'T' for Telephoto) to adjust the 16x digital zoom. This allows you to magnify distant subjects.

5. LED Fill Light
The camera features a built-in ring LED fill light with three lighting modes to assist in low-light conditions.
- Balta šviesa: Bright, even, and soft illumination.
- Šiltai balta šviesa: Pure natural light, soft and comfortable.
- Geltona šviesa: Warm color adjustment for a warm atmosphere.
Access and cycle through these modes via the camera's menu or a dedicated button (refer to the on-screen interface).

6. Kitos funkcijos
- Asmenukės laikmatis: Options for off, 2s, 5s, or 10s delay before taking a photo.
- Nepertraukiamas fotografavimas: Capture a series of photos rapidly.
- Anti-shake: Helps reduce blur caused by camera movement.
- Filtro efektai: Various built-in filters to enhance your photos.
- Žaidimai: Includes 4 simple games for entertainment.
- MP3 atkūrimas: Download MP3 music to the memory card and play it through the camera.

Priežiūra
- Kameros korpuso valymas: Kameros korpusą nuvalykite minkšta, sausa šluoste. Jei nešvarumai sunkiai įveikiami, šiek tiek pamirkykite.ampNuvalykite šluostę vandeniu ir nusausinkite. Venkite cheminių valiklių.
- Objektyvo ir ekrano valymas: Use a specialized lens cleaning cloth or brush to gently remove dust and smudges. Do not use abrasive materials or excessive force.
- Saugykla: When not in use for extended periods, store the camera in a cool, dry place away from direct sunlight and extreme temperatures. Remove the memory card if not in use.
- Akumuliatoriaus priežiūra: Avoid fully discharging the battery frequently. Charge the battery regularly, even if the camera is not in use, to maintain battery health.
- Atsparumas vandeniui: Ši kamera yra nėra atsparus vandeniuiVenkite vandens, lietaus ar didelės drėgmės.
Trikčių šalinimas
| Problema | Galima priežastis | Sprendimas |
|---|---|---|
| Kamera neįsijungia. | Baterija išsikrovusi arba neįkrauta. | Charge the camera battery fully using the provided USB cable. |
| Negalima fotografuoti / įrašyti vaizdo įrašų. | Memory card is full, not inserted correctly, or corrupted. | Check if the memory card is inserted correctly. Delete unnecessary files or replace the memory card. Format the card if necessary (this will erase all data). |
| Vaizdai neryškūs. | Autofocus failed, camera shake, or dirty lens. | Ensure autofocus is engaged. Hold the camera steady or use the anti-shake function. Clean the lens with a soft cloth. |
| Ekranas tuščias arba užstrigo. | Sistemos klaida arba laikinas gedimas. | Press and hold the power button for 10 seconds to force a shutdown, then restart the camera. If the issue persists, contact customer support. |
| Negalima perkelti files prie kompiuterio. | Incorrect cable connection or driver issue. | Ensure the USB cable is securely connected. Try a different USB port or computer. Use the included card reader to transfer files tiesiai iš atminties kortelės. |
Specifikacijos
| Funkcija | Detalė |
|---|---|
| Modelio pavadinimas | H12 |
| Ekranas | 2.8 colių IPS LCD |
| Nuotraukų raiška | Up to 48MP (48M, 40M, 24M, 20M, 18M, 16M, 12M, 10M, 8M, 5M, 3M, 2M, 1M) |
| Nuotraukos formatas | JPG |
| Vaizdo raiška | 1080P, 720P |
| Vaizdo įrašo formatas | AVI |
| Skaitmeninis priartinimas | 16X |
| Automatinis fokusavimas | Yes (Contrast Detection, 9 points) |
| Vaizdo stabilizavimas | Optinis |
| Jutiklio tipas | CMOS (1/4 colio) |
| Sandėliavimas | TF card, max. 128GB (32GB included) |
| Baterija | Built-in Lithium Battery (3.7V 700mAh) |
| Įkrovimo sąsaja | C tipo USB |
| Selfie laikmatis | Off/ 2s/ 5s/ 10s |
| Automatinis išjungimas | Off/ 3 mins/ 5 mins |
| Ciklo įrašymas | 3 mins/ 5 mins/ 10 mins |
| Integruotos funkcijos | LED Fill Light (3 modes), Filter Effects, 4 Games, MP3 Playback |
| Produkto dydis | 103 x 31 x 65 mm |
| Produkto svoris | 149g (camera body) / 260g (item weight including packaging/accessories) |
| Atsparumo vandeniui lygis | Neatsparus vandeniui |
Informacija apie garantiją
The Andoer Digital Camera H12 comes with a 1 metų garantija nuo įsigijimo datos. Ši garantija taikoma gamybos defektams ir gedimams įprasto naudojimo metu. Ji netaikoma žalai, atsiradusiai dėl netinkamo naudojimo, nelaimingų atsitikimų, neleistino remonto ar stichinių nelaimių.
Išsaugokite pirkimo įrodymą, kad galėtumėte kreiptis dėl garantijos.
Pagalba klientams
If you encounter any issues or have questions not covered in this manual, please contact Andoer customer support. You can typically find support contact information on the official Andoer websvetainėje arba per savo mažmenininką.
Dėl papildomos pagalbos apsilankykite Andoer Store on Amazon.