
1. Įvadas
Ačiū, kad pirkoteasing the Morpilot Glass Milk Frother HS001. This manual provides essential information for the safe and efficient operation, maintenance, and troubleshooting of your new appliance. Please read these instructions thoroughly before first use and retain them for future reference.
2. Svarbios saugos instrukcijos
- Prieš naudodami prietaisą perskaitykite visas instrukcijas.
- Do not immerse the electrical base unit in water or any other liquid.
- Užtikrinkite maitinimo šaltinio ttage atitinka prietaiso vardinę etiketę.
- Prietaisą laikykite vaikams nepasiekiamoje vietoje.
- Nenaudokite prietaiso su pažeistu laidu ar kištuku.
- Visada dėkite plaktuvą ant stabilaus, lygaus, karščiui atsparaus paviršiaus.
- Nelieskite karštų paviršių. Naudokite rankenas arba rankenėles.
- Ištraukite kištuką iš elektros lizdo, kai nenaudojate ir prieš valydami. Prieš uždėdami ar nuimdami dalis ir prieš valydami prietaisą, leiskite atvėsti.
- Nenaudokite priedų, kurių nerekomenduoja prietaiso gamintojas.
- Šis prietaisas skirtas tik buitiniam naudojimui.
3. Produktas baigtasview ir komponentai
The Morpilot Glass Milk Frother HS001 is designed to create various milk textures for your beverages. It features a detachable glass jug for easy cleaning and a simple one-button operation.

1 vaizdas: The Morpilot Glass Milk Frother HS001, showcasing the main unit, detachable glass jug, lid, whisk attachments (frothing and heating), and a cleaning brush. A cup of frothed milk is also visible, illustrating the product's output.
Komponentai:
- Pagrindinis bazinis blokas: Sudėtyje yra kaitinimo elementas ir valdymo skydelis.
- Stiklinis ąsotis: Detachable, with MIN/MAX fill lines for milk.
- Dangtis: Transparent lid for the glass jug.
- Plakimo šluotelė: For creating dense or airy milk foam.
- Šildymo šluotelė: Pieno pašildymui be putų.
- Valymo šepetėlis: For easy cleaning of the jug and whisks.
4. Sąranka ir pirmasis naudojimas
4.1 Išpakavimas
- Atsargiai išimkite visus komponentus iš pakuotės.
- Remove any stickers or promotional materials.
4.2 Pirminis valymas
- Wash the glass jug, lid, and whisk attachments with warm soapy water.
- Kruopščiai nuplaukite ir visiškai išdžiovinkite.
- Nuvalykite pagrindinio įrenginio išorę reklaminiu valikliu.amp audinys. Nenardinkite pagrindinio įrenginio į vandenį.
4.3 Surinkimas
- Place the desired whisk attachment (frothing or heating) onto the spindle at the bottom of the glass jug. Ensure it is securely seated.
- Place the glass jug onto the main base unit. Ensure it is properly aligned and stable.
- Prijunkite maitinimo laidą prie tinkamo elektros lizdo.
5. Naudojimo instrukcijos
The Morpilot Glass Milk Frother HS001 offers four distinct functions, easily selected with a single button.

2 vaizdas: This diagram illustrates the four functions of the Morpilot Milk Frother: Cold Milk Foam, Warm Airy Milk Foam, Warm Dense Milk Foam, and Hot Milk. Each function is depicted with an icon and a corresponding beverage example.
5.1 Pieno įpylimas
- Ensure the correct whisk is installed in the jug.
- Pour cold milk into the glass jug. Observe the MIN and MAX fill lines.
- For frothing, do not exceed the lower MAX line (typically 150ml) to prevent overflow.
- For heating milk without frothing, you can fill up to the upper MAX line (typically 250ml).
- Place the lid securely on the glass jug.
5.2 Funkcijos pasirinkimas
The frother operates with a single power button. Pressing the button cycles through the functions, indicated by the LED light color.

3 vaizdas: This image displays four Morpilot Milk Frothers, each illuminated with a different LED color (Red, Blue, Purple, Green) corresponding to its active function: Warm Dense Milk Foam, Cold Milk Foam, Hot Milk, and Warm Airy Milk Foam, respectively.
| LED spalva | Funkcija | Aprašymas |
|---|---|---|
| Raudona | Warm Dense Milk Foam | Heats and creates thick, creamy foam. |
| Mėlyna | Šaltos pieno putos | Creates cold foam without heating. |
| Violetinė | Karštas Pienas | Heats milk without frothing (use heating whisk). |
| Žalia | Warm Airy Milk Foam | Heats and creates light, airy foam. |
- Press the power button once to turn on the frother and select the first function (Red LED).
- Press the button repeatedly to cycle through the desired functions (Blue, Purple, Green).
- The frother will automatically start the selected program after a few seconds of inactivity or immediately after the last press.
- The frother will automatically shut off once the program is complete.
5.3 Pilstymas
Carefully remove the glass jug from the base unit. The design allows for precise pouring, suitable for latte art.
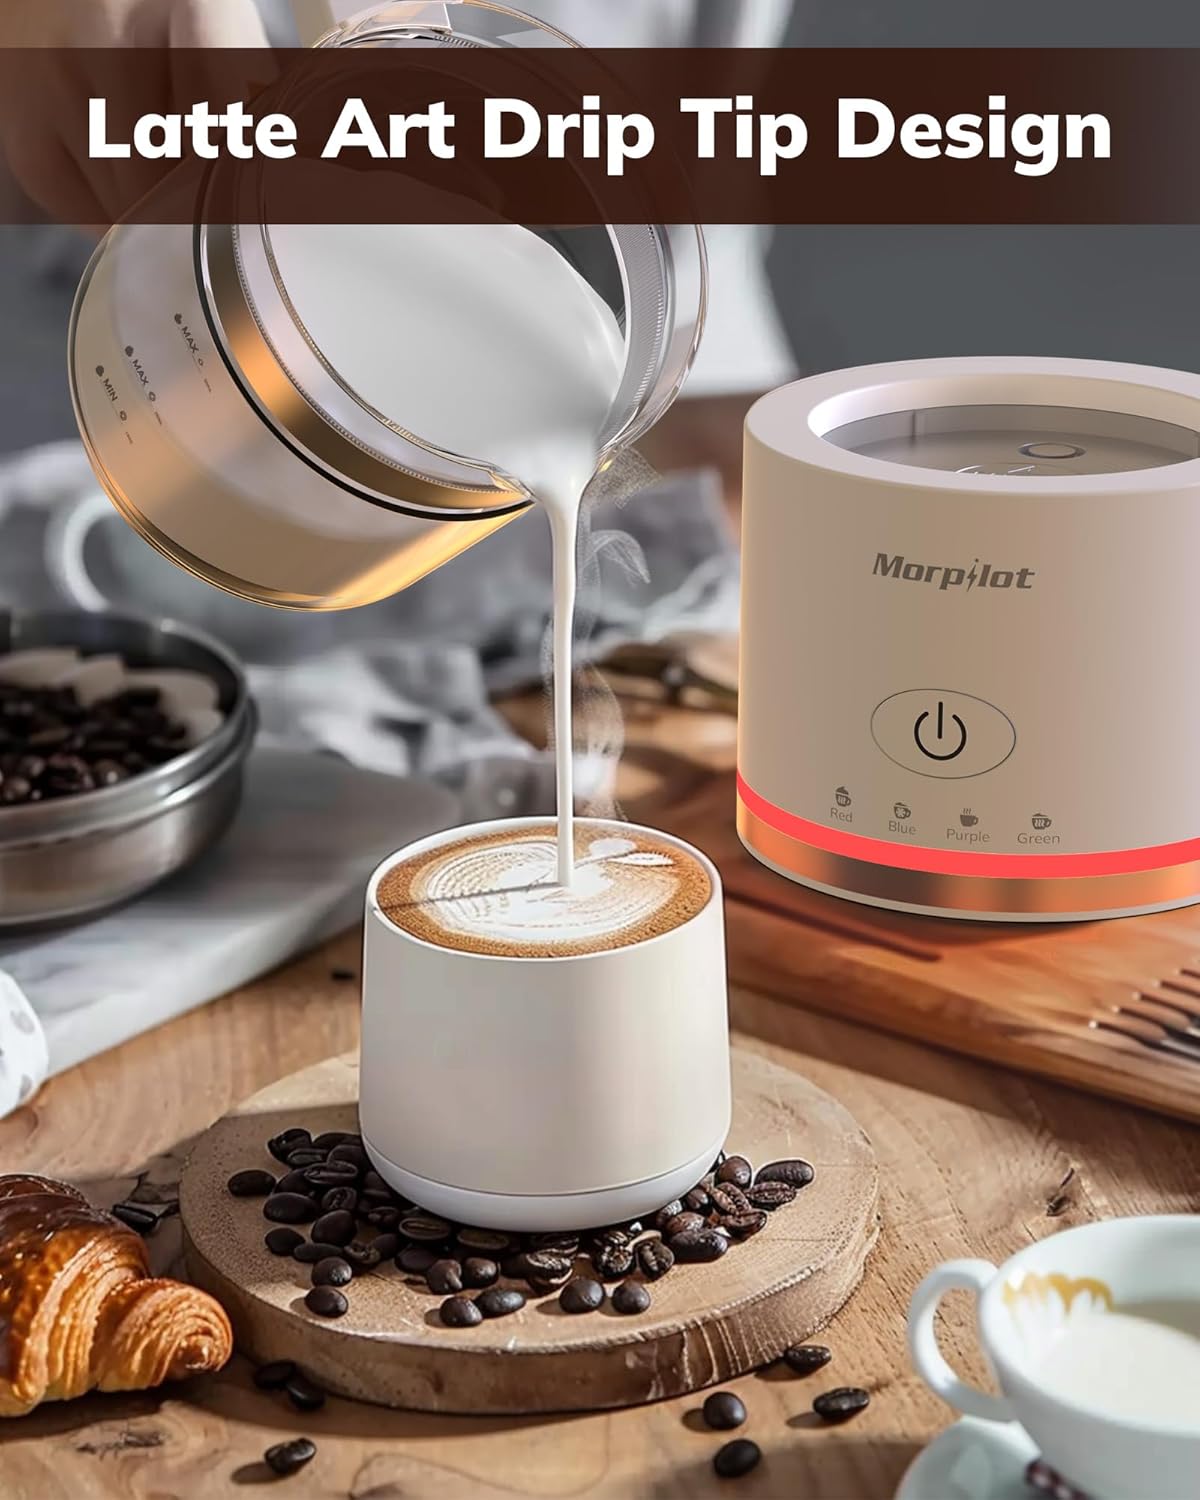
4 vaizdas: A hand is shown carefully pouring frothed milk from the Morpilot Glass Milk Frother into a cup, demonstrating its suitability for creating latte art designs.
6. Priežiūra ir valymas
Regular cleaning ensures optimal performance and longevity of your Morpilot Milk Frother.

5 vaizdas: The detachable glass jug of the Morpilot Milk Frother is shown being rinsed under running water, highlighting its easy-to-clean design.
- Atjunkite: Prieš valydami prietaisą, visada atjunkite jį nuo elektros lizdo.
- Atvėsinti: Allow the frother to cool completely before disassembling or cleaning.
- Stiklinis ąsotis ir dangtelis: The glass jug and lid are detachable and can be washed by hand with warm soapy water. Use the provided cleaning brush to remove any milk residue. Rinse thoroughly and dry completely.
- Whisk Attachments: Remove the whisk from the jug and clean it with warm soapy water and the cleaning brush.
- Pagrindinis blokas: Wipe the exterior of the main base unit with a soft, damp cloth. Do not immerse the base unit in water or place it under running water. Ensure the electrical contacts are dry before re-use.
- Saugykla: Store the frother in a clean, dry place when not in use.
7. Problemų sprendimas
If you encounter any issues with your Morpilot Glass Milk Frother, please refer to the following common problems and solutions:
- Plaktuvas neužsiveda:
- Įsitikinkite, kad maitinimo laidas tvirtai prijungtas prie veikiančio lizdo.
- Check if the glass jug is correctly placed on the base unit.
- Press the power button firmly to select a function.
- Milk is not frothing or foam is insufficient:
- Ensure the frothing whisk is correctly installed.
- Check that the milk level is between the MIN and the lower MAX frothing line. Overfilling or underfilling can affect frothing.
- Use cold, fresh milk. Whole milk generally froths best, but other types of milk (e.g., oat, almond) may require specific frothing techniques or brands.
- Ensure the whisk and jug are clean and free from residue.
- Pienas perpildomas veikimo metu:
- Do not exceed the MAX fill line for frothing (lower MAX line).
- Ensure the lid is securely placed on the jug.
- Pienas nešildomas:
- Ensure the heating whisk (if applicable) is installed, or the frothing whisk is used with a heating function.
- Verify that a heating function (Red, Purple, Green LED) has been selected.
Jei problema išlieka patikrinus šiuos punktus, susisiekite su klientų aptarnavimo tarnyba.
8. Specifikacijos
| Funkcija | Specifikacija |
|---|---|
| Prekės ženklas | morpilot |
| Modelio numeris | HS001 |
| Spalva | Transparent/White |
| Matmenys (paketas) | 32.4 x 25.3 x 21.8 cm |
| Talpa | 500 Milliliters (Max for heating), 150 Milliliters (Max for frothing) |
| Medžiaga | Stiklas |
| Prekės svoris | 1.02 kilogramo |
| Maitinimo šaltinis | Elektros laidas |
| UPC | 810142347457 |
| Kilmės šalis | Kinija |
9. Garantija ir palaikymas
Morpilot products are manufactured to high-quality standards. For warranty information or technical support, please refer to the warranty card included with your product or contact Morpilot customer service through the retailer where the product was purchased. Please have your model number (HS001) and proof of purchase ready when contacting support.