Įvadas
This manual provides detailed instructions for the installation, operation, and maintenance of your GIGABYTE Z890 AORUS Master AI TOP Motherboard. Designed to support Intel Core Ultra Processors (Series 2), this E-ATX motherboard features DDR5 memory compatibility, multiple M.2 slots, PCIe 5.0 support, Thunderbolt 4, WIFI7, and 10GbE LAN for optimal performance and connectivity. Please read this manual thoroughly before proceeding with installation to ensure proper setup and functionality.

Figure 1: GIGABYTE Z890 AORUS Master AI TOP Motherboard overview.
Pagrindinės savybės
- Procesoriaus palaikymas: Compatible with Intel Core Ultra Processors (Series 2) for enhanced computing power.
- Atmintis: Four DDR5 DIMM slots with XMP Memory Module Support for high-speed memory configurations.
- Maitinimo dizainas: Robust 20+1+2, 110A Smart Power Stage for stable power delivery.
- Šilumos valdymas: Features VRM Thermal Armor Advanced and M.2 Thermal Guard for efficient heat dissipation.
- Ryšys: Includes PCIe 5.0 slots, four M.2 slots, dual Thunderbolt 4 ports, and a front USB-C port.
- Patogus vartotojui dizainas: Incorporates M.2 EZ-Latch, PCIe EZ-Latch, WIFI EZ-Plug, and EZ-Debug Zone for simplified installation and troubleshooting.
- Tinklas: Equipped with WIFI7 and 10GbE LAN for high-speed wireless and wired network connections.

Figure 2: GIGABYTE Z890 Motherboards are fully compatible with Intel Core Ultra 200S Plus Processors.
Sąranka ir diegimas
Follow these steps for proper installation of your GIGABYTE Z890 AORUS Master AI TOP Motherboard and its components.
1. Procesoriaus diegimas
Carefully align your Intel Core Ultra (Series 2) processor with the LGA 1851 socket. Ensure the triangular mark on the CPU matches the mark on the socket. Gently lower the CPU into the socket and secure it with the retention arm.

3 pav. Išsamus view of the LGA 1851 processor socket.
2. Atminties (RAM) diegimas
Open the clips on both ends of the DDR5 DIMM slots. Align the notch on your DDR5 memory module with the key in the slot. Press down firmly on both ends of the memory module until the clips snap into place, securing the RAM.

Figure 4: DDR5 memory slots for RAM installation.
3. Storage (M.2 SSDs) Installation
The motherboard features four M.2 slots. Remove the M.2 Thermal Guard heatsink. Insert your M.2 SSD into the slot, ensuring it is fully seated. Secure the SSD with the EZ-Latch mechanism, then reattach the Thermal Guard heatsink.
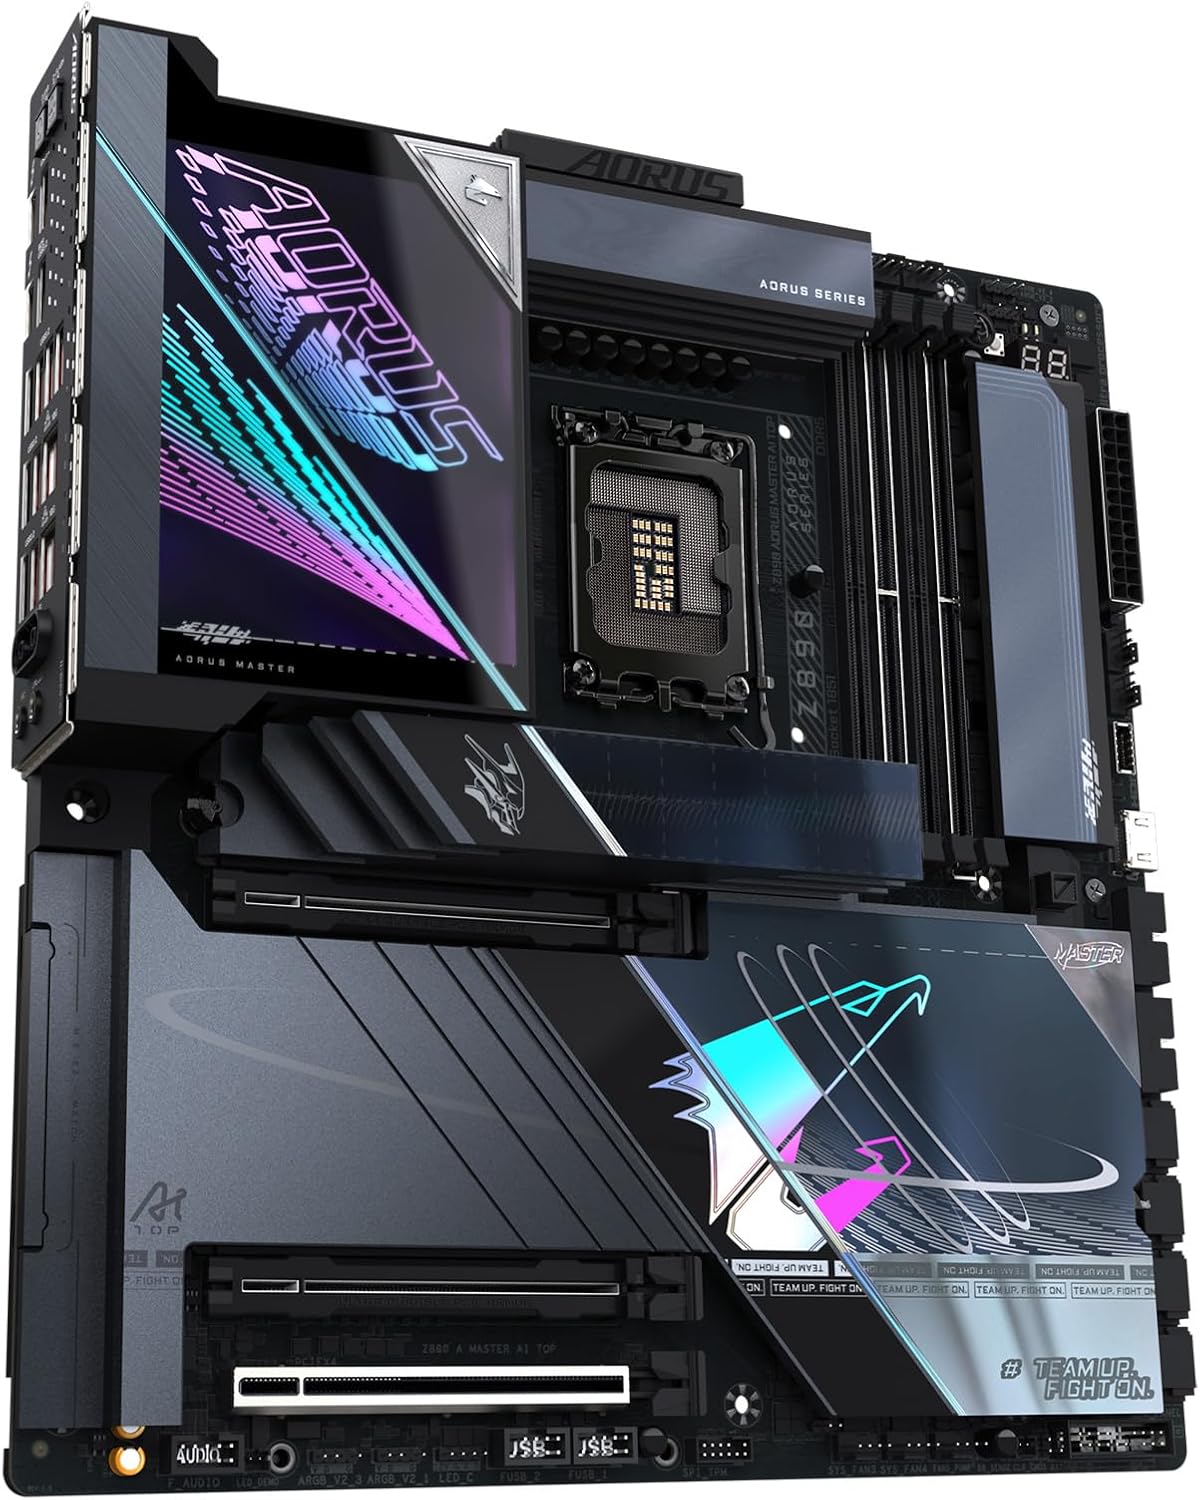
Figure 5: M.2 slots with heatsinks for high-speed storage.
4. Vaizdo plokštės (PCIe) diegimas
Open the PCIe EZ-Latch on the desired PCIe 5.0 x16 slot. Insert your graphics card firmly into the slot until it clicks into place. Ensure any necessary power connectors from your power supply are attached to the graphics card.

Figure 6: PCIe 5.0 slots for graphics cards and expansion.
5. Periferinių įrenginių ir maitinimo prijungimas
Connect all necessary power cables from your power supply to the motherboard (24-pin ATX and 8-pin CPU power connectors). Connect your case's front panel connectors, USB ports, and audio jacks. Utilize the various USB, Thunderbolt 4, and LAN ports on the rear I/O panel for external devices.

Figure 7: Rear I/O panel with USB, LAN, and audio ports.

Figure 8: Detailed diagram illustrating various ports and features on the motherboard.
Diegimo vaizdo vadovas
For a visual guide on motherboard installation, refer to the video below. While the video may feature a slightly different model (Z790), the general installation steps for CPU, RAM, and other components are largely similar.
Video 1: Motherboard installation overview. This video demonstrates the general process of installing a GIGABYTE AORUS Master motherboard, including CPU and RAM.
Naudojimo instrukcijos
After successful hardware installation, connect your display, keyboard, and mouse. Power on your system. The motherboard will initiate the Power-On Self-Test (POST). You may need to access the BIOS/UEFI setup to configure boot order, enable XMP for memory, or adjust other system settings. Refer to the GIGABYTE website for the latest BIOS updates and driver downloads for your operating system (e.g., Windows 11).
- Prieiga prie BIOS / UEFI: Typically accessed by pressing DEL or F2 during system startup.
- Tvarkyklės diegimas: Install all necessary drivers for chipset, audio, LAN, and graphics from the GIGABYTE support websvetainėje arba pridėtame tvarkyklės diske.
- Operacinė sistema: Install your preferred operating system, such as Windows 11, following its installation prompts.
Priežiūra
Reguliarus pagrindinės plokštės aptarnavimas užtikrina jos ilgaamžiškumą ir optimalų veikimą.
- Dulkių šalinimas: Reguliariai valykite dulkes nuo pagrindinės plokštės ir komponentų suslėgtu oru. Prieš valydami įsitikinkite, kad sistema išjungta ir atjungta nuo elektros tinklo.
- BIOS atnaujinimai: Check the GIGABYTE website for BIOS updates. Updates can improve stability, compatibility, and performance. Follow the provided instructions carefully when updating the BIOS.
- Tvarkyklės atnaujinimai: Nuolat atnaujinkite visas sistemos tvarkykles, kad užtikrintumėte suderinamumą ir optimalų našumą su nauja programine ir aparatine įranga.
- Kabelių valdymas: Ensure all cables are neatly routed to improve airflow and prevent interference.
Trikčių šalinimas
If you encounter issues, refer to these common troubleshooting steps.
- Nėra maitinimo / Nėra POST:
- Verify all power cables are securely connected to the motherboard and components.
- Check the power supply unit (PSU) for proper function.
- Įsitikinkite, kad procesorius ir RAM yra tinkamai įstatyti.
- Utilize the EZ-Debug Zone LEDs on the motherboard to identify the component causing the POST failure.
- Sistemos nestabilumas / gedimai:
- Check RAM for proper installation and run memory diagnostic tools.
- Ensure CPU and GPU temperatures are within normal operating ranges.
- Atnaujinkite BIOS ir visas tvarkykles į naujausias versijas.
- Test components individually if possible to isolate the faulty part.
- Periferinių įrenginių aptikimo problemos:
- Ensure USB devices are connected to the correct ports.
- Check for updated drivers for the specific peripheral.
- Verify BIOS settings for USB or other port configurations.
Specifikacijos
| Funkcija | Detalė |
|---|---|
| Prekės ženklas | GIGABITAS |
| Modelio pavadinimas | Z890 AORUS MASTER AI TOP |
| CPU lizdas | „Intel LGA 1851“ |
| Suderinami procesoriai | „Intel Core Ultra“ procesoriai (2 serija) |
| Lustų rinkinio tipas | Intel Z890 |
| RAM atminties technologija | DDR5 |
| Atminties laikrodžio greitis | 5600 MHz |
| Galimi atminties lizdai | 4 |
| Grafikos plokštės sąsaja | PCI Express |
| Total PCIe Ports | 4 |
| Total M.2 Slots | 4 |
| Iš viso SATA prievadų | 4 |
| Iš viso USB prievadų | 10 (including Thunderbolt 4 and Front USB-C) |
| Tinklo kūrimas | WIFI7, 10 GbE LAN |
| Platforma | Windows 11 |
| Formos faktorius | E-ATX |
Garantija ir palaikymas
The GIGABYTE Z890 AORUS Master AI TOP Motherboard comes with a 5 metų gamintojo garantija. For technical support, driver downloads, BIOS updates, and further assistance, please visit the official GIGABYTE support website. You can also refer to the comprehensive online resources and FAQs available there.
For warranty claims, retain your proof of purchase. Contact GIGABYTE customer service for detailed instructions on warranty procedures.