
1. Saugos informacija
Please read and understand all safety instructions before operating the CINETREAK Stream Master SDI Video Switcher. Retain this manual for future reference.
- Maitinimas: Use only the provided AC adapter. Ensure the power source matches the voltage reikalavimus.
- Vėdinimas: Neužblokuokite ventiliacijos angų. Užtikrinkite pakankamą oro cirkuliaciją aplink įrenginį, kad jis neperkaistų.
- Drėgmė: Keep the device away from water, rain, and high humidity. Do not operate with wet hands.
- Valymas: Prieš valydami atjunkite maitinimą. Naudokite minkštą, sausą šluostę. Nenaudokite skystų ar aerozolinių valiklių.
- Aptarnavimas: Nemėginkite patys aptarnauti šio gaminio. Visą techninę priežiūrą patikėkite kvalifikuotam aptarnavimo personalui.
2. Pakuotės turinys
Patikrinkite, ar pakuotėje yra visi reikalingi daiktai:
- Stream Master SDI Video Switcher
- Kintamosios srovės adapteris
3. Produktas baigtasview
The CINETREAK Stream Master SDI is a compact and versatile video switcher designed for professional live streaming and video production. It features a 10-inch display, multiple input/output options, and advanced control functionalities.

3.1 pav.: priekis view of the CINETREAK Stream Master SDI Video Switcher, highlighting the 10-inch integrated screen and control panel.
3.1. Matmenys ir perkeliamumas

Figure 3.2: The compact dimensions of the Stream Master SDI, measuring 25 cm (9.8 inches) in width, 20.6 cm (8.1 inches) in depth, and 6.3 cm (2.4 inches) in height when closed.
The device is designed for portability, with a compact form factor that includes a built-in 10-inch screen for monitoring. Its dimensions are approximately 25 cm (9.8 inches) x 20.6 cm (8.1 inches) x 6.3 cm (2.4 inches).
3.2. Galinio skydelio jungtys

3.3 pav. Išsamus view of the rear panel ports, including DC 12V IN, LAN, UVC, USB, AUX, PGM, HDMI IN (1-4), SDI IN (1-4), SDI OUT, MIC (1-2), and PHONE.
The rear panel provides comprehensive connectivity:
- DC 12 V IN: Elektros įvestis.
- LAN: Ethernet port for IP control and NDI (updatable).
- UVC (USB-C 3.0): Už webcam input, PC connection for recording/streaming, or firmware updates.
- USB: For connecting USB drives for media playback or recording.
- AUX (HDMI 1.3 MV Out): Auxiliary HDMI output for multi-view stebėjimas.
- PGM (HDMI 1.3 / SDI 3G PGM Out): Program output (Full HD/60).
- HDMI IN (1-4): Four HDMI inputs. HDMI 1 & 2 support 4K/60, HDMI 3 & 4 support FHD/60.
- SDI IN (1-4): Four SDI 3G inputs.
- SDI OUT: SDI program output.
- MIC 1 & 2: 3.5 mm mikrofono įėjimai.
- TELEFONAS: 3.5mm audio output for headphone monitoring.
- SD kortelės lizdas: For recording and media storage.
3.3. Valdymo skydelis baigtasview

Figure 3.4: The control panel features dedicated buttons for audio mix, macro functions, video channel selection, transition control, PTZ control, and menu navigation.
The intuitive control panel provides direct access to key functions, including input selection, audio mixing, macro controls, transition effects, and PTZ camera management.
4. Sąranka
Follow these steps to set up your Stream Master SDI Video Switcher:
- Maitinimo jungtis: Connect the provided AC adapter to the DC 12V IN port on the rear panel and plug it into a power outlet.
- Vaizdo įėjimai: Connect your HDMI and/or SDI cameras and video sources to the corresponding HDMI IN (1-4) and SDI IN (1-4) ports. Note that you can use a maximum of 4 inputs simultaneously, choosing between HDMI or SDI for each channel.
- Output Displays: Connect your program monitor to the PGM (HDMI/SDI) output and your multi-view monitor to the AUX (HDMI) output.
- Garso įėjimai: Connect microphones to the MIC 1 or MIC 2 (3.5mm) inputs as needed. For monitoring, connect headphones to the PHONE (3.5mm) output.
- Tinklo prisijungimas: For IP control, streaming, or NDI functionality, connect an Ethernet cable from the LAN port to your network router or PC.
- USB/SD Storage: Insert an SD card into the SD card slot for recording. Connect a USB drive to the USB port for media playback or additional recording.
5. Naudojimo instrukcijos
5.1. Maitinimo įjungimas/išjungimas
Press the power button located on the device to turn it on or off. The 10-inch screen will display the multi-view interface upon startup.
5.2. Įvesties pasirinkimas ir perjungimas
Use the PGM (Program) and PVW (Preview) buttons on the control panel to select your desired video sources. The PGM row selects the live output, while the PVW row selects the next source to be transitioned to.
- Pjaustyti: Instantly switches the PVW source to PGM.
- AUTOMATINIS: Performs a smooth transition from PVW to PGM using the selected transition effect.
- T-baras: Manually control the speed and direction of transitions between PVW and PGM.
Video 5.1: This video demonstrates the basic video switching operations, including selecting inputs and using the CUT, AUTO, and T-Bar functions for transitions.
5.3. Transition Effects
The switcher offers over 30 customizable transition effects. Access these effects via the menu and select your preferred mix, dip, or wipe options. Adjust the duration for smooth scene changes.
5.4. Garso maišymas
Control audio levels for each input (MIC 1, MIC 2, HDMI/SDI inputs, AUX) using the dedicated audio mix controls. The Audio Follows Video (AFV) function can be enabled to automatically switch audio with the corresponding video input.
5.5. PTZ Camera Control
The Stream Master SDI supports PTZ (Pan-Tilt-Zoom) camera control for up to 4 cameras via the VISCA over IP protocol. Use the joystick and dedicated buttons to adjust camera positions and recall preset positions.
5.6. Įrašymas ir atkūrimas
Record high-bitrate Full HD video files directly to an inserted SD card or connected USB drive. Use the RECORD and PLAY buttons for instant recording and playback functionality.
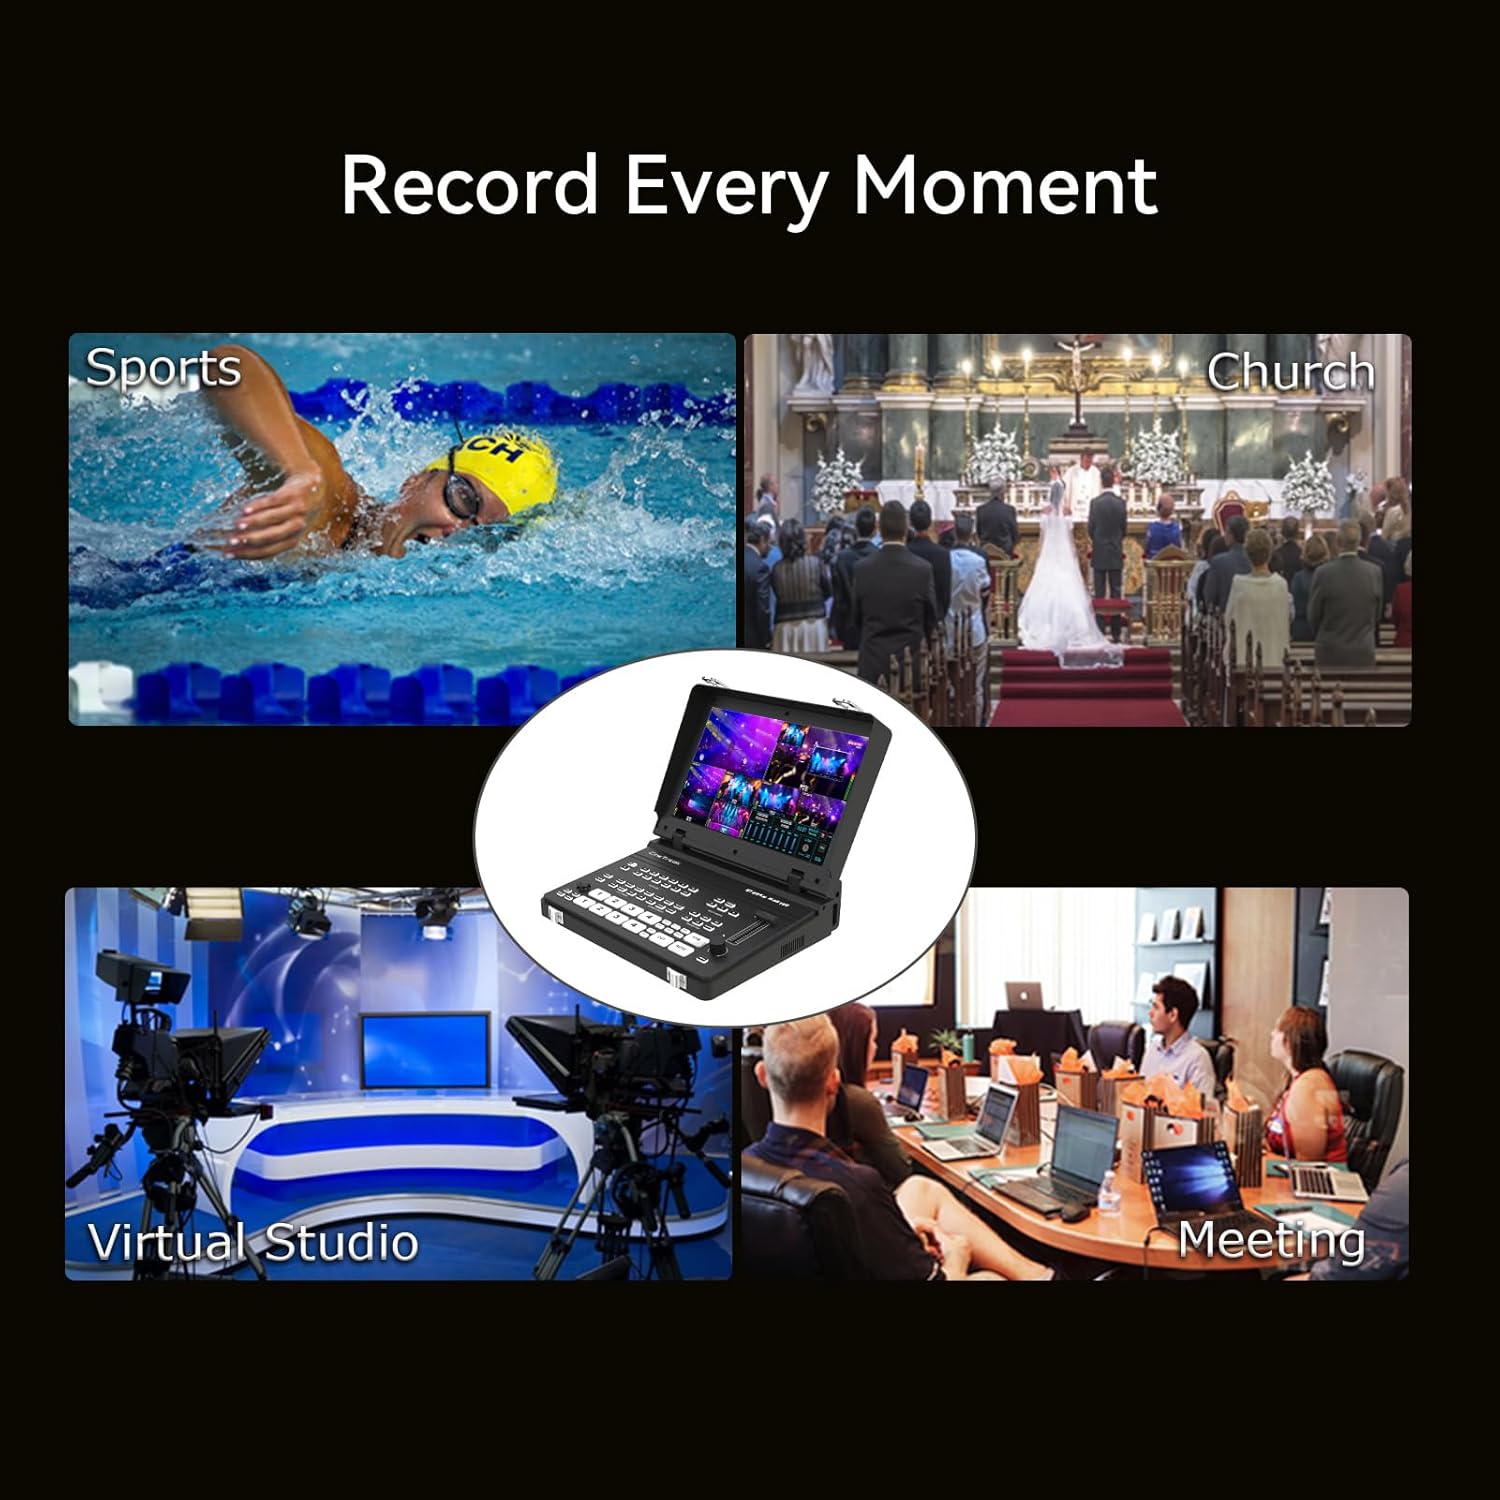
Figure 5.1: The Stream Master SDI can record various events, including sports, church services, virtual studios, and meetings.
5.7. Picture-in-Picture (PIP) and Keying
Utilize two customizable PIP layouts with adjustable cropping and resizing. Chroma and Luma keying features are available for advanced virtual studio effects, allowing you to overlay graphics or remove backgrounds.
5.8. Srautinis perdavimas
The RTMPS protocol enables simultaneous live broadcasting to two destinations. The device supports both landscape and 9:16 portrait orientations for versatile streaming to platforms like YouTube, Twitch, and Facebook.
Video 5.2: This video demonstrates the streaming capabilities of the Stream Master series, including integration with devices like the DJI Pocket 3.
5.9. Wireless IP Control and NDI
Control the mixer remotely from a PC or smartphone via wireless IP. Users can access the host system through the device's IP address for real-time management, including enabling the tally function. NDI functionality is planned for a future update; please check the official websvetainė informacijai.
Video 5.3: An introduction to the Cinetreak Mixer Plus, showcasindėl savo savybių ir kompaktiško dizaino.
6. Priežiūra
- Valymas: Regularly clean the exterior of the device with a soft, dry cloth. Avoid abrasive materials or harsh chemicals.
- Firmware atnaujinimai: Check the official CINETREAK website periodically for firmware updates to ensure optimal performance and access to new features. Follow the provided instructions for updating via USB.
- Saugykla: When not in use, store the switcher in a cool, dry place, away from direct sunlight and extreme temperatures.
7. Problemų sprendimas
| Problema | Galima priežastis | Sprendimas |
|---|---|---|
| Nėra galios | Power cable disconnected or faulty adapter. | Check power connections. Ensure the AC adapter is securely plugged in. |
| No video input detected | Incorrect cable connection or incompatible resolution. | Verify HDMI/SDI cable connections. Ensure input resolution is supported (up to 4K/60 for HDMI 1&2, FHD/60 for HDMI 3&4 and SDI). |
| Nėra garso išvesties | Audio levels too low or incorrect output selected. | Adjust audio mix levels. Check headphone connection. Ensure correct audio source is selected. |
| Streaming issues | Network connectivity problems or incorrect streaming settings. | Verify LAN connection. Check RTMP/RTMPS settings and internet connection stability. |
8. Specifikacijos
- Modelio pavadinimas: Stream Master SDI
- Modelio numeris: 4HDMI & 4SDI
- Įėjimai: 4 x HDMI (HDMI 1&2: 4K/60, HDMI 3&4: FHD/60), 4 x SDI 3G, 1 x UVC (USB-C 3.0), 2 x 3.5mm Mic/Audio In
- Išėjimai: 1 x HDMI 1.3 MV Out (Auxiliary), 1 x HDMI 1.3 / SDI 3G PGM Out (Program), 1 x 3.5mm Audio Out/Monitor
- Max Output Resolution: FHD/60, H.264
- Latencija: < 3 frames
- Ekranas: 10-inch integrated screen
- Valdymas: Physical buttons, T-Bar, Joystick, Wireless IP Control, Web Sąsaja
- Streaming Protocols: RTMP, RTMPS, SRT
- Įrašas: SD kortelė, USB atmintinė
- Raktų įvedimas: Chroma Key, Luma Key, DSK
- Vaizdas vaizde (PIP): 2 customizable layouts
- PTZ valdymas: Up to 4 cameras via VISCA protocol
- Matmenys: 15"L x 9"W x 5"H (approx. 269.9mm x 166.4mm x 55.7mm)
- Prekės svoris: 3.92 svaro (apie 1.78 kg)
- Gamintojas: CINETREAK
9. Garantija ir palaikymas
CINETREAK products purchased from the official store are eligible for warranty. For specific warranty terms and conditions, please refer to the official CINETREAK websvetainėje arba susisiekite su klientų aptarnavimo tarnyba.
For technical support, troubleshooting assistance, or inquiries regarding NDI updates, please visit the CINETREAK official websvetainėje arba susisiekite su klientų aptarnavimo komanda.