
1. Įvadas
This manual provides essential instructions for setting up, operating, maintaining, and troubleshooting your CRUA 32-inch 4K UHD 160Hz Curved Gaming Monitor (Model CR320A). Please read this manual thoroughly before using the product to ensure proper functionality and to prevent damage.
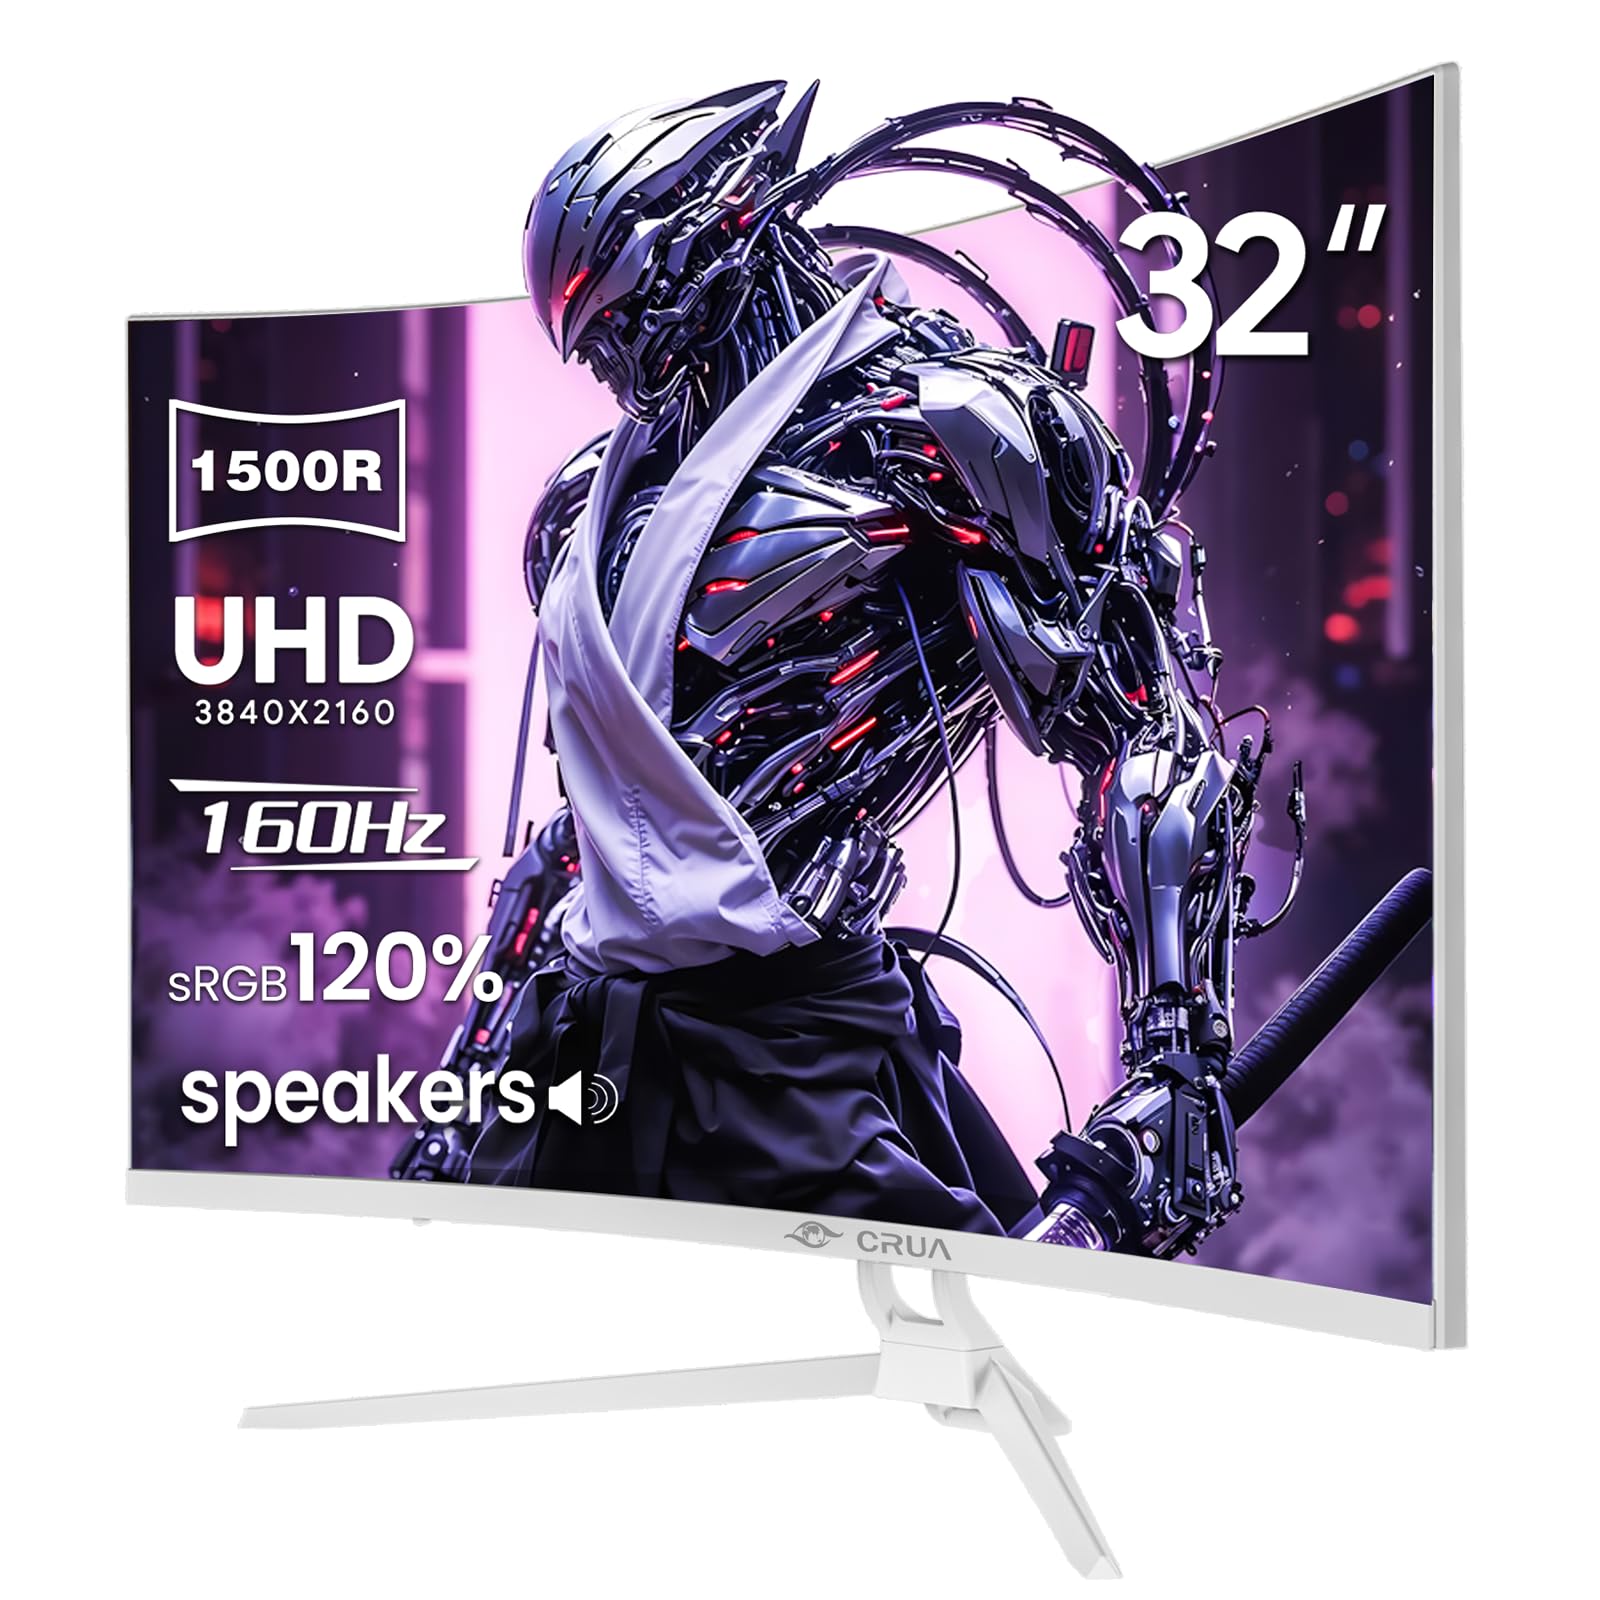
1 pav.: priekis view of the CRUA 32-inch 4K UHD 160Hz Curved Gaming Monitor.
2. Kas yra dėžutėje
Patikrinkite, ar pakuotėje yra visi komponentai:
- CRUA 32-inch Monitor
- Monitoriaus pagrindas ir atrama
- DisplayPort (DP) kabelis
- Maitinimo blokas
- Vartotojo vadovas (šis dokumentas)
3. Sąranka
3.1 Stovo surinkimas
- Carefully remove the monitor from its packaging, placing it face down on a soft, clean surface to prevent screen damage.
- Attach the monitor support arm to the back of the monitor. Ensure it clicks securely into place or is fastened with screws if provided.
- Connect the base to the support arm and secure it with the provided screw(s).
Note: The included stand is fixed and does not offer height, tilt, or swivel adjustments. For adjustable positioning, the monitor supports VESA wall mounting (75mm x 75mm) using a compatible VESA mount (sold separately).

2 pav.: galinis view of the monitor with stand attachment area and RGB lighting.
3.2 Jungiamieji kabeliai
- Connect the DisplayPort (DP) cable from your computer's graphics card to the DP 1.4 port on the monitor. Alternatively, use an HDMI 2.1 cable for compatible devices.
- Connect the power supply unit to the monitor's power input, then plug the power cord into an electrical outlet.
- Įsitikinkite, kad visos jungtys yra saugios.

Figure 3: Monitor connectivity ports including HDMI 2.1, DP 1.4, and audio out.
4. Monitoriaus valdymas
4.1 Maitinimo įjungimas/išjungimas
Press the power button, usually located on the back or bottom right of the monitor, to turn the monitor on or off. The power indicator light will illuminate when the monitor is on.
4.2 Ekrano meniu (OSD)
The OSD menu allows you to adjust various monitor settings. Use the navigation buttons (joystick or individual buttons) typically found on the back or bottom of the monitor to access and navigate the OSD.
- Įvesties šaltinis: Pasirinkite tarp „DisplayPort“ ir HDMI įvesčių.
- Vaizdo nustatymai: Reguliuokite ryškumą, kontrastą, aiškumą ir spalvų temperatūrą.
- Spalvų nustatymai: Fine-tune color gamut (120% sRGB), gamma, and color depth (8-bit).
- Žaidimų nustatymai: Enable/disable AMD FreeSync, adjust refresh rate (144Hz/160Hz), and other gaming-specific features.
- Garso nustatymai: Control volume for the built-in speakers or connected external audio devices.
- RGB apšvietimas: Customize the RGB lighting effects on the back of the monitor.

Figure 4: Visual representation of color and brightness capabilities.
4.3 AMD „FreeSync“
This monitor supports AMD FreeSync technology, which synchronizes the monitor's refresh rate with your graphics card's frame rate to eliminate screen tearing and stuttering. Ensure FreeSync is enabled in both the monitor's OSD and your graphics card's control panel for optimal performance.

Figure 5: Visualizing the benefit of 160Hz refresh rate and FreeSync.
4.4 Curved Display (1500R)
The 1500R curvature of the screen provides an immersive viewing experience, reducing eye strain and enhancing depth perception, especially beneficial for gaming and multimedia content.

Figure 6: The 1500R curved screen design.
5. Priežiūra
5.1 Monitoriaus valymas
- Prieš valydami visada išjunkite monitorių ir atjunkite maitinimo laidą.
- Šiek tiek naudokite minkštą, be pūkelių šluostę dampnuplaukite vandeniu arba neabrazyviniu ekrano valikliu.
- Nepurkškite valiklio tiesiai ant ekrano. Pirmiausia užtepkite jį ant šluostės.
- Venkite naudoti alkoholio, amoniako ar abrazyvinių valiklių, nes jie gali pažeisti ekrano paviršių.
5.2 Bendroji priežiūra
- Laikykite monitorių atokiau nuo tiesioginių saulės spindulių, per didelio karščio ir drėgmės.
- Užtikrinkite tinkamą vėdinimą aplink monitorių, kad jis neperkaistų.
- Venkite dėti sunkių daiktų ant monitoriaus ar jo laidų.
6. Problemų sprendimas
6.1 Nėra galios
- Patikrinkite, ar maitinimo laidas yra tvirtai prijungtas tiek prie monitoriaus, tiek prie maitinimo lizdo.
- Patikrinkite, ar maitinimo lizdas veikia tinkamai, prijungdami kitą įrenginį.
- Įsitikinkite, kad paspaustas monitoriaus maitinimo mygtukas.
6.2 Nėra signalo
- Confirm that the video cable (DP or HDMI) is securely connected to both the monitor and your computer/device.
- Įsitikinkite, kad monitoriaus OSD meniu pasirinktas teisingas įvesties šaltinis.
- Check if your computer/device is powered on and outputting a signal.
- Jei yra, išbandykite kitą vaizdo kabelį arba prievadą.
6.3 Screen Flickering or Tearing
- Įsitikinkite, kad AMD „FreeSync“ įjungtas ir monitoriaus OSD, ir vaizdo plokštės nustatymuose.
- Patikrinkite, ar jūsų vaizdo plokštės tvarkyklės yra atnaujintos.
- Check the refresh rate setting in your operating system's display settings; it should be set to 144Hz or 160Hz.
6.4 Washed Out Colors or Poor Picture Quality
- Access the OSD menu and adjust picture settings such as brightness, contrast, and color temperature.
- Atkurkite monitoriaus gamyklinius nustatymus per OSD meniu.
- Ensure your graphics card output settings are correctly configured for the monitor's resolution (3840x2160) and color depth.
6.5 No Sound from Built-in Speakers
- Check the volume level in the monitor's OSD menu.
- Verify that the audio output on your computer/device is set to the monitor.
- Ensure the video cable (DP or HDMI) supports audio transmission.
7. Specifikacijos
| Funkcija | Specifikacija |
|---|---|
| Modelio numeris | CR320A |
| Ekrano dydis | 32 colių |
| Skydelio tipas | VA |
| Kreivumas | 1500R |
| Rezoliucija | 4K UHD (3840 x 2160 pikselių) |
| Krašto santykis | 16:9 |
| Atnaujinimo dažnis | 144Hz / 160Hz |
| Ryškumas | 320 kandelų (cd/m²) |
| Kontrasto santykis | 3000:1 |
| Spalvų gama | 120% sRGB |
| Spalvos gylis | 8 bitų |
| Ekrano paviršius | Matinis |
| Ryšys | HDMI 2.1, DisplayPort 1.4 |
| Garsas | Integruoti garsiakalbiai |
| VESA tvirtinimo suderinamumas | 75 mm x 75 mm |
| Gaminio matmenys (I x P x A) | 1 x 28 x 16.6 colio |
| Prekės svoris | 16.57 svaro |
8. Garantija ir palaikymas
8.1 Product Assurance
CRUA is committed to providing high-quality computer monitors and premium services. We offer assurances for our products to ensure customer satisfaction.
8.2 Pagalba klientams
If you encounter any issues or have questions regarding your CRUA monitor, please contact our customer support team. We are available to assist you and resolve any problems you may experience.
For support, please refer to the contact information provided on the official CRUA websvetainėje arba pirkimo dokumentuose.


