Įvadas
This manual provides essential information for the setup, operation, and maintenance of your PowerA Enhanced Wireless Controller, featuring the unique Pikachu vs. Gengar design. This officially licensed controller is designed to enhance your gaming experience on Nintendo Switch, Nintendo Switch Lite, and Nintendo Switch (OLED Model) consoles.
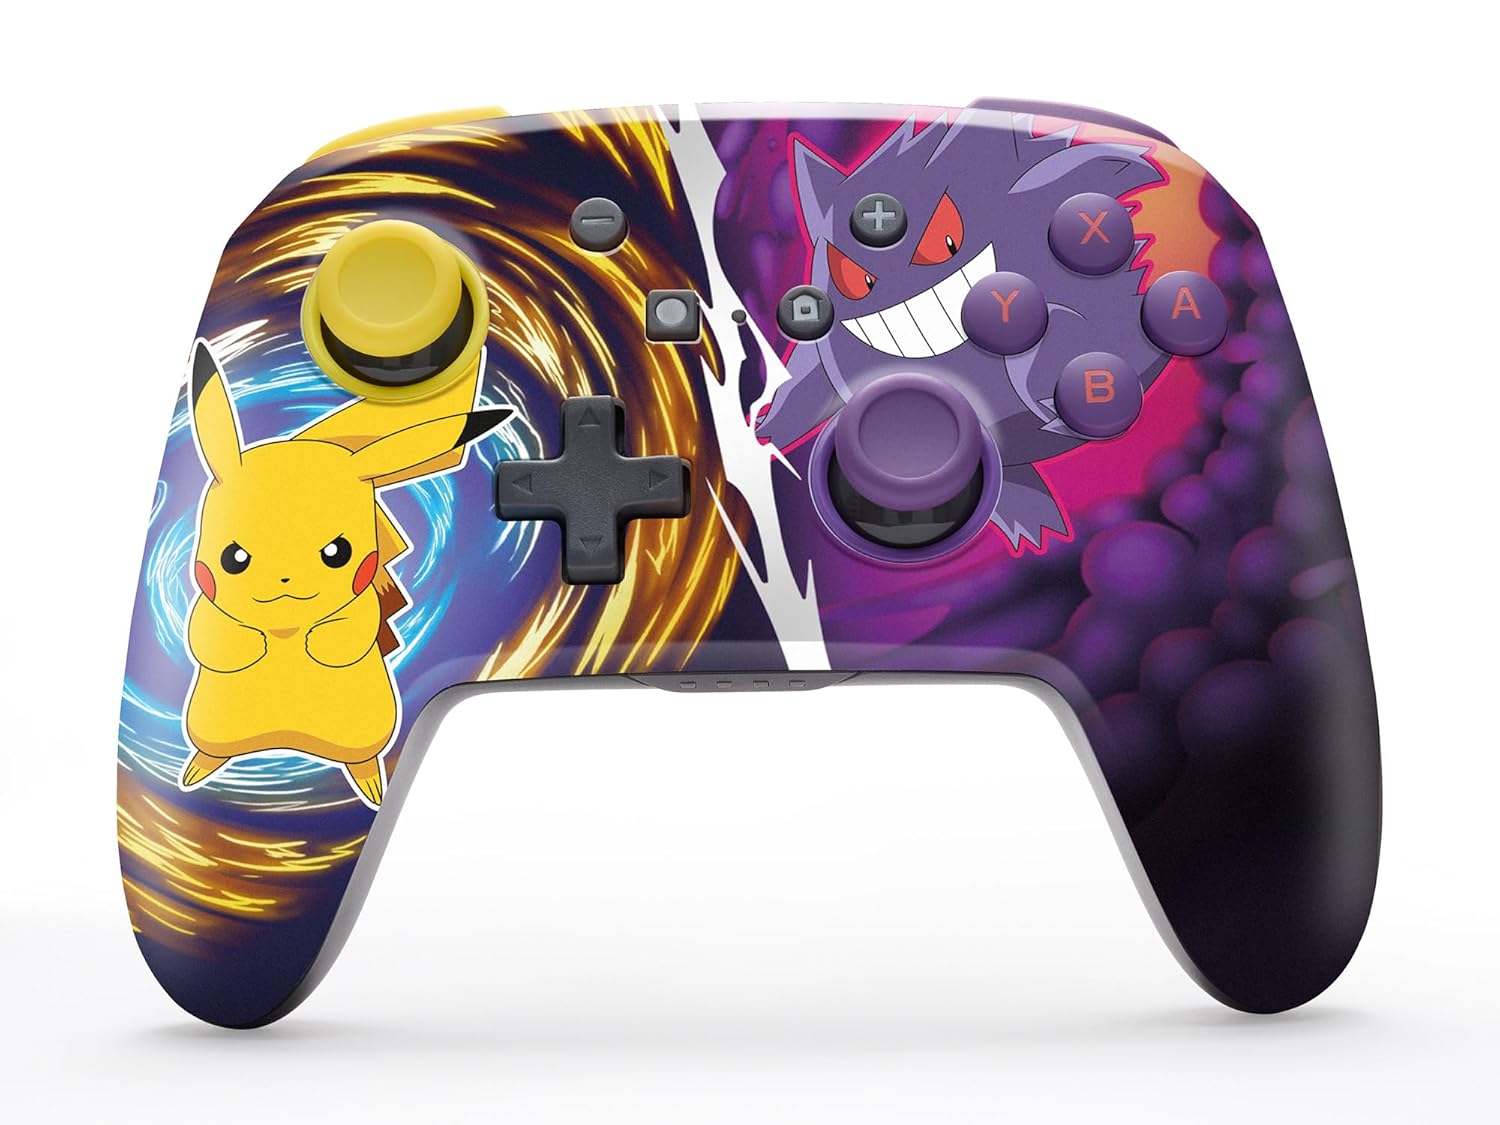
The PowerA Enhanced Wireless Controller with Pikachu vs. Gengar artwork.
Pagrindinės savybės
- Belaidis ryšys: Utilizes Bluetooth 5.0 technology for a stable connection.
- Įkraunama baterija: Integrated lithium-ion battery provides up to 30 hours of gameplay per charge.
- Mappable Advanced Gaming Buttons: Two programmable buttons on the back for custom control.
- Ergonomiškas dizainas: Superior ergonomics for extended comfortable gaming sessions.
- Smooth Thumbstick Control: Embedded anti-friction rings ensure precise and fluid movement.
- Judesių valdikliai: Supports intuitive motion controls for compatible games.

Ergonomiškas dizainas patogiam žaidimui.
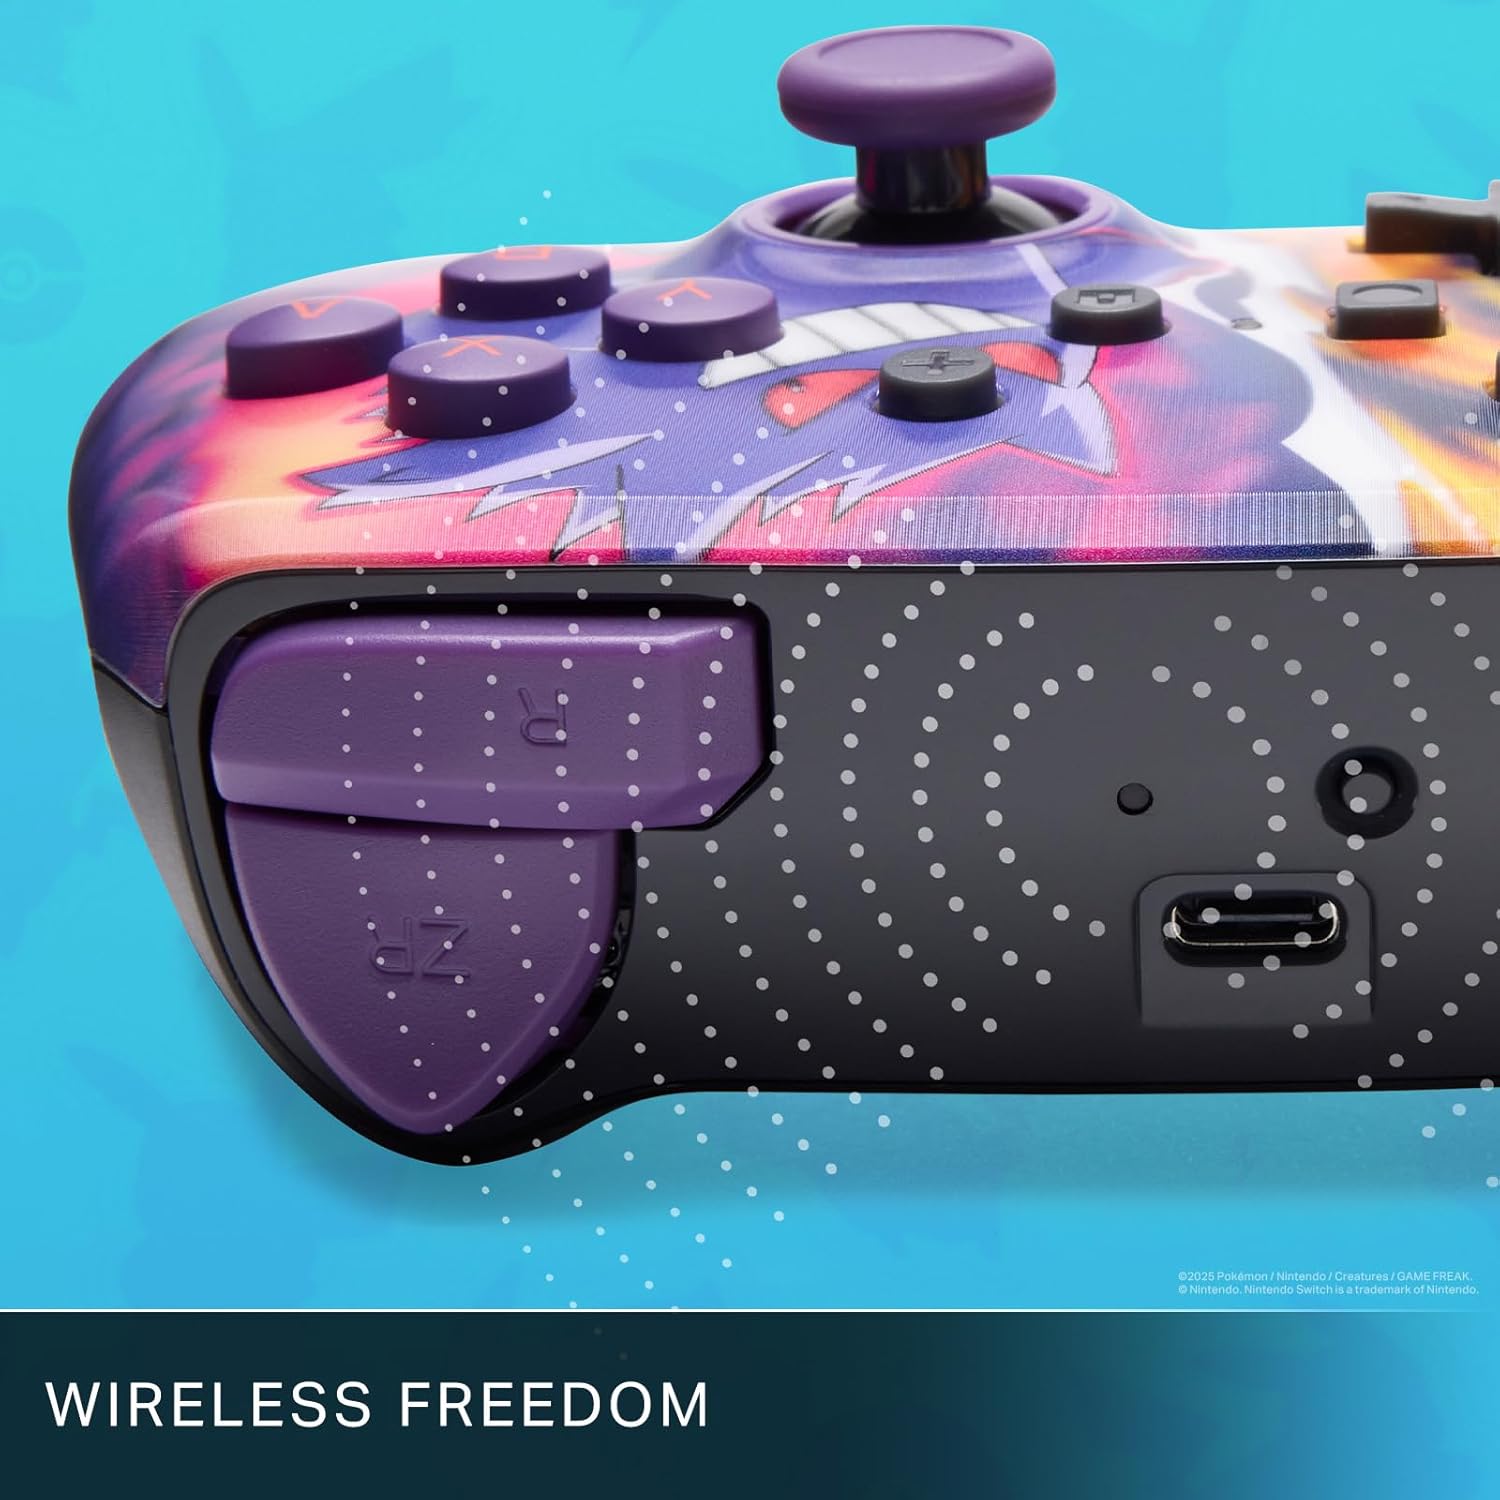
Enjoy wireless freedom with Bluetooth 5.0 technology.
Sąranka ir poravimas
- Įsitikinkite, kad jūsų „Nintendo Switch“ konsolė įjungta ir atnaujinta į naujausią sistemos programinę įrangą.
- HOME meniu pasirinkite Valdikliai, tada Pakeiskite rankeną / tvarką.
- Paspauskite ir palaikykite SYNC mygtukas on the top edge of your PowerA Enhanced Wireless Controller for at least one second. The Player LED(s) will flash.
- Once paired, the Player LED(s) corresponding to the controller number will remain lit.
- Paspauskite A Mygtukas to confirm and exit the menu. Your controller is now ready for use.
Valdiklio įkrovimas
The controller features an internal 900mAh lithium-ion rechargeable battery, providing up to 30 hours of gameplay on a single charge. To charge your controller:
- Connect the included 10ft (3m) USB-C charge cable to the USB-C port on the top of the controller.
- Connect the other end of the USB-C cable to a USB power source (e.g., Nintendo Switch dock, USB wall adapter, or computer USB port).
- The LED indicator on the controller will show charging status. It will typically turn off or change color when fully charged.

Connect the USB-C cable to charge your controller.
Advanced Gaming Buttons
Your PowerA Enhanced Wireless Controller includes two mappable Advanced Gaming Buttons (AGBs) on the back, allowing you to assign specific button functions for quick access during gameplay.
Programming AGBs:
- Paspauskite Programos mygtukas on the back of the controller. The Program LED will flash, indicating programming mode.
- Press the button you wish to map (A/B/X/Y/L/R/ZL/ZR/Left Stick Click/Right Stick Click/D-Pad). The Program LED will flash rapidly.
- Press the Advanced Gaming Button (AGB L or AGB R) you want to assign the function to. The Program LED will stop flashing, indicating the AGB is now programmed.
Resetting AGBs:
To reset all Advanced Gaming Buttons to their default (no function) state, press and hold the Programos mygtukas for five seconds. The Program LED will flash slowly, then turn off, confirming the reset.
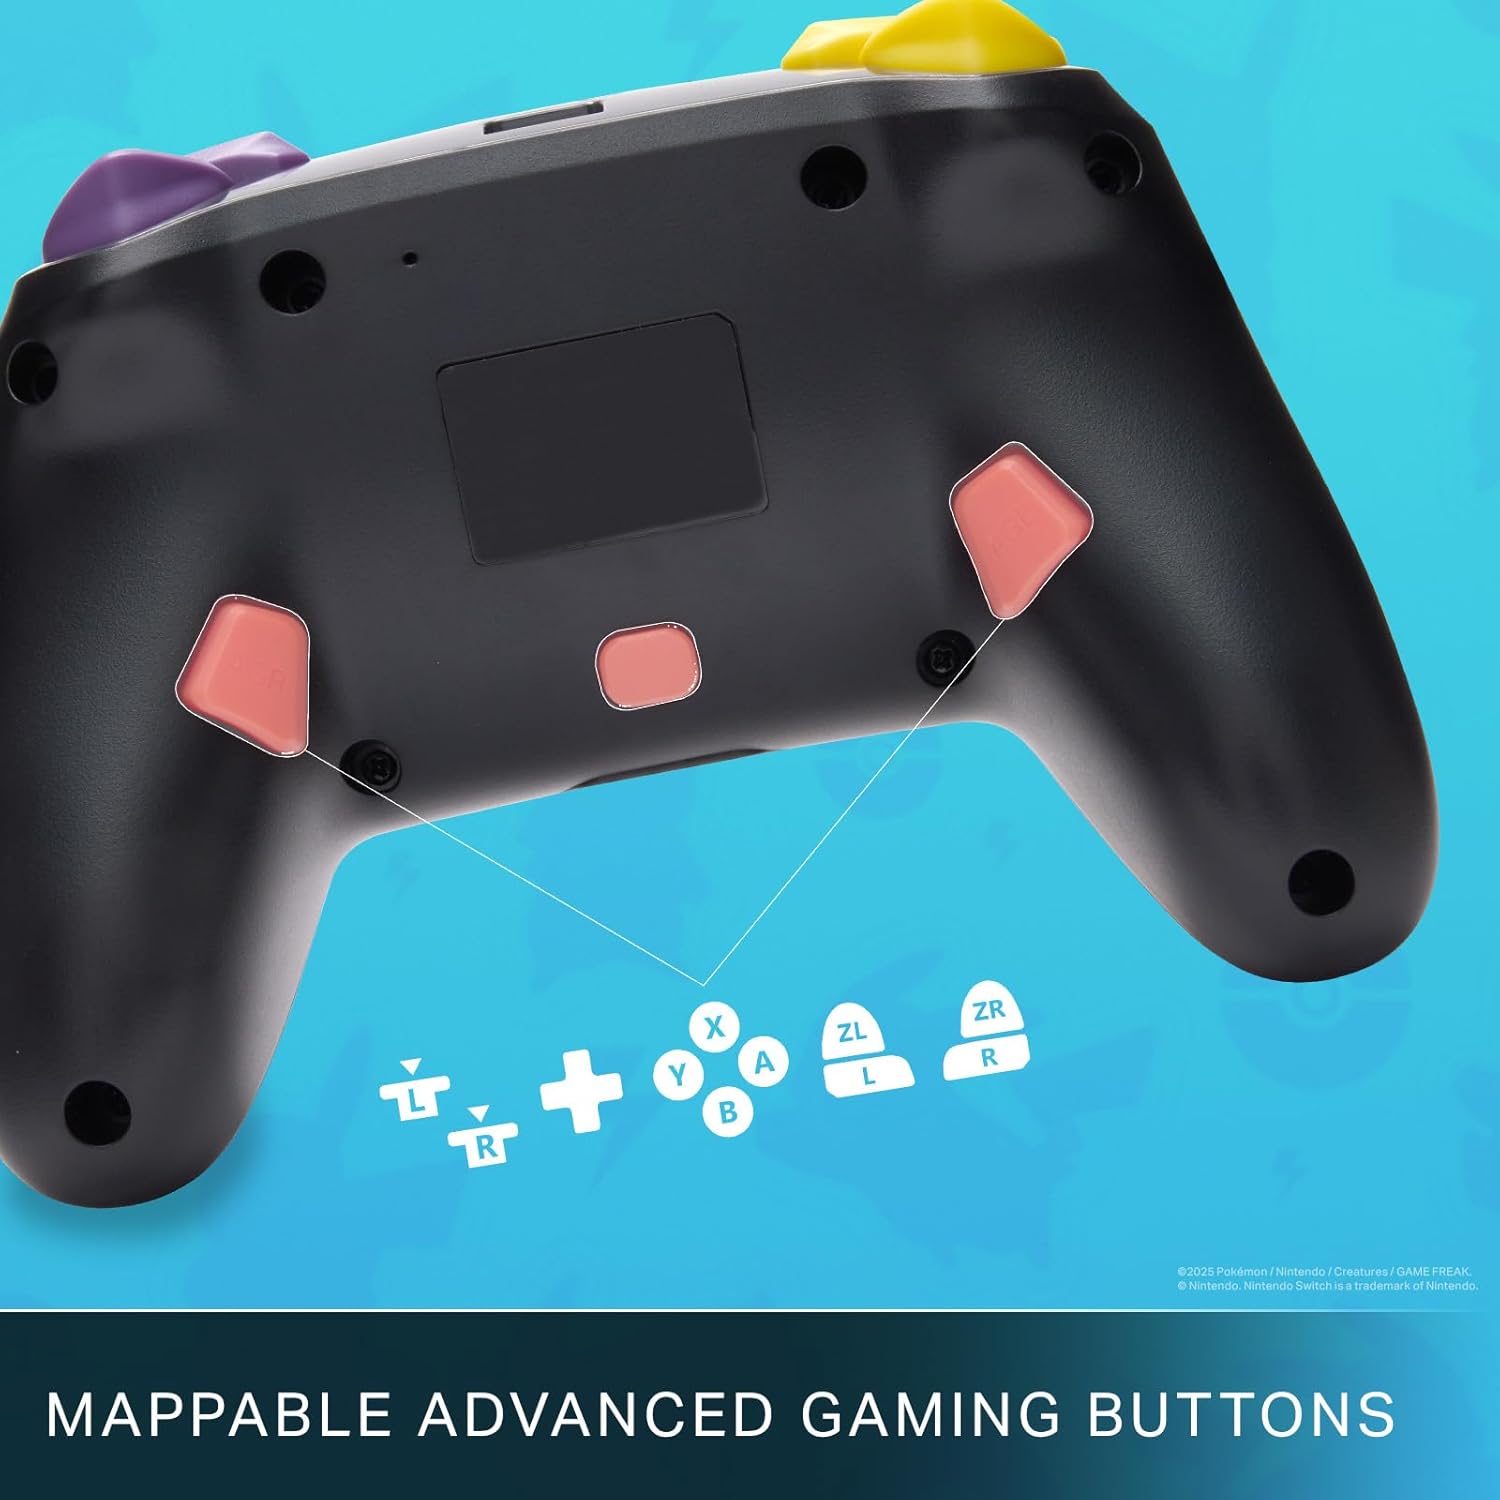
Mappable Advanced Gaming Buttons for personalized control.
Suderinamumas
This PowerA Enhanced Wireless Controller is compatible with the following Nintendo consoles:
- Nintendo Switch
- Nintendo Switch Lite
- Nintendo Switch (OLED Model)
- Nintendo Switch 2 (Note: C button not available)

The controller is compatible with Nintendo Switch 2, though the C button functionality is not available.
Specifikacijos
| Funkcija | Detalė |
|---|---|
| Suderinami įrenginiai | Nintendo Switch |
| Valdiklio tipas | Žaidimų pultelis |
| Ryšio technologija | Bluetooth, USB |
| Papildomos funkcijos | Ergonomic, Wireless |
| Mygtukų kiekis | 12 |
| Aparatinės įrangos platforma | Žaidimų konsolė |
| Maitinimo šaltinis | Maitinamas baterijomis (įkraunamas ličio jonų) |
| Suderinami vaizdo žaidimų konsolių modeliai | Nintendo Switch, Nintendo Switch Lite |
| Prekės svoris | 0.68 svaro |
| Prekės matmenys | 6.02 x 4.41 x 2.48 colio |
| Spalva | Pikachu vs Gengar |
| Modelio pavadinimas | Pikachu vs. Gengar |
| Modelio numeris | NSGP0420-01R |
Priežiūra ir priežiūra
- Keep the controller dry. Avoid exposure to moisture or extreme temperatures.
- Valykite valdiklį minkštu, sausu skudurėliu. Nenaudokite stiprių cheminių medžiagų ar abrazyvinių medžiagų.
- Kai nenaudojate, laikykite valdiklį saugioje vietoje, kad išvengtumėte pažeidimų.
Trikčių šalinimas
Valdiklis neprisijungia:
- Įsitikinkite, kad valdiklis yra visiškai įkrautas.
- Verify the controller is within the Bluetooth range of your Nintendo Switch console.
- Attempt to re-pair the controller following the "Setup and Pairing" instructions.
Unresponsive Buttons/Joysticks:
- Patikrinkite, ar aplink mygtukus ar valdymo svirtis nėra fizinių kliūčių ar šiukšlių.
- Perform a hard reset by holding the SYNC button for 10 seconds, then attempt to re-pair.
- Ensure the controller's firmware is up to date (check PowerA's official websvetainę, kurioje pateikiami atnaujinimai).
Garantija ir palaikymas
This PowerA Enhanced Wireless Controller comes with a Dvejų metų ribota garantija. For detailed warranty information, product support, and troubleshooting assistance, please visit the official PowerA support websvetainė: